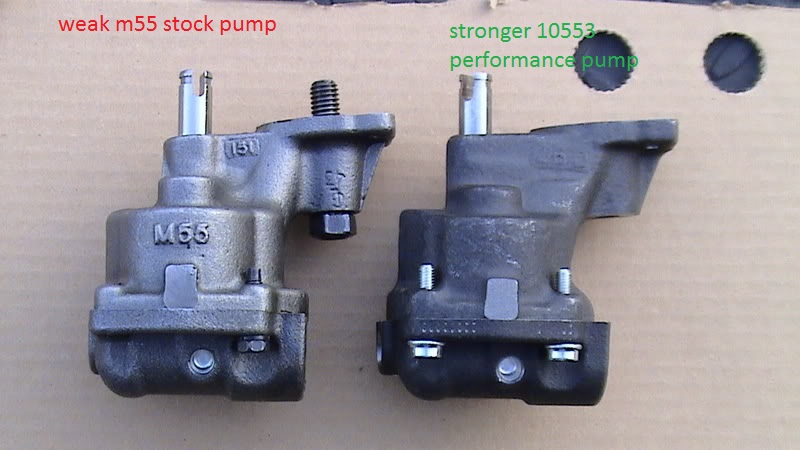
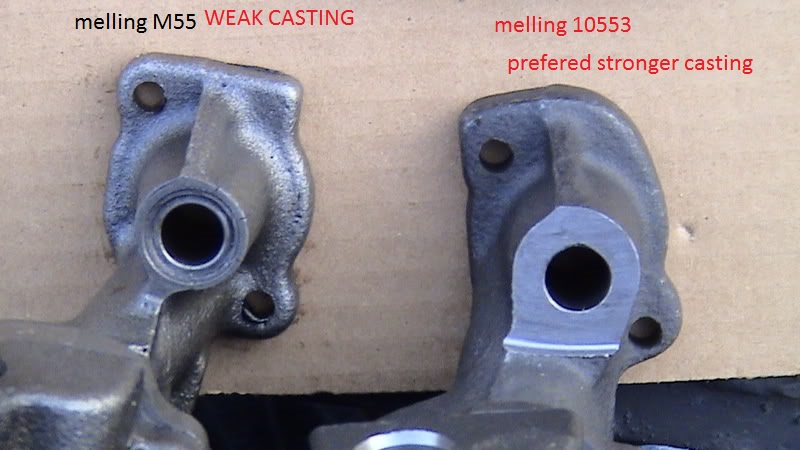
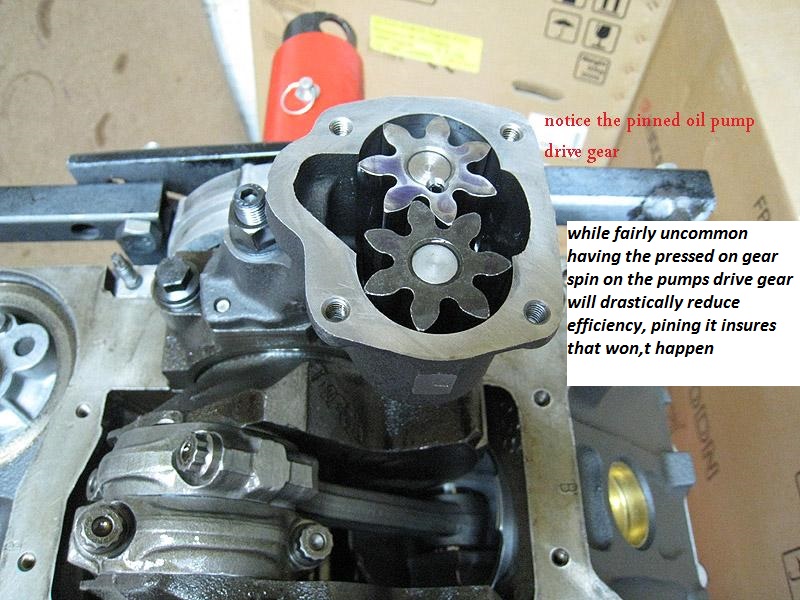
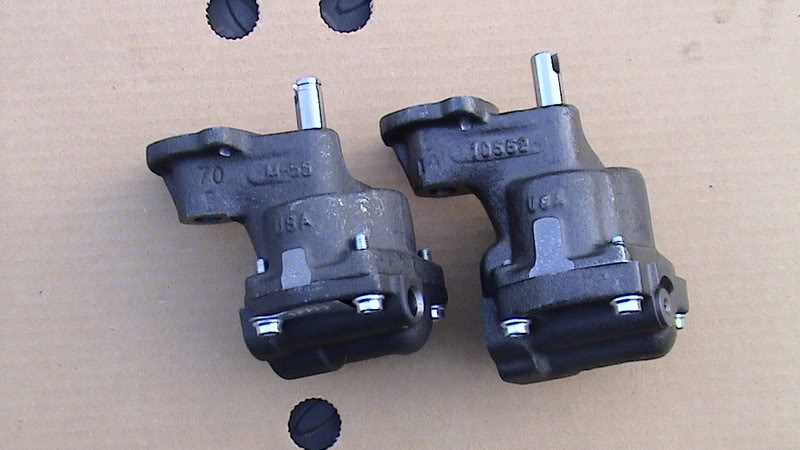
Vintage 302 chevy.

that should not be an issue, but you should obviously ask before ordering
and if the oil pan drain plug opens by unscrewing it to the rear (UNCOMMON) you may need to weld up and re place the oil drain location to a new location on the oil pan sump.

notice the picture shows it drains to the side so your not dealing with that potential issue
getimage.php
 
Last edited:
I bought studs that had enough thread left to add a windage tray but which would be better a pan mounted or a block mounted tray.

Look again at the picture of the Hamburger's pan. My vote is for baffling in the pan itself. This will control the oil much more effectively than a plate attached to the main studs.
 
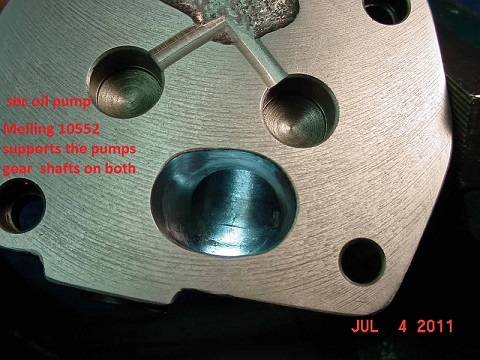
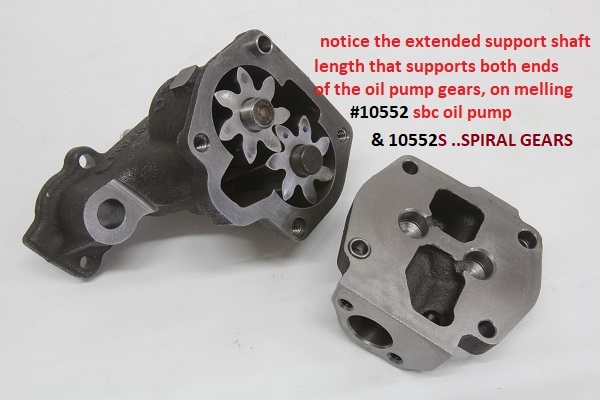
Not sure about the M99HVS, but the Melling 10552 supports the shafts on both ends, where
some don't have a support in the cap.

OilPumpCoverCloseupAfter01.jpg
 
Not sure about the M99HVS, but the Melling 10552 supports the shafts on both ends, where
some don't have a support in the cap.


Thanks Indy, That might explain why the price is almost double for the 10552. I imagine there's quite a few improvements over the 99HVS. I might take that pump apart when I get home. Just by eyeballing the gears through the outlet port the other night they looked to have been damaged at some point so I'm interested to see what the inside looks like.
 
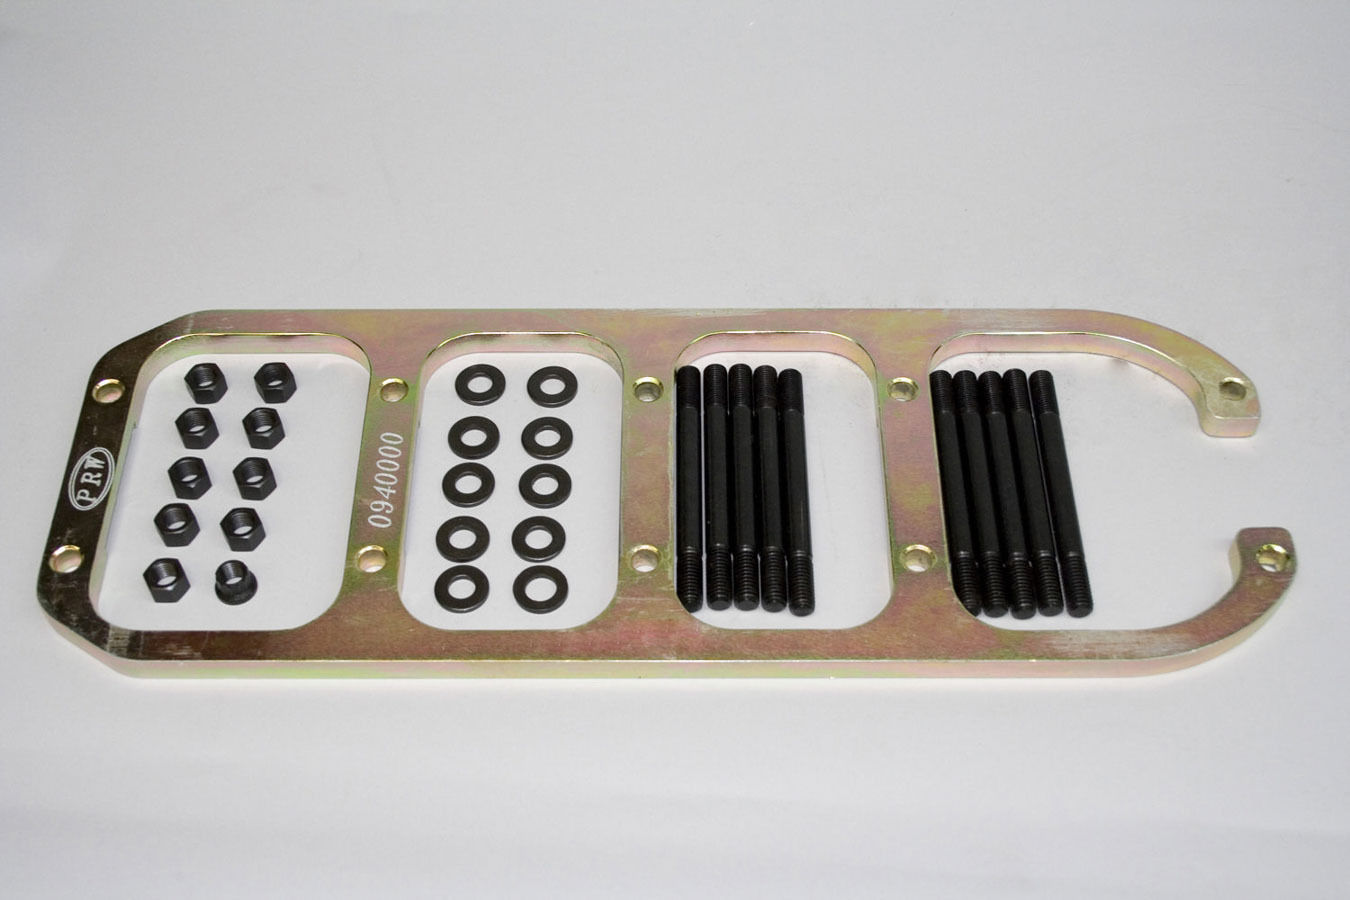
Well I went ahead and bought one of these girdles today, used and cheap. After receiving a shipment of tools and my main bearings from summit this week I spent today installing each cap and bearing and writing down the measurements with my new dial bore gauge. I started out my day by grinding on the spacers for the straps because they tore up the studs and afterwards I was putting each strap and spacer in the ultrasonic cleaner before installing them on the block. Well 1-3 went fine clearances were coming in between .0015 and .0025. As I was starting on #4 I went over to pull the next strap out of the ultrasonic cleaner and while trying to thread the pinch bolt back in I noticed the strap was bent and cracked right through the center.

Anyways that put a wrap on my day and I came in and searched around and found a used girdle on amazon.
girdlem.jpg
 
used and cheap...cracked..... might be related, ...and you might not have done the damage
 
used and cheap...cracked..... might be related, ...and you might not have done the damage

Grumpy I know it wasnt cracked when i bought it. I assume that either myself or the machine may have left the center bolt sticking down when the cap bolts were torqued. This was the first time I've attempted to put the caps on solid and I didnt even assemble it before I noticed the crack.

The new girdle I believe is so cheap because it probably doesnt have the hardware that it comes with new which is great because I dont need it. There was no where to ask about it so this is just another assumption. Either way a thorough inspection is in order when it gets here. If its cracked there will be a discussion with amazon about it.

Anyways after doing some reading last night I believe theres going to be some main bearing swapping to better match the clearances between each main. .0025 on the #1 and .0015 on the #2 doesnt work for me. I'll be checking the cap bores too and see how good the line hone was.
 
checking and verifying all the clearances carefully during the pre-assembly is always both much cheaper,
than having parts fail and something that separates an engine builder
from the thousands of guys,
who simply bolt parts together and act dazed and confused, and get angry,
when engines they assembled rapidly fail, from mistakes a careful person could have easily avoided.
 
I like that girdle much better than those straps that you were planning to use.

I think I'll like it too. After seeing that strap cracked I gave up on all of them. I have enough stud to put a 3/4" strap on there but the girdle seamed a little easier to deal with.
 
Don't knock my handwriting but here's the measurements of the crank saddles. This is with all the bolts on the straps backed out. Straps are only there for spacers until the girdle gets here. The standard I used was 2.491, from what I could find stock SJ main bore is 2.4906 - 2.4916 so I squared it up to 2.491. #2 and #4 are the ones with the biggest problems. This confuses me as I have no idea how these two could become greater and less than the other 3 which are fairly close. I checked the deflection those pinch bolts put on the cap and my arms not calibrated but if he really did put 30in lbs on them it hardly made a difference. I felt like I was putting more than that on there by about an 1/8 of a turn on the wrench at which time the needle started to move and that was only about .0005
20171203_155702-2001x3557.jpg 20171203_162455-3559x2002.jpg
 
Good to see that you checked WITH the oil pump. The align hone should have been done with an oil pump torqued in place.
 
Good to see that you checked WITH the oil pump. The align hone should have been done with an oil pump torqued in place.

It was, I took that pump and the new arp stud to them. Think I'll be taking the block back in to fix that align hone job eventually. It may be ok for some but I like a little more precision than .0015.
I would like to have my rods so I can do the 4 corner check on the piston to deck height but imagine I need the main bores corrected before that. The deck height at the #1 I believe was .009 higher than the rest when I initially checked it.
 
The girdle showed up today. It's in decent shape. It had just a slight twist in it when I set it on the caps and one corner had to be ground down to clear the rear main cap but other than that it fits ok so far. Looks like the dipstick will be a no go and I'll have to check all the other clearances once I get everything to finish assembling it. I'll have to get more studs too.

20171205_195944-1942x3452.jpg 20171205_195958-3559x2002.jpg 20171205_174831-3559x2002.jpg
 
It was, I took that pump and the new arp stud to them. Think I'll be taking the block back in to fix that align hone job eventually. It may be ok for some but I like a little more precision than .0015.
I would like to have my rods so I can do the 4 corner check on the piston to deck height but imagine I need the main bores corrected before that. The deck height at the #1 I believe was .009 higher than the rest when I initially checked it.

I found some info for you. It applies to Mopar engines and using these girdles, but great info none-the-less.

These kits contain main cap studs and the block must be line honed with the girdle in place.
http://www.hughesengines.com/Upload...n_Bearing_Stud_Girdle_Kit_instructionsDEC.pdf
http://www.hughesengines.com/TechArticles/2mainbearingstudgirdles04232007.php

Here is the instructions for your PRW: http://www.jegs.com/i/PRW/228/09350...MIgefpm7P51wIV3bfACh1teASgEAQYAyABEgLo7fD_BwE

You have probably seen this article before: https://www.jalopyjournal.com/forum/threads/small-journal-chevy-main-girdle.381686/
And Grumpy probably gave you this link: http://garage.grumpysperformance.com/index.php?threads/splayed-main-caps.1014/
 
Went through and marked the pistons for the gas ports this evening. I went with 9 ports as I couldnt find a whole lot on how many to use other than the instructions said 7-9 ports for a sbc. Also utilized my ring compressor to help do the lay out on each.

I took the circumference of the piston and divided it up and laid it out on a piece of tape with a caliper then I stuck it on the piston and put my starting point close to center on the exhaust side of the piston. Once lined up I marked the piston then transferres the marks to the ring compressor. I didn't get overly precise with each just lined the slot in the ring compressor with the center of the intake manifold side (180° from my starting mark) of the piston skirt and made sure the marks wouldn't interfere with the valve reliefs.

20171210_202600-1942x3452.jpg
 
Back
Top