8
87vette81big
Guest
There is no perfect single rear differential. Stock or aftermarket.
A Ford 9 inch can still fail even full race.
When used dirt tracking Left hand turns the Right hand axle tube fills up 100% with all Resevored sump gear oil.
The Ring and pinion run dry.
Oil coolers and lines will be ripped off from rocks , Mud , debris, parts falling of of other cars.
The solution is to install a special RH Axle tube oil seal & Fill the diff with 1-1/2 gallons of gear oil.
Too do so you must install weld in a Fill plug tube at the top of the Banjo housing.
10-Bolts GM still favored by many Pontiac guys. 10's & 9"s have been ran on them reworked.
Dana 60 is still Strongest. Best for drag race.
You have a street Pro Touring car build.
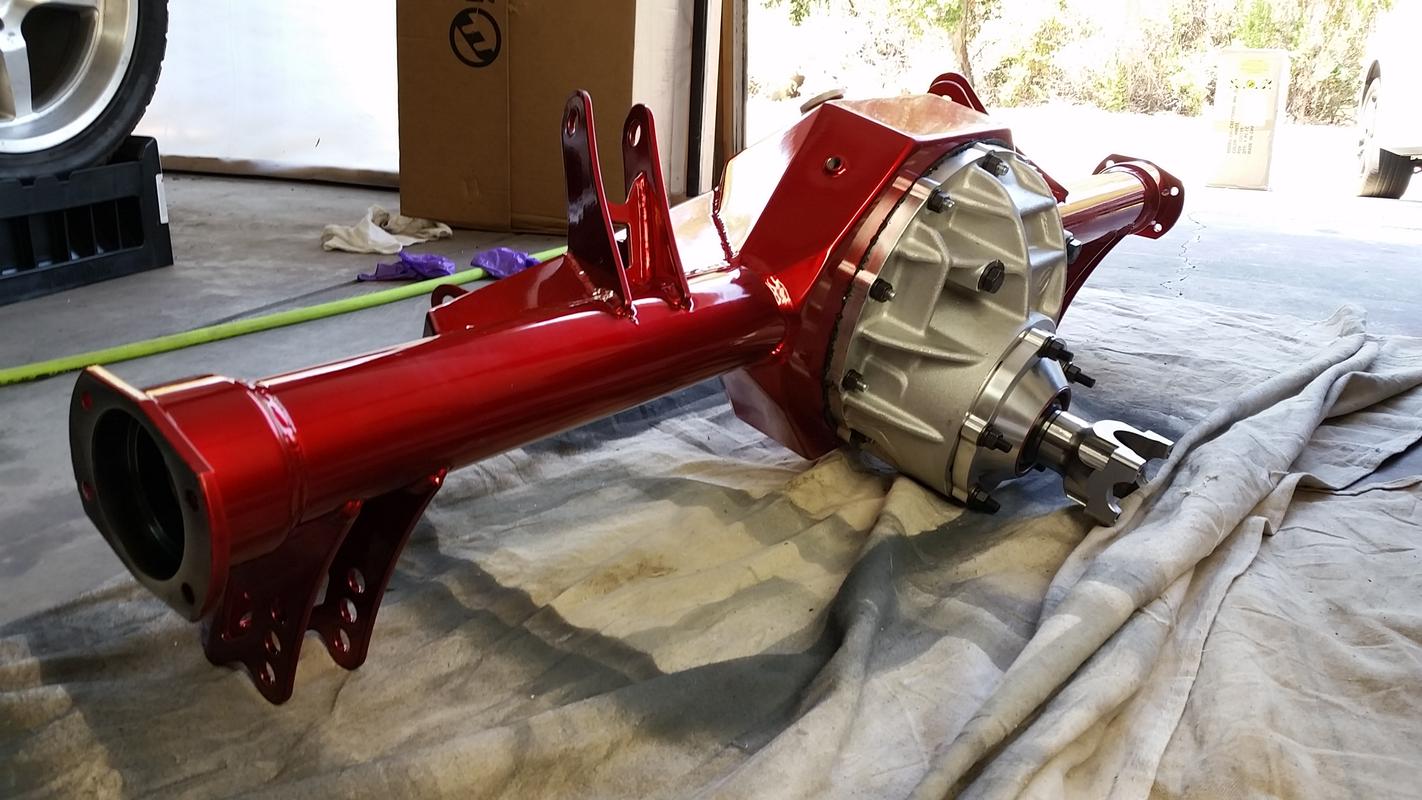
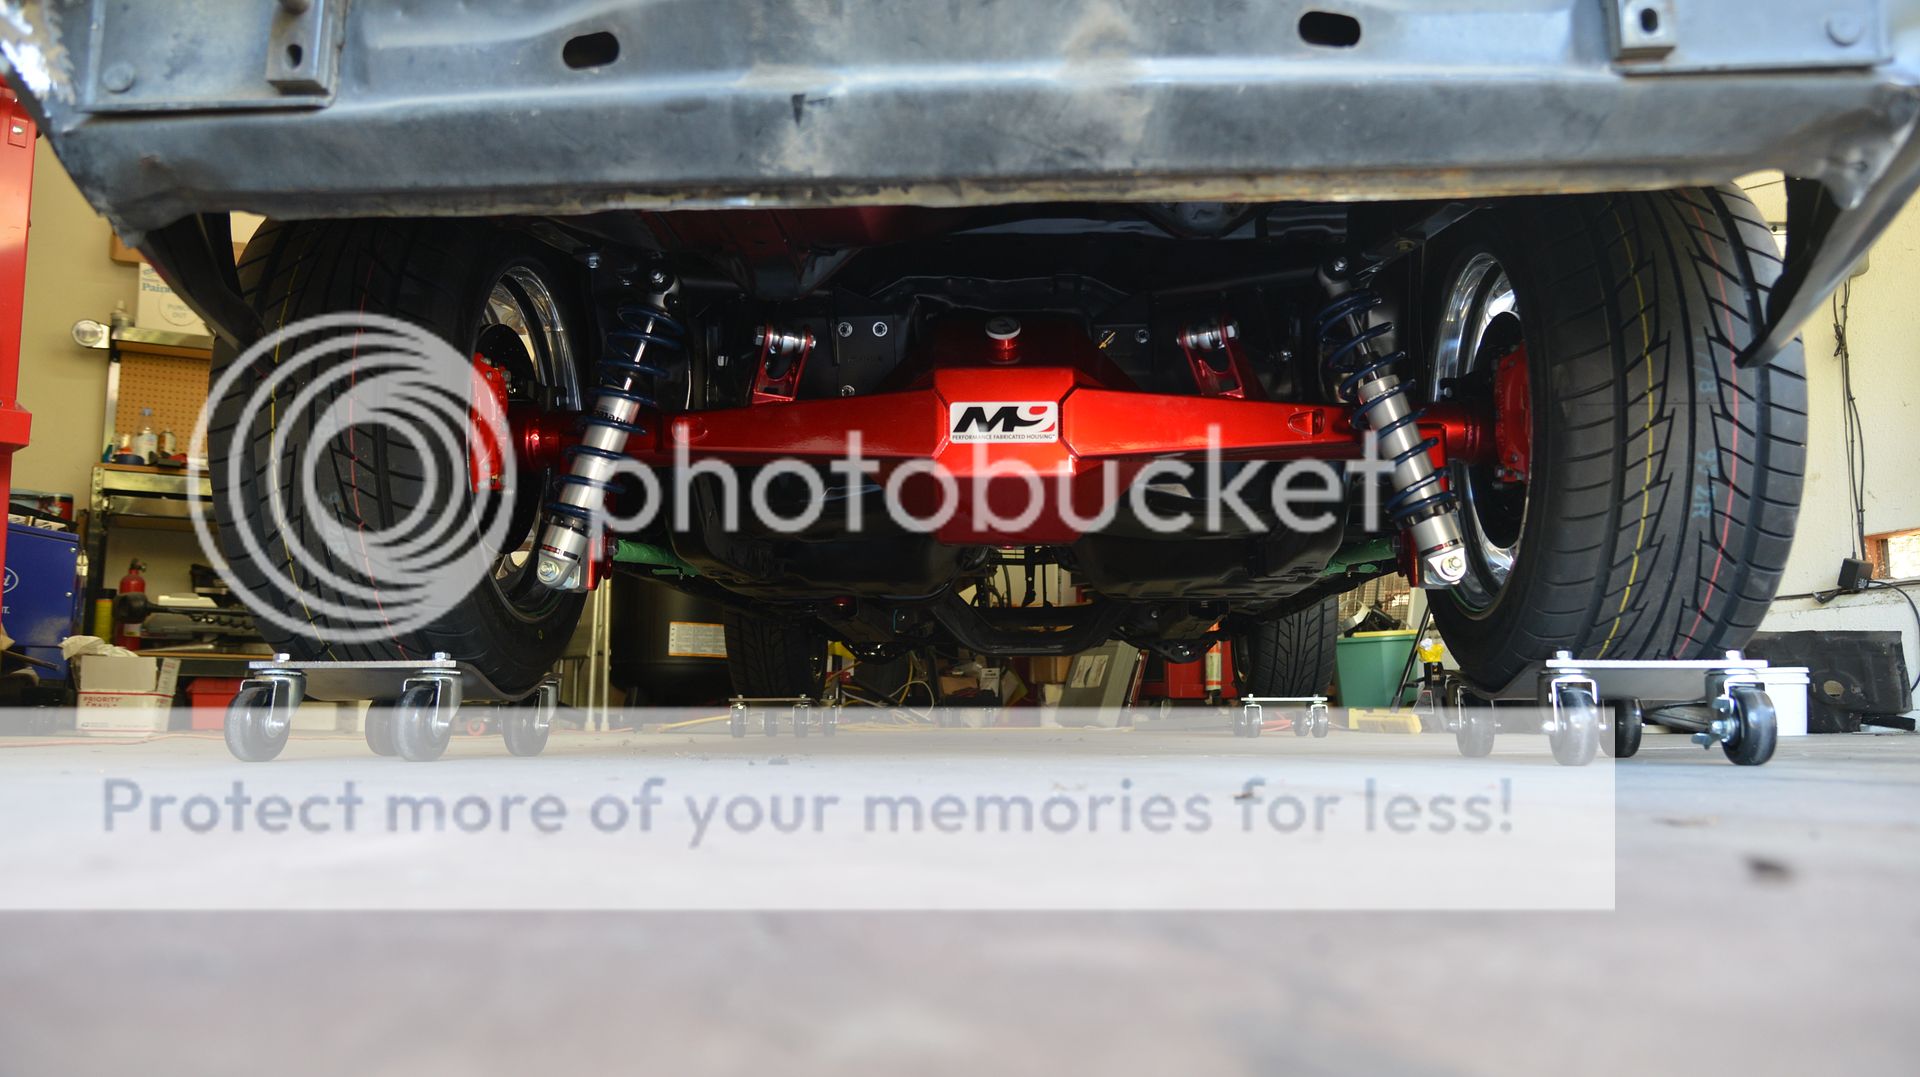
Moser 9 just fine.
A Ford 9 inch can still fail even full race.
When used dirt tracking Left hand turns the Right hand axle tube fills up 100% with all Resevored sump gear oil.
The Ring and pinion run dry.
Oil coolers and lines will be ripped off from rocks , Mud , debris, parts falling of of other cars.
The solution is to install a special RH Axle tube oil seal & Fill the diff with 1-1/2 gallons of gear oil.
Too do so you must install weld in a Fill plug tube at the top of the Banjo housing.
10-Bolts GM still favored by many Pontiac guys. 10's & 9"s have been ran on them reworked.
Dana 60 is still Strongest. Best for drag race.
You have a street Pro Touring car build.
Moser 9 just fine.


")