Brake lines 101
look thru these links also
viewtopic.php?f=55&t=1030&p=11111#p11111
viewtopic.php?f=50&t=1660&p=4554&hilit=bending+steel#p4554
I am in the process of installing a Bias control on
my rear brakes. It is about the same as installing a roll
control or line lock on the front brakes. Thought I would
take you along in the process.
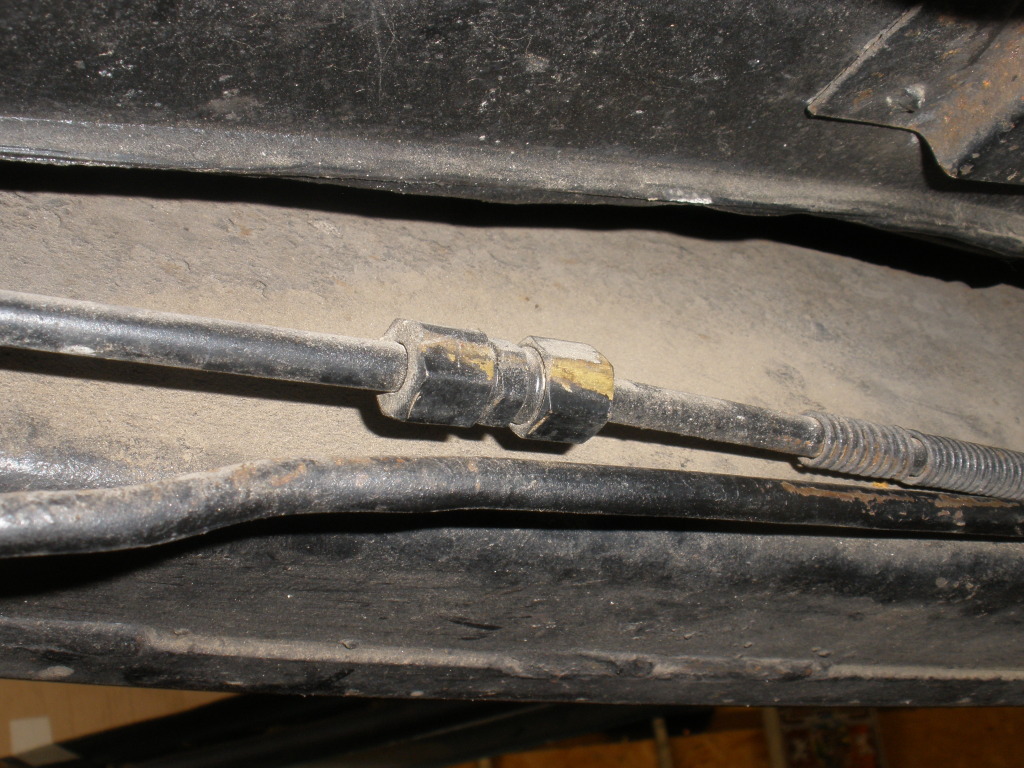
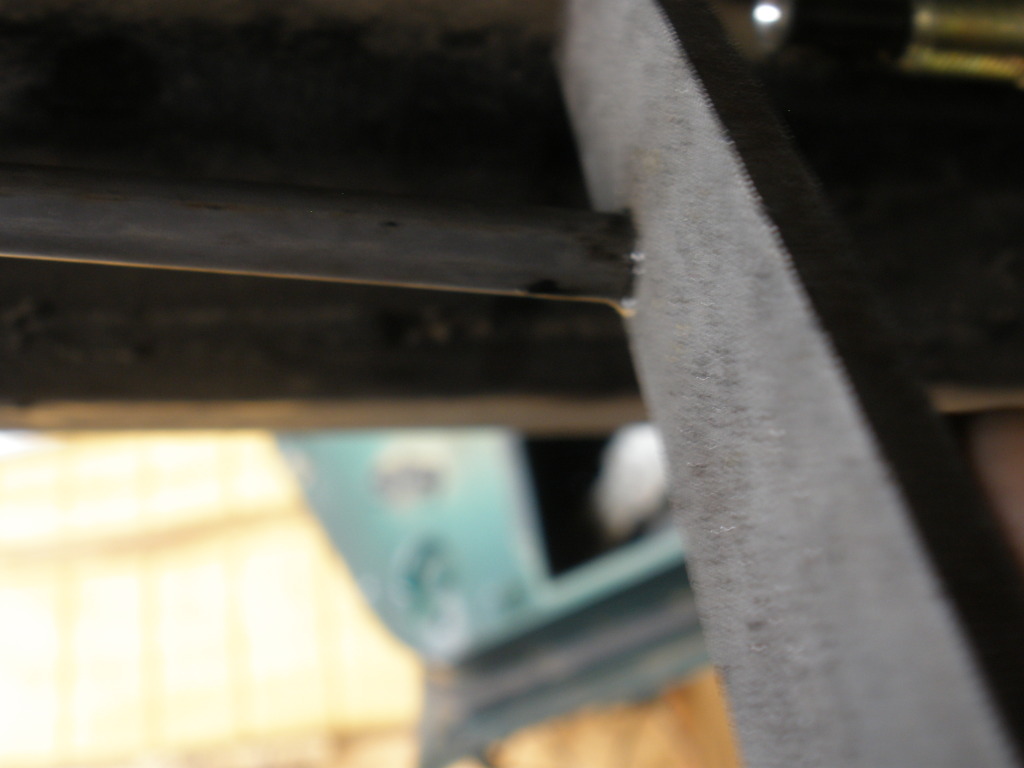
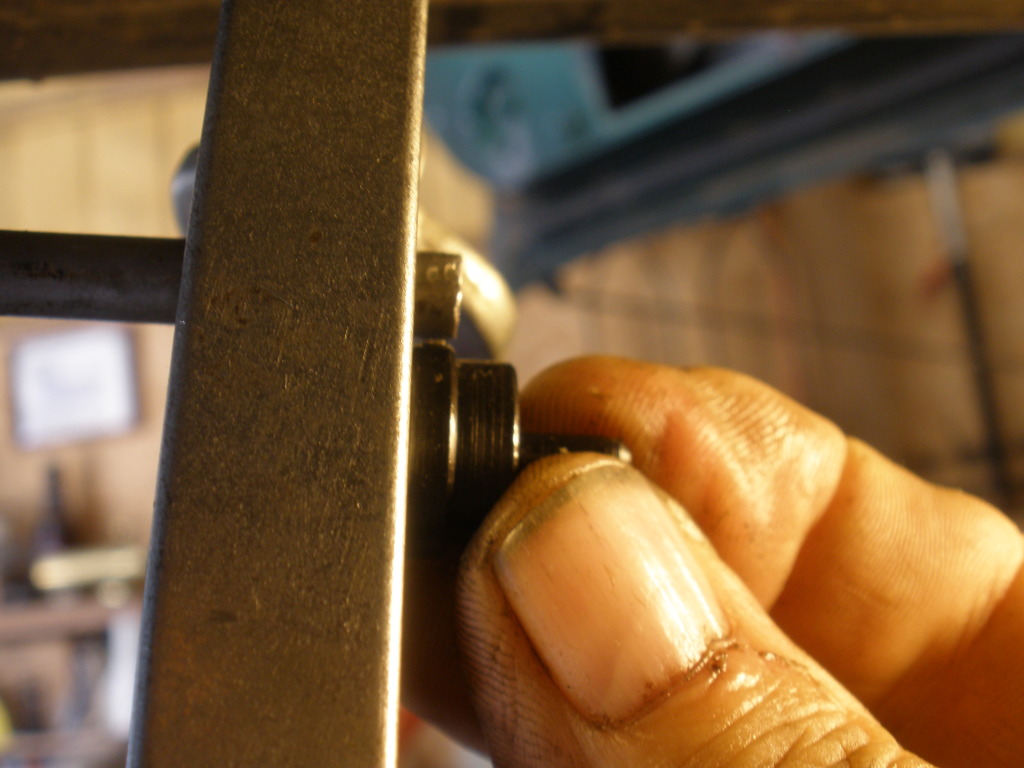
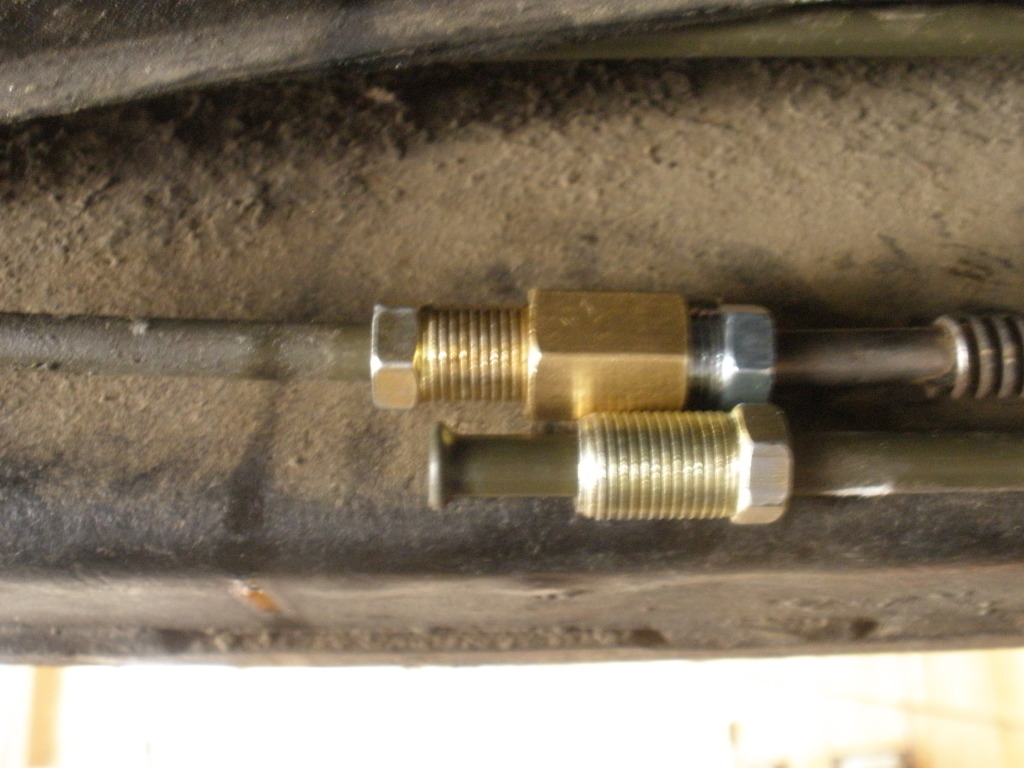
First let me cover the horror I found when I started removing
the line from the Brake Pressure Failure Switch to the read axle.
I knew there was a union in the line but assumed it was a flare
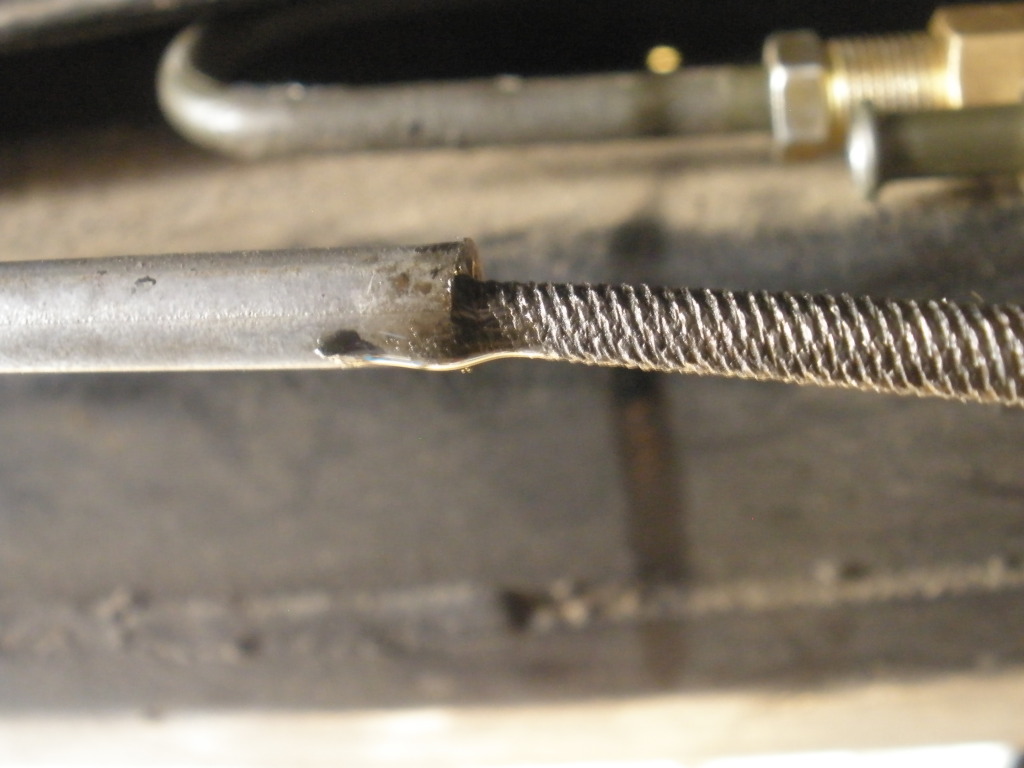
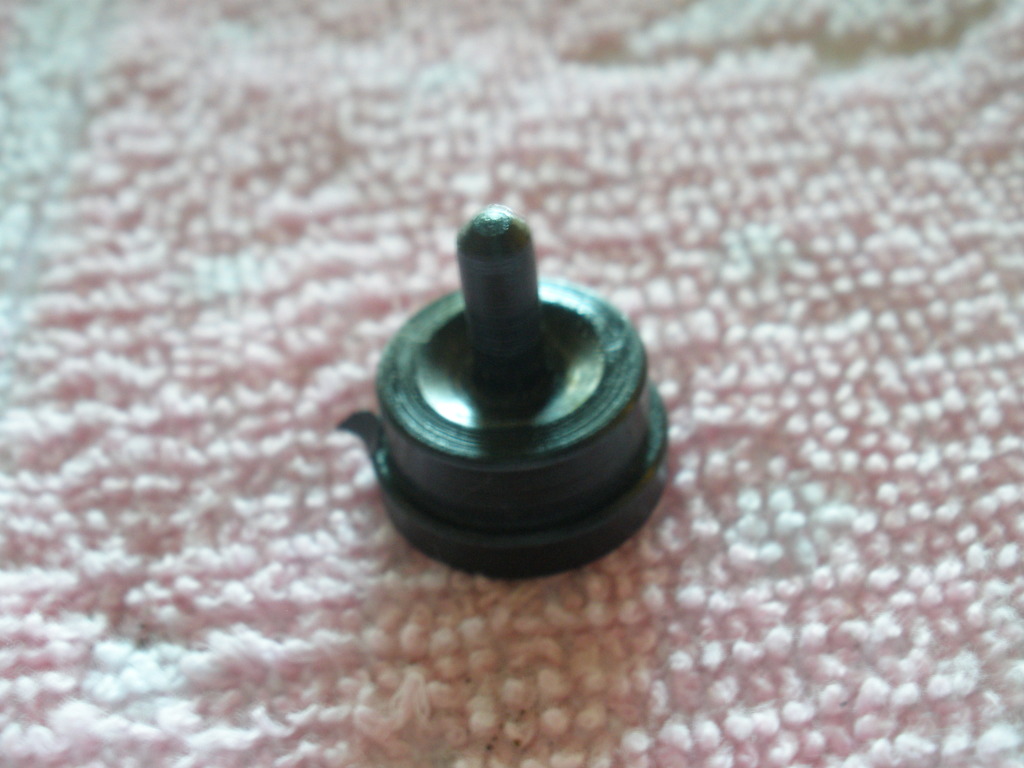
union. You know what happens when you assume...This time I got lucky. To my shock when I took it apart this is what I found.
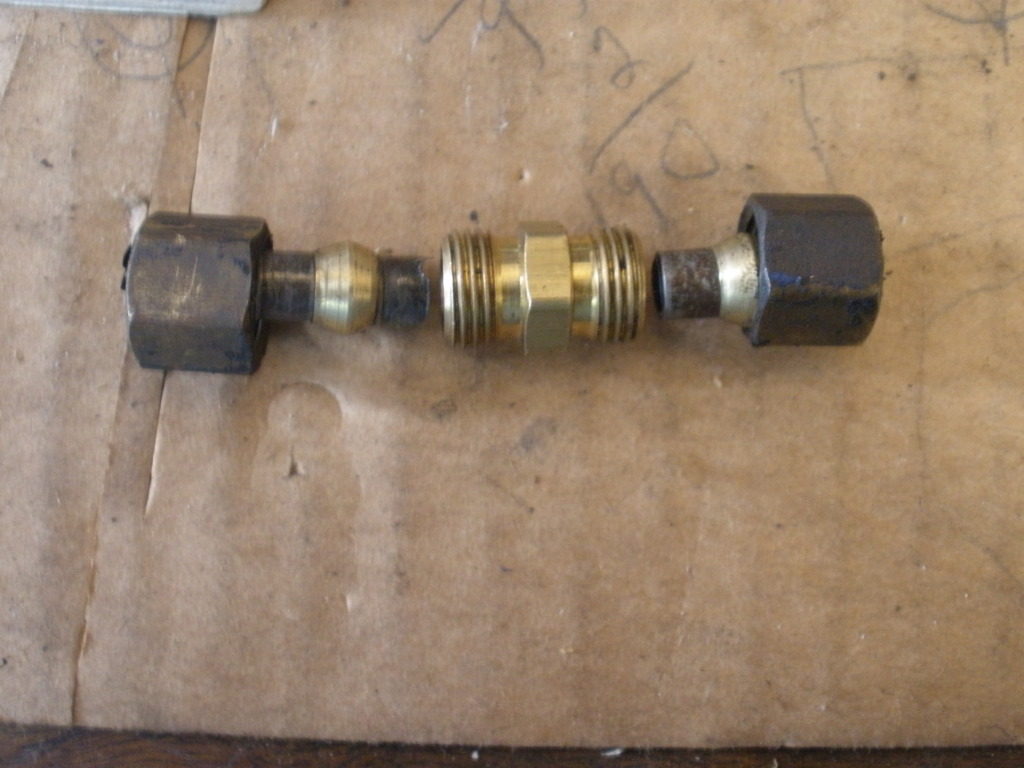
It was a brass compression union. When working on brake lines stay away from brass fitting, they can split when over tightened.
brass compression fittings are friction sealed, and can pull apart
under pressure. In some states they are outlawed.
When choosing brake fitting always use steel fittings. Always use a double 45* flare when using SAE parts. I always check my fittings using a sharp tool, to insure they are steel and not
brass.
OK on to the project.
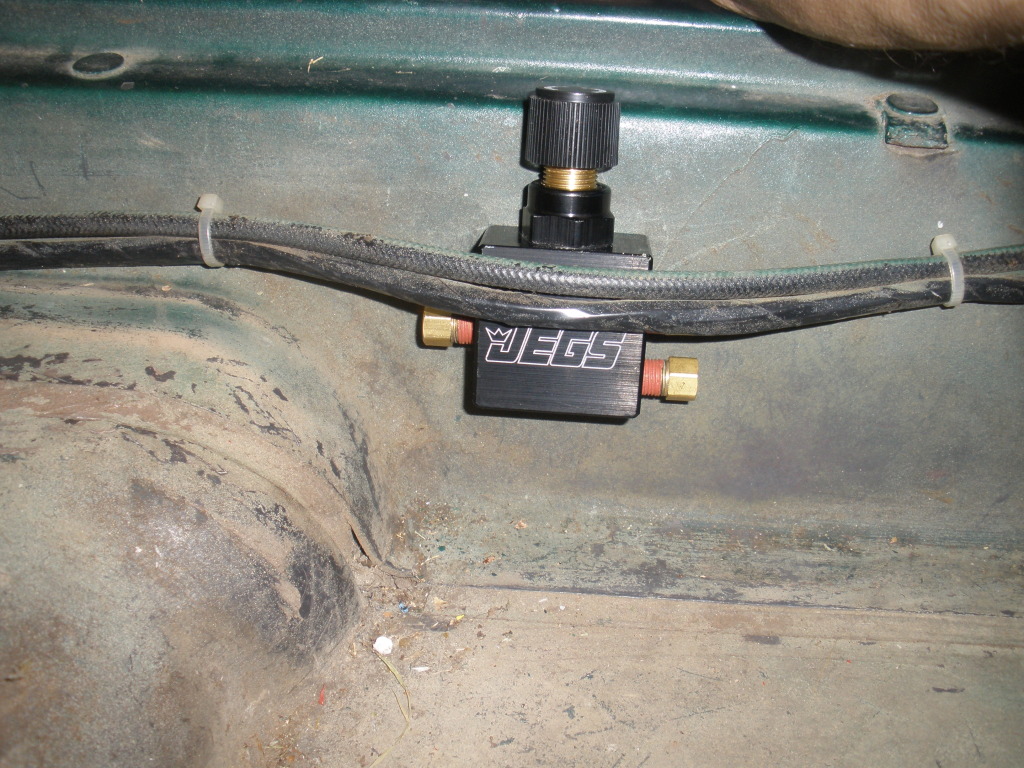
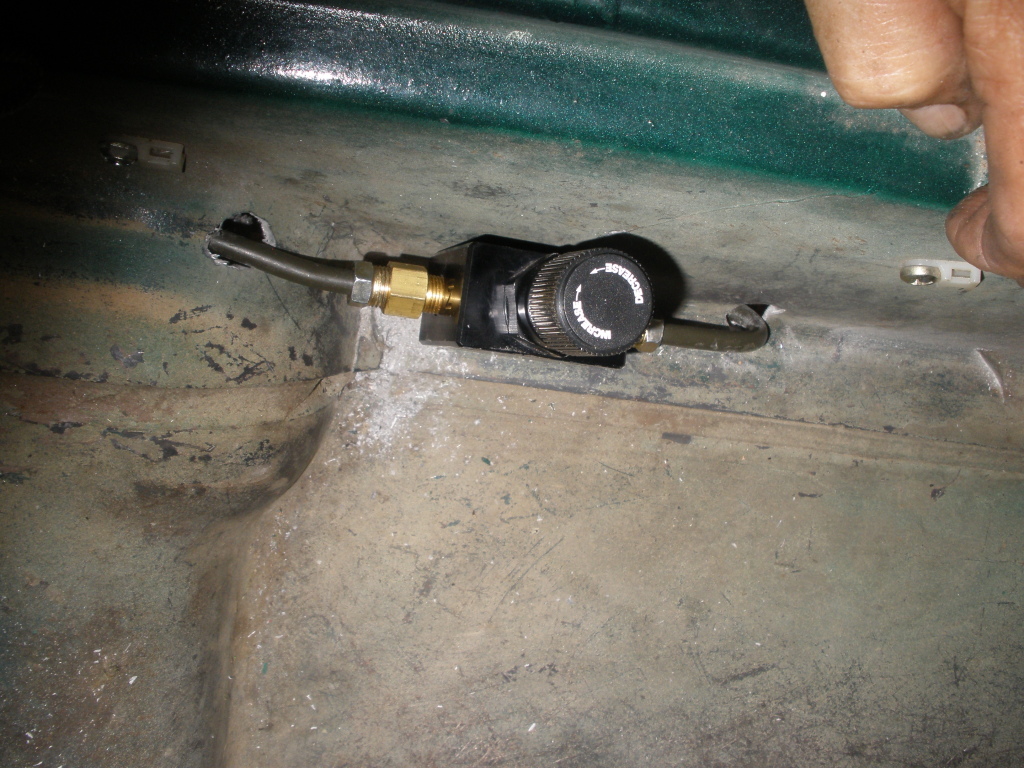
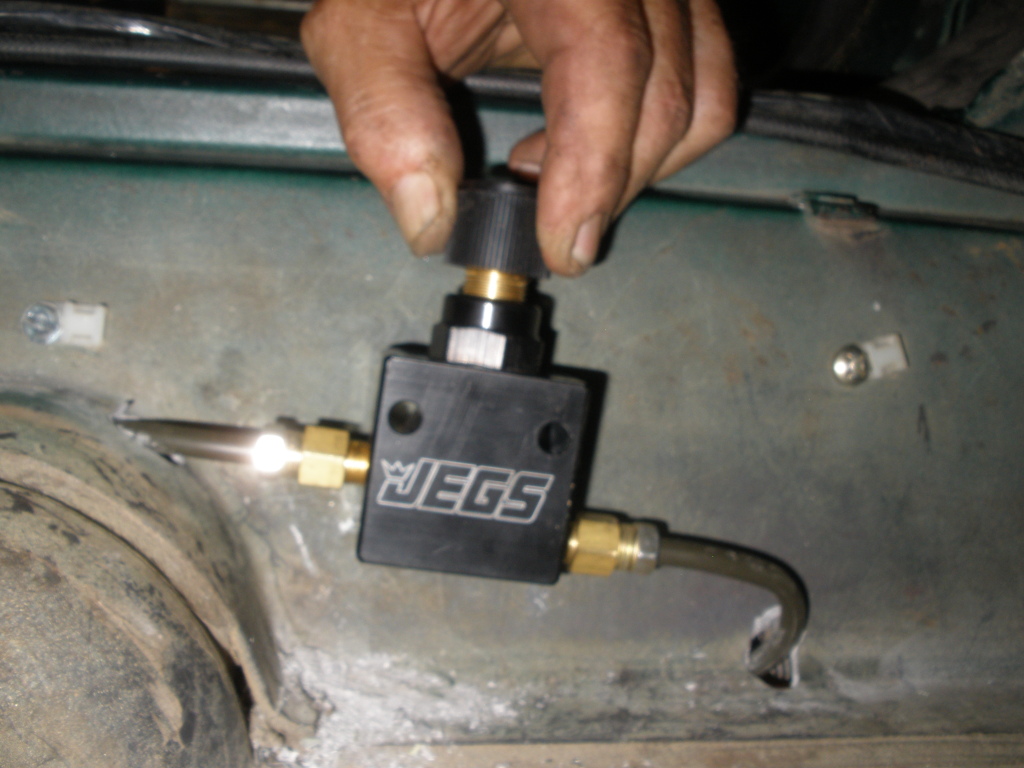
The valve.
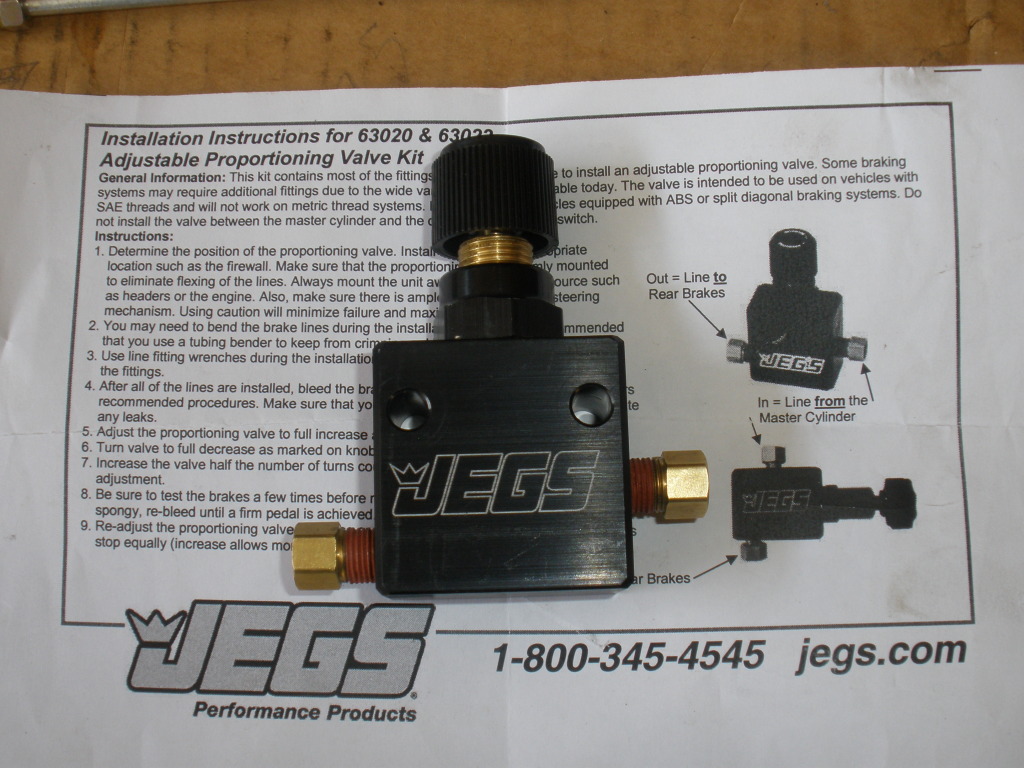
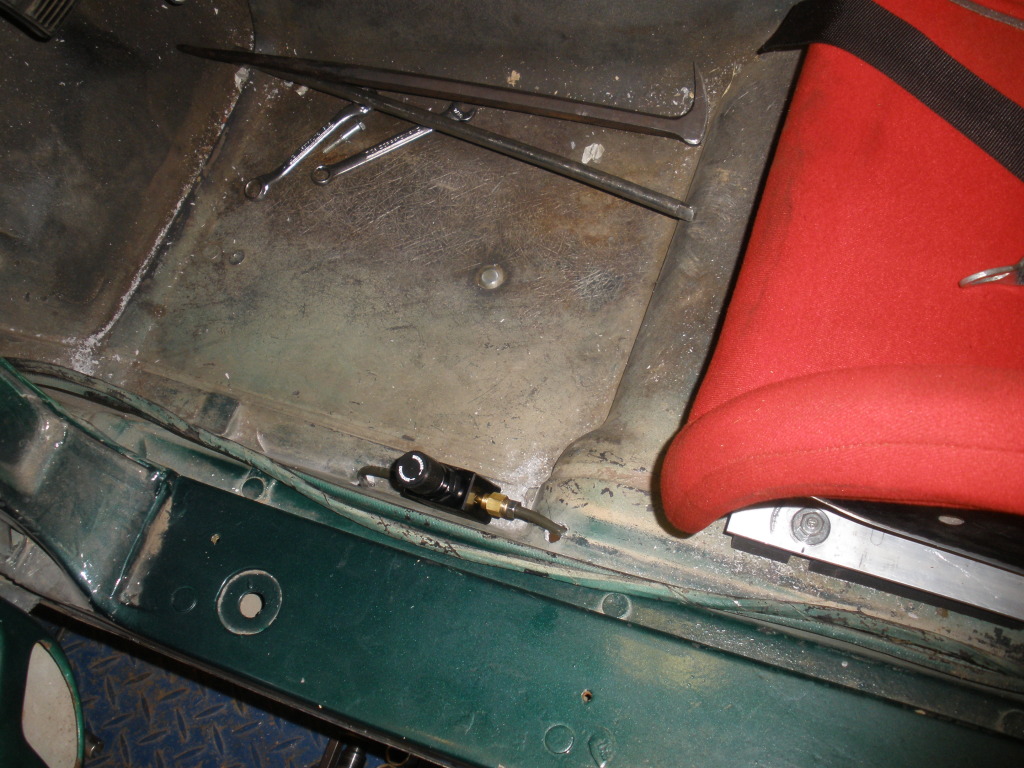
I placed the valve in the cockpit on the left of the drivers
seat, so it could be adjusted while on the track.
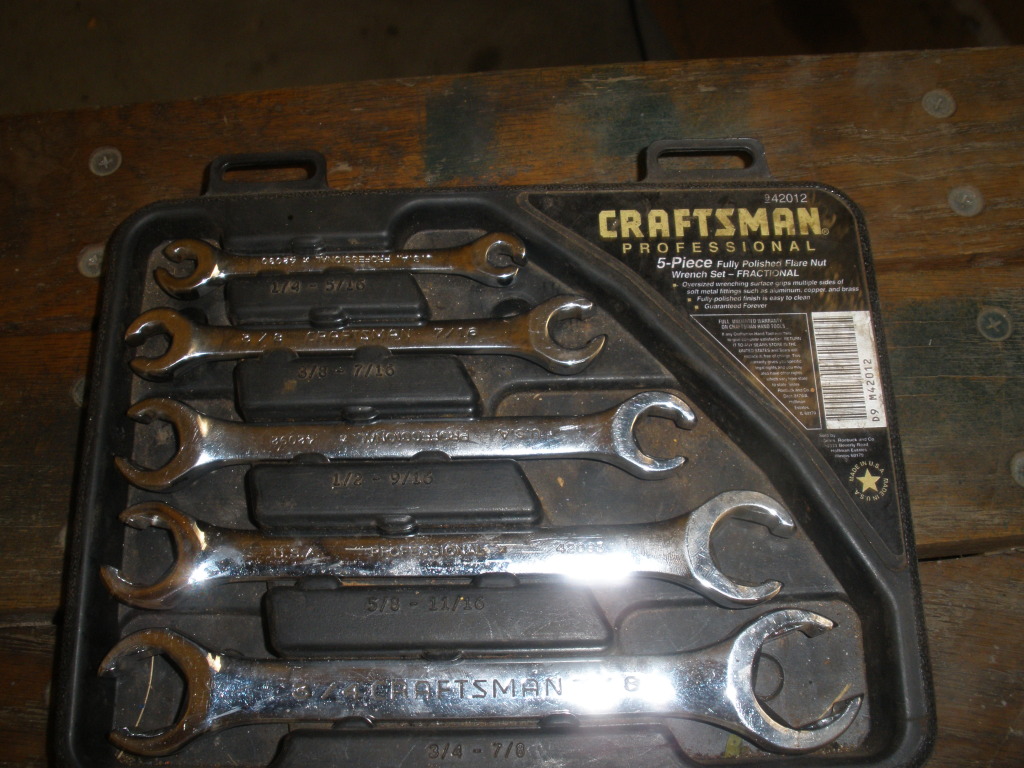
Some of the tools you will need.
Flare nut wrenches.
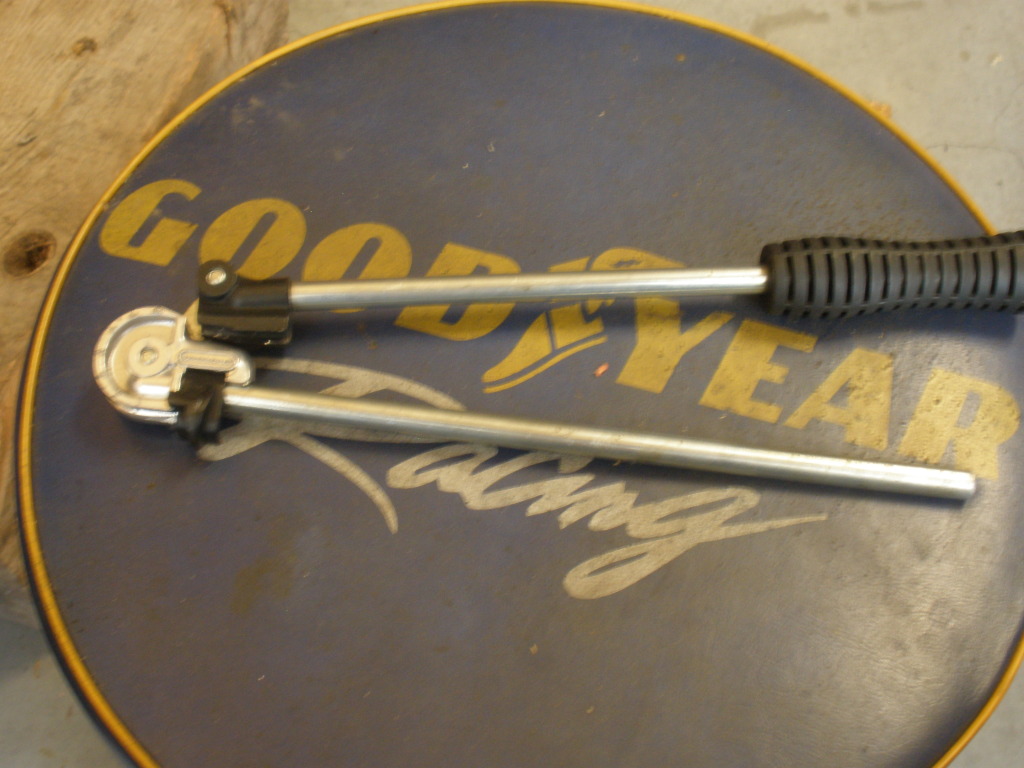
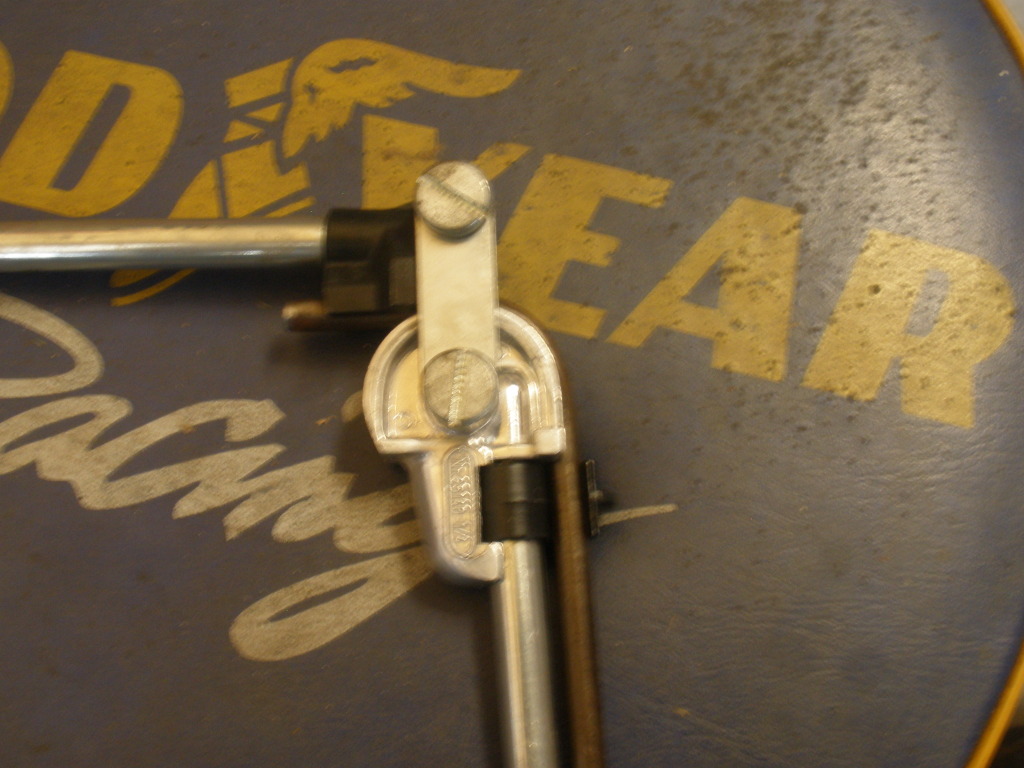
tubing bender, my choice.
Flaring tool.

Hacksaw, round file, flat file. I prefer not to use a tubing cutter for double flare jobs as they tend to stretch the steel
tubing and make the end brittle, causing the flare to crack
when folded.
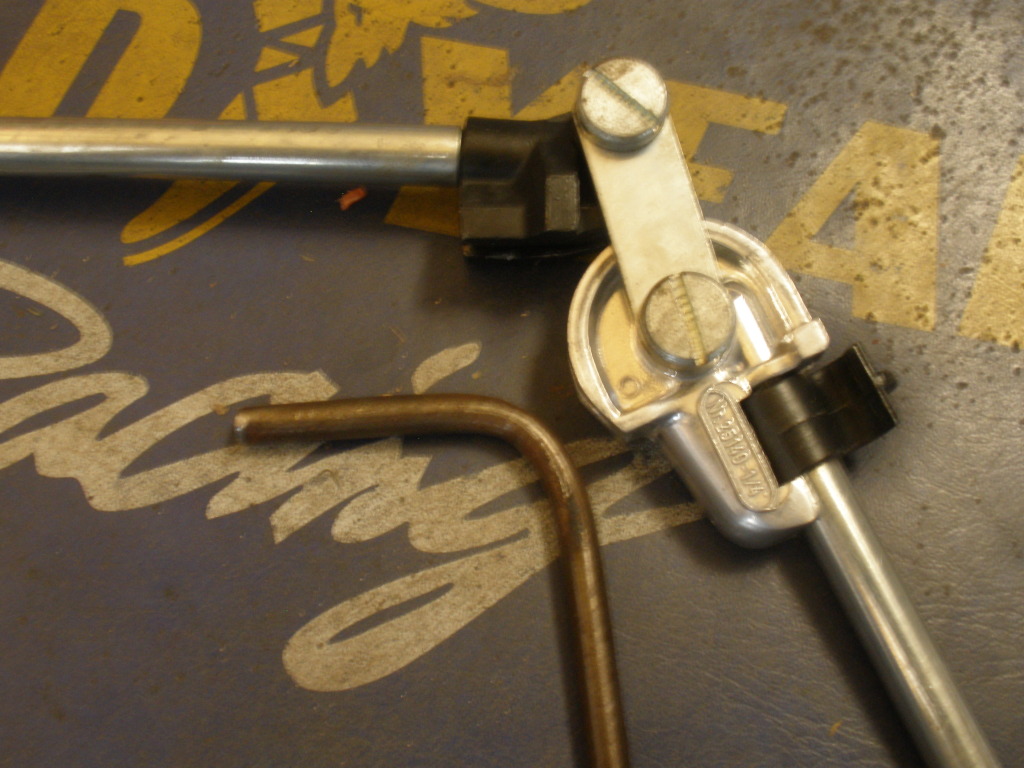
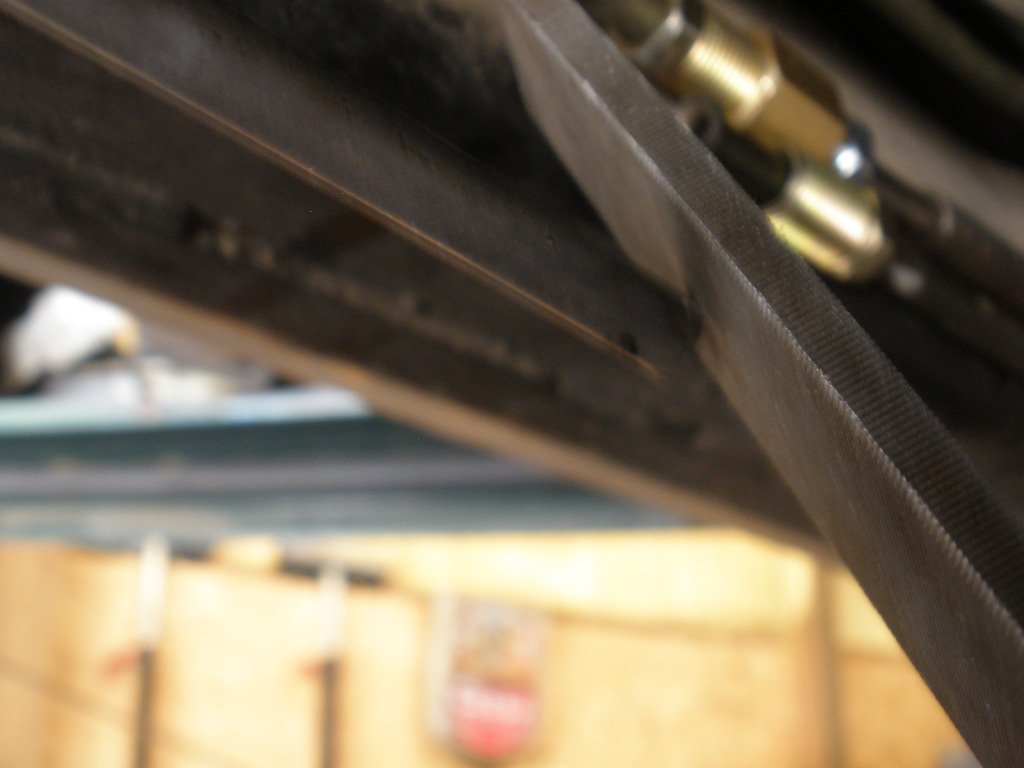
I now drilled holes to accept the tubing, then bent the tubing
to run the path I had chosen. I use a stiff wire to form a
pattern to use to bend the tubing.

I prefer to make my flares with the tool clamped in a vice, but
some times that is not practical.
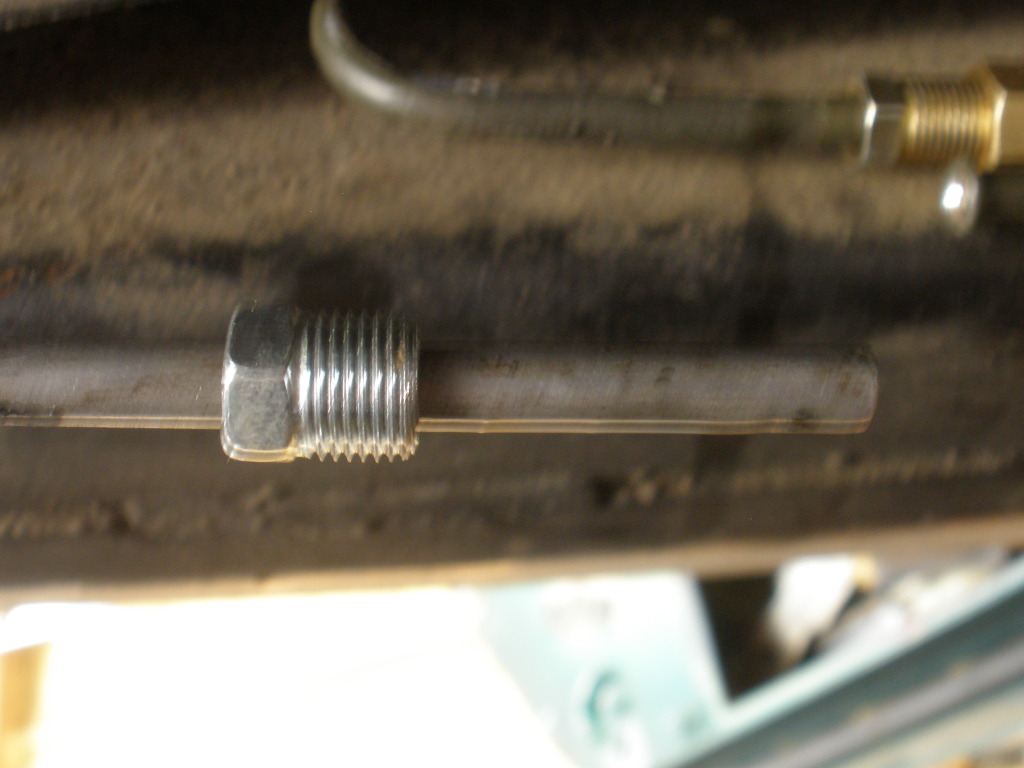
Here is a flare made on the car. loosen the tubing as much as possible.
Cut the tubing square as possible.
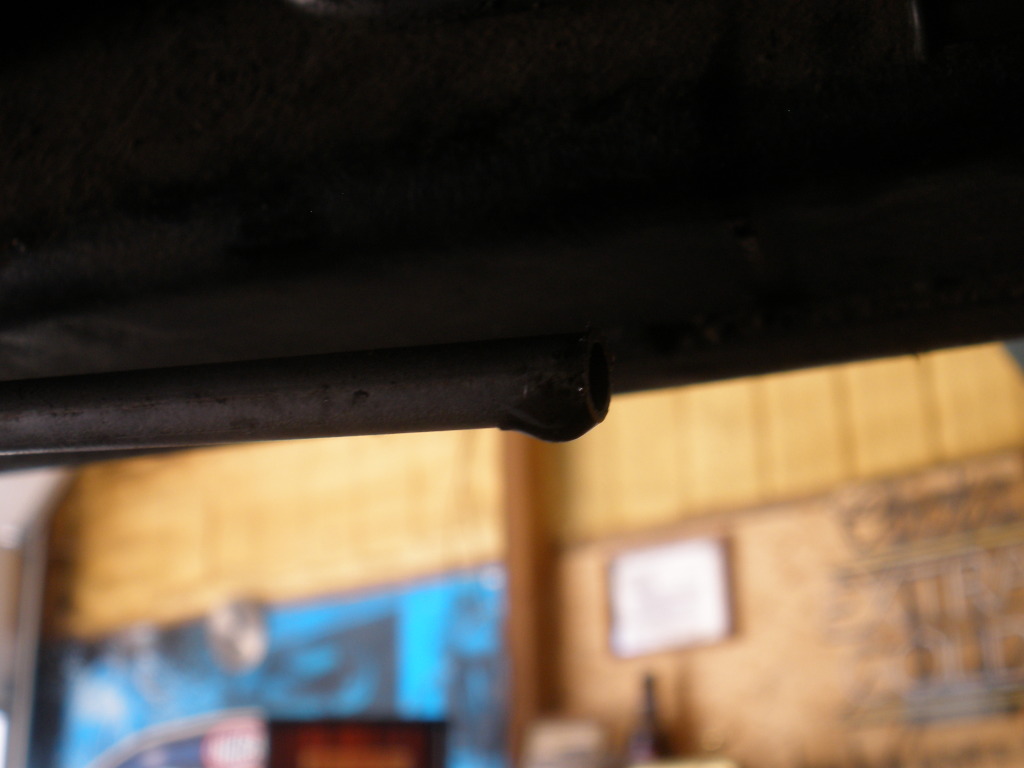
File the end completely square.
Next clean the inside with a round file insuring all edges are
smooth. The smoother the edge the less chance of cracking.
Then smooth the outer edge at a 45* angle with the flat file.
OK now whatever you do don't skip the following step. Place
the flare nut on the tubing.
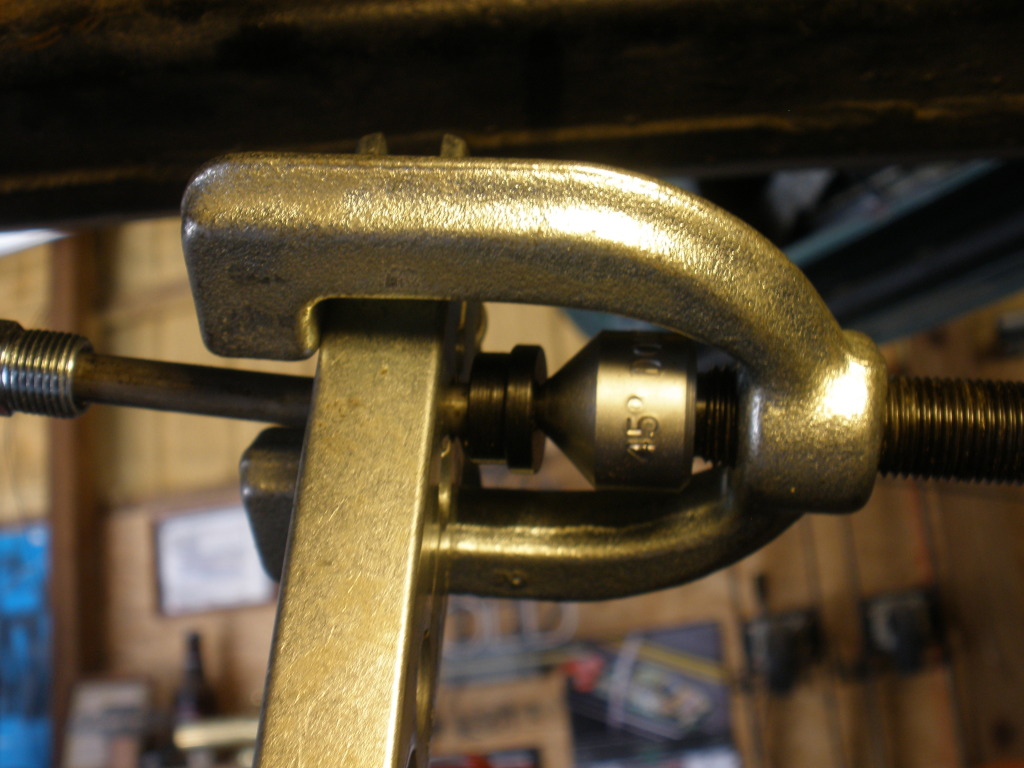
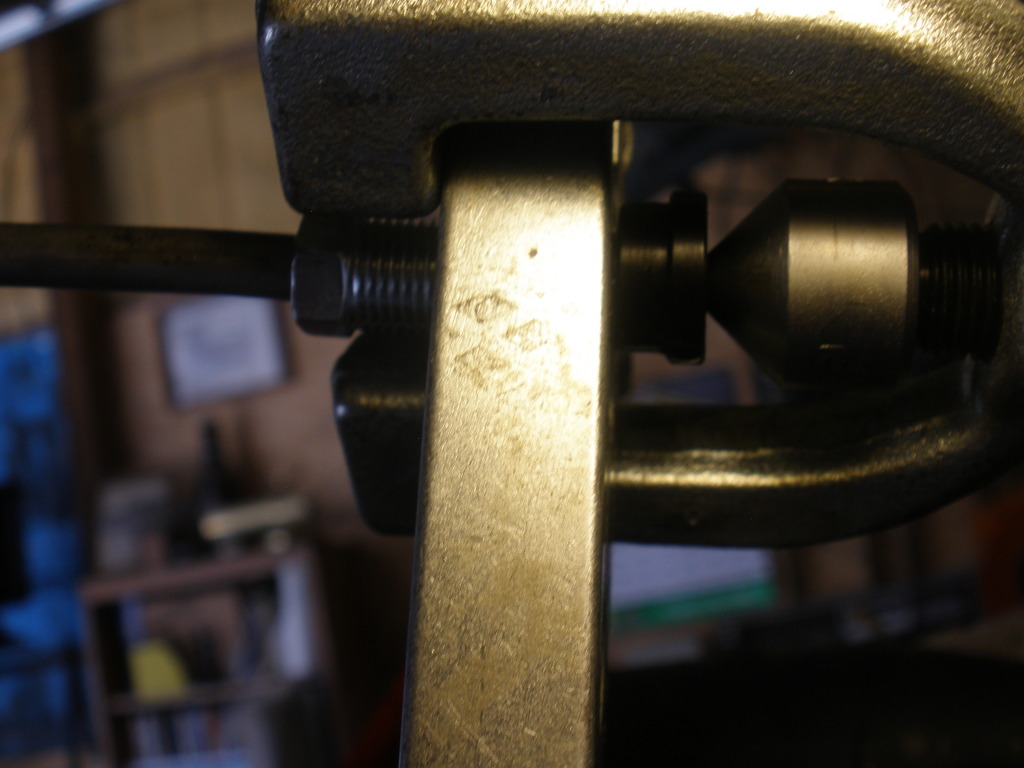
Follow the instructions that came with your flaring tool, This is how mine works.
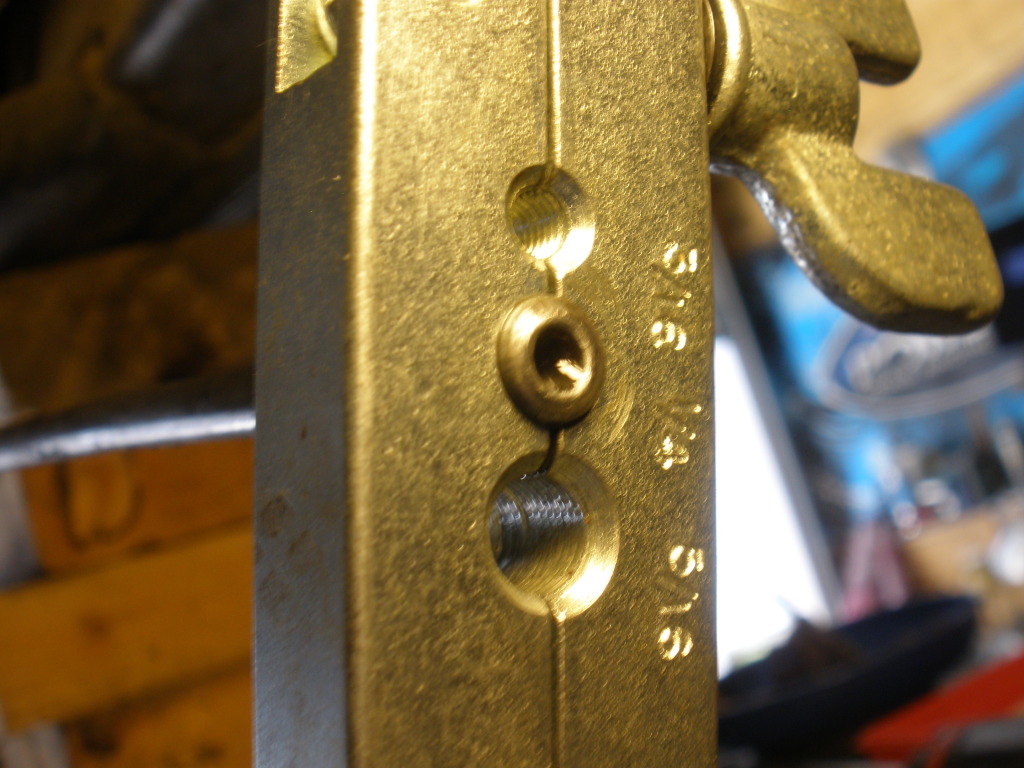
Insert the tubing in the tubing clamp setting the depth using
the guide in your tool.
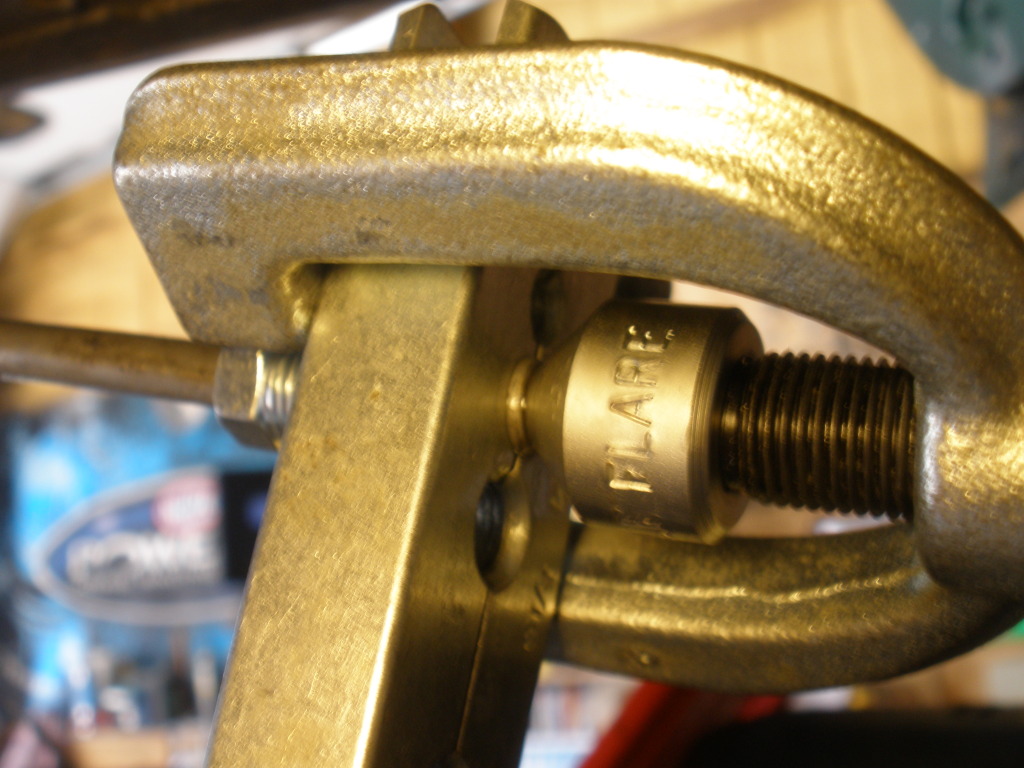
Next insert the double flare insert in the tubing.
Then place the flaring clamp on the tool and tighten until
the insert is flush on the clamp.
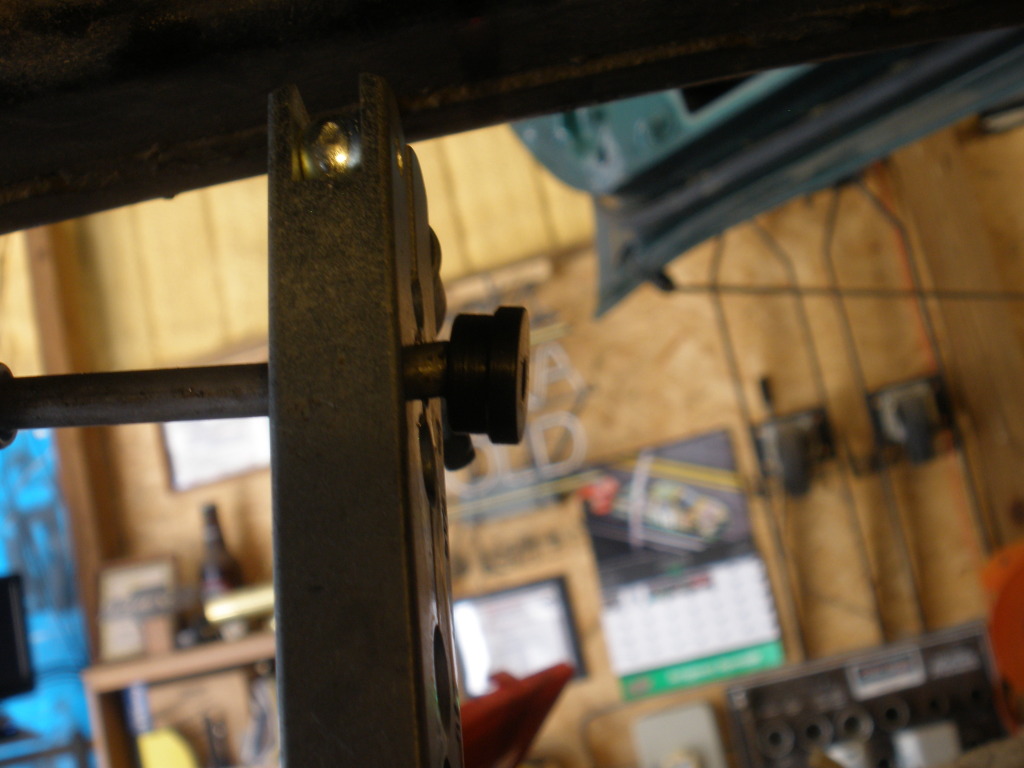
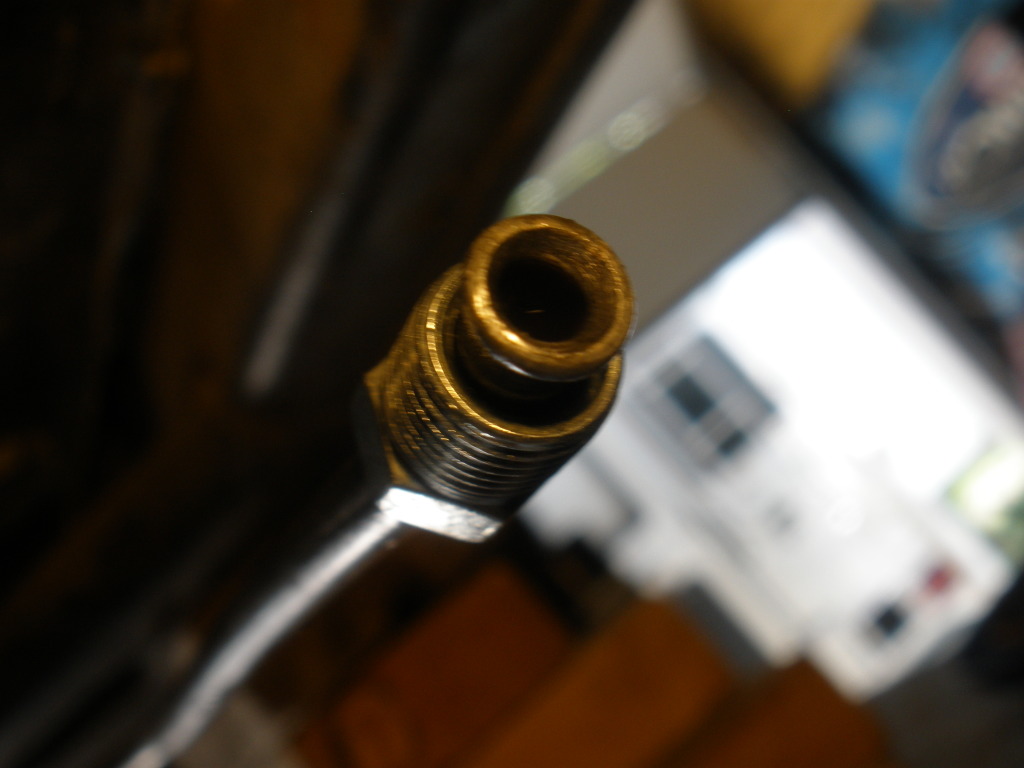
Remove the flare clamp and double flare insert. your flare will
now look like this.
Now replace the flare clamp and tighten down again finishing the flare.
You now have your 45* double flare, with nut.
Be sure to clean all filings and dirt from the tubing before
reconnecting.
Now connect and tighten all connections using your flare nut
wrenches.
Refill and bleed the rear brake system, Check all connections
for leaks, and get back on the track.
If you take your time and follow the tools instructions you can make a perfect connection every time.
look thru these links also
viewtopic.php?f=55&t=1030&p=11111#p11111
viewtopic.php?f=50&t=1660&p=4554&hilit=bending+steel#p4554
I am in the process of installing a Bias control on
my rear brakes. It is about the same as installing a roll
control or line lock on the front brakes. Thought I would
take you along in the process.
First let me cover the horror I found when I started removing
the line from the Brake Pressure Failure Switch to the read axle.
I knew there was a union in the line but assumed it was a flare
union. You know what happens when you assume...This time I got lucky. To my shock when I took it apart this is what I found.
It was a brass compression union. When working on brake lines stay away from brass fitting, they can split when over tightened.
brass compression fittings are friction sealed, and can pull apart
under pressure. In some states they are outlawed.
When choosing brake fitting always use steel fittings. Always use a double 45* flare when using SAE parts. I always check my fittings using a sharp tool, to insure they are steel and not
brass.
OK on to the project.
The valve.
I placed the valve in the cockpit on the left of the drivers
seat, so it could be adjusted while on the track.
Some of the tools you will need.
Flare nut wrenches.
tubing bender, my choice.
Flaring tool.
Hacksaw, round file, flat file. I prefer not to use a tubing cutter for double flare jobs as they tend to stretch the steel
tubing and make the end brittle, causing the flare to crack
when folded.
I now drilled holes to accept the tubing, then bent the tubing
to run the path I had chosen. I use a stiff wire to form a
pattern to use to bend the tubing.
I prefer to make my flares with the tool clamped in a vice, but
some times that is not practical.
Here is a flare made on the car. loosen the tubing as much as possible.
Cut the tubing square as possible.
File the end completely square.
Next clean the inside with a round file insuring all edges are
smooth. The smoother the edge the less chance of cracking.
Then smooth the outer edge at a 45* angle with the flat file.
OK now whatever you do don't skip the following step. Place
the flare nut on the tubing.
Follow the instructions that came with your flaring tool, This is how mine works.
Insert the tubing in the tubing clamp setting the depth using
the guide in your tool.
Next insert the double flare insert in the tubing.
Then place the flaring clamp on the tool and tighten until
the insert is flush on the clamp.
Remove the flare clamp and double flare insert. your flare will
now look like this.
Now replace the flare clamp and tighten down again finishing the flare.
You now have your 45* double flare, with nut.
Be sure to clean all filings and dirt from the tubing before
reconnecting.
Now connect and tighten all connections using your flare nut
wrenches.
Refill and bleed the rear brake system, Check all connections
for leaks, and get back on the track.
If you take your time and follow the tools instructions you can make a perfect connection every time.