Charlie, there is a lot of good info in this thread and it is sometime hard to find the one little bit of info that makes the light bulb come on.
Here is a little trick I learned from Robert a few years ago about final welding patches and he even eluded to it above. "Weld one dot at a time". This will allow you to weld hotter which is what you need for good penetration. A good sheetmetal weld should always be an the ragged edge of blowing through.
To further elaborate, here is the set up. Get your initial tacks in place to position your patch. This is where you will have to learn how not to blow through using different techniques. One way is to use more wire stick out during the tacking operation. The longer wire acts like a heat sink. It won't produce a great weld but will give you more control and you are just positioning at this point anyway. Planish as Robert said because this stage will effect the patch warpage more than the later welds. Then get your second set of tacks in and spaced between the first ones. The patch should be pretty stable by now and ready to fill in the slots. Take this opertunity to grind, planish, dolly, and perfect your crown and fit.
Here is the trick I talked about. Focus your wire at the edge of a previous tack so you are now just welding half of a dot. One half on the previous tack and one half in the slot. By doing this the heat is going into the previous tack (thicker metal) and preventing the blow through. I do about three at a time. zzzt___zzzt___zzzt The first will go cherry red and you let off the trigger, wait just a split second for the color to fade just a bit and hit it again then repeat. The timing between tacks is important to keep the parent metal close to weld temp without going over it (blow through). Check your work because that needs to cool down now.
About the grinding. That is so important. More so than welding in my opinion. Thin metal is hard to weld. If you struggle with it already you will have a doozy of a time trying to weld metal that you ground down even thinner. "Your grinder should never touch the metal on either side of your weld bead." What? Thats right! You are only trying to remove the high weld bead so when you get into the sheetmetal beside it STOP. It's time to move the remaining bead up to the level of the surrounding metal and then grind some more. Fanning the grinder wildly from side to side in a vane attempt to make the area look like all one piece of metal will only create the problems you are having now. Initially, the grinder will only be used to verify the weld bead is ABOVE the parent metal. Once it is, and the bead is removed, and not the parent metal, you can metal finish the entire area. You simply must be diligent in this effort regardless of how much time it takes. That is if you want your patches to look like Roberts.
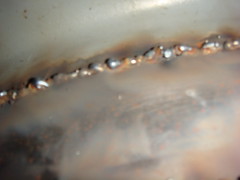
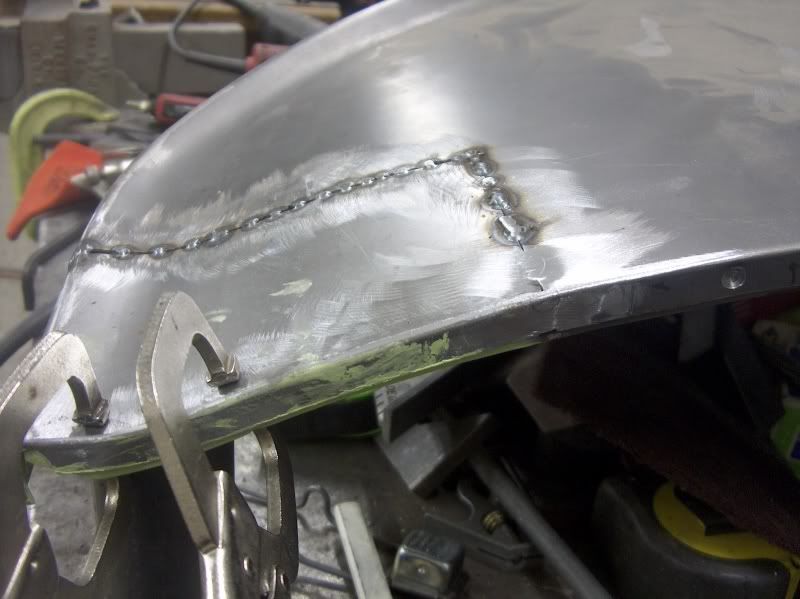
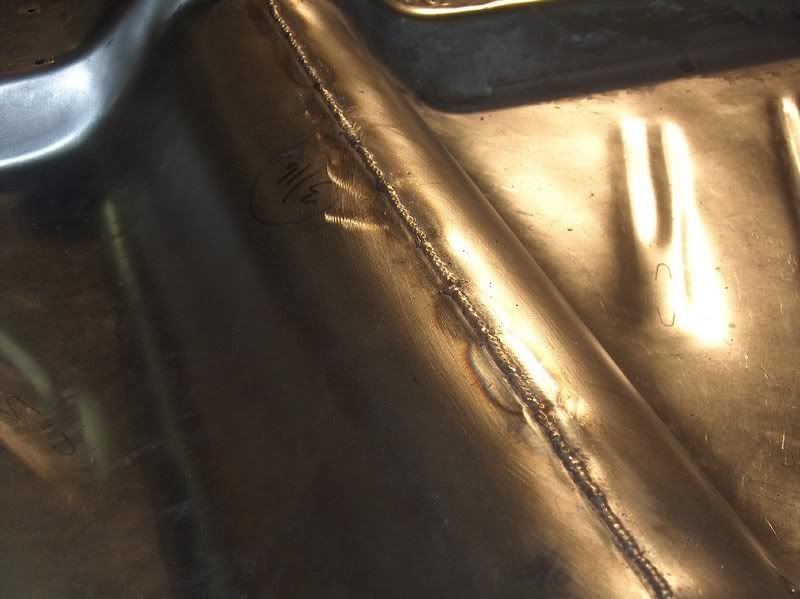
Tacked in.