Gasket matching intake manifold to heads??

NYH1

Member
This has probably already been discussed but I'll ask anyway's. I have a brand new set of Summit Vortec heads (made by Dart). I just ordered an Edelbrock Performer RPM Vortec intake. I was wondering if you guys gasket match your intake manifolds to your heads? I always have in the past. It's been a while since I've done this kind of thing though. So I thought I'd ask.

I've heard pros and cons about doing this. Some guys say it's a must and others say it's a waist of time. I had a guy tell me the other day that aluminum heads move so much when they get heated up that when they cool down, their intake runners are in a different place then before they got heated up. He said gasket matching them would not be worth doing. My heads are iron.

Another guy told me that you should only make the ports match up and not really gasket match them. He said if you gasket match them you usually go an inch into the runner in the intake as well as in the head. He said all that makes is a funnel like shape coming out of the intake (small to large area) into another funnel like shape going into the head (large to smaller area).

If you recommend that I do gasket match them, how do you do it? Does going into the intake and head an inch or so sound right? The castings are pretty clean. I thought about clean them up a little. I don't know if I'm going to though. I don't want to cause any damage to them. I'm not a head porter. I'd rather leave them alone if I don't think I can do it. I guess I'll wait until I take them apart to make my mind up on that.

Thanks, NYH1! ;)
 
if the port exit on the intake is a bit smaller than the port entrance on the heads its not nearly as beneficial to port match the intake/cylinder head interface as it will be if the mis-match is a larger intake exit to head port, if the ports are off set the sides that mis-align follow the same basic concept, a slight lip or step should be removed and blended smoothly if it forms a restriction to flow in the direction the ports designed to flow, but your potential gains from port work are small as the height is less than about 1/16"
slight steps that resist flow in the wrong direction, like when the head ports are larger than the intake runner exits, tend to help limit reversion pulse strength in the plenum , but I try to be reasonable and keep even those mis-match steps less than 3/32" max and blending those may prove more beneficial in some cases. just remember to blend any changes in dimensions for at least 1" into the runners or ports


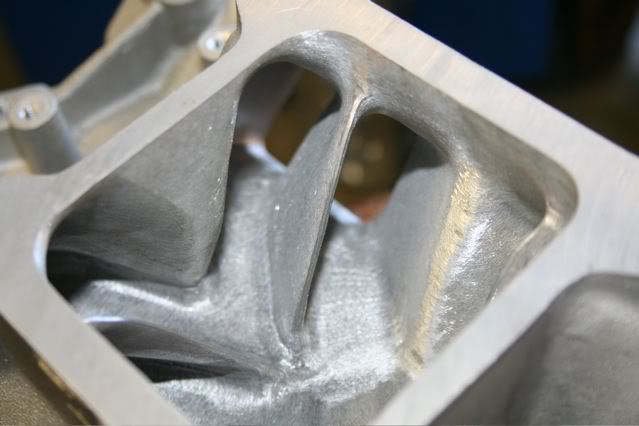
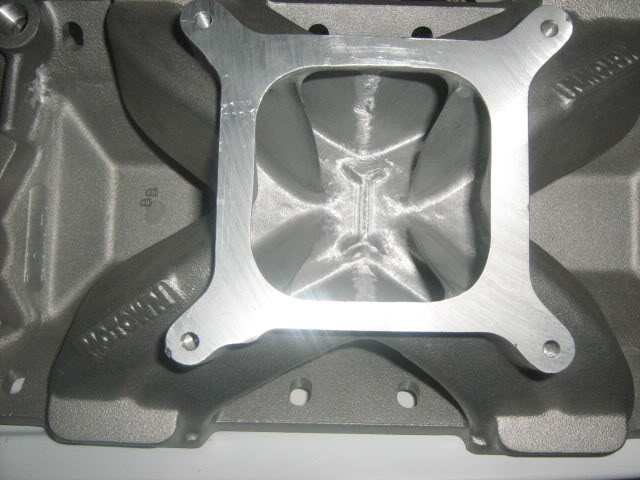
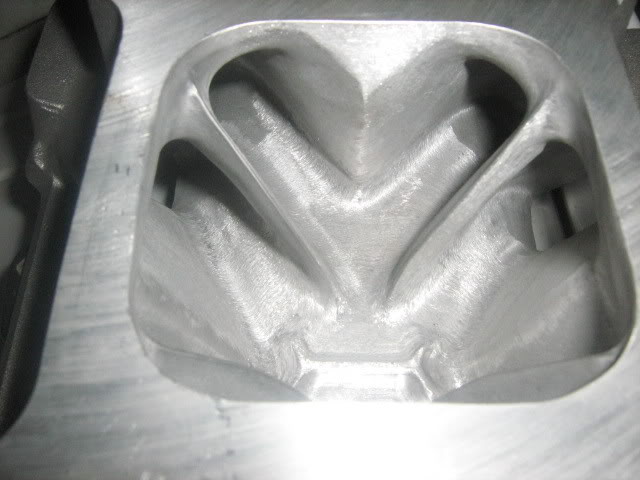
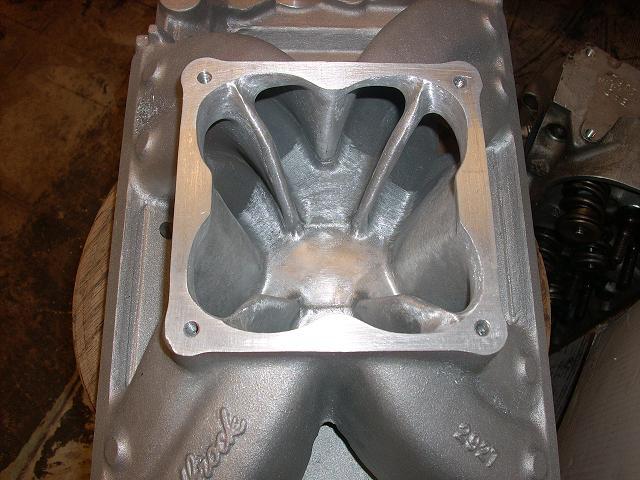
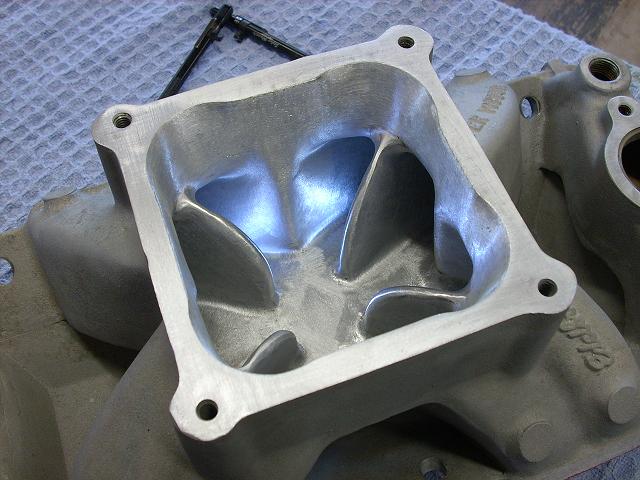
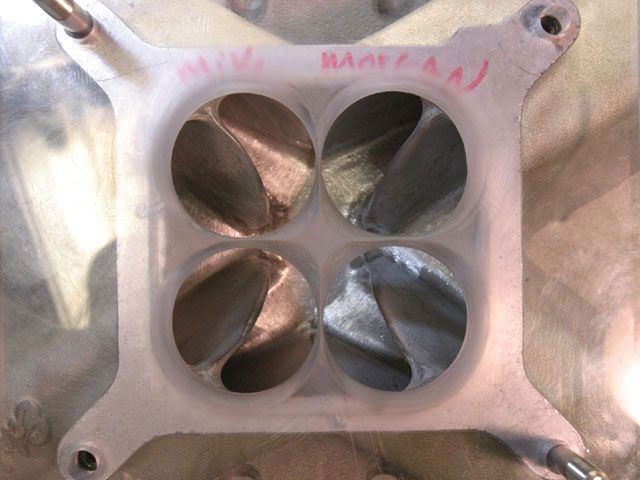
don,t forget the runner entrances in the plenum also need clean-up

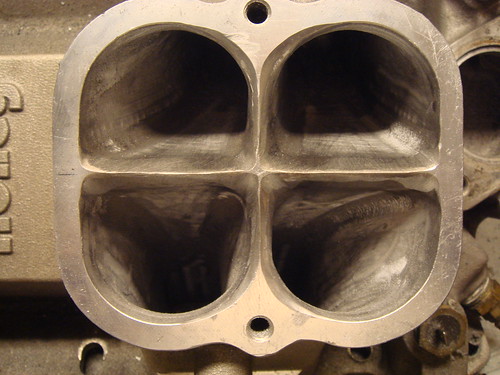
heres some intake plenum port clean-up done by Dr. J's Performance

carbplenum.jpg


carbplenum1.jpg


read these threads and sub links

viewtopic.php?f=55&t=2773&p=7200&hilit=gasket+porting+intake#p7200

viewtopic.php?f=52&t=462&p=7593&hilit=gasket+porting+intake#p7593

http://www.circletrack.com/techarticles ... index.html

BTW, while were discussing intake manifold modifications lets spend 2 seconds on what may be the most over-looked and one potentially important area, the runner entrances.
I can,t tell you how many times I see guys take intakes out of the box and just bolt them on, and then expect the thing to perform up to its full potential....which its NEVER going to do with out some basic clean-up. de-burr, and contour work being done because the as cast surfaces are rarely smooth or correctly contoured, its not going to give you an extra 50 hp , but it can result in 5-10-even on occasion 20hp over a significant part of your engines primary power band


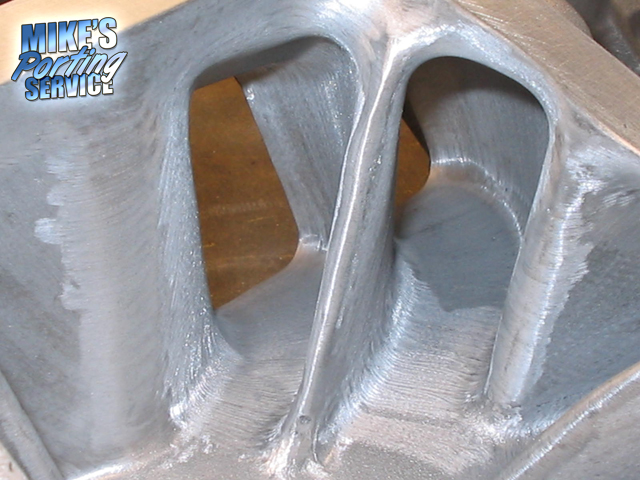
heres a couple professionally re-worked single plane intake plenums, notice they don,t look a lot like the out of the box plenumsthe port entrance is raised and smoother the dividers are contoured, etc.
plenum1.jpg


plenum2.jpg

plenum3.jpg

plenum4.jpg

plenum5.JPG


plenum7.jpg


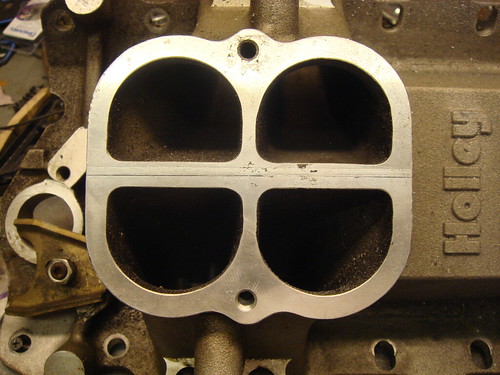
this is what you currently have :shock:
3569663093_a3154daf45.jpg


This is what you want to have (you can almost see the HP) :twisted:
3570475166_573ac383e5.jpg

porting helps flow significantly

READ THE LINKED INFO
http://www.maximumraceengines.com/intak ... rting.html

viewtopic.php?f=52&t=333&p=8319&hilit=porting+help#p8319

viewtopic.php?f=52&t=462&st=0&sk=t&sd=a&hilit=porting+help

http://www.j-performance.com/index.php? ... &Itemid=42

viewtopic.php?f=52&t=4664&p=12600#p12600

http://www.hotrod.com/techarticles/engi ... index.html

viewtopic.php?f=55&t=2773&p=7200&hilit=+port+match#p7200
 
OR YOU CAN
buy a box of roll pins and carefully drill thru both the intake and head, a twin set of two 3/32" holes about a 1/3" deep, parallel to and just above the two outer intake bolt,s and place the roll in in that hole drilled in the heads just above the two outer intake bolts about 1/4" higher on the heads , insert a roll pin so it sticks up about a 1/8",so you can index the intake on the pins preventing it from shifting location after punching matched location holes in the gaskets, with the punch listed below then go back and re-drill just the intake manifold flange hole that aligns with the roll pin to 1/8"diam. so its got a bit of movement as its dropped into place

image_6183.jpg

http://www.harborfreight.com/315-piece- ... 67682.html
http://performanceolds307.tripod.com/id29.html

https://www.summitracing.com/parts/...Hci_rngCjPIi0Hzl27DmoGKgPl5jkEzRoCXYoQAvD_BwE

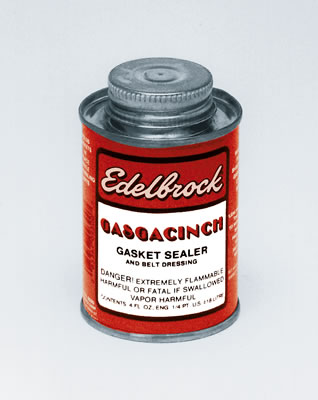
use of a gasket sealer that helps prevent gasket movement helps
edl-9300.jpg

How to PORT MATCH a intake manifold to the heads. Port matching is a good idea, it assures the intake manifolds port runners match up perfectly to the intake ports on the heads. Heres the how too.

First use felpro intake gaskets for this job because they are the only ones I found to perfectly match up with the heads, but intake manifolds never match up so thats why we gotta port match them.

1. Take a old intake gasket turkey tray and install the intake (thats gonna be port matched) on the engine. Torque down to specs.
2. Remove the 4 intake bolts on the 4 edges of the intake.
3. Use a small drill bit and drill 4 small holes in the intake just over the holes of the 4 bolts you just removed (One per bolt hole of course). Drill through the intake and intake gasket, untill it just barely starts to go into the head. No need in going in the head, just go enough to make a mark on it. (Check pictures below)
4. After doing that to all 4 corners, remove the intake and gasket.
5. With the intake and gasket off the car. Now you can hold the gasket up to the intake and match the 4 holes you drilled though the intake and gasket.
6. With the intake gasket held on the intake and the 4 holes matched up, take a razor and scrub on the intakes flange around the outer edge of the intake gaskets ports (tracing the size, location and shape of the intake gaskets port onto the intake manifold). This will be used as a guide when your porting out the intake. Make sure to do that to all 8 intake ports
7. Now remove the gasket and start port matching. Start on the outer edge of the intakes port, bring the port size to about 0.5mm away from the mark you scrubed on it with the razor (becuase its always better to undercut then overcut).
8. After getting the ports opening to the size and shape of the scrubed mark then proceed to slow taper the opening of the ports inward into the intake. You should only take it in about 3 inches if your just port matching the intake. By 3 inches it should be tapered to match the original surface in such a smooth manner that you cant tell were you tapered it at. If its a full port job then use this size and shape as a guide all the way in if possible.
9. When your all done, take the new intake gasket and drill 4 holes in it in the same exact location as the old intake gasket used for the porting. Just hold the two gaskets over eachother to get the perfect location to drill.
10. After drilling the 4 holes place the new gasket on the engine and press in the gaskets locating pins so the gasket is perfectly in place.
11. Varify the 4 holes drilled in the intake gasket matches the 4 holes drilled in the heads. It does! Good!
12. Install the intake and new intake gasket with normal torque technics but keep a close eye on all the 4 holes, making sure the intake is falling back into its original position along with the intake gasket.
13. When your all done you should be able to look into every hole you drilled and see through the intake, intake gasket and right onto the head. At this point you can be sure that it is all "port matched"

http://www.harborfreight.com/382-piece- ... 67554.html

viewtopic.php?f=52&t=2971&p=7799&hilit=gasket+match#p7799

viewtopic.php?f=55&t=2773&p=7200&hilit=+port+match#p7200

IF YOU GO THE ROLL PIN ROUTE BUY ONE OF THESE IT MAKES PUNCHING THE INTAKE GASKET HOLES FAR EASIER
image_3944.jpg

http://www.harborfreight.com/leather-pu ... 97715.html
 
Last edited by a moderator:
Back
Top