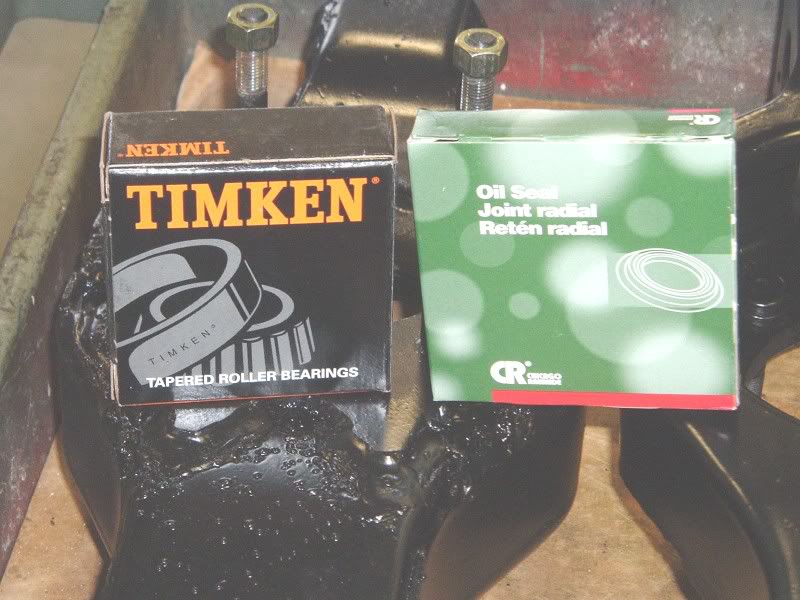
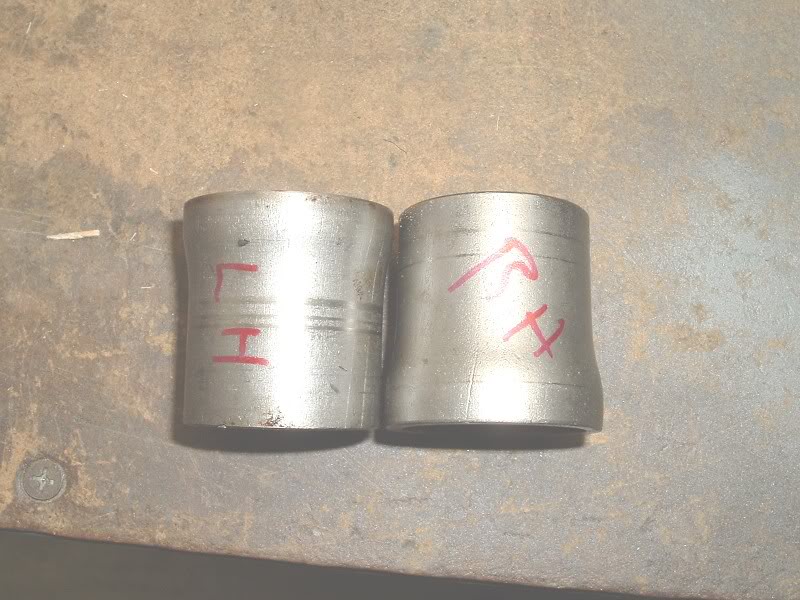
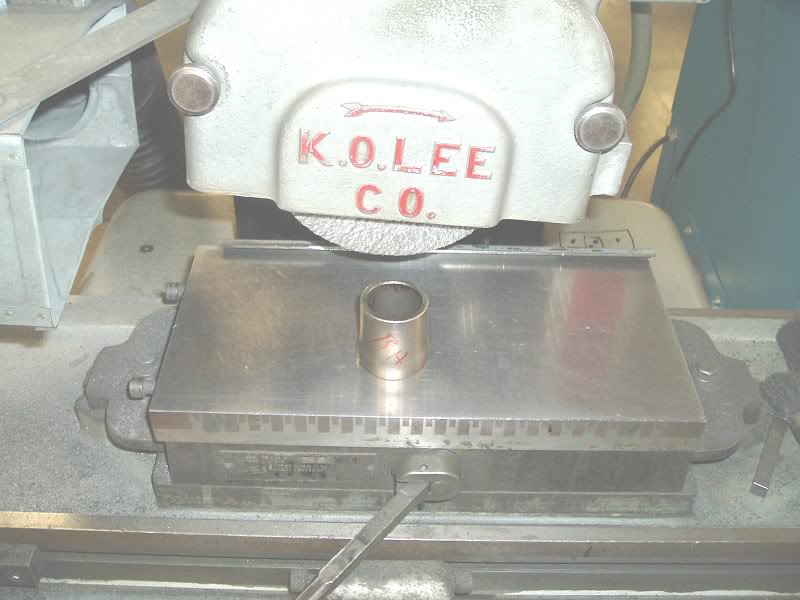
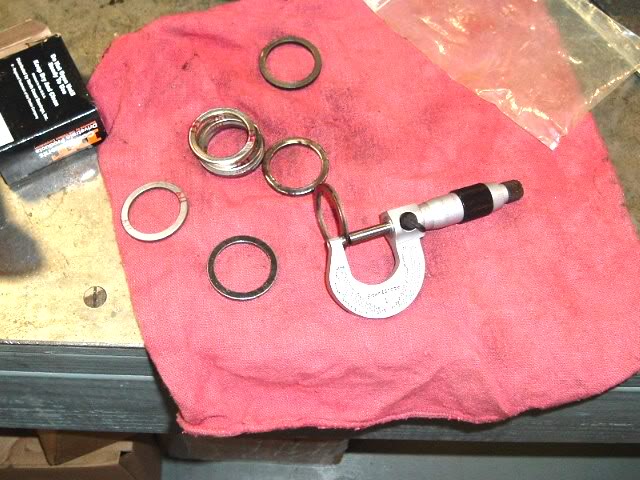
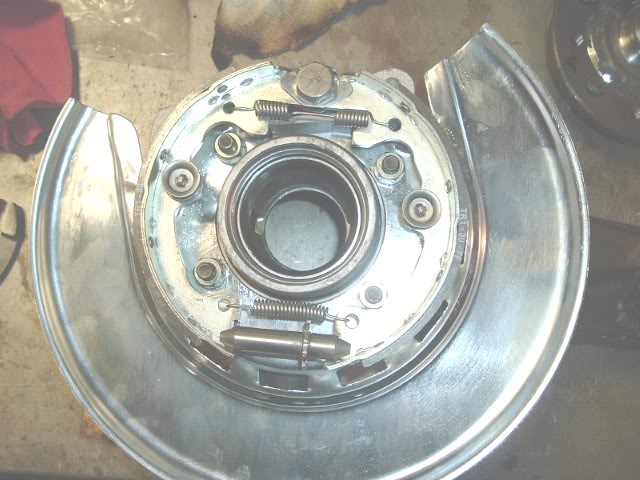
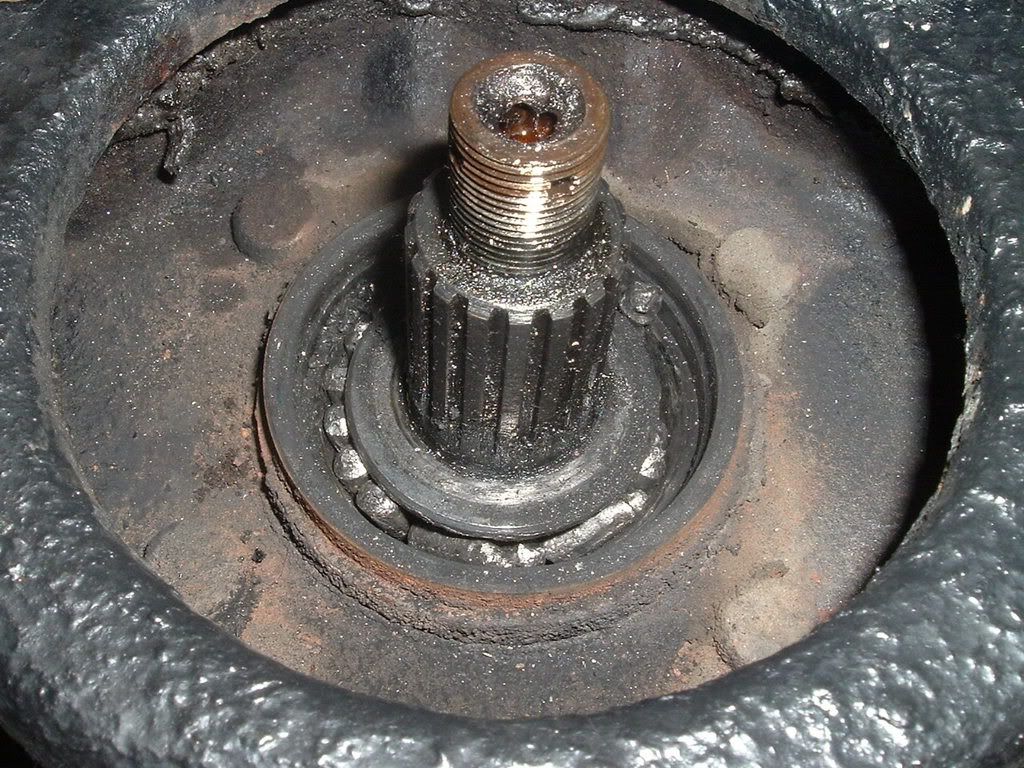
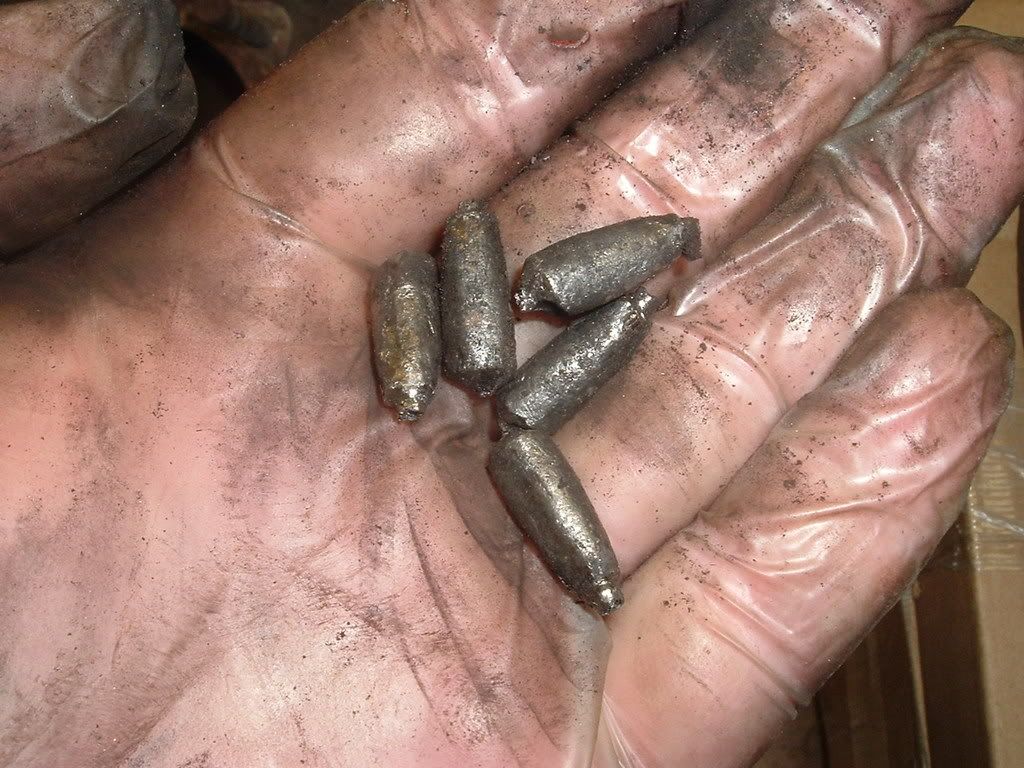
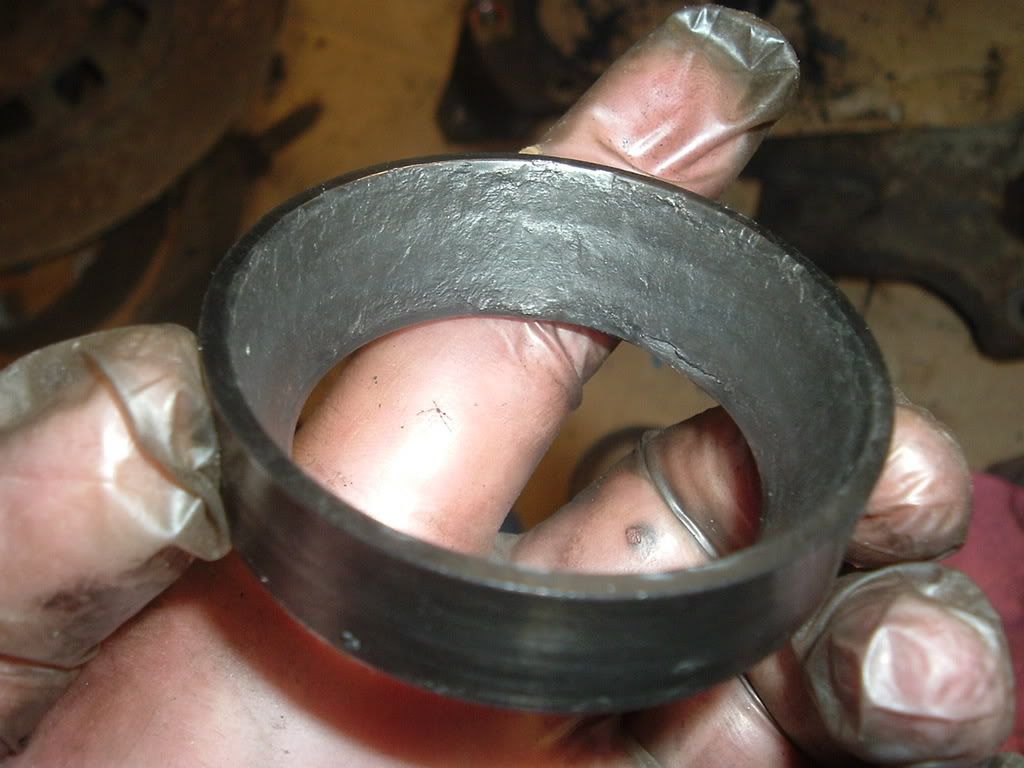
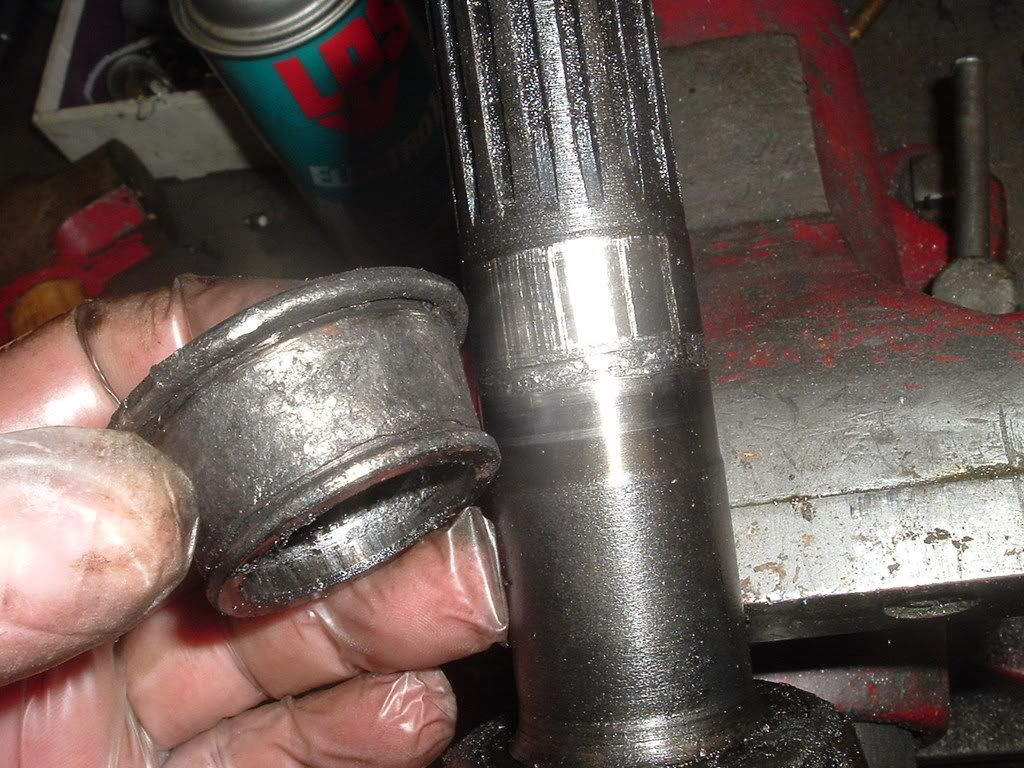
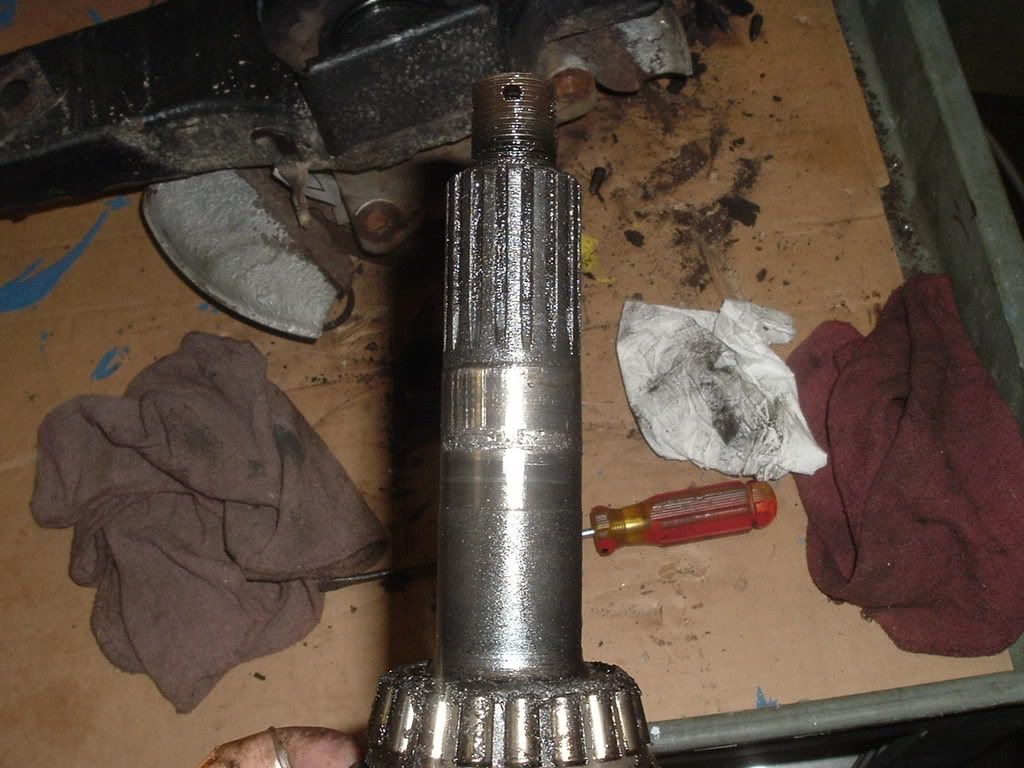
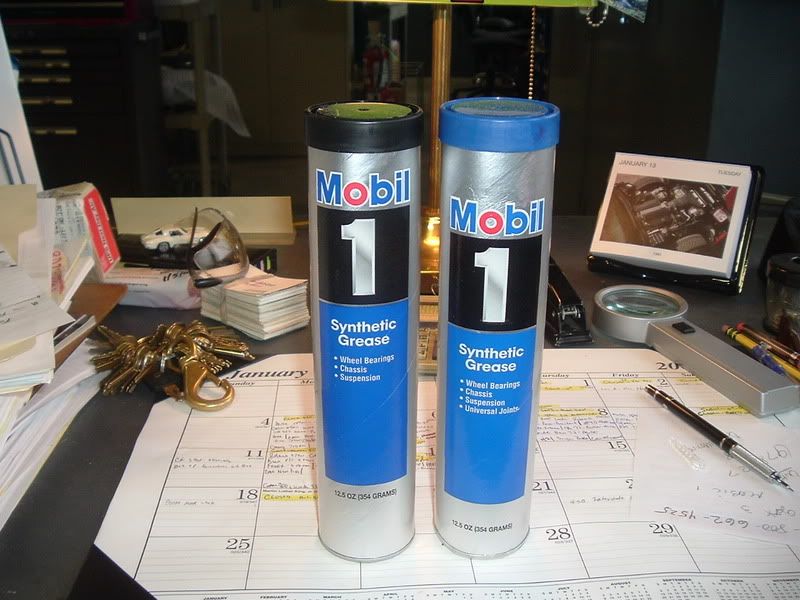
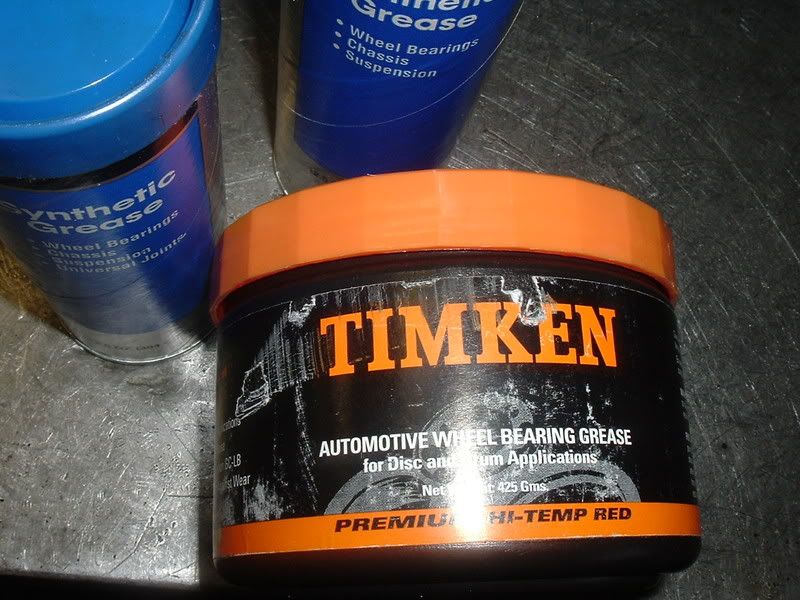
now obviously youll be replacing the wheel bearings and races durring the rebuild, on the trailing arms and inspecting the brakes
the damage done ,depending of course on the current bearing and race condition , lube and the distance to the repair shop should be minimal, if its only begining too make noise, if you drive it to the repair shop but the longer in remains in that condition the more damage is likely and the more dangerious it is to drive, but before driving it to a dealership or repair shop ,why not put it up on decent jack stands and remove the whole components, inspect and replace the defective components yourself OR and drive those parts in the trunk of your car or truck to the local machineshop to be reconditioned so theres no need to drive on them.
obviously a great time to get a SHOP MANUAL and a 12 ton PRESS .. a FLOOR JACK, and (4)12 ton JACK STANDS if you don,t currently have those tools in your garage
GTR1999 posted this 1963-82 trail arm rebuild
:crazy: Ok here is one job I get a lot of questions on. First thing I find that a lot of guys are intimidated by this job. Once you understand corvette rear bearings the mystery will be gone and you'll be able to decide if you want to buy the tools and try the job or farm it out. Now the tool cost for a set of arms is more then farming them out so think about what your plans are. If you want to join the dozens of Arm rebuilders out there buy the tools - but do the job right. This post will have pictures of various jobs I did so don't be surprised if the arms look different.
To do this job follow the GM manual procedures. I do some machining to my jobs that others don't or weren't until I started posting pictures on the other place. Some rebuilders I spoke to are about as good at machining as my 8 year old sheltie dog. Take it for what it is and make your own choices. One thing I already know is guys have been asking questions now as opposed to just having the jobs done. Also ask your rebuilder if they supply any job reports on their work.
Ok enough of that prelude crap!:crazy: :laughing:
Here are what your arms may look like once you get them out. I always rebuild them off the car but they can be done on the car. I would never do it that way unless I was stuck out of state on the road.
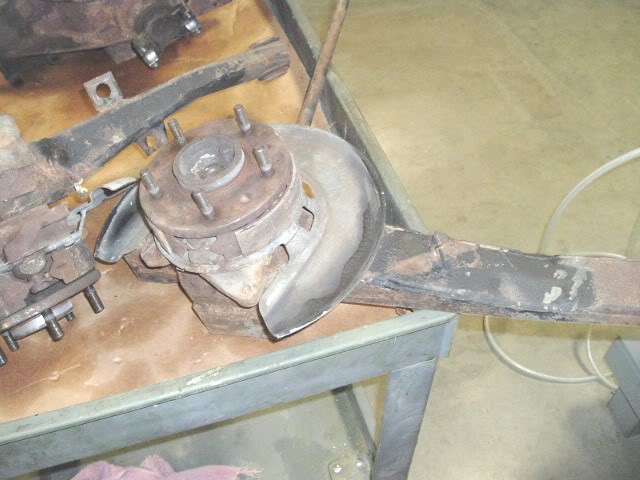
Here is a 64 arm. Remember the 63-64 and some 65's had drum brakes.
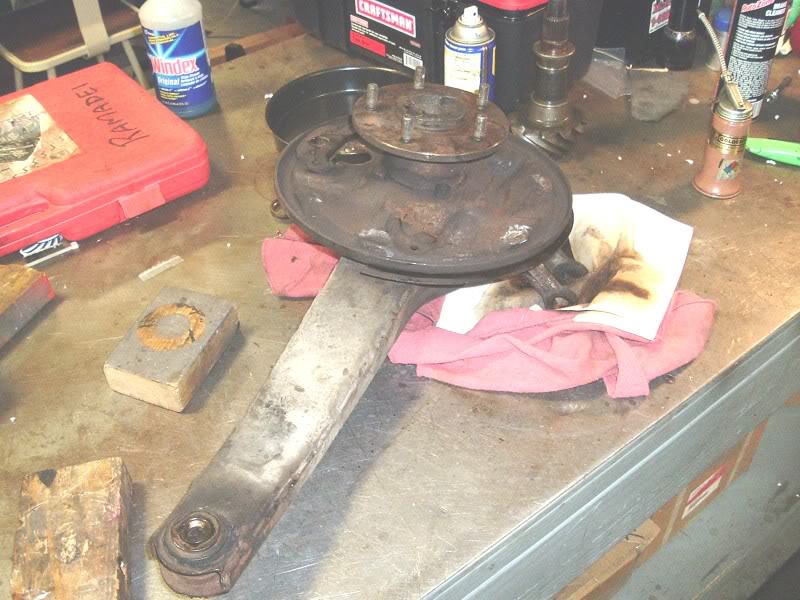
Look them over for rot, being bent, and look at the front bushing for dry rot.
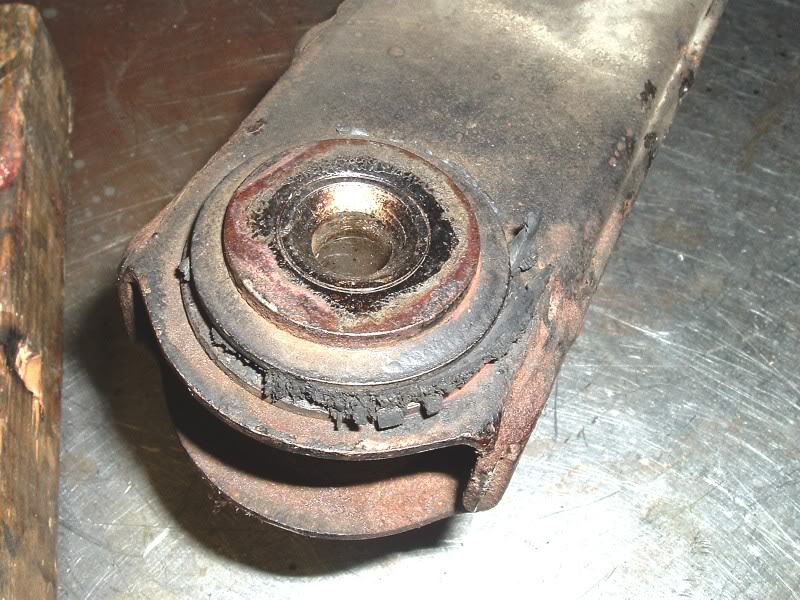
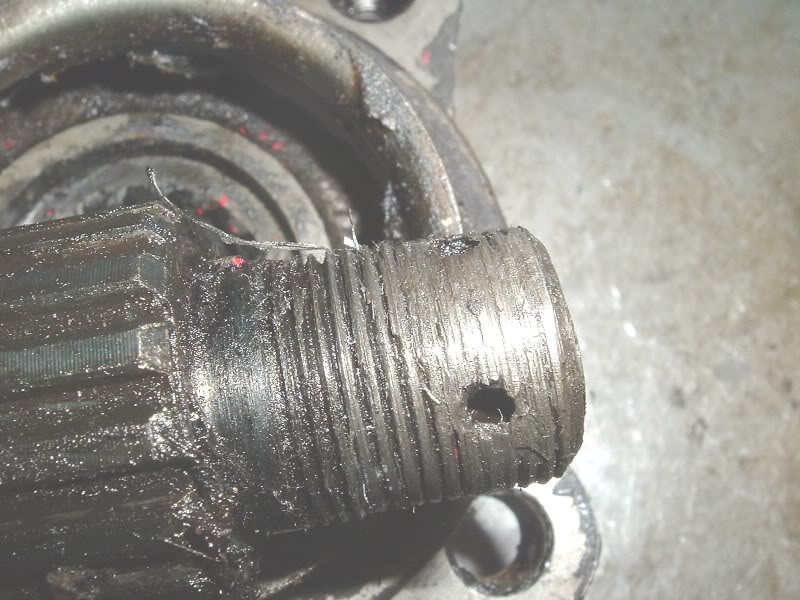
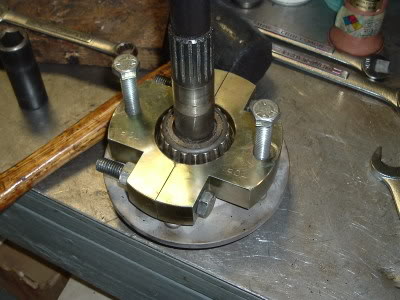
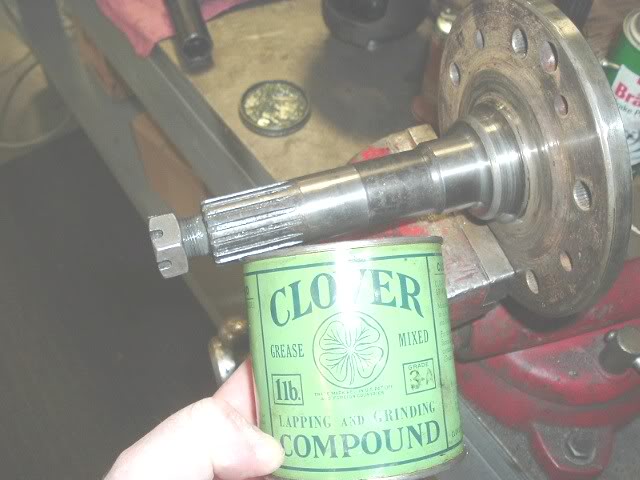
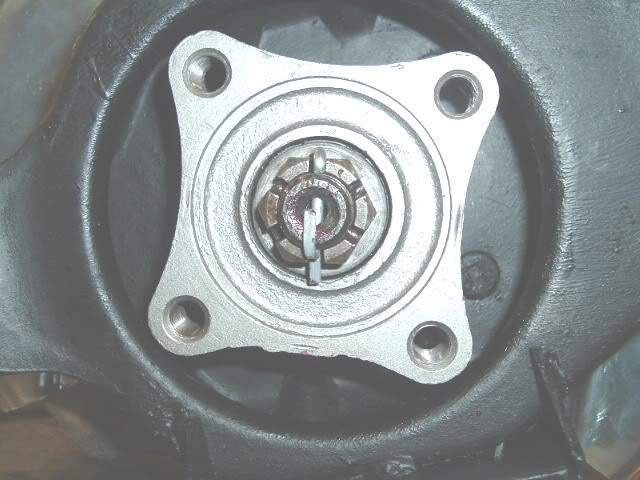
I use one of those spindle protectors and either press or hammer the spindle out. If you hammer them out place something to catch the spindle. Don't worry about the bearings as they will be replaced anyway. If you have one that is really rusted the press and some heat may be the only way to go. Also the spindle nut should come off and the tool thread on without a problem. Many times these have been worked on before and the threads are already shot and a new spindle is needed.
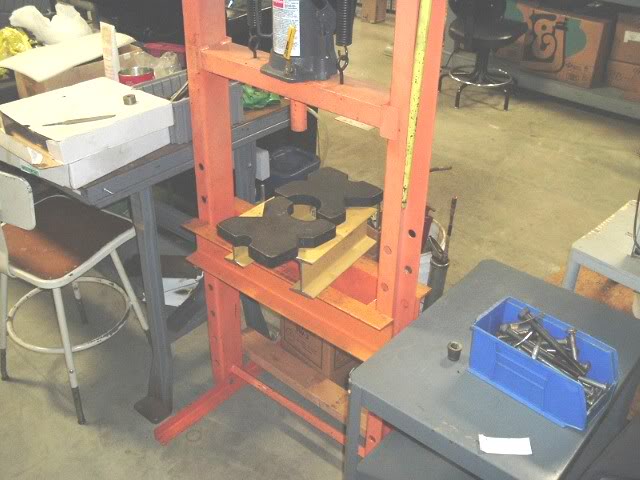
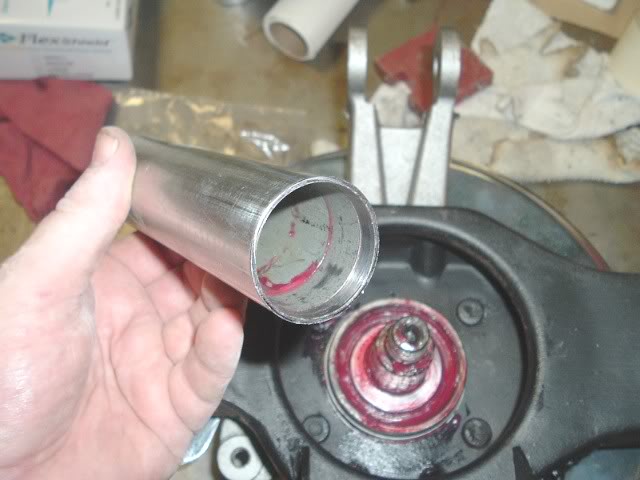
Here we have parts to one arm apart and cleaned up for inspection.
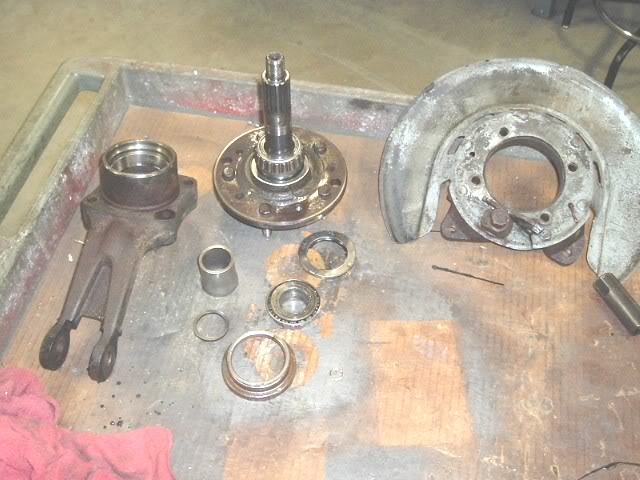
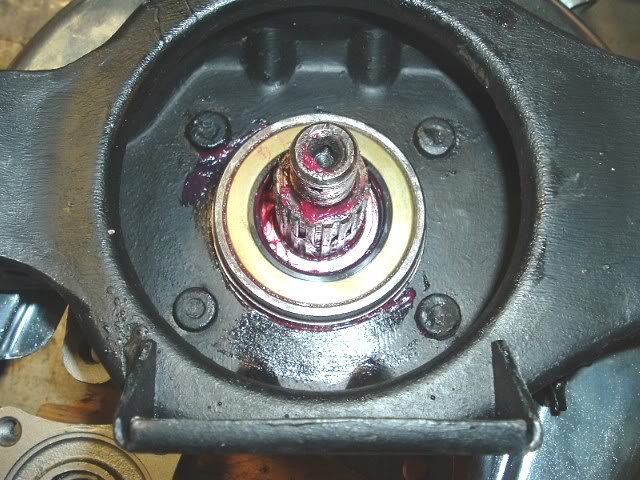
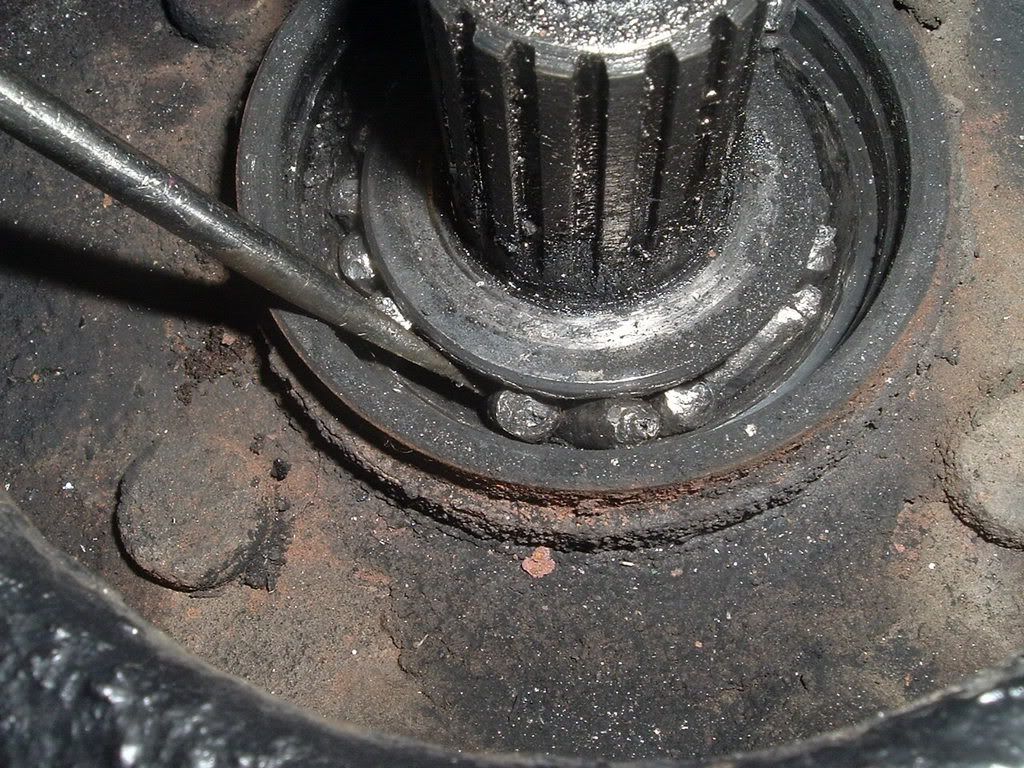
Here I found someone was in here before and installed the outer seal backwards.
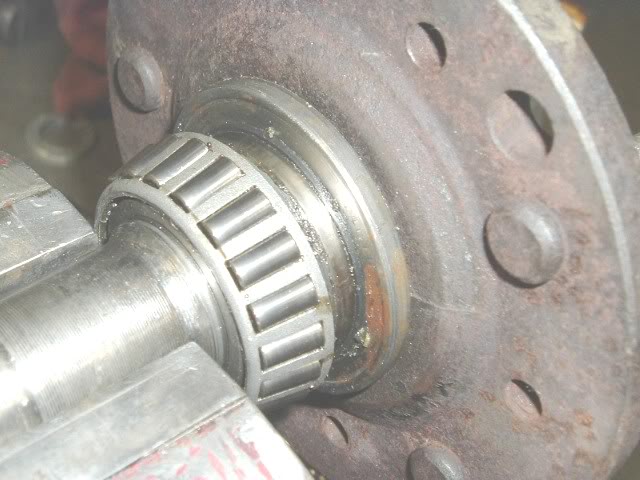
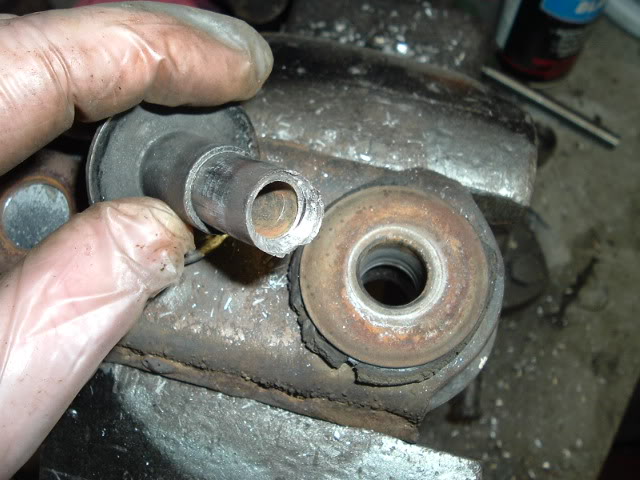
Once stripped down, I remove the front bushing
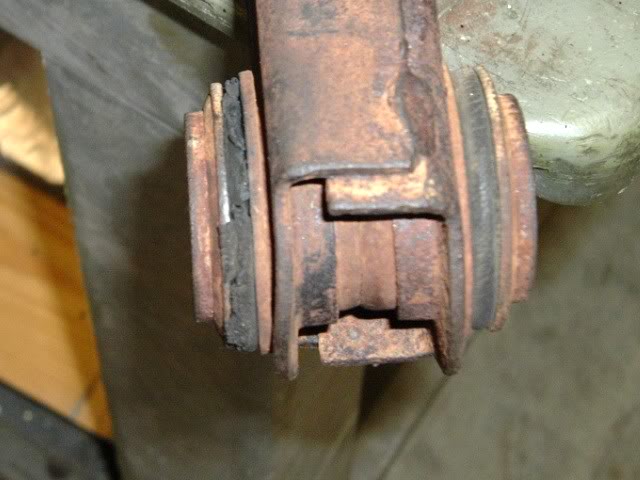
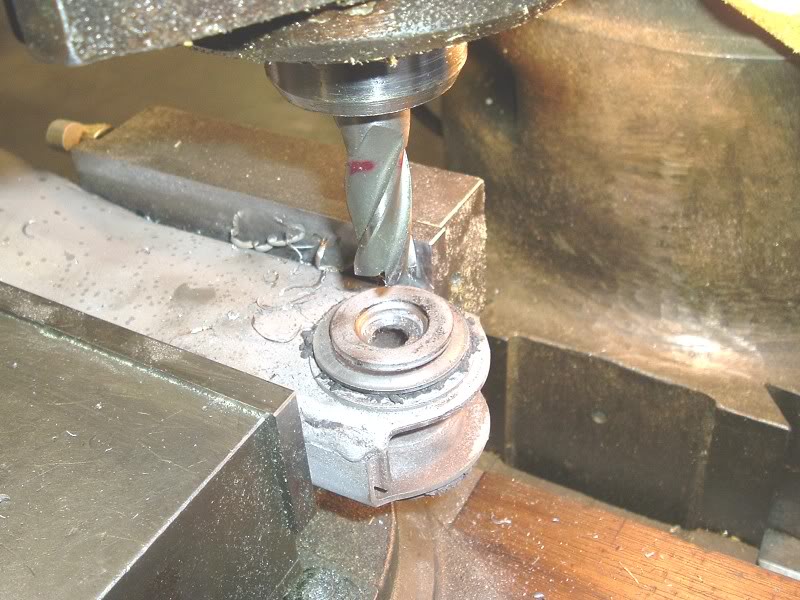
Drill the flare out and use an chisel to remove. I used to put these in a Bridgeport mill but a large step drill works as well.
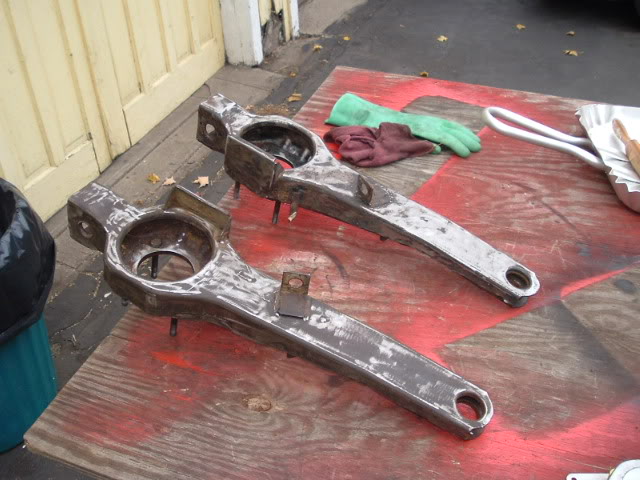
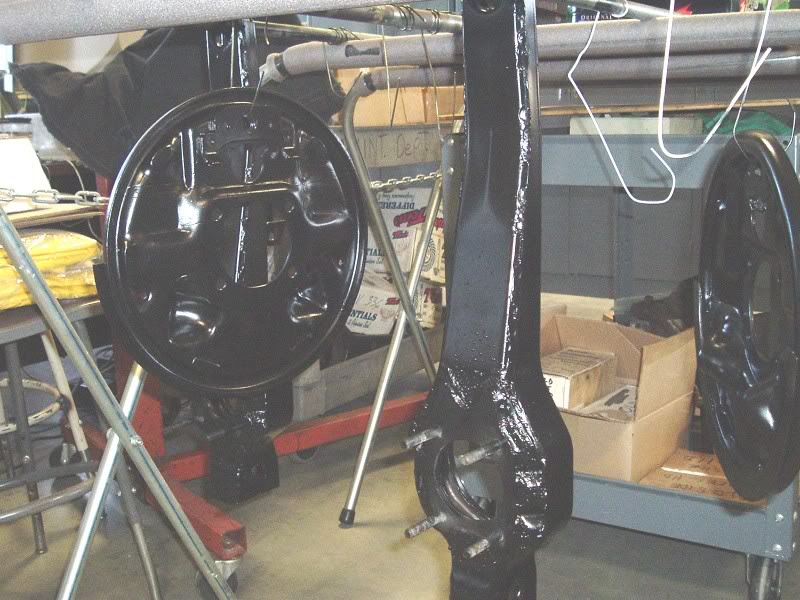
With the arm apart, I blast them to the metal and POR15 prep and paint them. I top coat with a satin black.
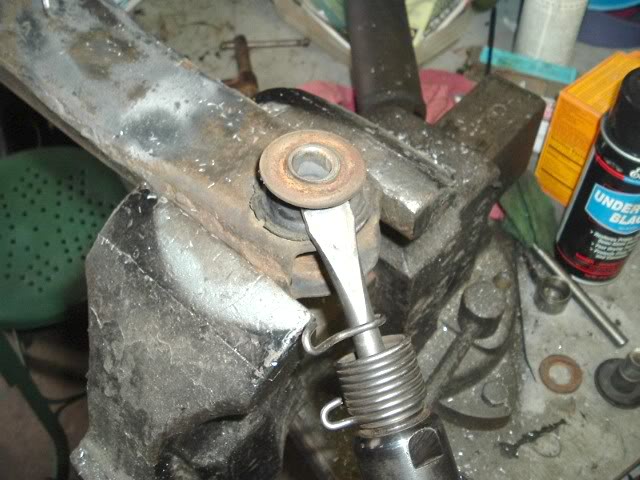
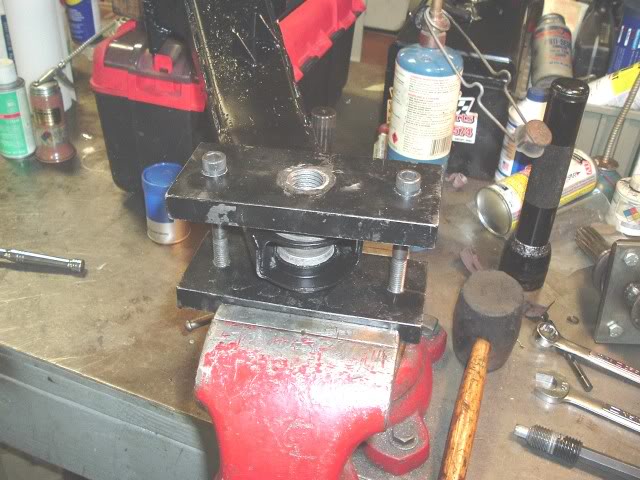
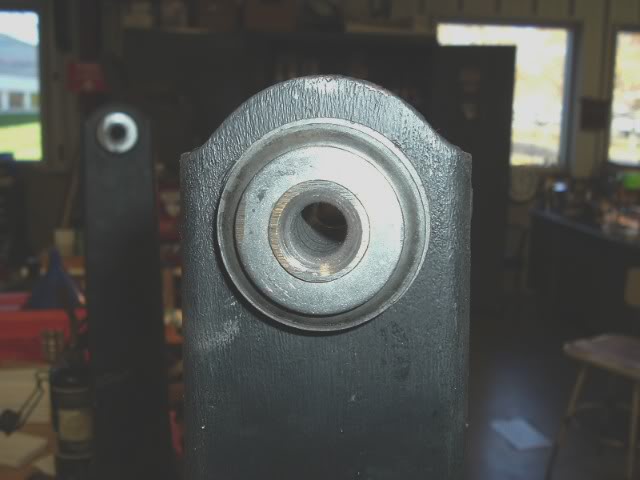
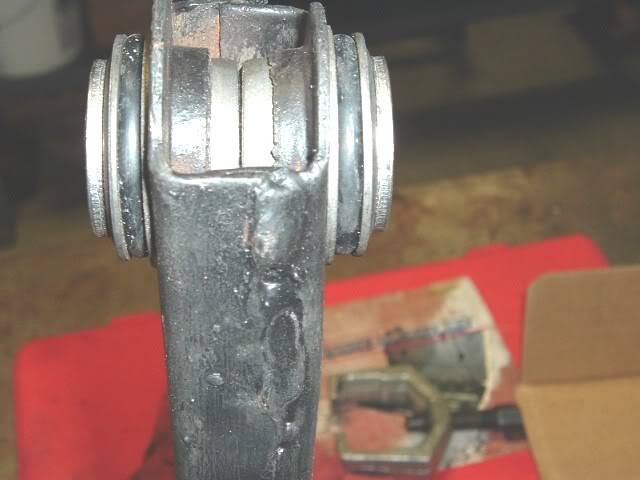
I use only rubber bushings, no poly for me. The rubber have to be compressed and then flared to correctly install them. I have found all kinds of crap work in this area, some have even left them unflared!
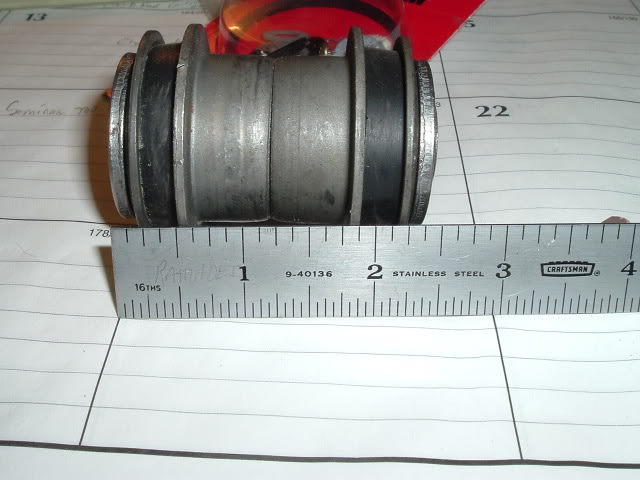
Here is the tool I made. Works good. There are a few on the market, some good -some junk.
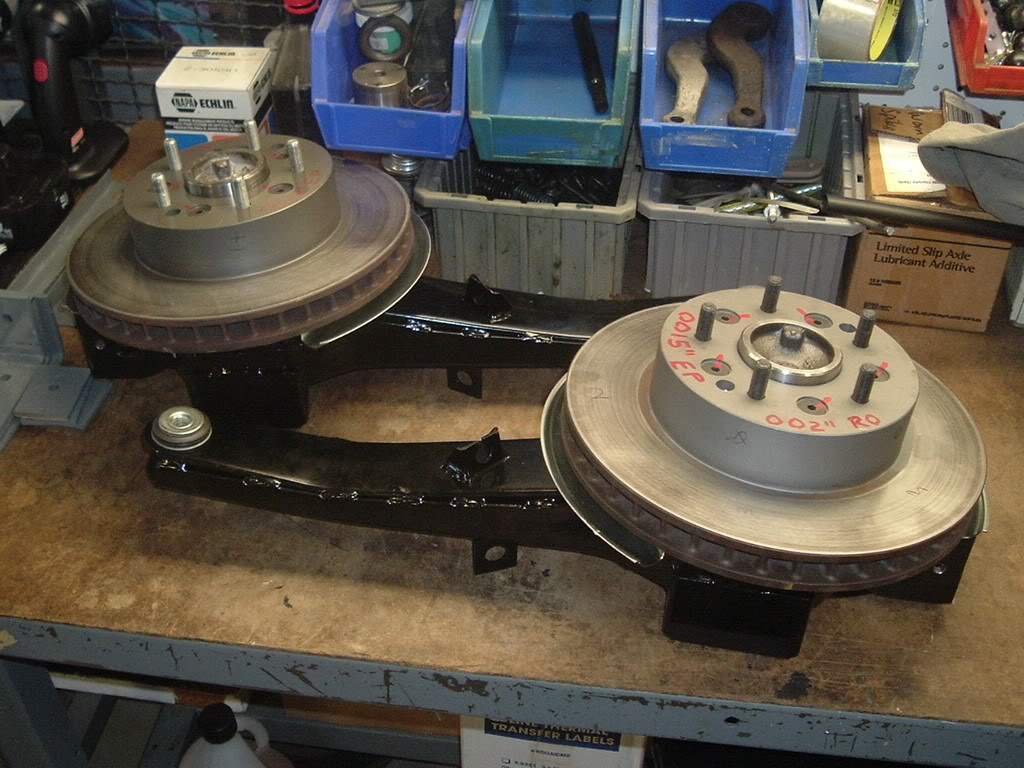
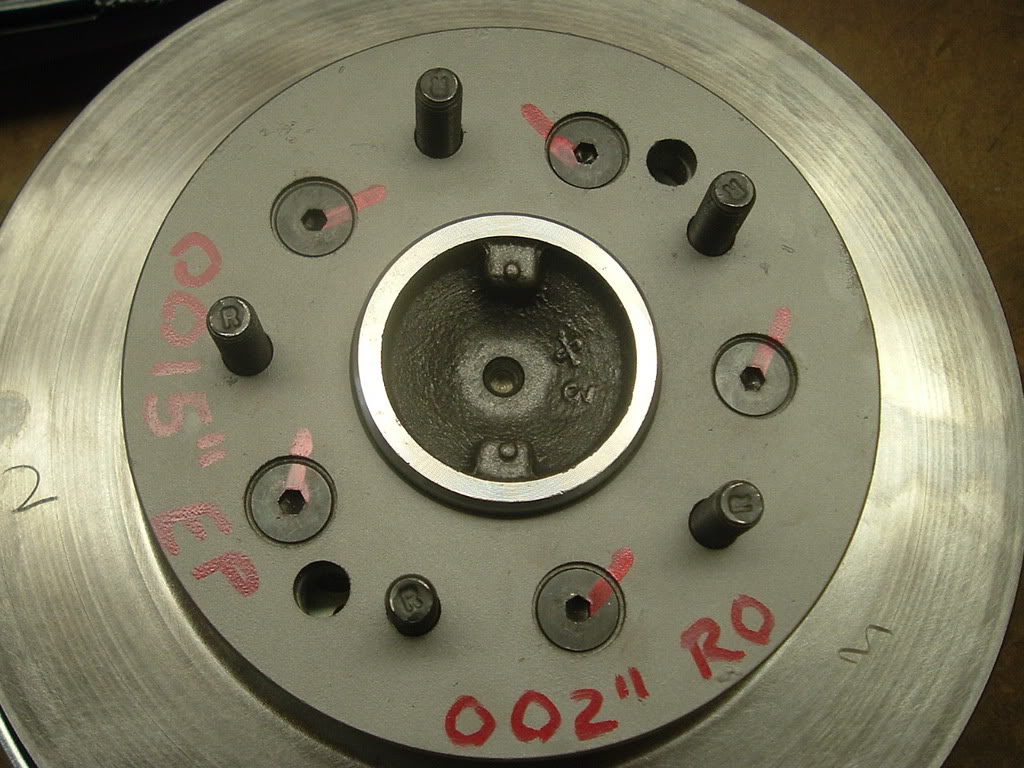
Here are what mine look like
heres a shop that does that stuff (ITS UNKNOWN to me)
http://www.vtechcorvette.com/TecnicalInfo.html
the damage done ,depending of course on the current bearing and race condition , lube and the distance to the repair shop should be minimal, if its only begining too make noise, if you drive it to the repair shop but the longer in remains in that condition the more damage is likely and the more dangerious it is to drive, but before driving it to a dealership or repair shop ,why not put it up on decent jack stands and remove the whole components, inspect and replace the defective components yourself OR and drive those parts in the trunk of your car or truck to the local machineshop to be reconditioned so theres no need to drive on them.
obviously a great time to get a SHOP MANUAL and a 12 ton PRESS .. a FLOOR JACK, and (4)12 ton JACK STANDS if you don,t currently have those tools in your garage
GTR1999 posted this 1963-82 trail arm rebuild
:crazy: Ok here is one job I get a lot of questions on. First thing I find that a lot of guys are intimidated by this job. Once you understand corvette rear bearings the mystery will be gone and you'll be able to decide if you want to buy the tools and try the job or farm it out. Now the tool cost for a set of arms is more then farming them out so think about what your plans are. If you want to join the dozens of Arm rebuilders out there buy the tools - but do the job right. This post will have pictures of various jobs I did so don't be surprised if the arms look different.
To do this job follow the GM manual procedures. I do some machining to my jobs that others don't or weren't until I started posting pictures on the other place. Some rebuilders I spoke to are about as good at machining as my 8 year old sheltie dog. Take it for what it is and make your own choices. One thing I already know is guys have been asking questions now as opposed to just having the jobs done. Also ask your rebuilder if they supply any job reports on their work.
Ok enough of that prelude crap!:crazy: :laughing:
Here are what your arms may look like once you get them out. I always rebuild them off the car but they can be done on the car. I would never do it that way unless I was stuck out of state on the road.

Here is a 64 arm. Remember the 63-64 and some 65's had drum brakes.

Look them over for rot, being bent, and look at the front bushing for dry rot.

I use one of those spindle protectors and either press or hammer the spindle out. If you hammer them out place something to catch the spindle. Don't worry about the bearings as they will be replaced anyway. If you have one that is really rusted the press and some heat may be the only way to go. Also the spindle nut should come off and the tool thread on without a problem. Many times these have been worked on before and the threads are already shot and a new spindle is needed.

Here we have parts to one arm apart and cleaned up for inspection.

Here I found someone was in here before and installed the outer seal backwards.

Once stripped down, I remove the front bushing

Drill the flare out and use an chisel to remove. I used to put these in a Bridgeport mill but a large step drill works as well.


With the arm apart, I blast them to the metal and POR15 prep and paint them. I top coat with a satin black.


I use only rubber bushings, no poly for me. The rubber have to be compressed and then flared to correctly install them. I have found all kinds of crap work in this area, some have even left them unflared!

Here is the tool I made. Works good. There are a few on the market, some good -some junk.

Here are what mine look like


heres a shop that does that stuff (ITS UNKNOWN to me)
http://www.vtechcorvette.com/TecnicalInfo.html

