Grumpy,
I found your thread on the tools and I have a good removal tool but I need to purchase a good installer before I install the damper.
Here is my question that I posted on CT:
Just received a new 7" ATI Super Street balancer to install on my small block crank. I was wondering has anyone installed a balancer like this onto a 327 crank. I was expecting to use a harmonic balancer tool to remove and install the new balancer. The new balancer is a two pc. design with a hub and outer ring. The directions recommend to press fit the hub onto the crank
Press as follows
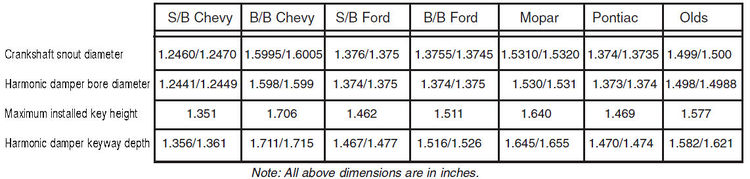
1.0000" - 1.2500 .0009 to .0012
1.2510" - 1.34750 .0008 to .0011
and so on
Could you please explain what the manufacturer is recommending about the press on fit? The press fit, can I achieve this with the installation tool, or are they refering when you are rebuilding a motor and the crank is out to have this done at a machine shop?
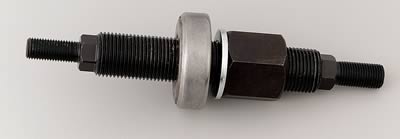
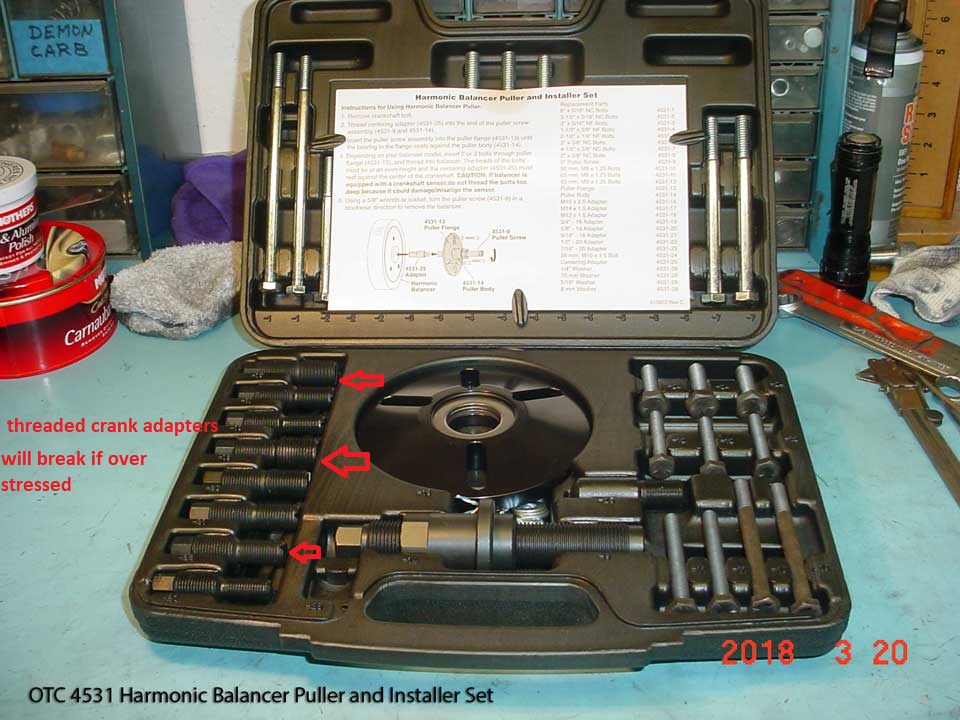
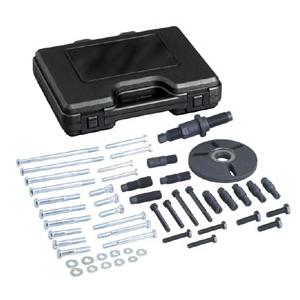
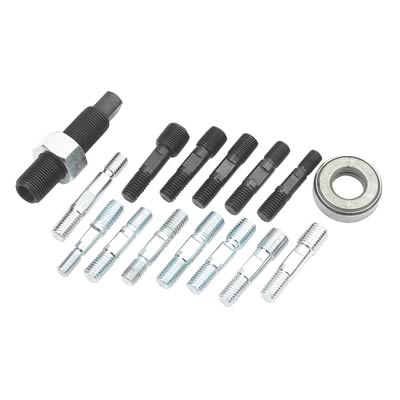
use the correct tool to install the balancer
http://www.summitracing.com/parts/OTC-6505/?rtype=10
Step #3 from the directions " OEM cranks are typically to tolerance +/- .0002. If you are using an OEM GM crank you can hone the damper hub to 1.24600" +/- .000
Again I was'nt expecting this when I ordered the balancer, I am not a machinist and I am trying to replace the balancer with the motor in the car. Is all of this really necessary these numbers seem to awfully tight specifications.
I don't want to screw up because if I attempt to put the balancer on and does not go I cannot return the balancer.
There are a couple of machine shops in the area that I could take the hub to and have them hone it. I do not know once I remove the old balancer if I purchased a micrometer whether I could read it accurately?
Thanks for all of your advice.
Zman
I found your thread on the tools and I have a good removal tool but I need to purchase a good installer before I install the damper.
Here is my question that I posted on CT:
Just received a new 7" ATI Super Street balancer to install on my small block crank. I was wondering has anyone installed a balancer like this onto a 327 crank. I was expecting to use a harmonic balancer tool to remove and install the new balancer. The new balancer is a two pc. design with a hub and outer ring. The directions recommend to press fit the hub onto the crank
Press as follows
1.0000" - 1.2500 .0009 to .0012
1.2510" - 1.34750 .0008 to .0011
and so on
Could you please explain what the manufacturer is recommending about the press on fit? The press fit, can I achieve this with the installation tool, or are they refering when you are rebuilding a motor and the crank is out to have this done at a machine shop?
use the correct tool to install the balancer
http://www.summitracing.com/parts/OTC-6505/?rtype=10
Step #3 from the directions " OEM cranks are typically to tolerance +/- .0002. If you are using an OEM GM crank you can hone the damper hub to 1.24600" +/- .000
Again I was'nt expecting this when I ordered the balancer, I am not a machinist and I am trying to replace the balancer with the motor in the car. Is all of this really necessary these numbers seem to awfully tight specifications.
I don't want to screw up because if I attempt to put the balancer on and does not go I cannot return the balancer.
There are a couple of machine shops in the area that I could take the hub to and have them hone it. I do not know once I remove the old balancer if I purchased a micrometer whether I could read it accurately?
Thanks for all of your advice.
Zman