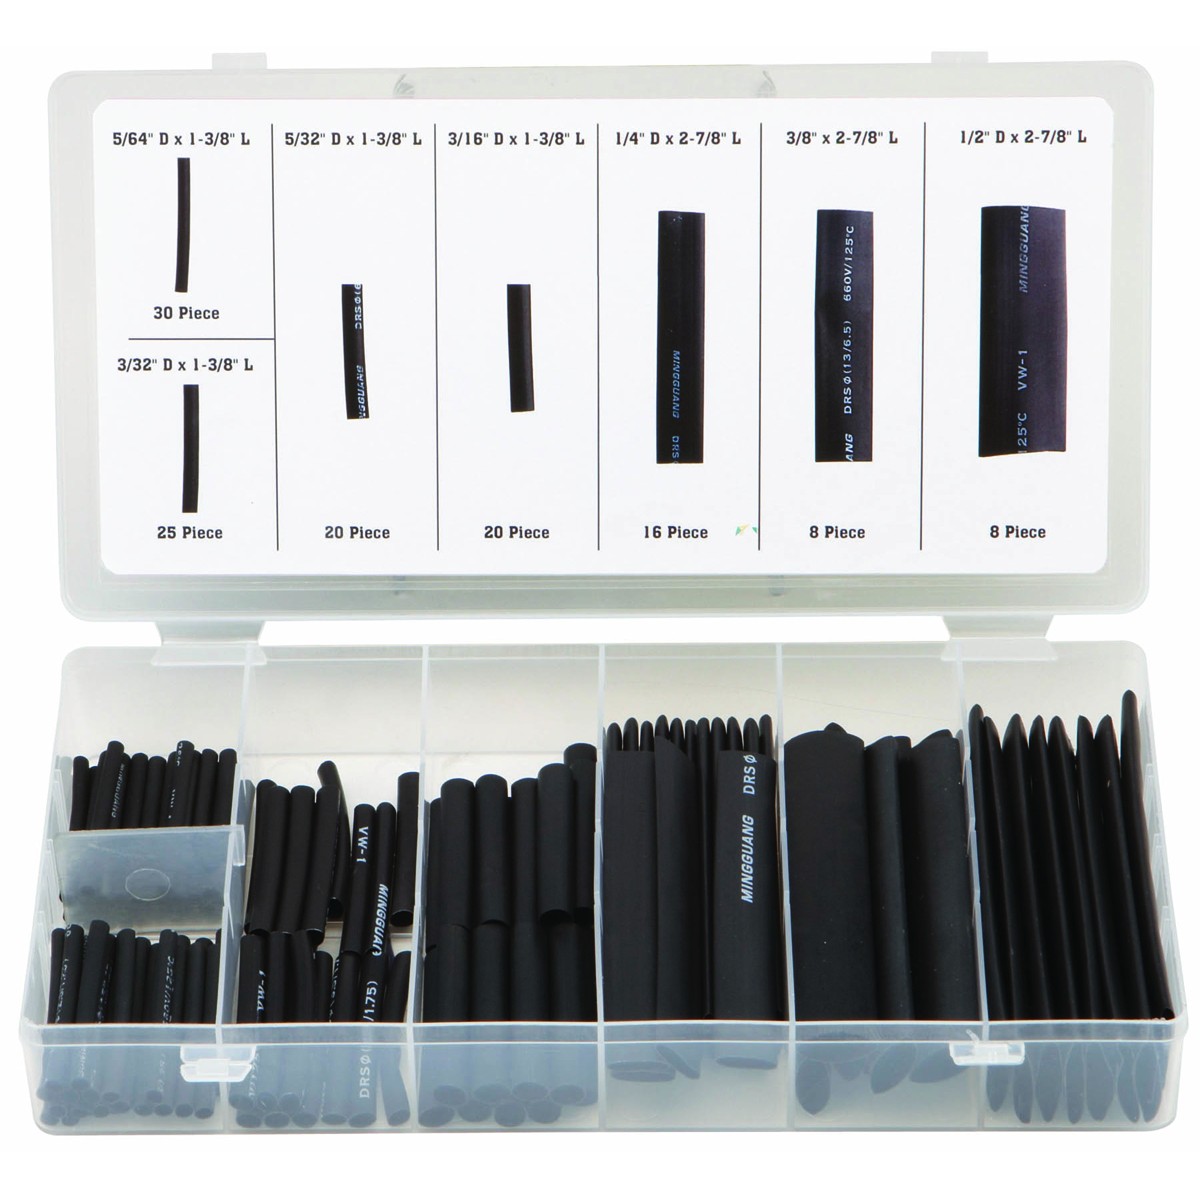
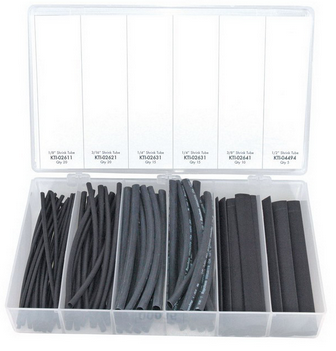
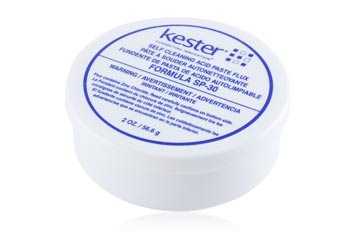
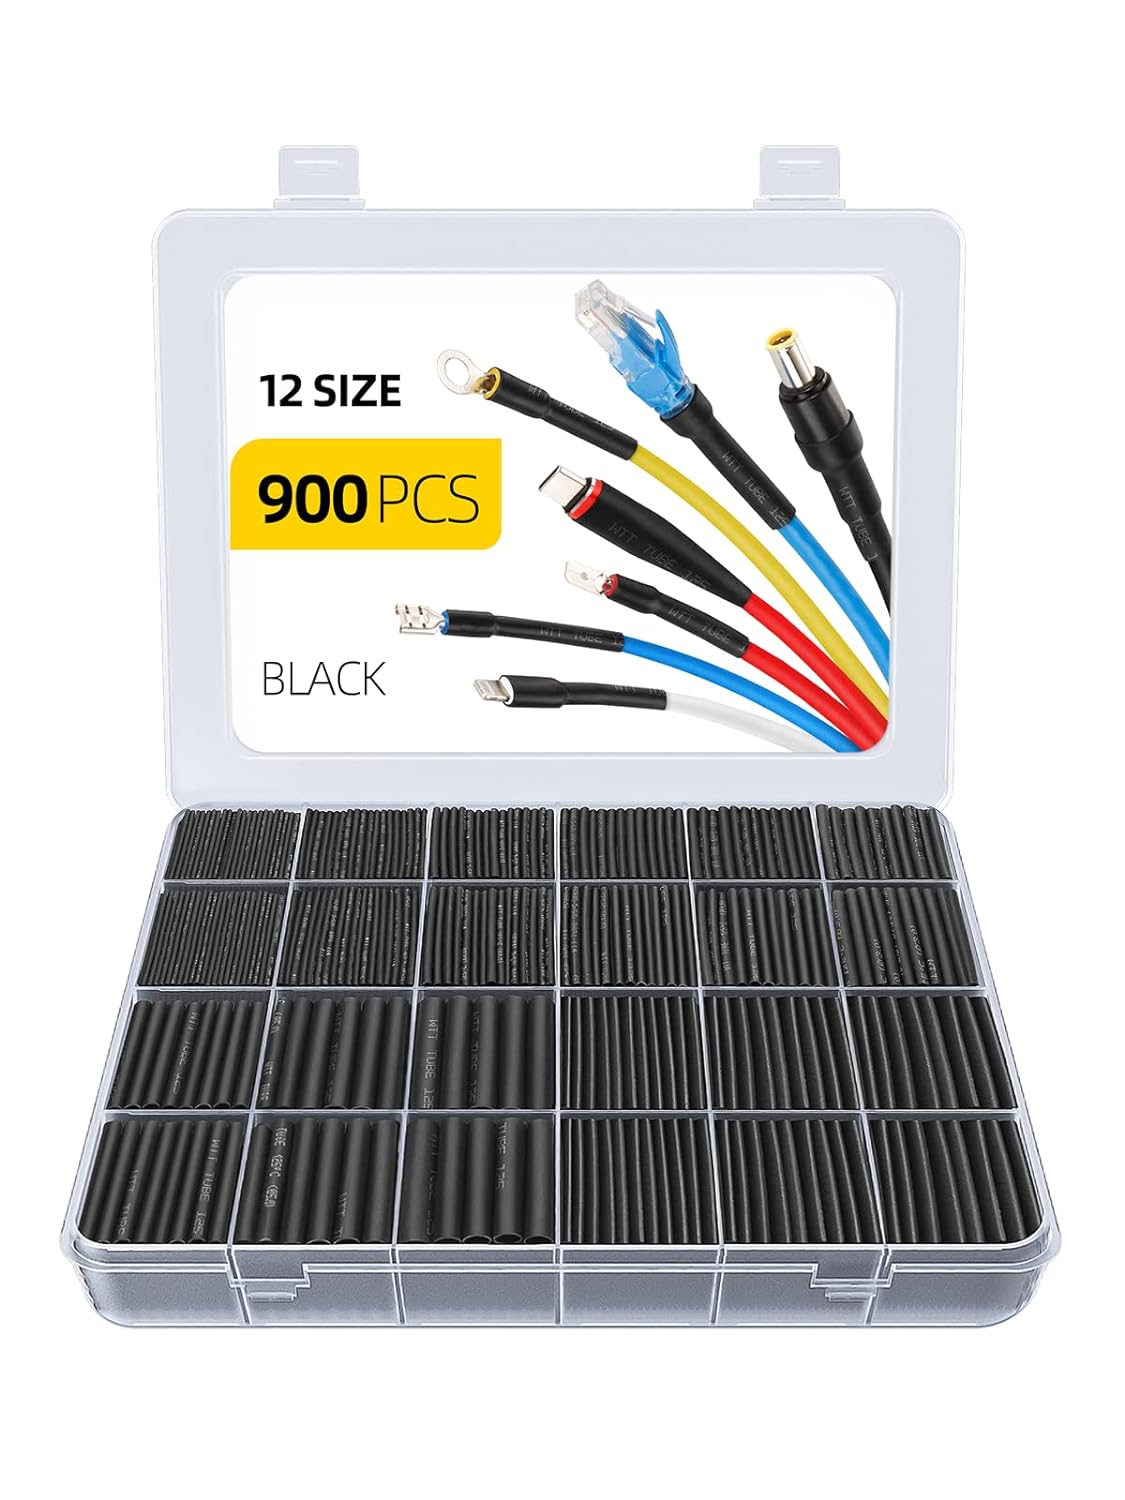
now if you've got an older corvette or muscle car this tubing allows you to make rather nice looking repair splices in the cars wiring without nasty looking electrical tapes that tends to unroll after awhile , example, if youve got a defective fuel injector connector you can slip some onto the old wiring after cutting off the defective connector and before installing the new connector, and after splicing in the new connector the tubing is slipped over the splice, a hair drier or heat gun will shrink it in place, in fact just a trip on a hot day will allow engine temps under the hood to shrink it into place.
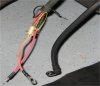
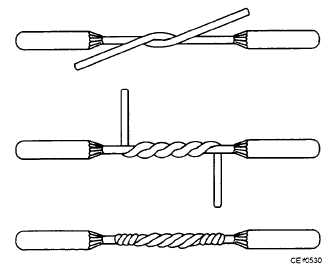
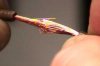
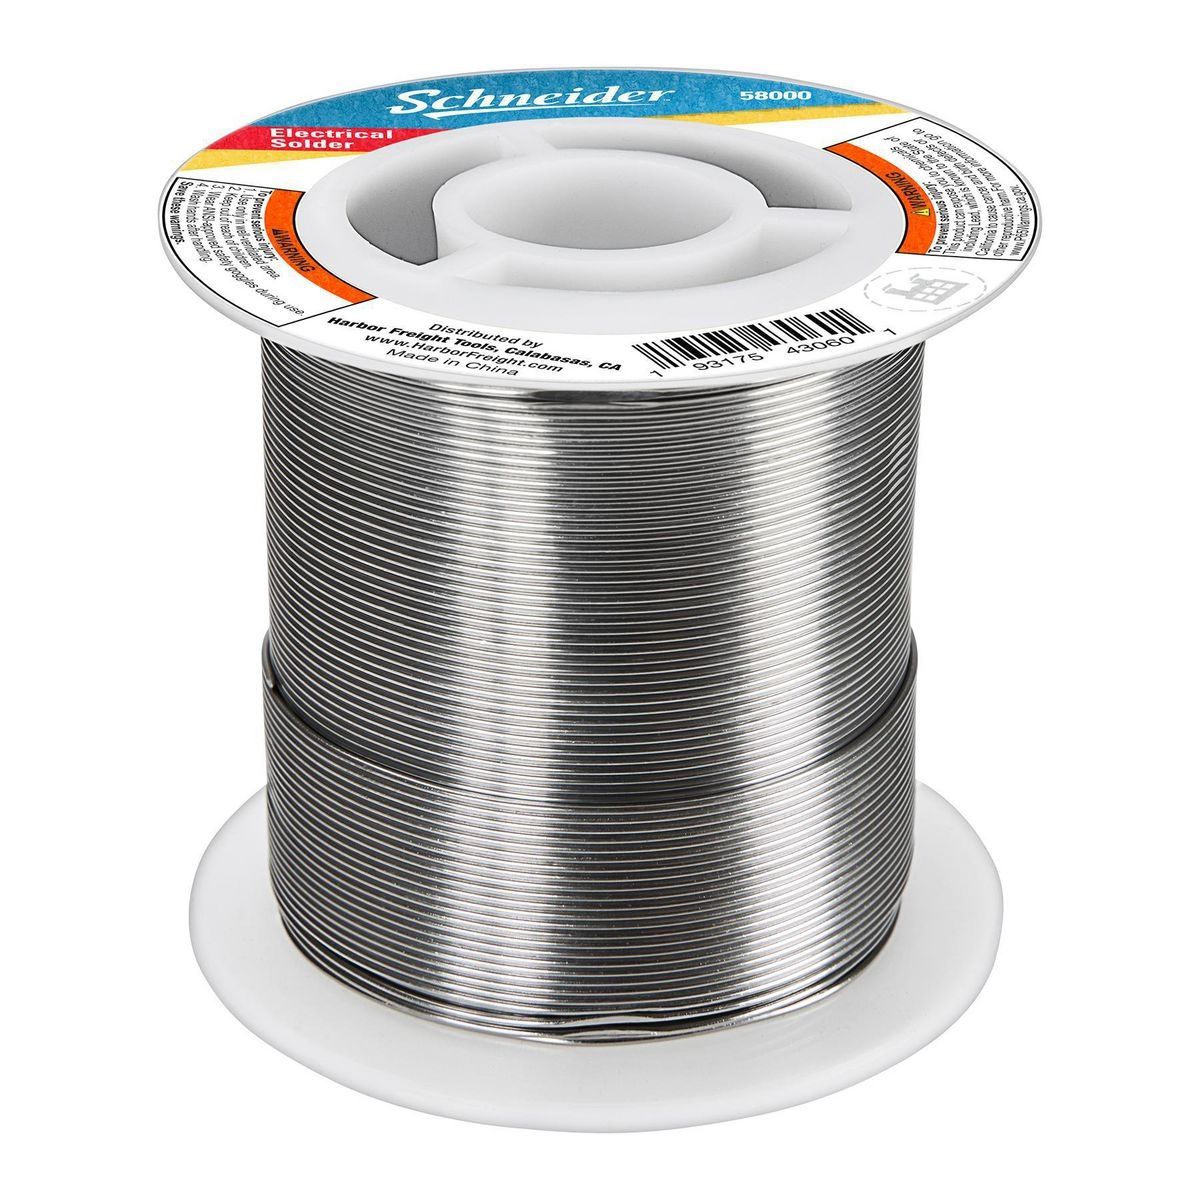
find the break in the wire and solder it with quality flux and tin/lead solder,to a solid electrical connection then use shrink tube to cover the splice
 m.smartsaker.com
 www.peonlyshop.com
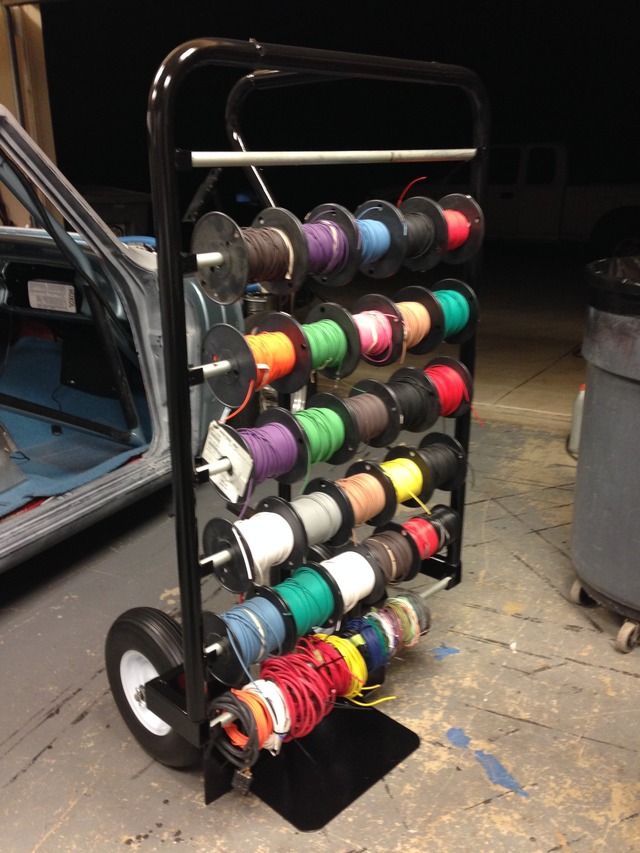
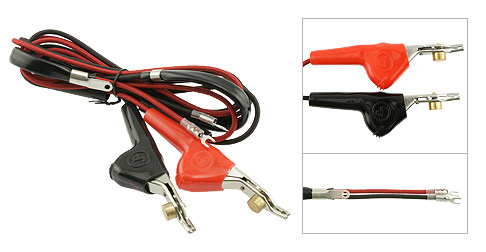
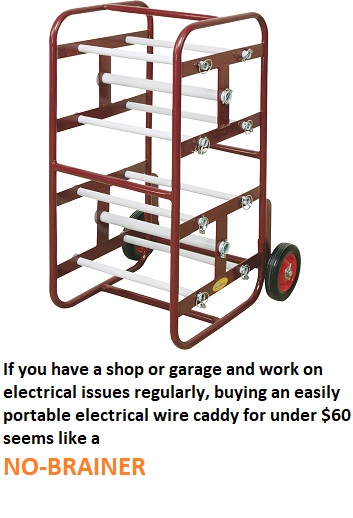
having a wire roll caddy , thats easy to access or fabricating one for working around the cars helpful
THIS IS A GOOD VALUE
https://www.northerntool.com/shop/tools/product_200356620_200356620?cm_mmc=Google-pla&utm_source=Google_PLA&utm_medium=Electrical > Terminal Kits + Organizers&utm_campaign=Northern Industrial Tools&utm_content=163443&gclid=EAIaIQobChMIq4Gj3qeW2AIVVrXACh3l2QRxEAYYCCABEgK4afD_BwE
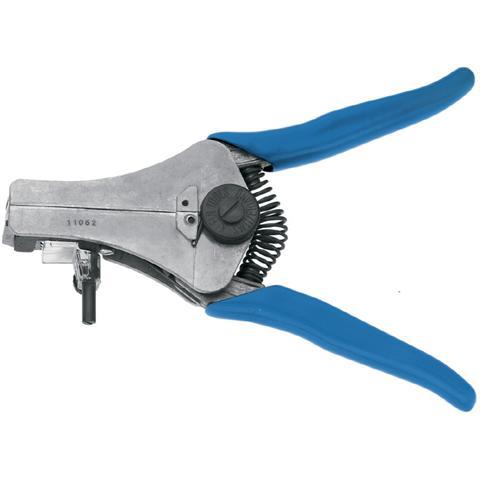
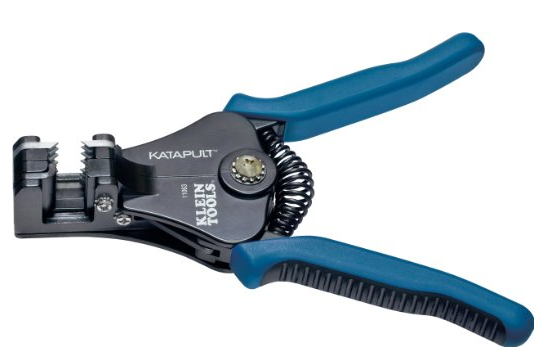
http://www.homedepot.com/s/wire+stripper?NCNI-5
http://www.homedepot.com/p/Ideal-Stripm ... 819657-_-N
http://www.alliedelec.com/search/produc ... U=70222843
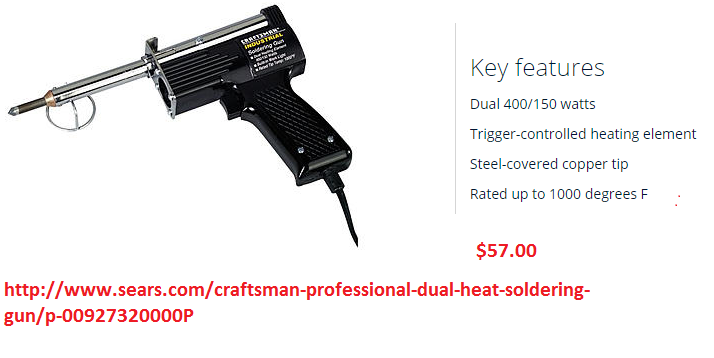
http://www.sears.com/craftsman-professional-dual-heat-soldering-gun/p-00927320000P
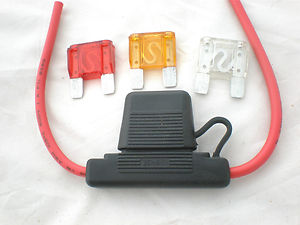
http://www.electricalhub.com/heat-shrink-connectors?gclid=CIXF4ta8660CFU2b7QodzwEn6A
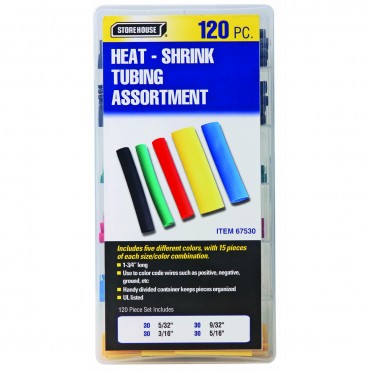
http://www.harborfreight.com/120-piece- ... 67530.html
http://www.electricalhub.com/heat-shrink-tubing
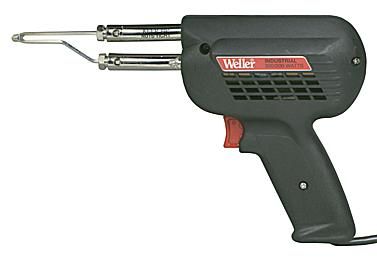
solder gun, selection, things like computer chip replacement or minor circuit board repairs will require a soldering gun with much smaller tips and far less watts than a gun designed to repair 14-10 gage automotive connectors and relay repairs so youll need different tools. copper fittings on pipe requires a small torch not a soldering gun, so be aware of what each tool does.
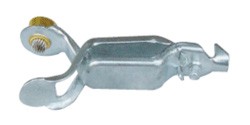
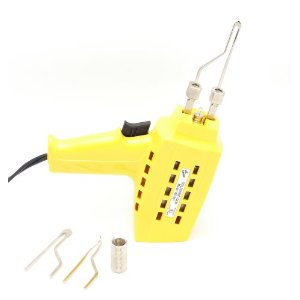
you can use some toy like this yellow version,posted but it makes you crazy, a good solder gun will heat wires up to 10 gauge in seconds to the point that well fluxed solder flows very easily, you really want to look over the soldering gun specs it have the ability to reach at least 1000F in seconds and have 220 plus watts
http://www.amazon.com/Wall-Lenk-WG9...omotive&ie=UTF8&qid=1325012778&sr=1-2-catcorr
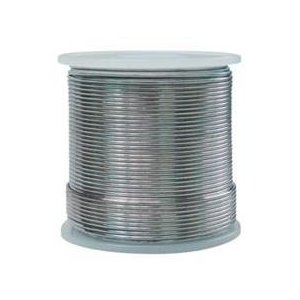
solder
http://www.amazon.com/Mobilespec-Ro...0?s=automotive&ie=UTF8&qid=1325012844&sr=1-10
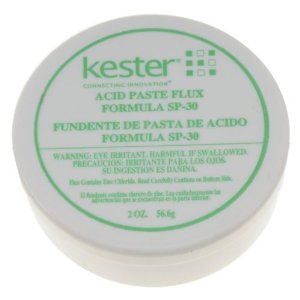
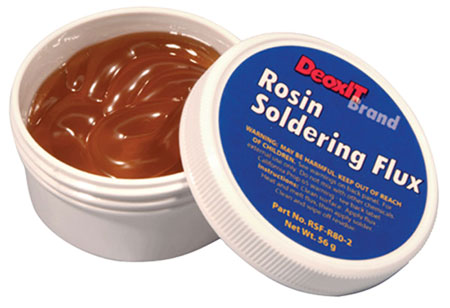
flux
http://www.amazon.com/Dorman-9-1309..._1?s=automotive&ie=UTF8&qid=1325012899&sr=1-1
http://www.heatshrinktubing.net/
http://cableorganizer.com/heat-shrink/c ... shrink.htm
http://www.heatshrinktubingdirect.com/? ... 2godCA44bA
http://www.aerostich.com/prevent-or-rep ... -kits.html
Weller D550PK 120-volt Professional Soldering Gun Kit 260/200 Watts
http://en.wikipedia.org/wiki/Heat-shrink_tubing
http://cableorganizer.com/heat-shrink/
http://cableorganizer.com/heat-shrink/h ... m?src=life
http://www.nutsandbolts.com/electrical-c-32.html
http://www.harborfreight.com/cpi/ctaf/d ... mber=66729
http://www.harborfreight.com/cpi/ctaf/d ... mber=98713
viewtopic.php?f=42&t=2230&p=5999#p5999
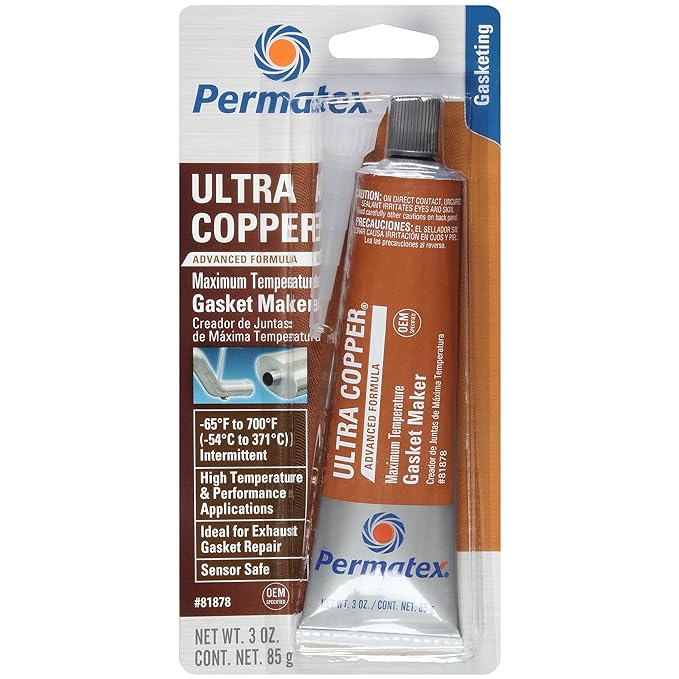
adding thermal spark plug shields for the ignition wires near the headers helps protect the ignition efficiency and reduce problems
http://cableorganizer.com/insultherm-sp ... 020801mw/1
viewtopic.php?f=36&t=627
BTW theres a HUGE variation in SOLDERING GUN CAPABILITY
anything rated at less than about 140 watts is almost useless for some automotive applications
150 watts (up to 950°F) for electrical, hobby and general soldering
230-280 watts (up to 1100°F) for soldering metals such as copper, tin or brass with ease
Weller D550PK 120-volt Professional Soldering Gun Kit 260/200 Watts
THIS WORKS BUT ITS NOT IDEAL, IN EVERY APPLICATION BUT ITS FAR SUPERIOR TO THE SMALLER VERSION POSTED EARLIER
http://www.amazon.com/gp/product/B00002 ... ative=9325
basically a waste of money on automotive wiring but might be fine on computer boards
find the break in the wire and solder it with quality flux and tin/lead solder,to a solid electrical connection then use shrink tube to cover the splice
Smartsaker - Best Innovative Design Home and Garde
m.smartsaker.com
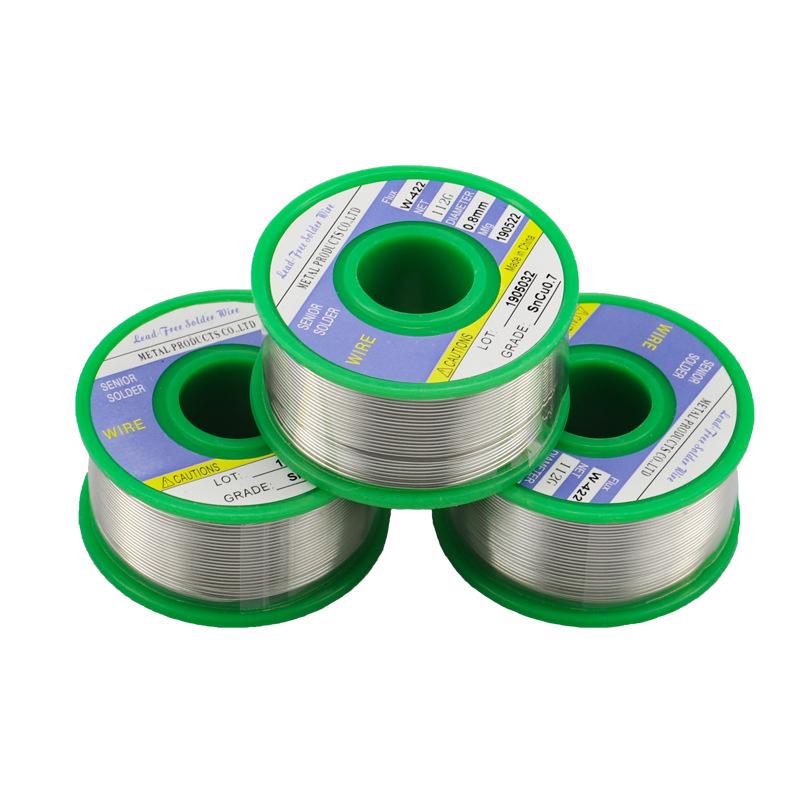
Solder Wire for Electrical Soldering
FEATURES Lead-free solder wire: lead-free solder wire with rosin core; It weighs 100 g/ 0.22 lb; The size of solder wire roll is 5.4 x 5.4 x 2.8 cm/ 2.1 x 2.1 x 1.1 inches. Relative parameters: the diameter of the electrical soldering wire is 0.8 mm/1.0mm (0.031/0.039 inch); Sn/ Cu: 99.3%/ 0.3%...
www.peonlyshop.com
having a wire roll caddy , thats easy to access or fabricating one for working around the cars helpful
THIS IS A GOOD VALUE
https://www.northerntool.com/shop/tools/product_200356620_200356620?cm_mmc=Google-pla&utm_source=Google_PLA&utm_medium=Electrical > Terminal Kits + Organizers&utm_campaign=Northern Industrial Tools&utm_content=163443&gclid=EAIaIQobChMIq4Gj3qeW2AIVVrXACh3l2QRxEAYYCCABEgK4afD_BwE
http://www.homedepot.com/s/wire+stripper?NCNI-5
http://www.homedepot.com/p/Ideal-Stripm ... 819657-_-N
http://www.alliedelec.com/search/produc ... U=70222843
http://www.sears.com/craftsman-professional-dual-heat-soldering-gun/p-00927320000P
http://www.electricalhub.com/heat-shrink-connectors?gclid=CIXF4ta8660CFU2b7QodzwEn6A
http://www.harborfreight.com/120-piece- ... 67530.html
http://www.electricalhub.com/heat-shrink-tubing
solder gun, selection, things like computer chip replacement or minor circuit board repairs will require a soldering gun with much smaller tips and far less watts than a gun designed to repair 14-10 gage automotive connectors and relay repairs so youll need different tools. copper fittings on pipe requires a small torch not a soldering gun, so be aware of what each tool does.
you can use some toy like this yellow version,posted but it makes you crazy, a good solder gun will heat wires up to 10 gauge in seconds to the point that well fluxed solder flows very easily, you really want to look over the soldering gun specs it have the ability to reach at least 1000F in seconds and have 220 plus watts
http://www.amazon.com/Wall-Lenk-WG9...omotive&ie=UTF8&qid=1325012778&sr=1-2-catcorr
solder
http://www.amazon.com/Mobilespec-Ro...0?s=automotive&ie=UTF8&qid=1325012844&sr=1-10
flux
http://www.amazon.com/Dorman-9-1309..._1?s=automotive&ie=UTF8&qid=1325012899&sr=1-1
http://www.heatshrinktubing.net/
http://cableorganizer.com/heat-shrink/c ... shrink.htm
http://www.heatshrinktubingdirect.com/? ... 2godCA44bA
http://www.aerostich.com/prevent-or-rep ... -kits.html
Weller D550PK 120-volt Professional Soldering Gun Kit 260/200 Watts
http://en.wikipedia.org/wiki/Heat-shrink_tubing
http://cableorganizer.com/heat-shrink/
http://cableorganizer.com/heat-shrink/h ... m?src=life
http://www.nutsandbolts.com/electrical-c-32.html
http://www.harborfreight.com/cpi/ctaf/d ... mber=66729
http://www.harborfreight.com/cpi/ctaf/d ... mber=98713
viewtopic.php?f=42&t=2230&p=5999#p5999
adding thermal spark plug shields for the ignition wires near the headers helps protect the ignition efficiency and reduce problems
http://cableorganizer.com/insultherm-sp ... 020801mw/1
viewtopic.php?f=36&t=627
BTW theres a HUGE variation in SOLDERING GUN CAPABILITY
anything rated at less than about 140 watts is almost useless for some automotive applications
150 watts (up to 950°F) for electrical, hobby and general soldering
230-280 watts (up to 1100°F) for soldering metals such as copper, tin or brass with ease
Weller D550PK 120-volt Professional Soldering Gun Kit 260/200 Watts
THIS WORKS BUT ITS NOT IDEAL, IN EVERY APPLICATION BUT ITS FAR SUPERIOR TO THE SMALLER VERSION POSTED EARLIER
http://www.amazon.com/gp/product/B00002 ... ative=9325
basically a waste of money on automotive wiring but might be fine on computer boards
Last edited by a moderator: