LT1 and a T56 in a 55 Chevy

I spent a lot of time online looking for a new throwout bearing, and finally found one at ebay. It came in 3 days, on Friday, and my buddies and I bolted everything together and put it in the frame on "Fender Friday" (our weekly get together with beer and BBQ). But now the drive shaft I ordered from Strange Engineering is too long. I still have a copy of the order sheet, it clearly states 53-1/2", the one they sent me is 56" long. I'll call them on Monday.

I had sent them a damaged drive shaft from my '55 Chevy gasser, it has a shorter gearbox and that drive shaft was 56". The rear u-joint yoke was damaged on that one, (I blew it up drag racing) and I had asked them to shorten it to 53-1/2" and put a new yoke on it. They called after receiving the damaged drive shaft and said it was also slightly bent, and was not repairable, so I had told them to just make me a new one. But obviously they ignored the order sheet and made a replacement for the damaged driveshaft. It's their mistake, let's see how they handle it.

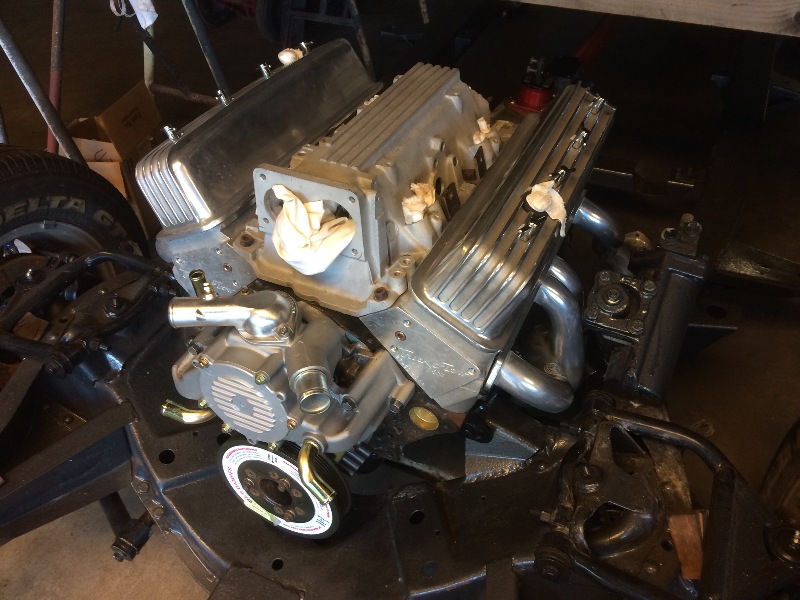
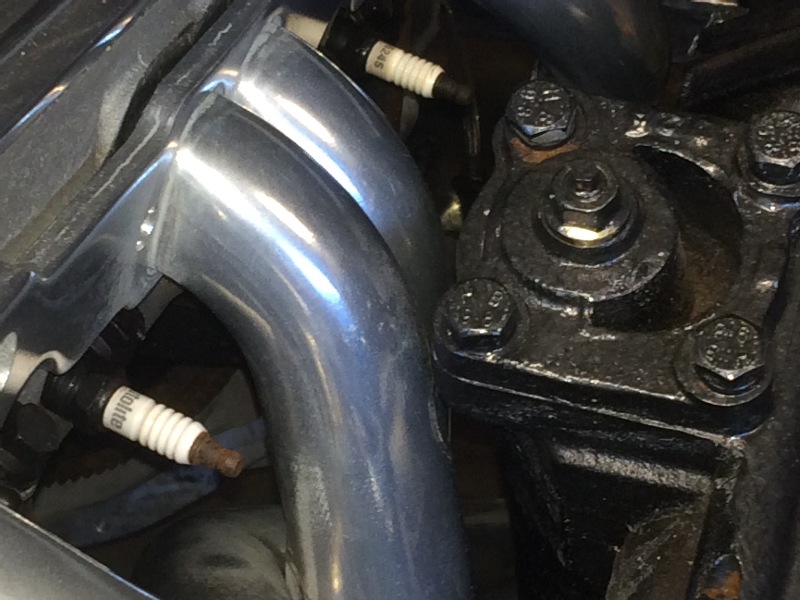
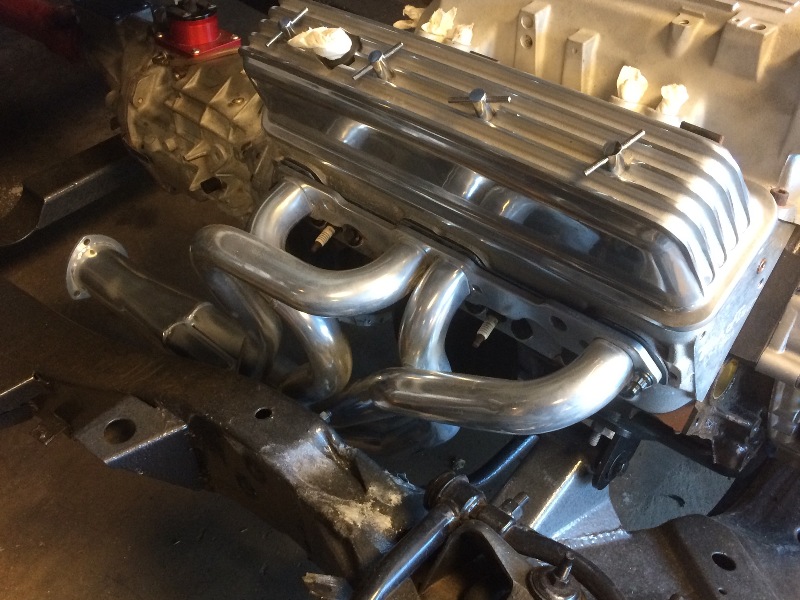
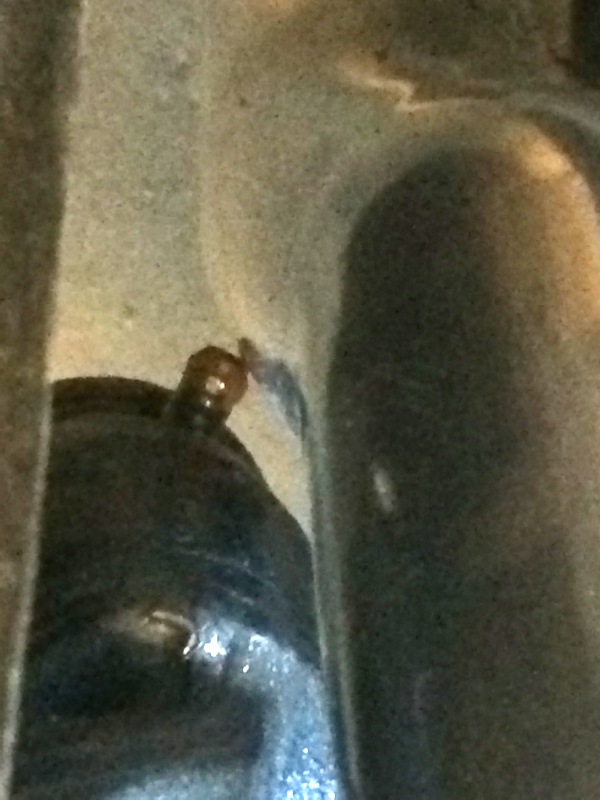
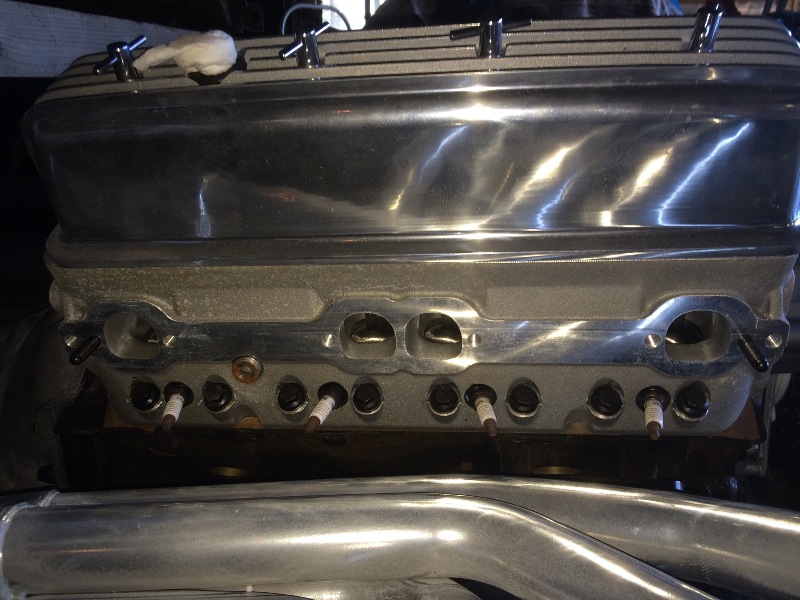
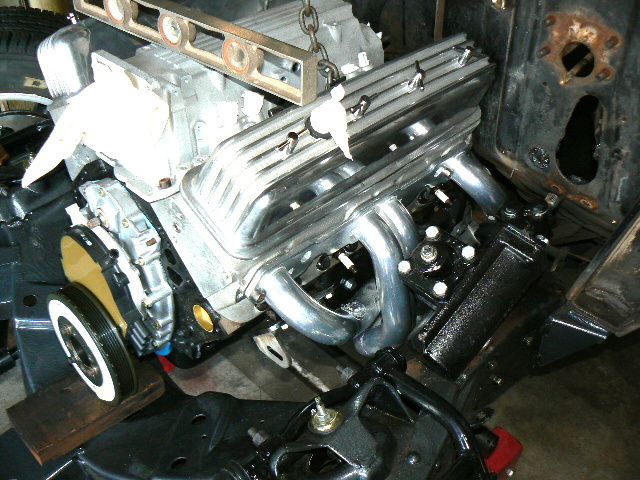
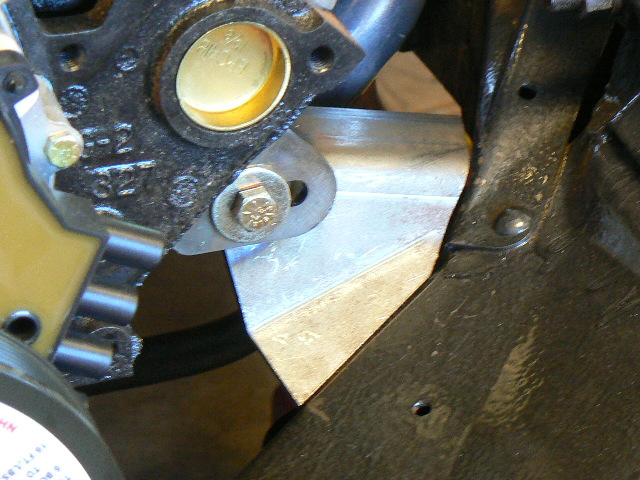
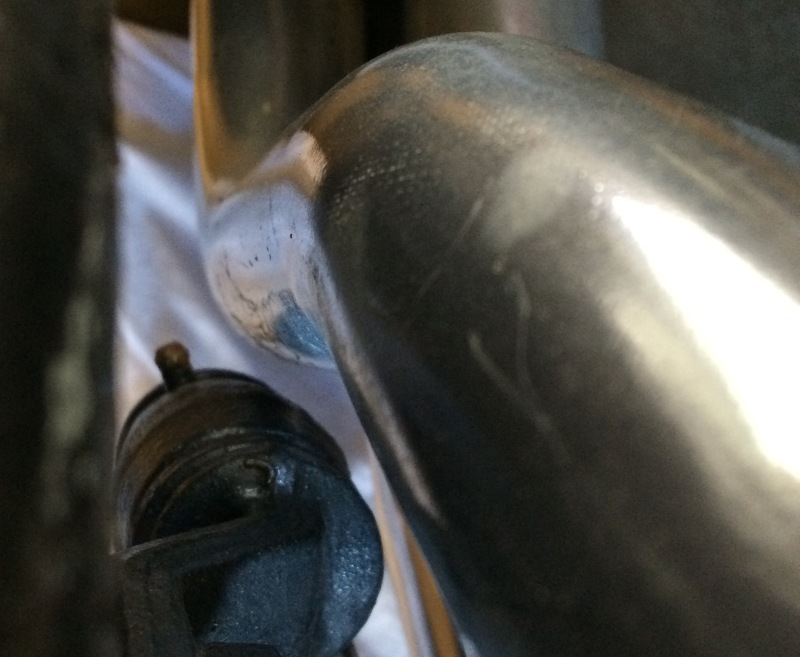
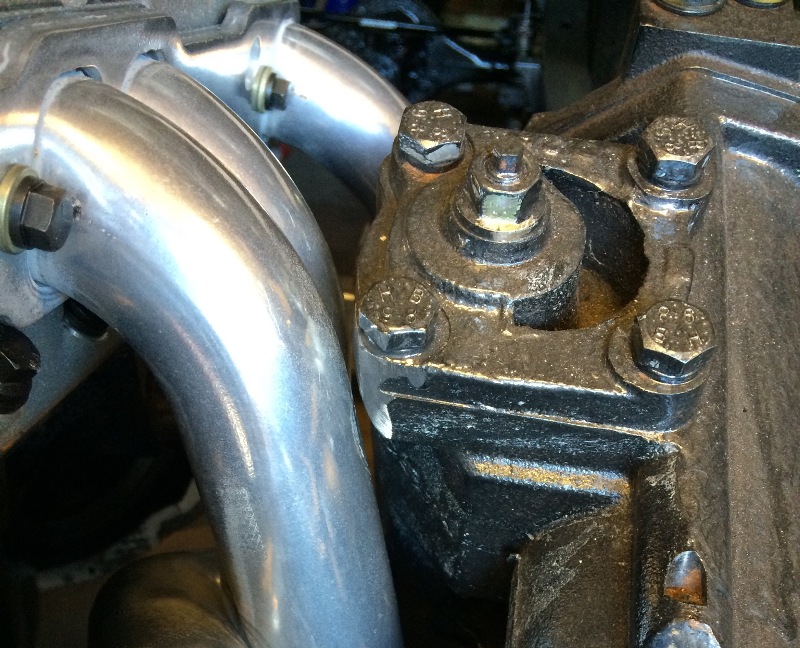
Here's how it sits now...

55HT_Motor_Install119s_June_2015.JPG


55HT_Motor_Install120s_June_2015.JPG


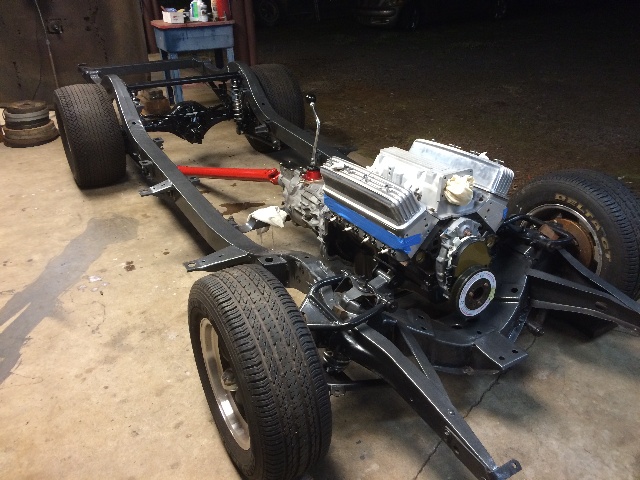
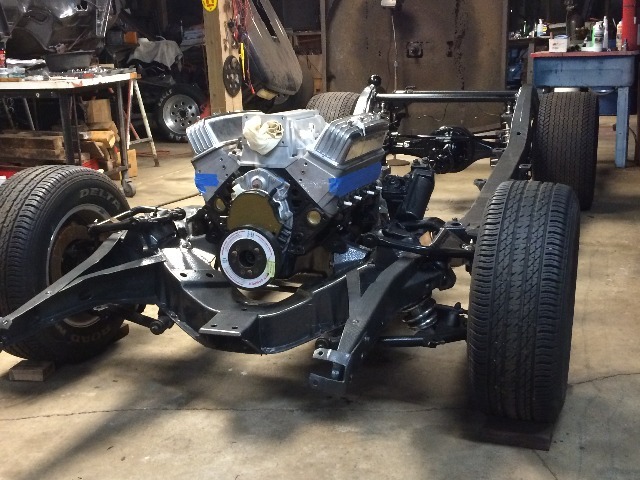
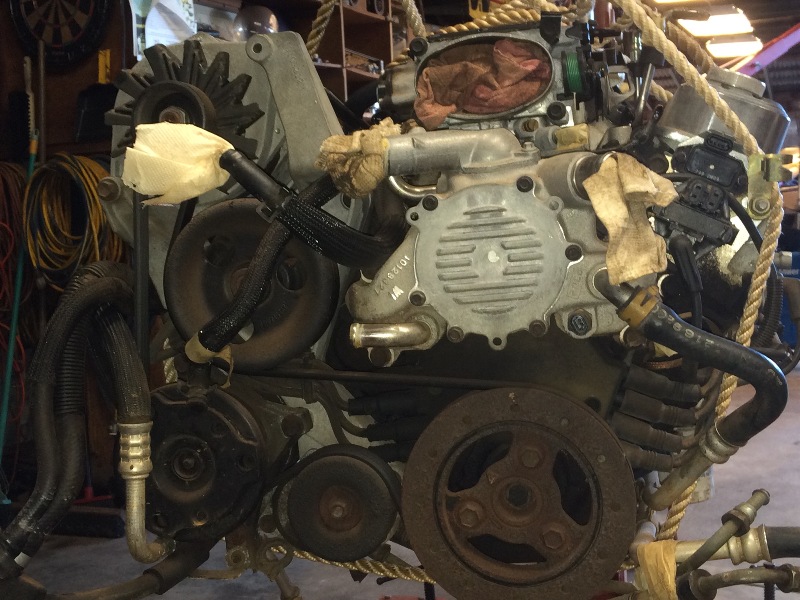
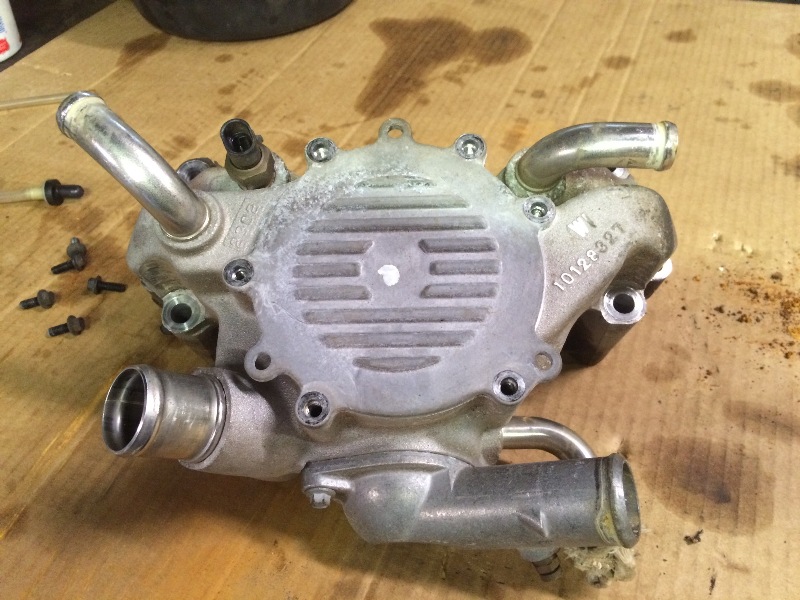
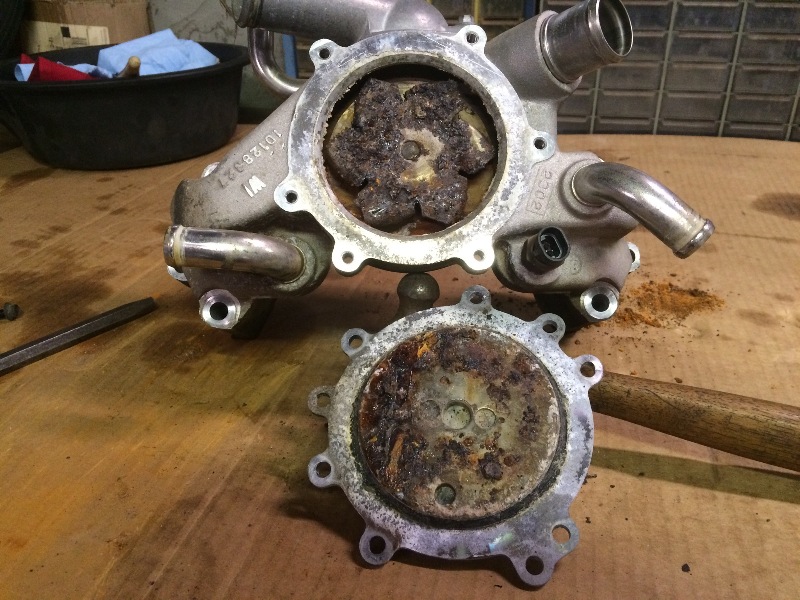
Now to finish the motor (starter, water pump, ignition, efi, alternator, PS pump, pulleys and belts) and add the exhaust system and fuel system, and as much else as I can think of before putting the body back on.

Am I having fun? You bet! I've never had the time before to do this much detail on a car, and on my favorite, a '55 Sport Coupe, I'm a lucky guy...

Aloha,
Willy
 
I'm going to be away from this project for awhile, I sliced the back of my hand pretty badly, severed some finger tendons, having surgery tomorrow to try and fix that, but will not be using my left hand for quite awhile until it heals up!

And I don't think I'll be driving my gasser during this time either, unless I can figure out a way to steer with my left when shifting, without disturbing the healing process!

But my '55 Chevy truck is an automatic, I can still drive that....

At least it wasn't my right hand!
Willy
 
Been working a bit on my '55 chevy gasser and my '58 chevy truck as my hand has improved. The hand still not 100%, probably will never be, but am getting some things done, and this week finally pulled the '55 HT out from under it's covers and cleaned it up, time to get back to work on that project. Pix when I get something moving on it.
Willy
 
both the photographic skills obvious in the picture quality and the projects themselves display well above average work quality and the ability to think things thru carefully CONGRATS
 
Pulled my old LT1 motor out of storage, so I could figure out how to put the accessory parts on the new one...
OldLT1as.jpg


Started with the water pump...
55HT_fitPartsLT1_004sJan2016.jpg


But it was rusted up solid inside...
55HT_fitPartsLT1_005sJan2016.jpg


So now I have to go find another water pump...
Willy

More HERE
 
Brackets to fit the AC compressor, Alternator, and PS pump on this LT1 in a '55 Chevy seem to be seriously lacking. March Performance seems to have the best looking setup, but they are $eriously expen$ive.
lt-1_best_top_photo.jpg

Am looking around...

Any ideas out there??
Aloha,
Willy
 
Brackets to fit the AC compressor, Alternator, and PS pump on this LT1 in a '55 Chevy seem to be seriously lacking. March Performance seems to have the best looking setup, but they are $eriously expen$ive.
lt-1_best_top_photo.jpg

Am looking around...

Any ideas out there??
Aloha,
Willy
Short of Machining your own from Billet Aluminium or Stainless Steel, No Willie.

I know many have lost thier love for the Remaned or New LT-1 water pumps.
The Hot ticket is to use an electric water pump like Miezure.

Electric Water pumps and Billet March Serpantine belt pulley and brackets is $1200 bucks for a Pontiac 455 V8.
Too much $ for me.
I will stick with Steel and factory brackets & V-belts.
Free because I have them.
Also have them for my 1965 Olds 425 V8.
 
Well, all I can say, is that this is a higher level challenge than I've encountered up to now with this project, so I'm going to see just what I can do here. Got a new water pump, and am going to get a new thermostat, then look at the existing brackets on the old LT1, the worst problem I see so far is the AC compressor, low and conflicting with the right side motor mount on the '55 setup, needs to be relocated. Let's just see what I can come up with.
Willy
 
I think the 2nd LT-1 You pulled out of storage Willie is from a Chevy Caprice Classis B -body.
The 1992-96 C4 Gen LT-1 Corvettes had the A/C Compressor mounted up high at 10 O'Clock facing from the front.
It might be hard todaay finding the Complete Accessory Brackets from a LT C4 Corvette and all the special bolts and hardware .
 
Nawww, I pulled that motor years ago out of a wrecked '93 Camaro, Z28, LT1, and just stuck it in storage for a whole bunch of years. The block has been dry all that time, but I sure didn't expect that water pump to rust up like it did. The motor had good antifreeze in it when I pulled it out of the Camaro.
 
Condensation happens often here in Illinois . The Dewpoint.
November through April.
Its hard on anything iron or steel and non Aircraft grade aluminium and not Titanium metal.
 
Got a new water pump installed, and put the headers on, a few small problems with the headers, like touching the steering box on the left side, and the grease nipple on the right side steering idler arm:

55HT_fitPartsLT1_011sJan2016.jpg


55HT_fitPartsLT1_021sJan2016.jpg


55HT_fitPartsLT1_013sJan2016.jpg


55HT_fitPartsLT1_015sJan2016.jpg


I'm working on it...
Willy

More HERE
 
BTW LOVE YOUR WEB SITE PICTURES

55HT_fitPartsLT1_021sJan2016.jpg

It really looks like those headers ,in the picture you posted that, your using were designed for use with the angle plug heads,
and use of the strait plug heads causes the spark plug to header tube,
and related ignition wire clearance issues.
this is, unfortunately a very common miss match of components.
look at the heads and the exhaust header tube routing and the difference in clearance,
that the designed angle plug heads use would make on spark plug to header tube clearance.
one of the least understood yet common problems is that the header manufacturers seldom bother to tell you what cylinder heads were used during the header design phase of production of the headers and damn few people purchasing headers bother to do the research or ask detailed questions until they run into problems caused by the design miss match, and yes its very common to find headers designed for strait plug heads can cause similar issues if used with angle plug heads , but thats slightly less common


p34143_image_large.jpg

293187767.jpg

RELATED THREADS
http://garage.grumpysperformance.com/index.php?threads/installing-hard-to-access-plugs.962/

http://garage.grumpysperformance.com/index.php?threads/building-custom-headers.961/#post-56850

http://garage.grumpysperformance.com/index.php?threads/why-use-anti-seize-paste.9424/

http://garage.grumpysperformance.co...ition-wires-getting-the-header-clearance.840/

http://garage.grumpysperformance.com/index.php?threads/straight-vs-angle-plug-sbc-heads.2712/

http://garage.grumpysperformance.co...-guys-that-just-slap-on-factory-headers.3155/
 
Last edited:
Yes, that's certainly true, Grumpy, but that's not what I'm dealing with.
These are angle plug heads, aren't they?
I sure thought so when I bought them....

55HT_fitPartsLT1_006sJan2016.jpg


The only clearance problems I've found, really, is a very slight touch at the steering box, and that grease nipple on the steering idler arm, which I can relocate by drilling/tapping and plugging the existing hole.

These headers fit nicely with the rest of the frame, motor, and steering components.

The mounts I have are slotted sideways, so I can also move the motor slightly to the right, after grinding a little on the steering box, a "little of this, and a little of that...."

55HT%20Motor%20Install%2032s%20Jan%202014.JPG


These pix (above and below) from when I was first setting up the motor mounts, you can see the slot, it is in the middle presently, so I can move it slightly to the right after grinding the steering box first.

55HT%20Motor%20Install%2037s%20Jan%202014.JPG


There are poly bushings in the frame side pieces that the bolts go through, these are not solid motor mounts.

I also wanted to use studs in the heads to hang the headers, but the steering box is too close to use studs, so will go back to bolts, will need the small head 3/8" header bolts to clear the header tubes at the flanges. I could still use studs on the right side, but might as well keep it all the same on both sides.
Willy

PS, thanks for posting all that above, it certainly is right on; and yes, I always use antiseize on all my spark plugs, and silicon sealer on any bolts that get into the water jacket, like the water pump bolts on this LT1 motor.
 
Last edited:
Nice Work Willie.
I love your Website Layout.
Found a few Hilariously funny photos you posted hid too.
Going to use a few ideas for my own website .
Your 55 GASSER BLOWN OLDS 425 My Favorite Hell Raiser you have.
 
Been driving "Patches" (the '55 gasser) every day, minus 3rd gear, no biggie really...
The new TKO 600 for that rig is supposed to arrive tomorrow, then I'll have 5 speeds back...
Link to "Patches"
Meanwhile:
By rotating that steering idler arm, you can see how much clearance I have. I'll drill, tap and relocate that grease zerk.
55HT_fitPartsLT1_025sJan2016.jpg


And ground off the corner of the steering box for clearance. May need a bit more, we'll see...
55HT_fitPartsLT1_026sJan2016.jpg


Aloha,
Willy

More HERE, scroll down
 
Back
Top