Loves302Chevy
"One test is worth a thousand expert opinions."
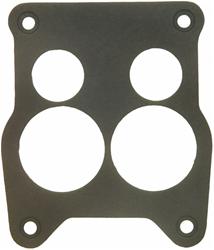
I bought a used 3/4" thick phenolic Quadrajet 4 hole spacer on flea-bay.
The secondary holes are too small to match my 1904 Edelbrock 795 cfm QJet.
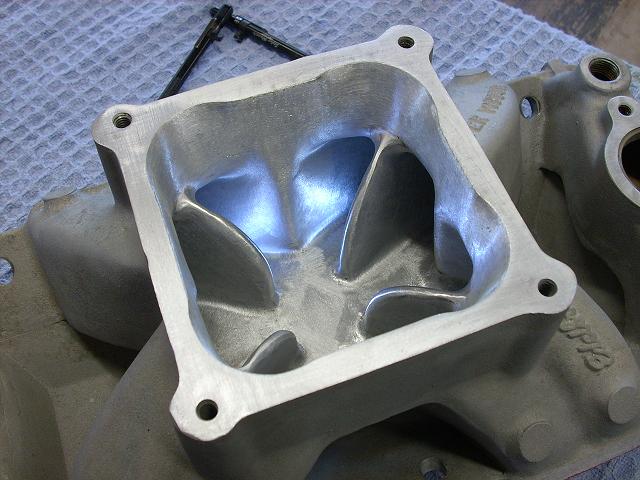
I was planning to modify it to look like the spacer below, except for keeping
the center divided to maintain the dual plane of the intake manifold.


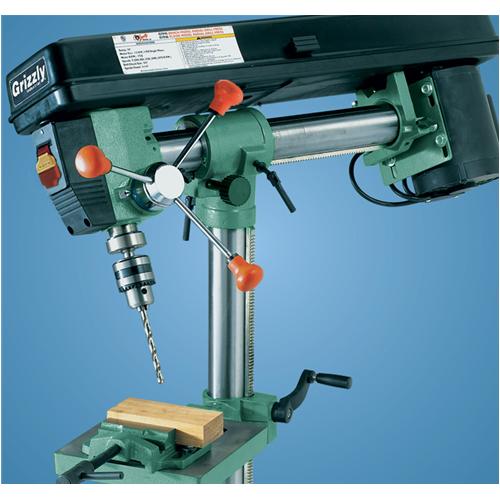
With the new Ram Air hood, I now have the clearance to use a spacer. I have access to a Bridgeport milling machine.
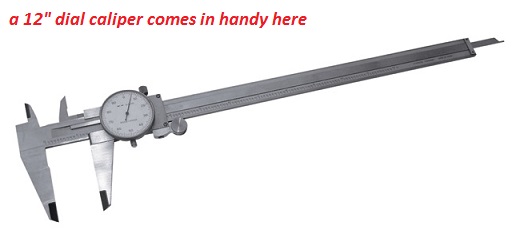
What is the easiest way to machine or grind/sand this to work the way I wish?
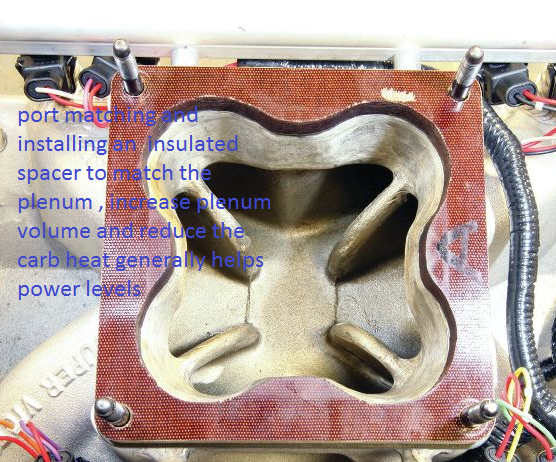
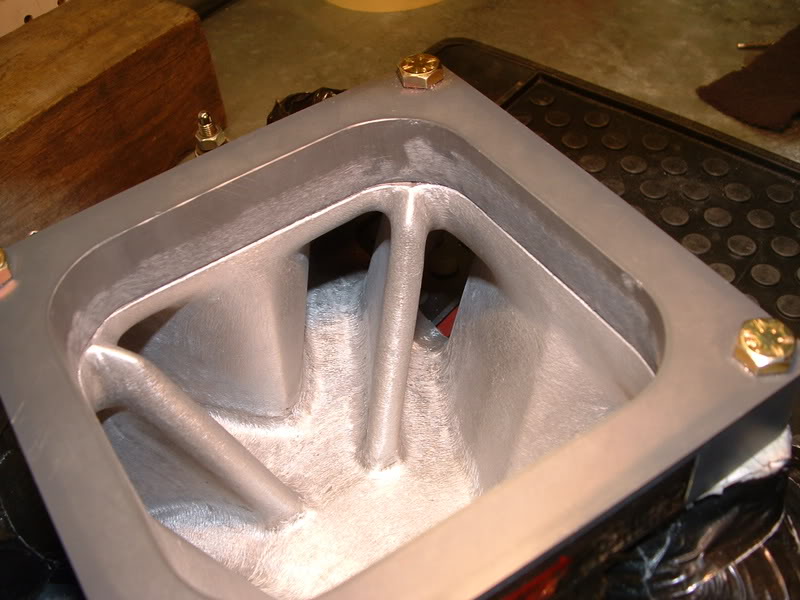
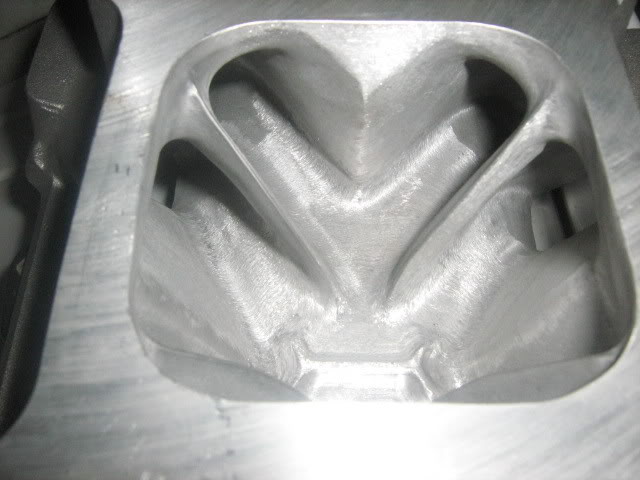
yes the stock as cast intake manifold plenum and runner entrances require some clean-up work if you want to maximize air flow
matching the lower edges of the spacer too the plenum entrances is the best way to reduce turbulence, and flow restrictions, of the air flow exiting the spacer
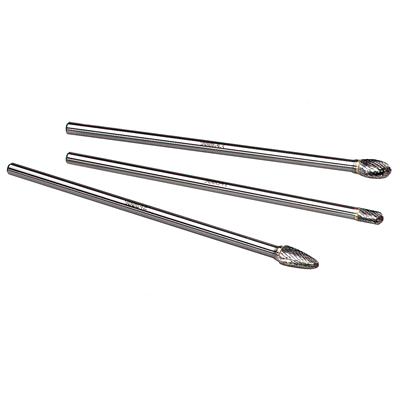
a few hours with a grinder and some reasonable care taken during the process will increase air flow rates
http://garage.grumpysperformance.co...ing-tools-abrasives-sources.10683/#post-46209
http://forum.grumpysperformance.com...=462&p=7593&hilit=gasket+porting+intake#p7593
http://www.harborfreight.com/air-die-grinder-with-3-inch-extension-99698.html
http://garage.grumpysperformance.com/index.php?threads/epoxy.14058/
The secondary holes are too small to match my 1904 Edelbrock 795 cfm QJet.
I was planning to modify it to look like the spacer below, except for keeping
the center divided to maintain the dual plane of the intake manifold.
With the new Ram Air hood, I now have the clearance to use a spacer. I have access to a Bridgeport milling machine.
What is the easiest way to machine or grind/sand this to work the way I wish?
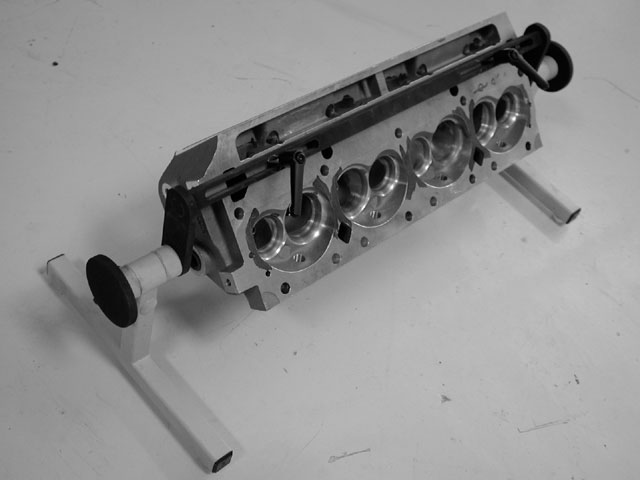
Ray P W said:Grumpy,
The photos in your post here show that the dividers between the intake runners where the intake runners depart the plenum are thick and appear to present an obstacle to laminar air flow into the runners. I have seem similar castings in 2-stroke motorcycle jugs. Is that because casting thin dividers that help air flow more smoothly into the runners would be a problem in manufacturing?
It seems that putting a knife edge on these dividers could be beneficial to air flow, both in intake manifolds and motorcycle jugs. Is that correct?
Ray W
yes the stock as cast intake manifold plenum and runner entrances require some clean-up work if you want to maximize air flow
matching the lower edges of the spacer too the plenum entrances is the best way to reduce turbulence, and flow restrictions, of the air flow exiting the spacer
a few hours with a grinder and some reasonable care taken during the process will increase air flow rates
http://garage.grumpysperformance.co...ing-tools-abrasives-sources.10683/#post-46209
http://forum.grumpysperformance.com...=462&p=7593&hilit=gasket+porting+intake#p7593
http://www.harborfreight.com/air-die-grinder-with-3-inch-extension-99698.html
http://garage.grumpysperformance.com/index.php?threads/epoxy.14058/
Last edited by a moderator: