Raidmagic
Active Member
Hey guys, I'll try to be accurate with this but I have had the car for a few years now and have never done a thread on it.
In the winter of 08 I decided to build a t bucket so I sold off some other projects and started saving my money while on the search for the right car. I thought about buying a new kit but then I found this beast in northern Georgia and pulled the trigger. On Feb. 28th 09 I set off on a 1000 mile journey to bring it home. At $3,500 I felt it was a great start and a good price.
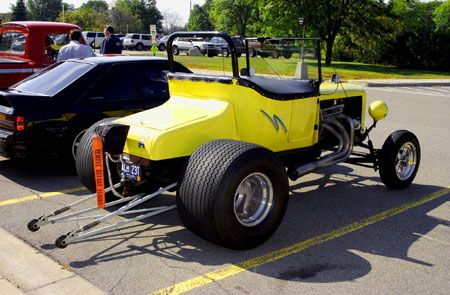
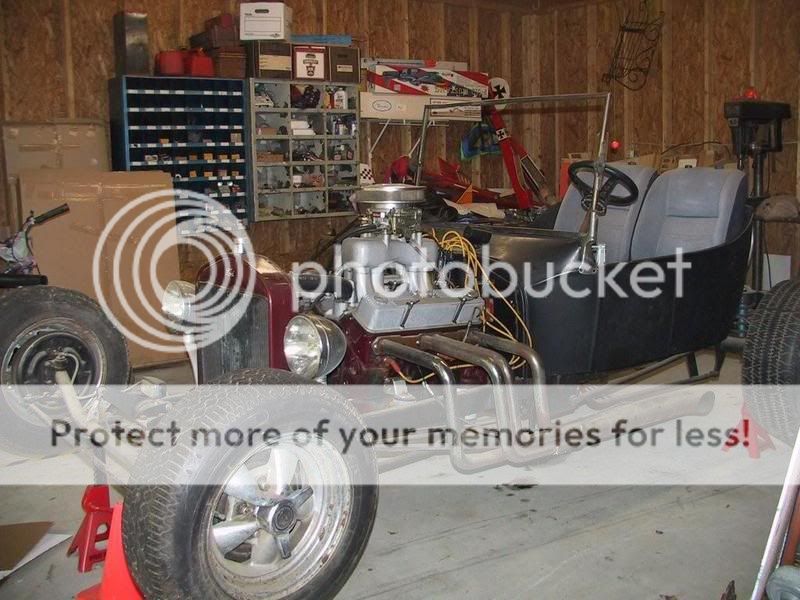
This is how it sat in the guy's garage I bought it from:
My dad and I went up in his motorhome to get it, my wife is so used to me now she didn't even question my taking a 2 day trip to bring home a car It rained almost all the way up there and all the way home, it was cold and rainy and the weather broke just long enough for us to load it.
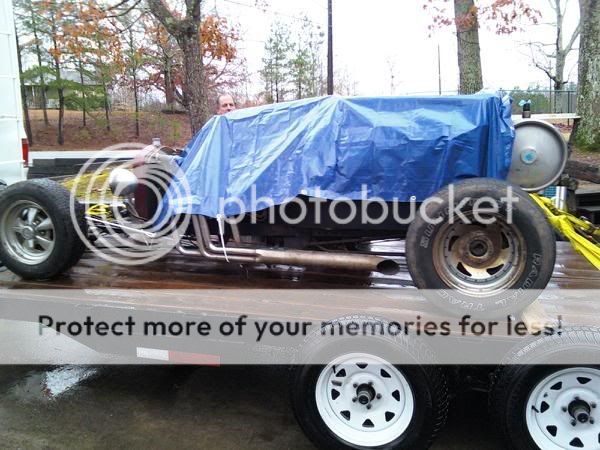
Here it is loaded:
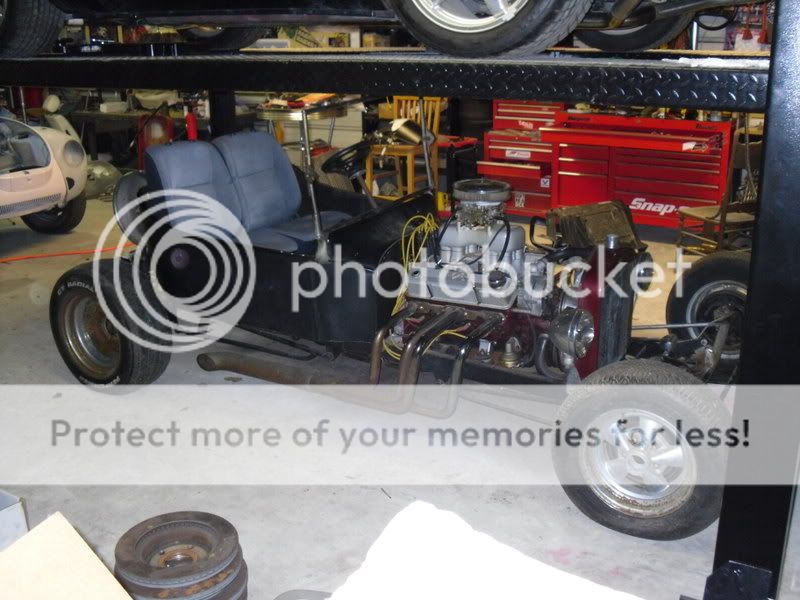
As soon as it was loaded it started raining again. Well we made it home safely and here it was in it's new home.

The PO wasn't able to get it running so I dug into the wiring and replaced the points dist. with a Mallory unilite and made it run and drive with some minor brake work.
Here it is running and driving but if you watch close you will see the front brake locking up and some smoke. While I believe that it would stop smoking with some run time I had a better plan anyway, more on that in a minute
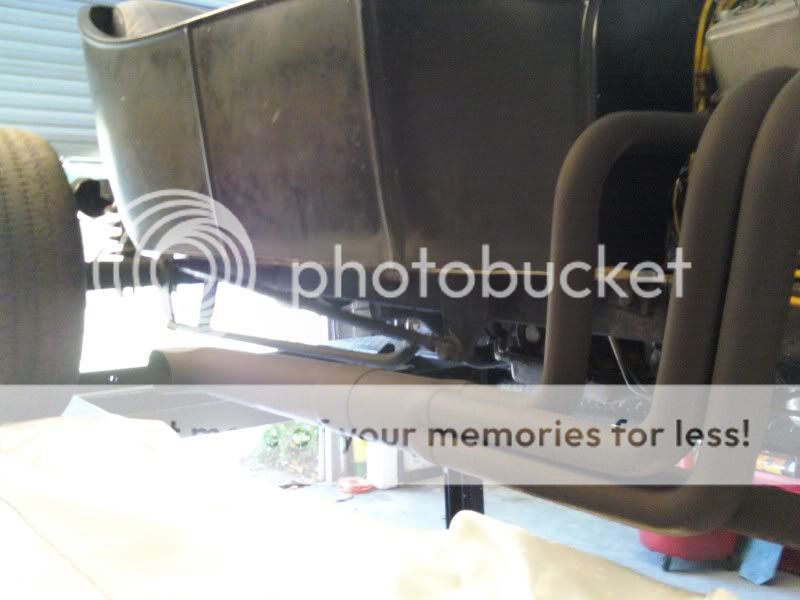
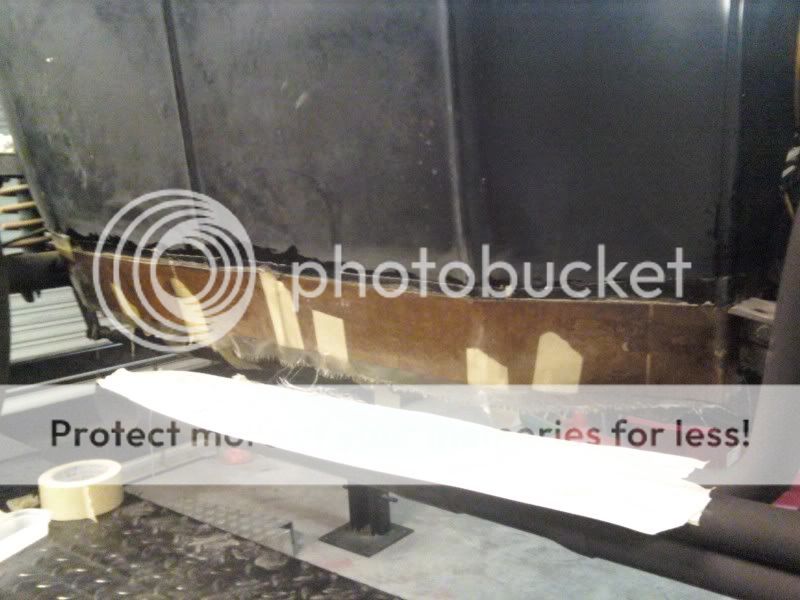
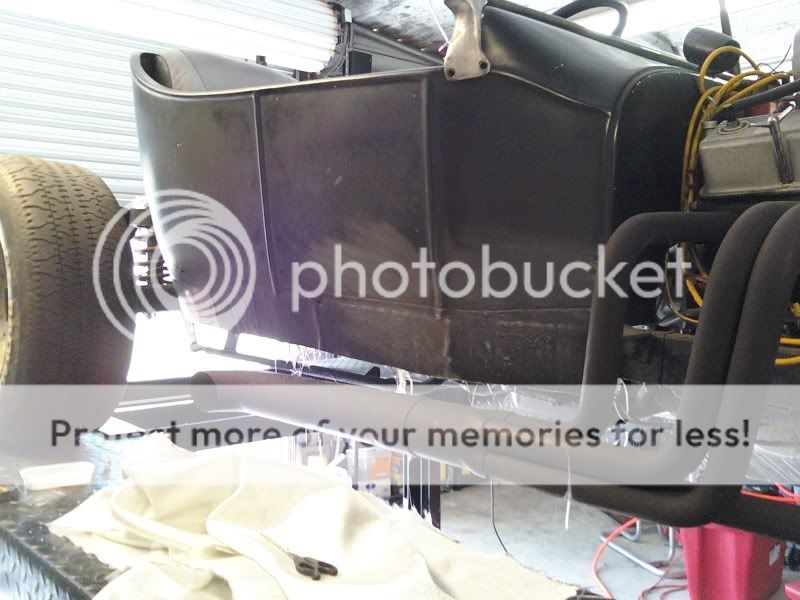
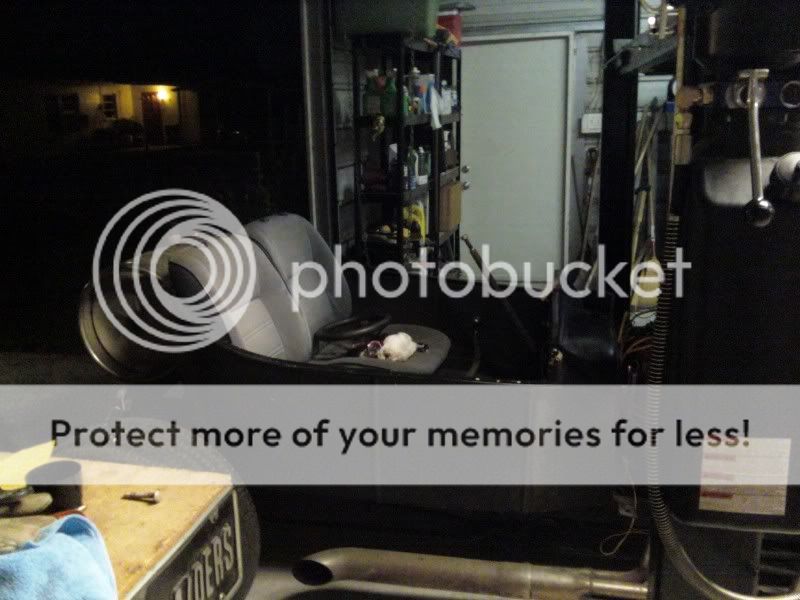
Next I added 4" to the bottom of the body as someone had cut it off even with the frame and I thought it looked wierd
After that I had to lower the seats. They stuck way out of the bucket. First I removed the tracks and that helped but then I removed the seatcovers and foam and cut 4" out of the frames and put the covers and foam back on.
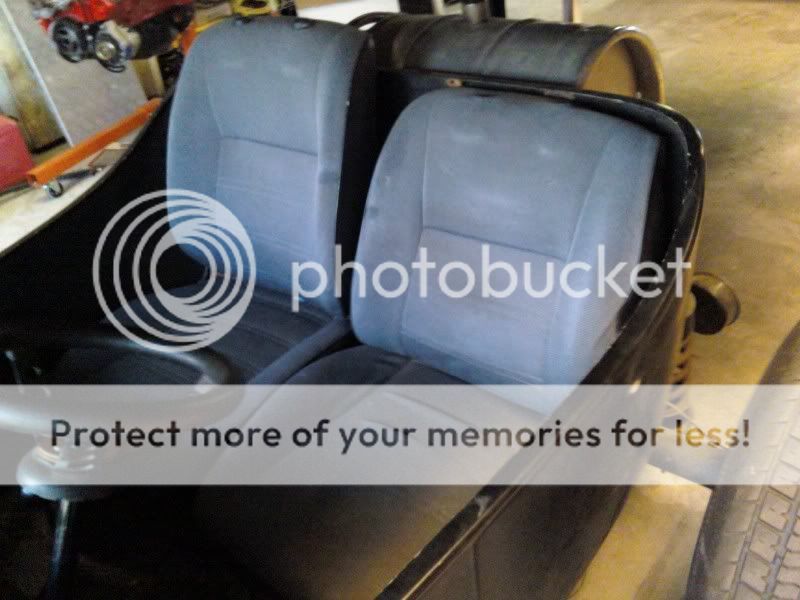
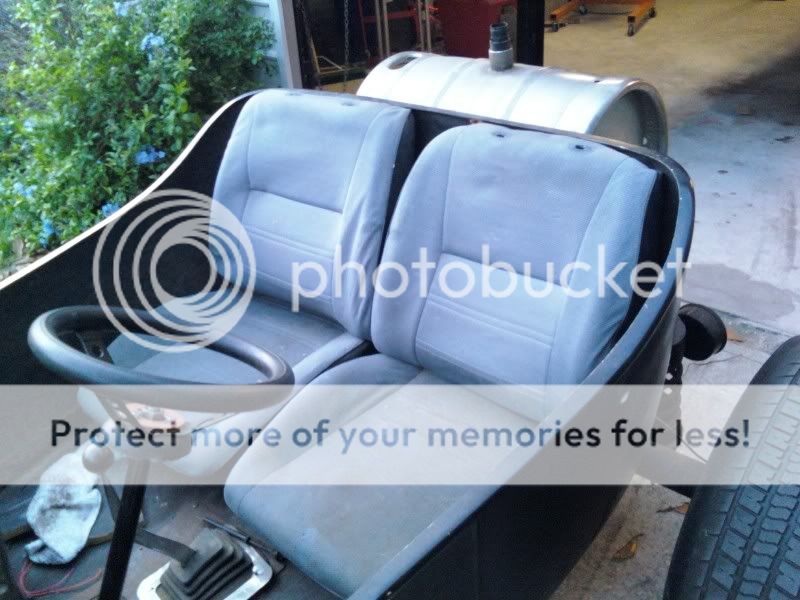
Here is a comparision of before and after cutting the 4" out
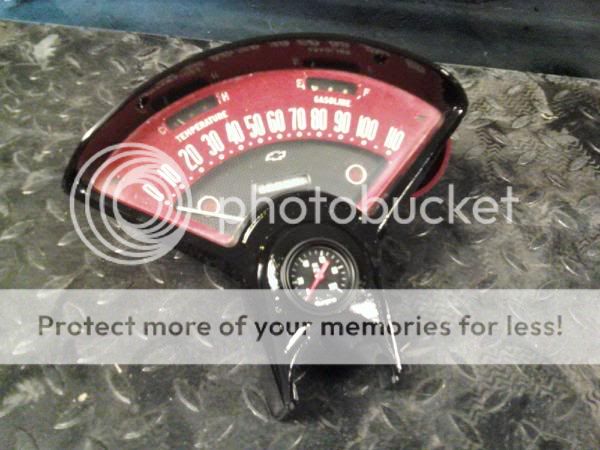
After digging though some of my junk I found this 55 Chevy speedo and semi restored it
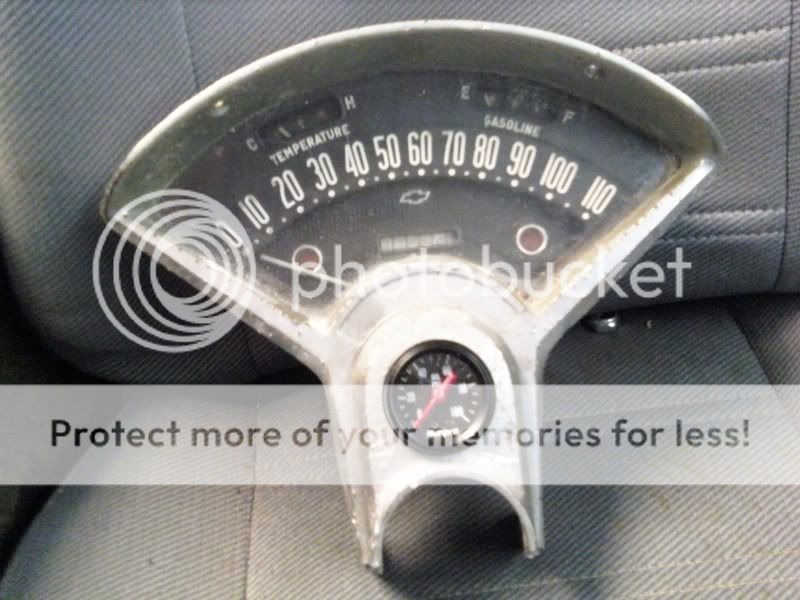
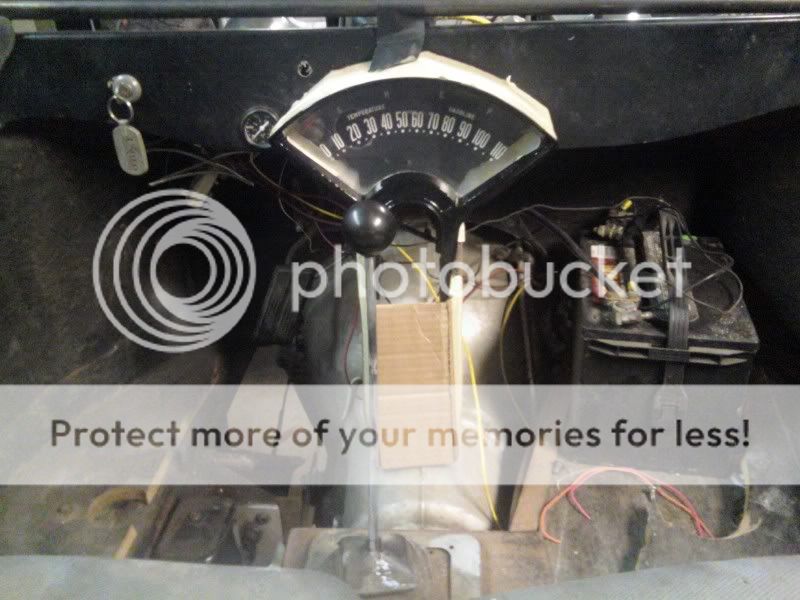
It will end up mounting something like this
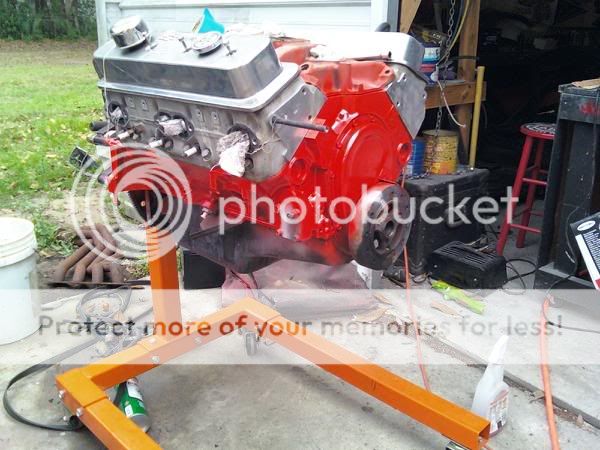
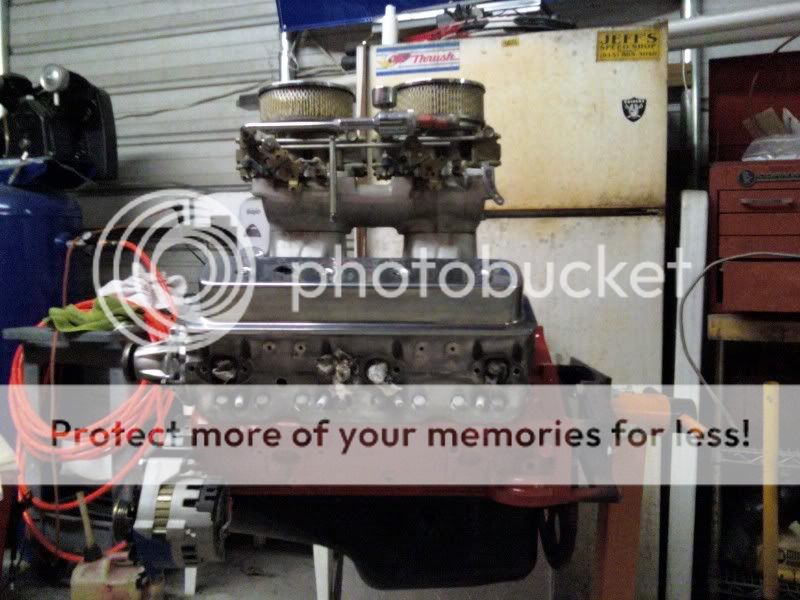
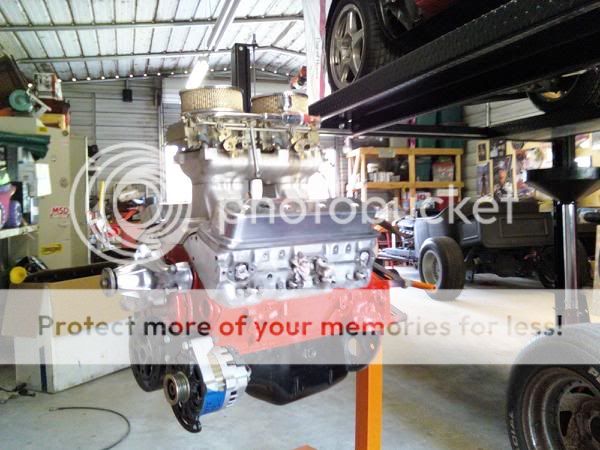
Now onto the motor. I put an LS1 in my 87 Corvette so I had this great running 87 Vette motor to use. Some paint and a tunnel ram should make things right
Then I pulled the whole thing down to the frame and sanded and repainted the whole thing.
Here is the new motor siting on the nice clean frame
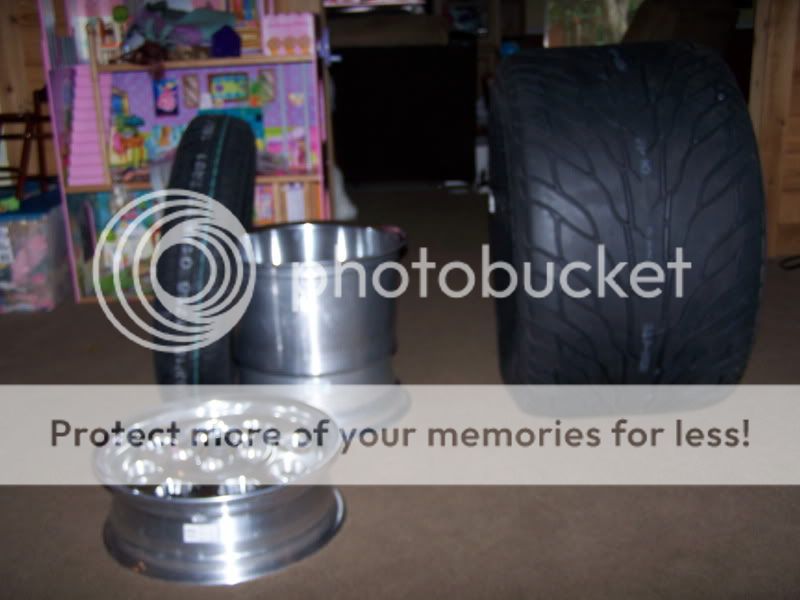
At this point the car got put on the back burner adn sat for 6 or so months. When it came back to being worked on I bought new wheels and tires for it.
THe body didn't have any provisions for the windshield to mount to so I had to make some. I started with some 1" square tubing and cut it to fit then welded up the cut areas, next I welded on a piece of flat stock then bent it to fit the area. After that I connected the two sides with a cross bar and ran a support up to the firewall as well. That sucker is on there now.


That's about where I'm at with the pictures but I have completely redone the front axle and brakes, I'll be posting pics of that shortly. I've gotten sick in the past few days so I haven't been working on it. I do have a new wiring harness, battery box, master cylinder,rebuild kits for the carbs and a few other things. It should be roadworthy in the next week or two.
In the winter of 08 I decided to build a t bucket so I sold off some other projects and started saving my money while on the search for the right car. I thought about buying a new kit but then I found this beast in northern Georgia and pulled the trigger. On Feb. 28th 09 I set off on a 1000 mile journey to bring it home. At $3,500 I felt it was a great start and a good price.
This is how it sat in the guy's garage I bought it from:
My dad and I went up in his motorhome to get it, my wife is so used to me now she didn't even question my taking a 2 day trip to bring home a car
It rained almost all the way up there and all the way home, it was cold and rainy and the weather broke just long enough for us to load it.Here it is loaded:
As soon as it was loaded it started raining again. Well we made it home safely and here it was in it's new home.
The PO wasn't able to get it running so I dug into the wiring and replaced the points dist. with a Mallory unilite and made it run and drive with some minor brake work.
Here it is running and driving but if you watch close you will see the front brake locking up and some smoke. While I believe that it would stop smoking with some run time I had a better plan anyway, more on that in a minute
Next I added 4" to the bottom of the body as someone had cut it off even with the frame and I thought it looked wierd
After that I had to lower the seats. They stuck way out of the bucket. First I removed the tracks and that helped but then I removed the seatcovers and foam and cut 4" out of the frames and put the covers and foam back on.
Here is a comparision of before and after cutting the 4" out
After digging though some of my junk I found this 55 Chevy speedo and semi restored it
It will end up mounting something like this
Now onto the motor. I put an LS1 in my 87 Corvette so I had this great running 87 Vette motor to use. Some paint and a tunnel ram should make things right
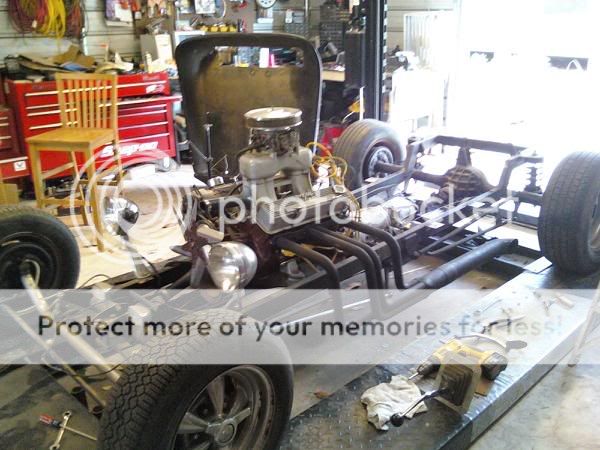
Then I pulled the whole thing down to the frame and sanded and repainted the whole thing.
Here is the new motor siting on the nice clean frame
At this point the car got put on the back burner adn sat for 6 or so months. When it came back to being worked on I bought new wheels and tires for it.
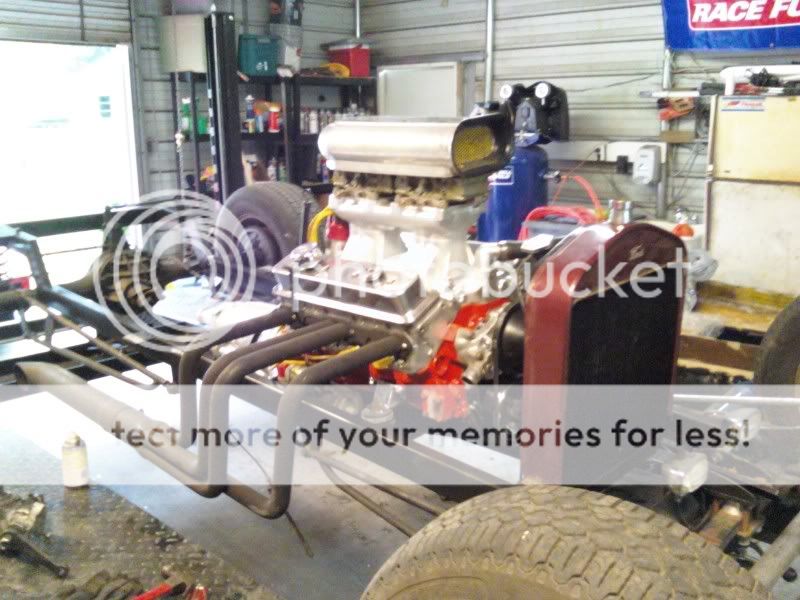
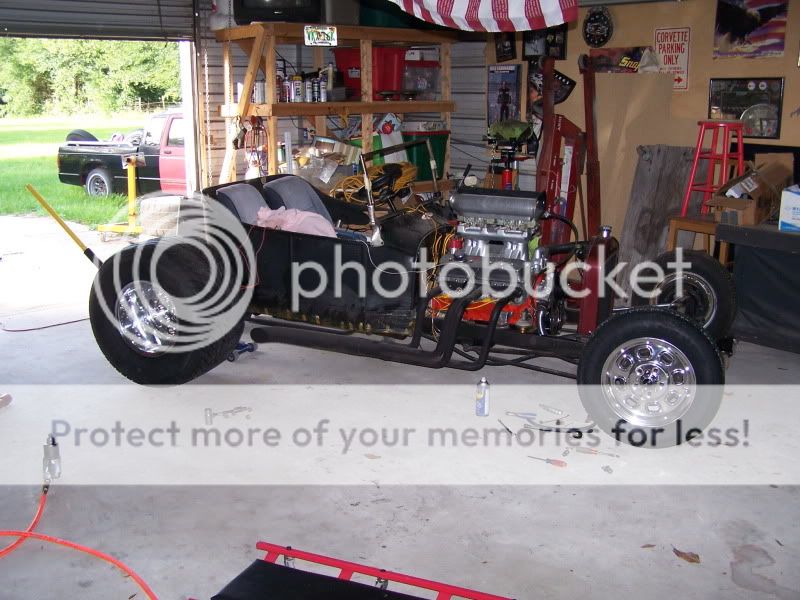
THe body didn't have any provisions for the windshield to mount to so I had to make some. I started with some 1" square tubing and cut it to fit then welded up the cut areas, next I welded on a piece of flat stock then bent it to fit the area. After that I connected the two sides with a cross bar and ran a support up to the firewall as well. That sucker is on there now.
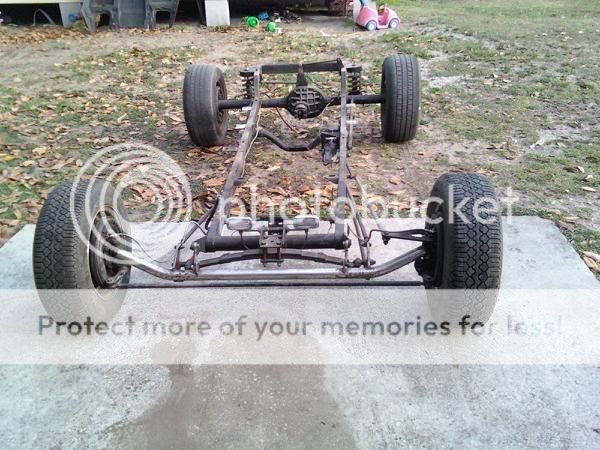
That's about where I'm at with the pictures but I have completely redone the front axle and brakes, I'll be posting pics of that shortly. I've gotten sick in the past few days so I haven't been working on it. I do have a new wiring harness, battery box, master cylinder,rebuild kits for the carbs and a few other things. It should be roadworthy in the next week or two.