viewtopic.php?f=54&t=206&p=390&hilit=+seal+thick+pan#p390
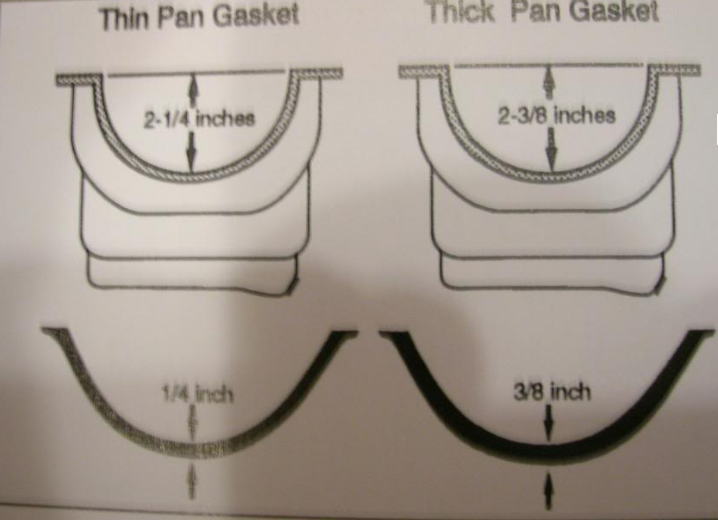
theres two common gasket thickness measurements,Put a straight edge across the front of the oil pan and measure down to the lowest part of where the seal rests directly centered under the crank,the distance from the strait edge to the lower front oil pan is the measurement you need,. It's the oil pan that determines thick or thin seal, not the timing cover.
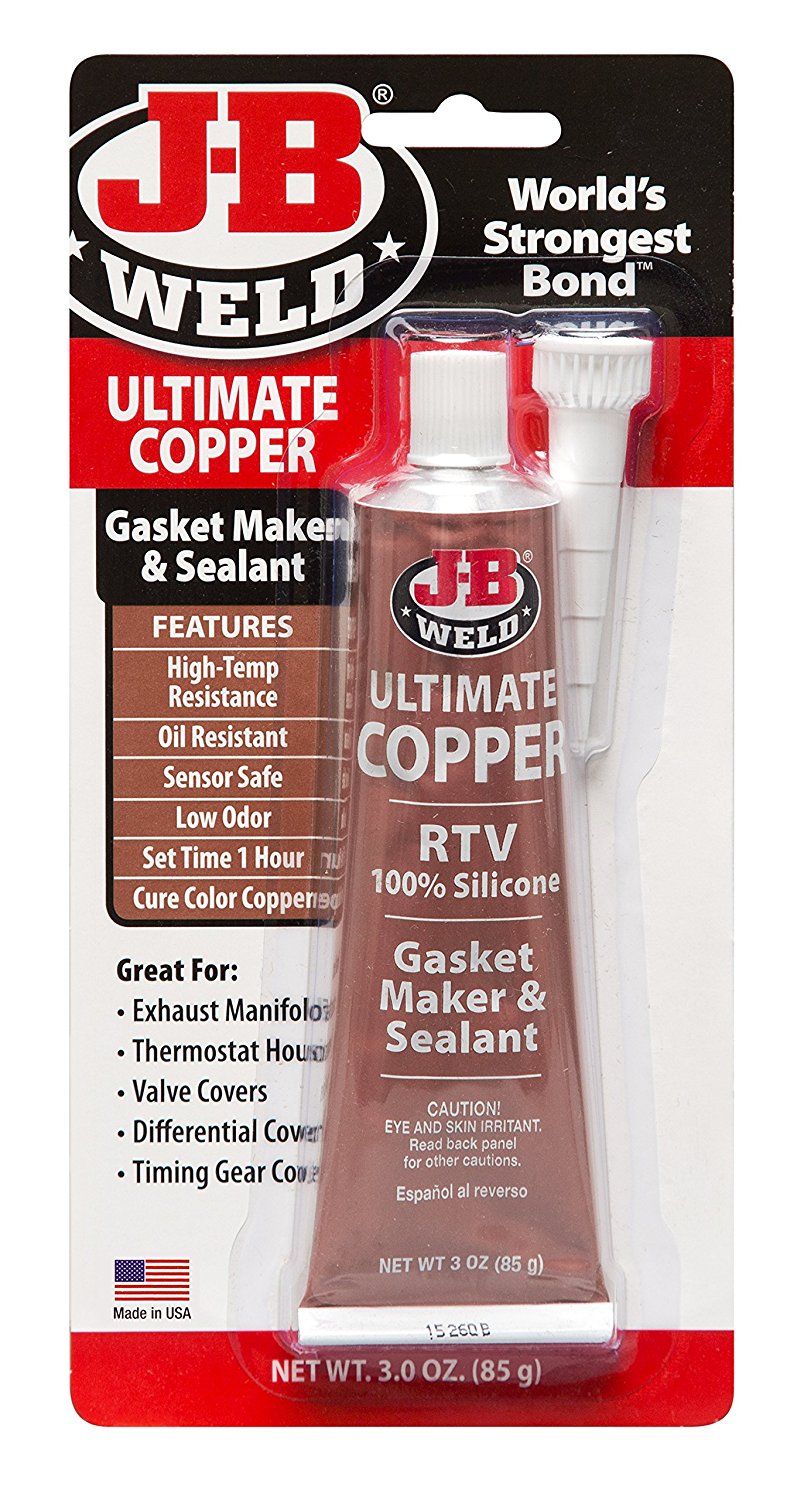
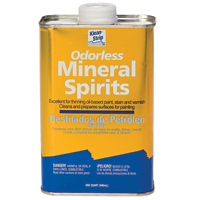
youll occasionally find uses for a high temp rated silicone sealant
like ultra-copper that has about twice the temp tolerance of the common black RTV
BTW I have on several occasions seen guys who complain about various oil leaks on valve covers and rear seals ETC.
Used, engine parts will have oil embedded deeply into the micro surfaces.
almost all replacement parts will have a wax or grease preservative coating to prevent corrosion during shipping!
IF YOU simply wipe off oil soaked surfaces with a paper towel, who then smear on the sealant of there choice and proceed to install gaskets,
YOU WILL OCCASIONALLY HAVE LEAKS!
and then they wonder or maybe be in shock when you find the seeping oil leak has returned in a few weeks time!
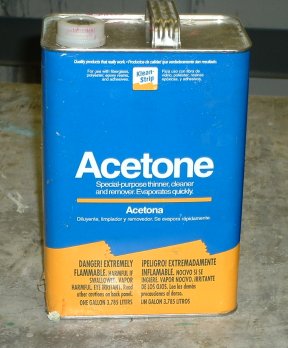
metal surfaces may look smooth as glass but under a microscope they look like the surface of the moon , with lots of jagged surface cracks, so you really need to wash out the micro lubricants trapped in those cracks with a thin fast evaporating grease solvent and a lint free rag , followed by a second repeat of the process and in many cases a few minutes with a heat gun to dry and evaporate the solvent in the micro cracks ,
STOP AND READ THE SEALANT PACKAGE DIRECTIONS!
you'll generally find some rather amazing , bits of info such as temperature requirements, temperature limitations, what solvents work best to remove the cement or sealant, only after reading the directions, do you then smear the gasket sealant on both mating surfaces before bonding the two gasket & metal surfaces.(and in many cases you use a brush as dirt or oil on fingers prevents a good seal!)
2-1/4" = thin seal
2-3/8" = thick seal
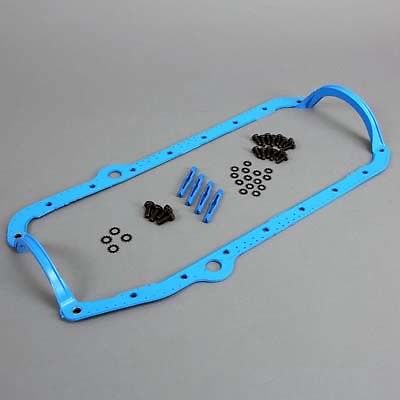
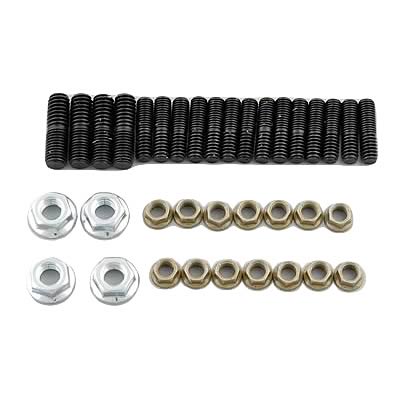
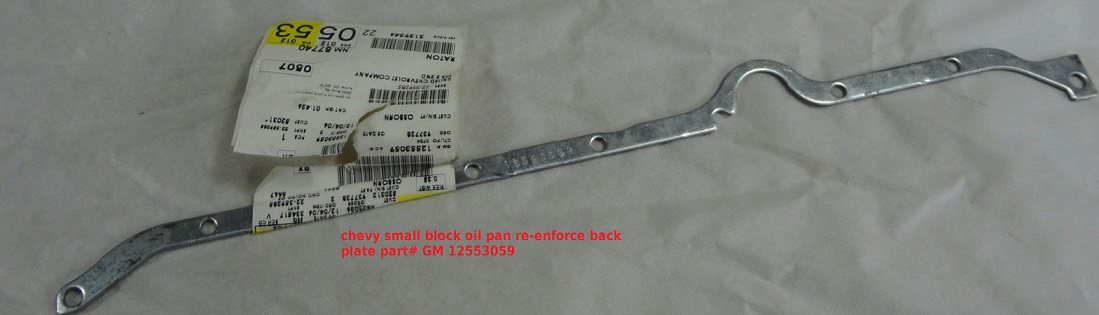
On oil pans I prefer studs, and an oil pan back plate
you might want to Use with P/N 12553058 RH and P/N 12553059 LH oil pan reinforcement plates to distribute the bolt stress on the oil pan rail for 1985 and earlier oil pans P/N 14088501 (LH) and P/N 14088502 (RH).1986 and newer
sources for oil leaks
Oil filter not tight
Oil drain plug seal bad
Oil cooler fitting loose
Faulty oil pressure switch
leaking valve cover gaskets
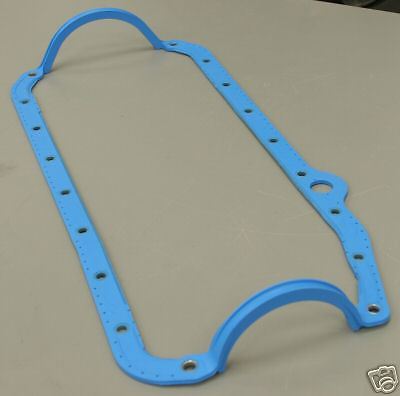
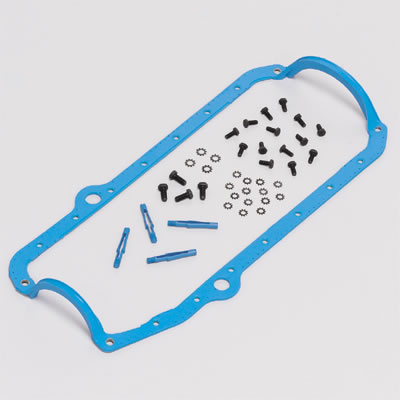
Oil pan gasket bad, or installed incorrectly
Rear seal failure, or installed incorrectly
Front seal bad,worn, or installed incorrectly
loose dip stick or installed incorrectly
rear cam freeze plug loose or installed incorrectly
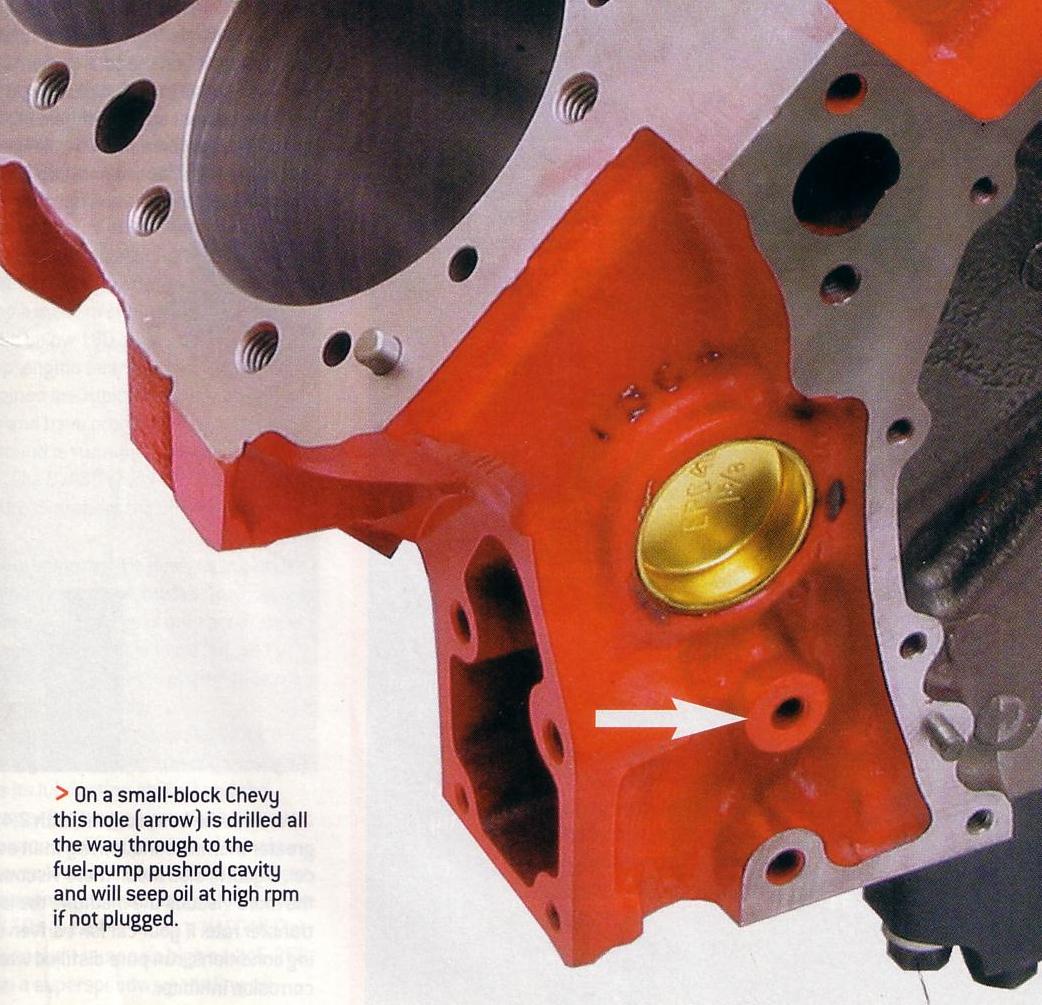
rear oil passages plugs loose or installed incorrectly
youll want to leave the timing cover alignment studs sticking out of the block about 5/16"
don,t forget that theres a front crank seal
SHOP CAREFULLY , WHEN YOU GO TO BUY AN OIL PAN for your engine or transmission, <AND ASK LOTS OF QUESTIONS ABOUT WHAT WILL FIT YOUR CAR CORRECTLY AND ASK FOR SUGGESTIONS ON MATCHING COMPONENTS OR PARTS THAT WON,T FIT
MILODON,
http://www.milodon.com/
CHAMP
http://www.champpans.com/products/c/oil-pans/
CANTON,
https://www.cantonracingproducts.com/category/1501/Chevy-SS--Road-Race-Oil-Pans/1.html
MOROSO
http://www.moroso.com/
AVIAID
http://aviaid.com/shopsite_sc/store/html/ws_oilpns_sbc.html
STEFS
http://www.stefs.com/products/oilpans/circletrackwetsump.htm
HAMBURGERPERFORMANCE
http://www.hamburgersperformance.com/
KEVKO
https://kevko.myshopify.com/
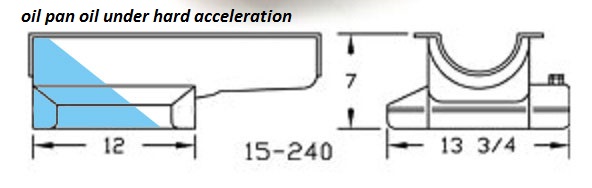
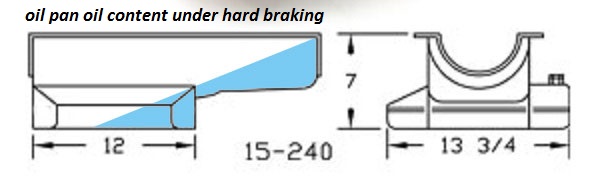
IF you've wondered why I suggest buying and using a well designed BAFFLED oil pan with 7-8 quart capacity its to prevent the oil from uncovering the oil pump pick-up under performance use.
without control baffles oil sloshes away from the oil pump pick-up
viewtopic.php?f=51&t=1718&p=11956&hilit=front+seal#p11956
http://www.federalmogul.com/en/Aftermar ... rMainSeal/
and rear crank seal that have zero to do with the oil pan gasket and those can also leak oil
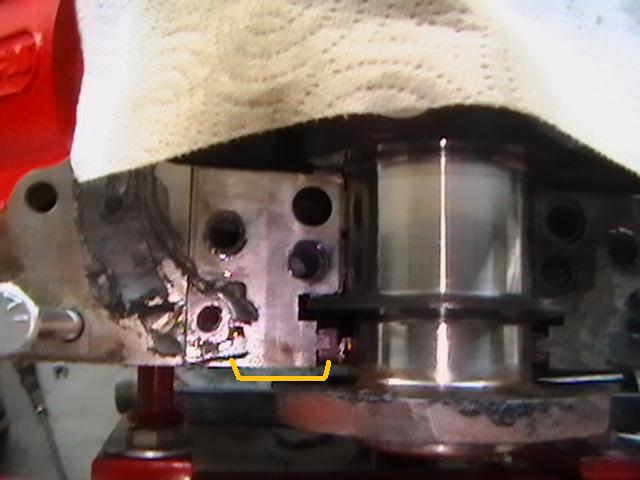
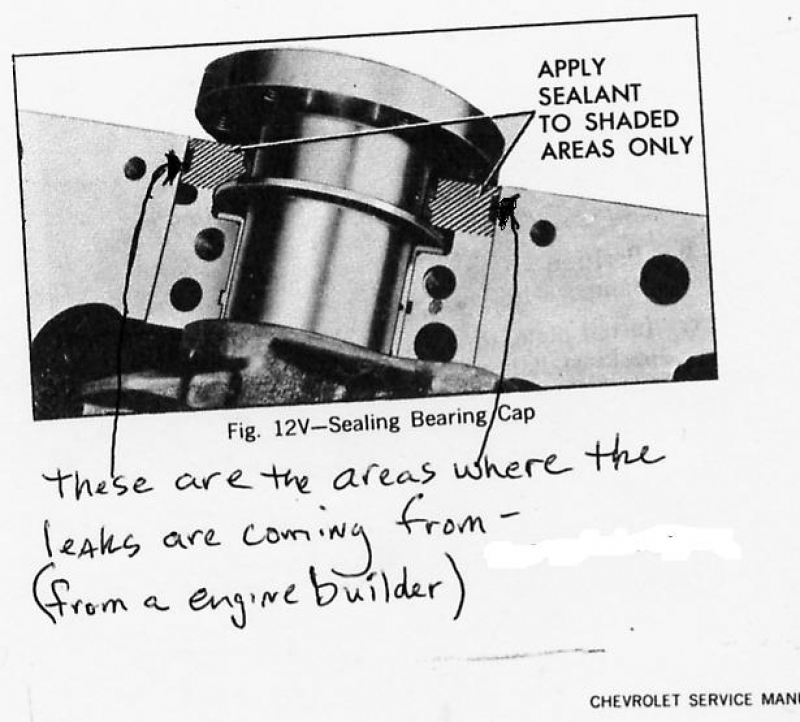
don,t forget a very thin line of sealant under the main cap/block bearing surface or you may have a very slow oil drip from what you think is the rear main seal but its really seeping under the main cap
viewtopic.php?f=54&t=473
reading thru this thread may help,
theres TWO different front seal thicknesses, if you, select and install the wrong one
or install it incorrectly it leaks
and a bolt thats required to , be threaded into the block to seal oil into the crank case
viewtopic.php?f=51&t=1718&p=4257&hilit=+rear+seal#p4257
viewtopic.php?f=54&t=2725&p=7076&hilit=rear+seal#p7076
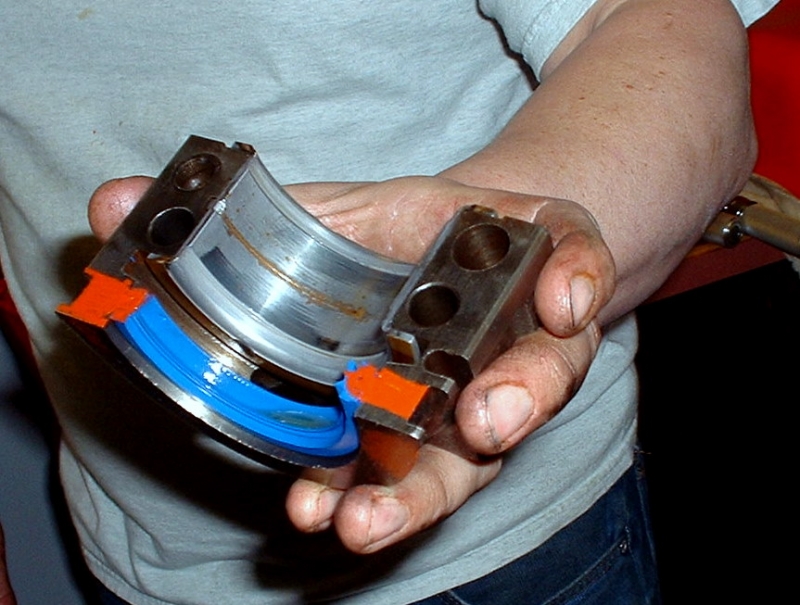
rear seals come in, rubber, silicon rubber,.Fluoroelastomer, and Viton they all work if properly installed but VITOR usually lasts the longest
http://www.summitracing.com/parts/FEL-BS118291/..
rubber
http://www.summitracing.com/parts/FEL-2909/...
Fluoroelastomer,
http://www.summitracing.com/parts/FEL-2900/...
Silicone
http://www.summitracing.com/parts/FEL-2918/..
viton
you might want to Use with P/N 12553058 RH and P/N 12553059 LH oil pan reinforcement plates to distribute the bolt stress on the oil pan rail for 1985 and earlier oil pansP/N 14088501 (LH) and P/N 14088502 (RH).1986 and newer