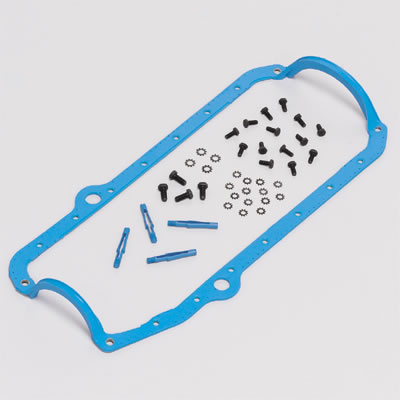
now Im sure most of you guys have seen or used both types, (the old cork 4 piece sets and the newer synthetic one piece design oil pan gaskets)
in my opinion the newer synthetic one piece style is FAR superior!
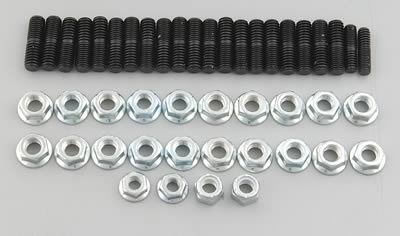
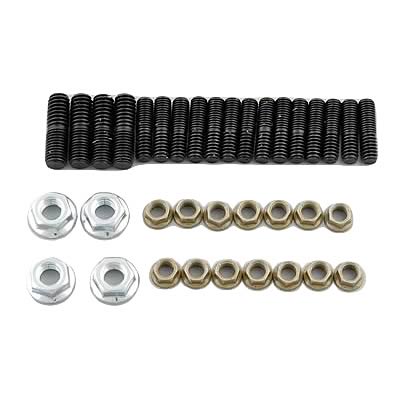
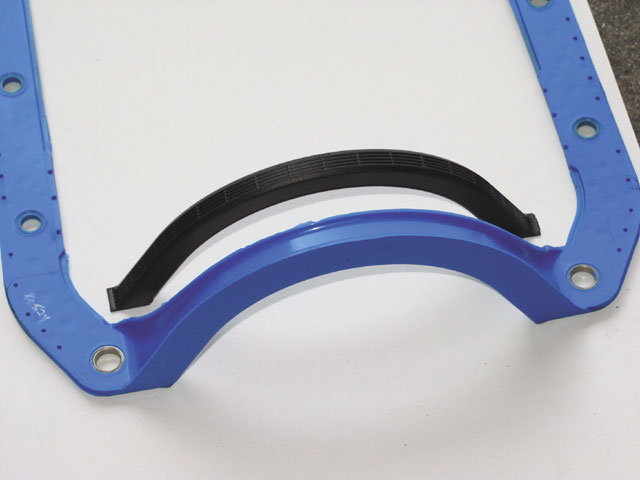
if you read the instructions they say to not use a sealant, Ive found that use of contact cement ONLY on the surface between the upper gasket and blocks lower edge to be a better idea as you can slide the gasket in place then install the oil pan, especially if your under the car, but I also advise the use of STUDS in the BLOCK whenever you can use them as its so much more precise and keeps the gasket from moving as much during the installation procedure.Ive usually used the gasket with contact cement on the upper surface and studs to keep in located until the pans aligned and installed, because doing it way makes the installation far easier
BTW the 4 corner studs are a different diam. (larger) so keep that in mind and you don,t want the studs to extend to far below the block as it can cause clearance and installation problems if your sliding the pan on/off under the car with the K-member,
 www.jegs.com
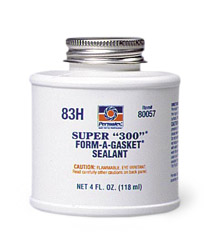
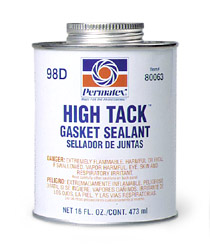
putting a dab of silicone sealant in the corners helps, and I generally use a product like these brush-on sealants on both the treads and both sides of the one-piece oil pan gaskets
www.jegs.com
putting a dab of silicone sealant in the corners helps, and I generally use a product like these brush-on sealants on both the treads and both sides of the one-piece oil pan gaskets
(yeah it says you don,t need it)
viewtopic.php?f=51&t=1718&p=4257&hilit=rear+seal#p4257
viewtopic.php?f=32&t=699&p=972#p972
viewtopic.php?f=54&t=525&p=4599&hilit=clay#p4599
viewtopic.php?f=53&t=301&p=1815&hilit=+one+piece+crank#p1815
viewtopic.php?f=27&t=26
viewtopic.php?f=32&t=474&p=585&hilit=+synthetic#p585
http://store.summitracing.com/partdetail.asp?part=MOR-38350&autoview=sku
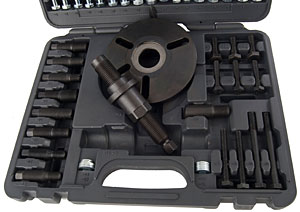
THIS MAY COME IN HANDY
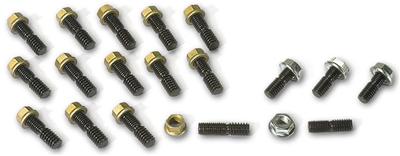
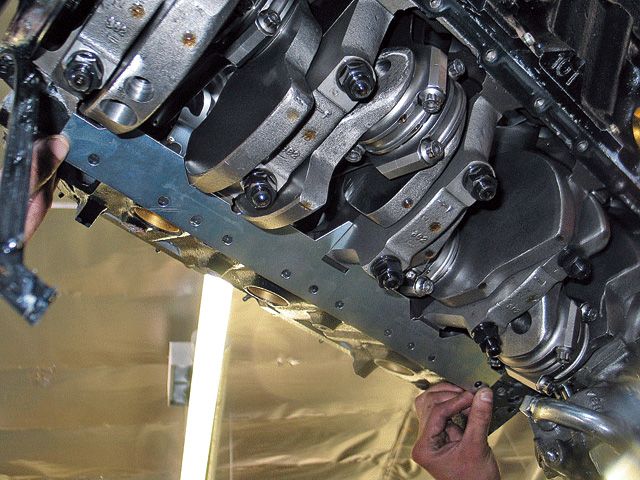
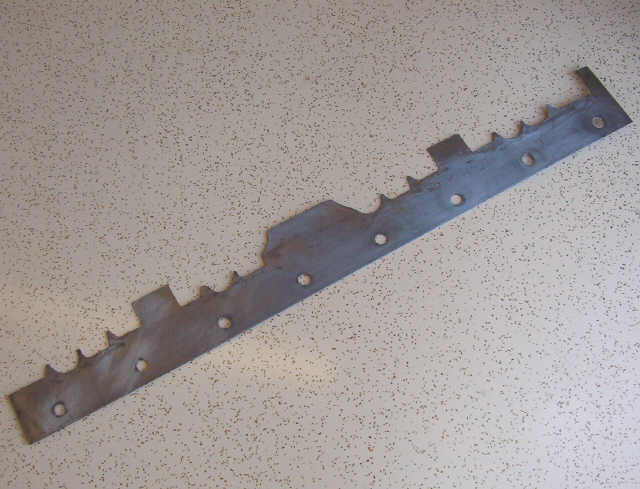
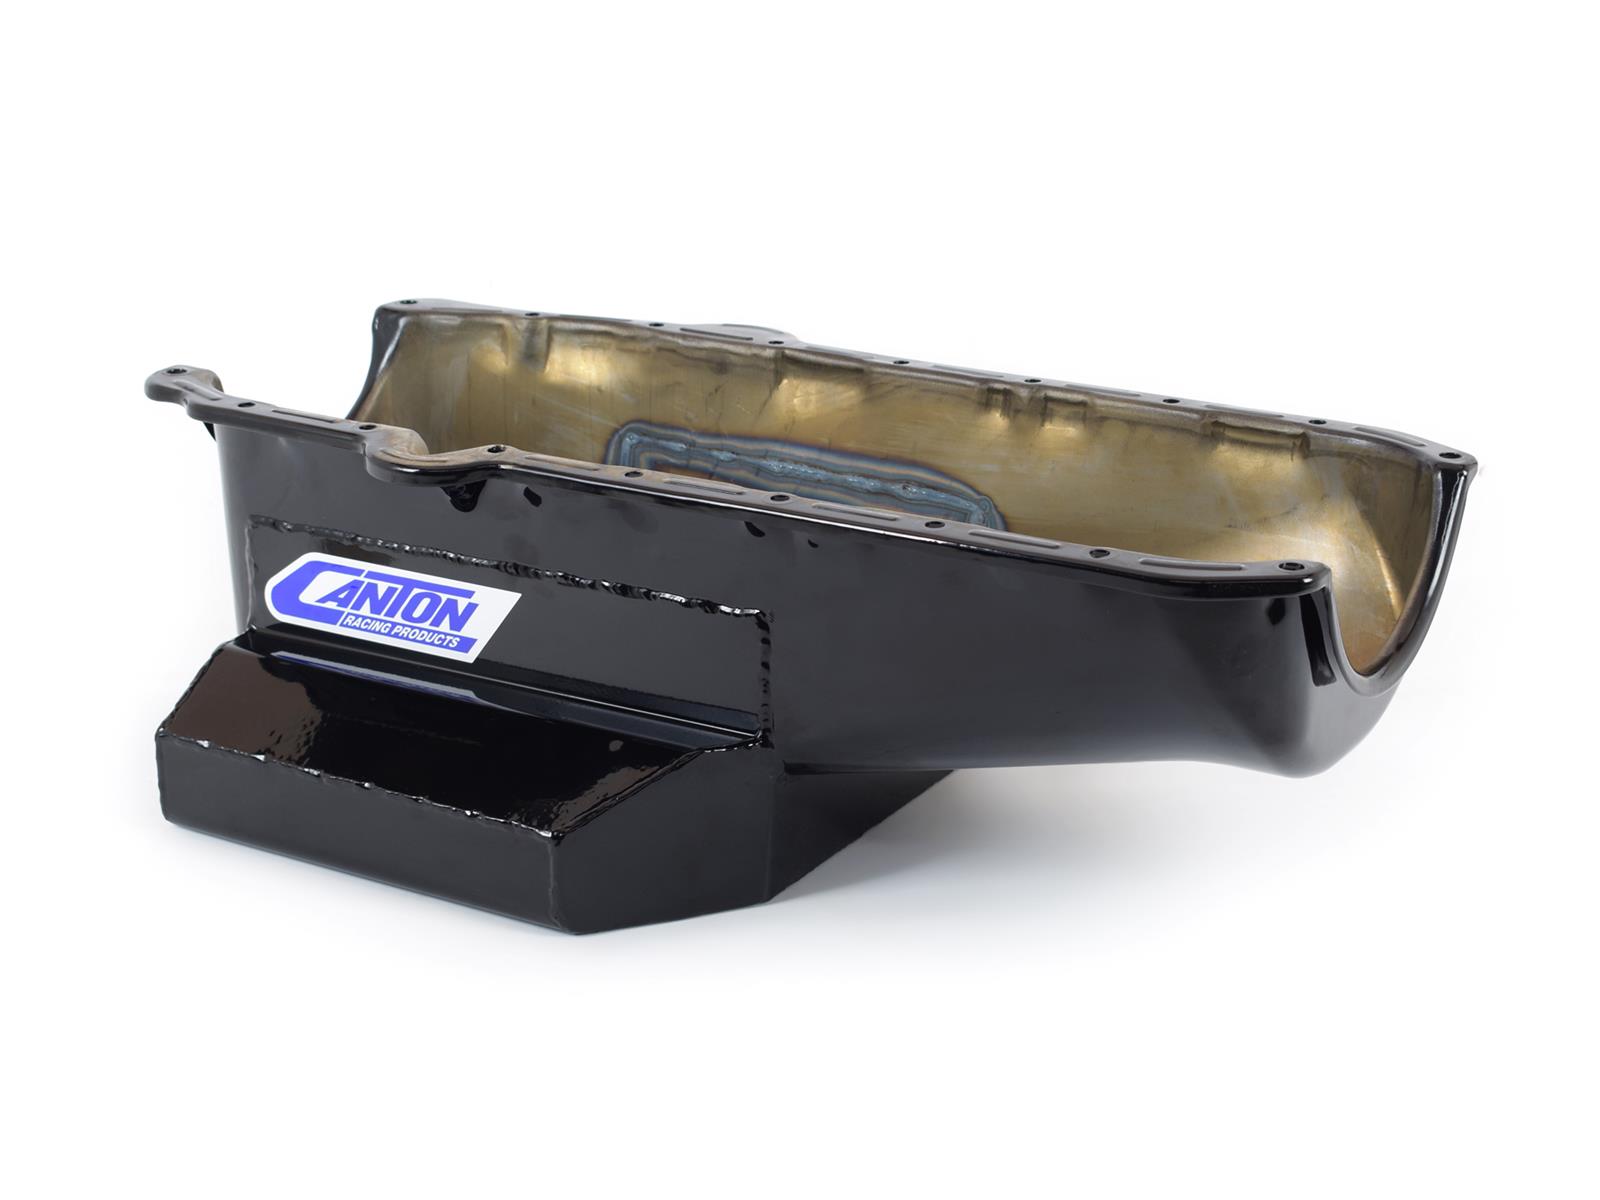
On oil pans I prefer studs, and an oil pan back plate
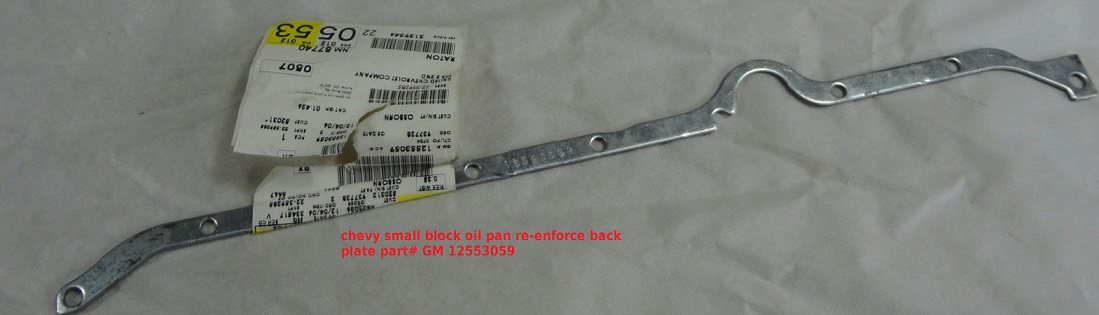
you might want to Use with P/N 12553058 RH and P/N 12553059 LH oil pan reinforcement plates to distribute the bolt stress on the oil pan rail for 1985 and earlier oil pans P/N 14088501 (LH) and P/N 14088502 (RH).1986 and newer
viewtopic.php?f=54&t=65
viewtopic.php?f=52&t=761&p=1092&hilit=+sequence#p1092
and remember the oil pan will only clear that K-member with the crank counter weights in a single location, so if your having a caniption fit trying to get it to clear the K-frame the counter weights more than likely in the wrong rotational location, SPIN IT OVER A BIT TO CLEAR
ONE PIECE OIL PAN GASKETS
HERES A BASIC LIST
SMALL BLOCK FELPRO
http://www.jegs.com/webapp/wcs/stores/servlet/product_10001_10002_746664_-1_10197
TWO PIECE REAR SEAL
OS34509T: Thin seal
OS34510T: Thick seal
http://www.jegs.com/webapp/wcs/stores/servlet/product_10001_10002_47050_-1
one-piece main seal blocks use this one:
OS34500R
Which type you use is dependent on your oil pan, not the block or timing cover.
BBC LISTED ALSO
http://www.jegs.com/webapp/wcs/stores/servlet/product_10001_10002_746664_-1_10197
http://store.summitracing.com/egnse...kets&searchinresults=false&N=700+115&y=8&x=43
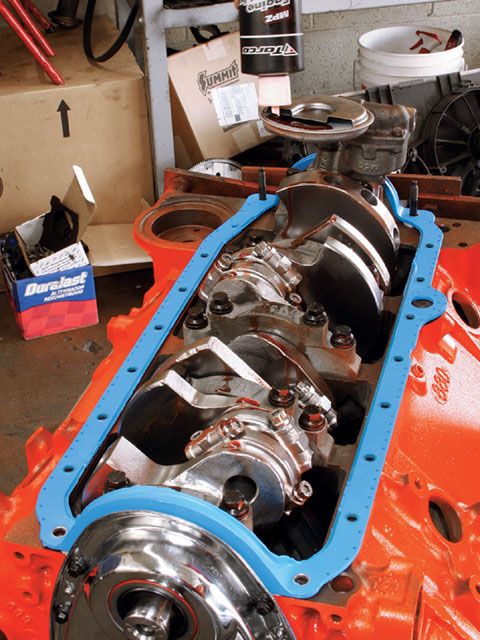
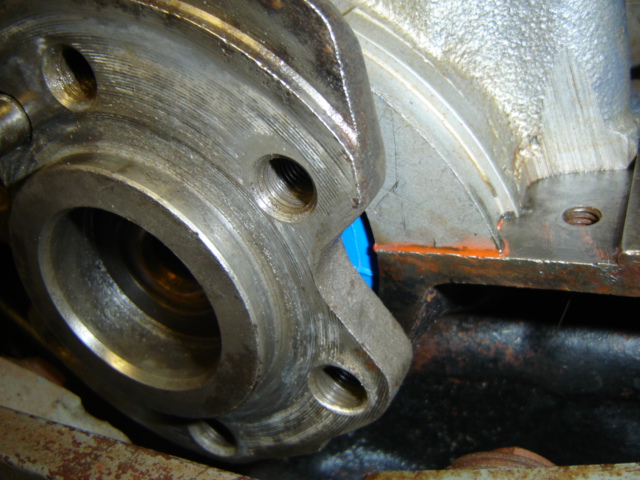
here you can see the thin line of sealant under the rear main cap, thats sometimes overlooked resulting in a slow drip near the rear main seal
Vortec plastic timing cover replacement
by: Cobalt327
(Click here to edit this page anonymously, or register a username to be credited for your work.)
Contents
[hide]
[edit]Overview
The Vortec engine came with a plastic timing cover with a non-replaceable front crankshaft seal. Because of this, the recommendation is to replace the cover. If the cover wasn't leaking from the front seal there seems to be little reason not reuse it.
Otherwise, it is possible to swap to a steel cover in its place
[edit]Timing covers
Below is a side-by-side shot of a plastic cover from a 1997 Vortec engine and to the right of it is a '80s non-roller steel timing cover for comparison.
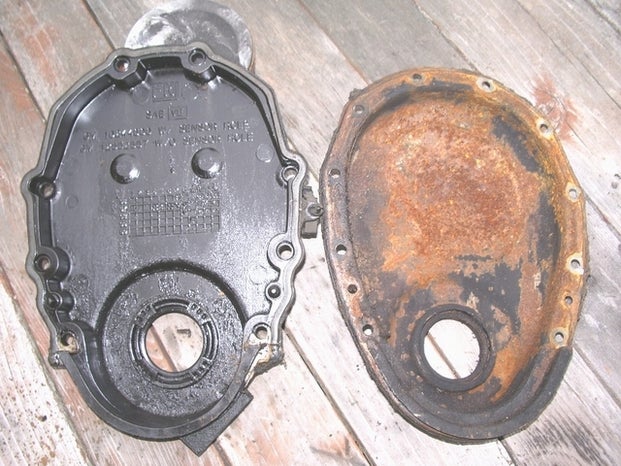
Using a '87-up steel timing cover w/the 1-piece oil pan gasket would be the best bet, although any steel or aftermarket cover may well work as well.
[edit]Timing cover differences
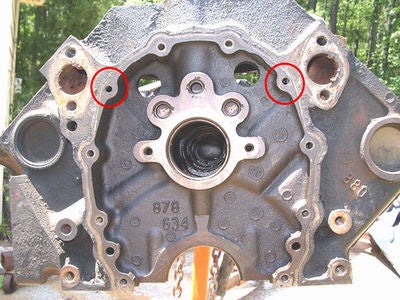

Some blocks do not have all the timing cover holes; holes that may be missing are circled
A block using a steel cover uses dowel pins in the block, and has the locating holes in steel cover.
The Vortec block (right) does not use block mounted dowels to locate the cover. Instead, it has holes for the plastic cover's locating pins. The locating holes in the 880 block are >15/64" and <1/4", which is about right for a press-fit 1/4" dowel pin. That said, it's not presently known if the hole size is correct for a press fit solid steel dowel like used on the earlier blocks. As a precaution, the hole should be carefully measured before driving in a solid dowel to avoid cracking the casting. Another alternative is to use a 0.250" OD hollow roll pin to avoid stressing the casting. Also the timing cover flange is thicker - 5.7L cylinder blocks with the #880 casting will accept early and late timing covers.
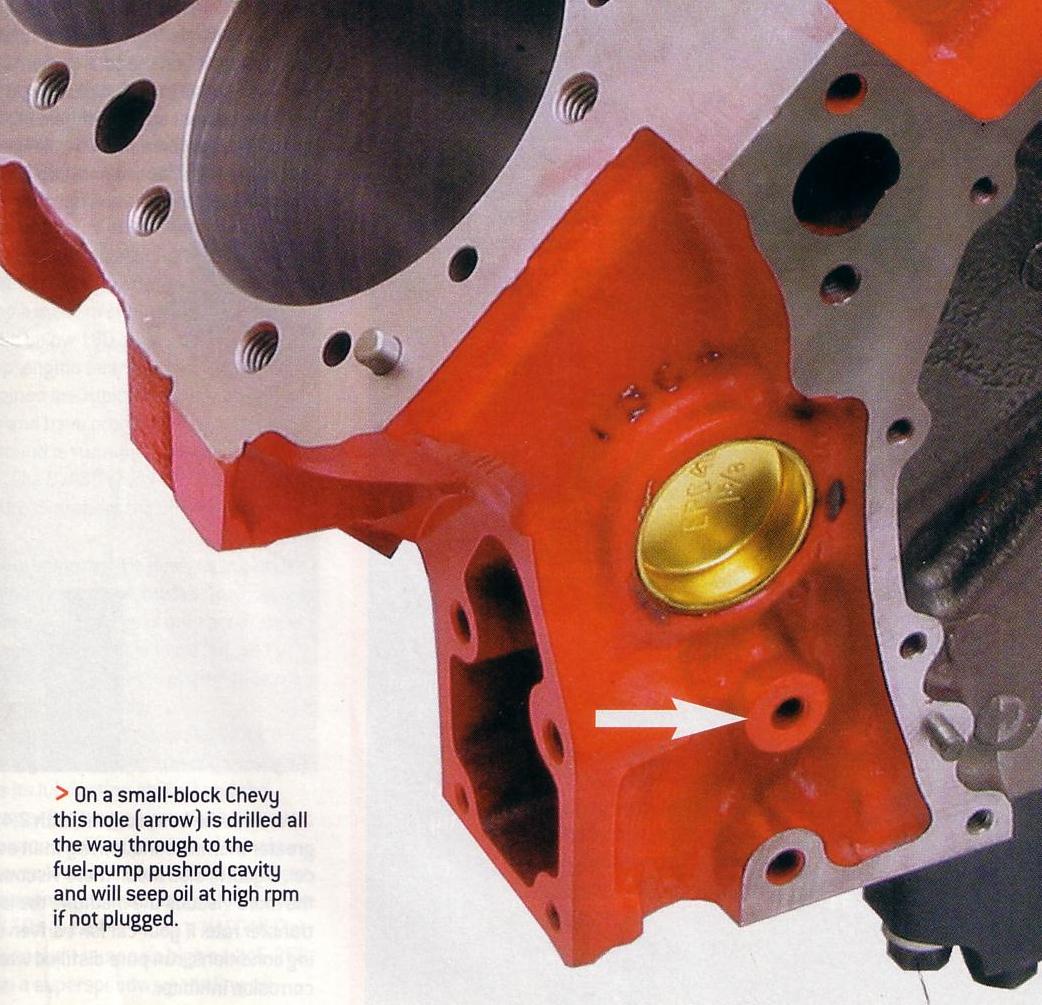
The 880 Vortec block shown has all the holes present and tapped. This is not always the case; some blocks (those used with the 1996-02 C/K truck and vans to 2002 with the exception of those used for marine or industrial applications) are missing two holes and will need to use a gasket as a template to drill and tap the missing holes. (These blocks with the 2 undrilled timing cover holes will also have the water pump bypass hole and its corresponding hole on the RH block deck undrilled. Drilling the hole for the water pump bypass requires the use of a water pump gasket as a template (RH water pump hole) and a pre-Vortec head gasket (the hole is drilled at an angle). Fuel pump mounting boss area is usually unmachined (as with the previous 638 or 727 castings where the fuel pump pushrod hole is undrilled even if a factory blockoff plate was used). The timing cover bolt thread size is 1/4-20 (1/4" coarse), the pilot hole can be drilled with a #7 bit.
[edit]Gaskets and seals
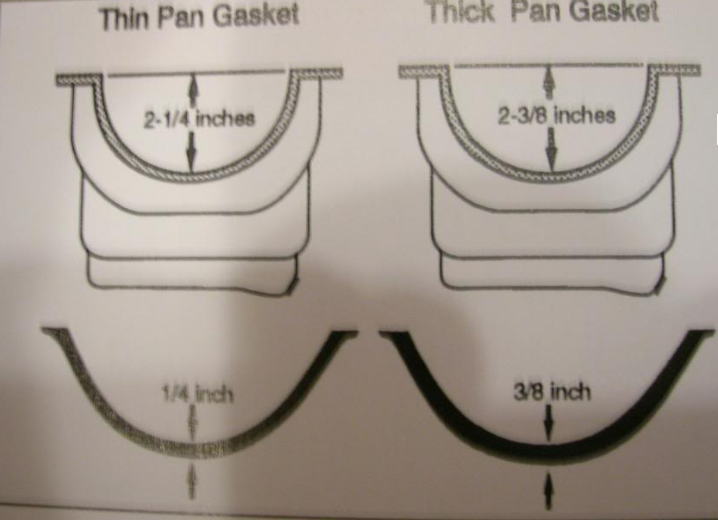
The last thing that needs checked is the type of front oil pan-to-cover seal is needed. To check what front seal is needed, put a straight edge across the front of the pan and measure down to the lowest part of where the seal rests.
The SBC damper has to be installed fully so it "sandwiches" the crank gear between the crank and the damper snout. If a damper from a 1995-back SBC is used, it will be long enough to work properly.
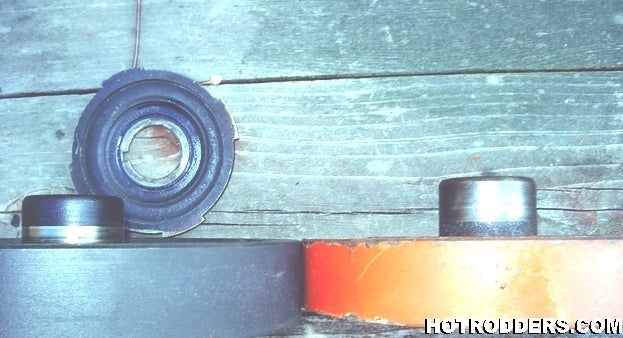
[edit]Vortec damper
The Vortec damper from a reluctor wheel-equipped engine is shorter by the thickness of the reluctor. So if a reluctor-equipped Vortec damper is used, a spacer made from the reluctor needs to be used if a steel timing cover is going to be used.
This is because the reluctor ring won't fit behind the steel cover. Without the spacer, the damper will go on too far and the pulleys won't line up, and the damper might even bottom out on the timing cover.
in my opinion the newer synthetic one piece style is FAR superior!
if you read the instructions they say to not use a sealant, Ive found that use of contact cement ONLY on the surface between the upper gasket and blocks lower edge to be a better idea as you can slide the gasket in place then install the oil pan, especially if your under the car, but I also advise the use of STUDS in the BLOCK whenever you can use them as its so much more precise and keeps the gasket from moving as much during the installation procedure.Ive usually used the gasket with contact cement on the upper surface and studs to keep in located until the pans aligned and installed, because doing it way makes the installation far easier
BTW the 4 corner studs are a different diam. (larger) so keep that in mind and you don,t want the studs to extend to far below the block as it can cause clearance and installation problems if your sliding the pan on/off under the car with the K-member,
synthetic chevy oil pan gaskets - JEGS High Performance
1 million+ parts, 800+ brands-all in-stock at guaranteed best prices. Buy by 11pm & your order ships same-day. Trust JEGS to get it right. Shop now!
www.jegs.com
(yeah it says you don,t need it)
viewtopic.php?f=51&t=1718&p=4257&hilit=rear+seal#p4257
viewtopic.php?f=32&t=699&p=972#p972
viewtopic.php?f=54&t=525&p=4599&hilit=clay#p4599
viewtopic.php?f=53&t=301&p=1815&hilit=+one+piece+crank#p1815
viewtopic.php?f=27&t=26
viewtopic.php?f=32&t=474&p=585&hilit=+synthetic#p585
http://store.summitracing.com/partdetail.asp?part=MOR-38350&autoview=sku
THIS MAY COME IN HANDY
On oil pans I prefer studs, and an oil pan back plate
you might want to Use with P/N 12553058 RH and P/N 12553059 LH oil pan reinforcement plates to distribute the bolt stress on the oil pan rail for 1985 and earlier oil pans P/N 14088501 (LH) and P/N 14088502 (RH).1986 and newer
viewtopic.php?f=54&t=65
viewtopic.php?f=52&t=761&p=1092&hilit=+sequence#p1092
and remember the oil pan will only clear that K-member with the crank counter weights in a single location, so if your having a caniption fit trying to get it to clear the K-frame the counter weights more than likely in the wrong rotational location, SPIN IT OVER A BIT TO CLEAR
ONE PIECE OIL PAN GASKETS
HERES A BASIC LIST
SMALL BLOCK FELPRO
http://www.jegs.com/webapp/wcs/stores/servlet/product_10001_10002_746664_-1_10197
TWO PIECE REAR SEAL
OS34509T: Thin seal
OS34510T: Thick seal
http://www.jegs.com/webapp/wcs/stores/servlet/product_10001_10002_47050_-1
one-piece main seal blocks use this one:
OS34500R
Which type you use is dependent on your oil pan, not the block or timing cover.
BBC LISTED ALSO
http://www.jegs.com/webapp/wcs/stores/servlet/product_10001_10002_746664_-1_10197
http://store.summitracing.com/egnse...kets&searchinresults=false&N=700+115&y=8&x=43
here you can see the thin line of sealant under the rear main cap, thats sometimes overlooked resulting in a slow drip near the rear main seal
Vortec plastic timing cover replacement
by: Cobalt327
(Click here to edit this page anonymously, or register a username to be credited for your work.)
Contents
[hide]
[edit]Overview
The Vortec engine came with a plastic timing cover with a non-replaceable front crankshaft seal. Because of this, the recommendation is to replace the cover. If the cover wasn't leaking from the front seal there seems to be little reason not reuse it.
Otherwise, it is possible to swap to a steel cover in its place
[edit]Timing covers
Below is a side-by-side shot of a plastic cover from a 1997 Vortec engine and to the right of it is a '80s non-roller steel timing cover for comparison.

Using a '87-up steel timing cover w/the 1-piece oil pan gasket would be the best bet, although any steel or aftermarket cover may well work as well.
[edit]Timing cover differences
- The plastic cover has more room around the crank gear to make room for the crank position sensor rotor
- The steel cover is deeper, from inside the front to the sealing surface
- Generally, there is more room around the inside of the steel cover, even though the photos don't show this very well due to how the covers are shaped and the angle the photo was taken
- The plastic cover has fewer bolt holes at the top
- The plastic cover has male pins or dowels to locate the cover onto the face of the block; the steel cover has holes in the same position for the dowels that are used in the older blocks
- The plastic cover's bolts are shouldered to prevent over-tightening the cover
- The p/n for plastic cover w/sensor hole is: p/n 10244600
- The number for plastic w/o sensor hole is: p/n 12562818 (old p/n 12552557). This new design cover is used on all ZZ4 crate engines, and will bolt to any small-block Chevrolet engine from 1995 through current model except LT1/LT4 (Gen 2) and LSx engines.

Some blocks do not have all the timing cover holes; holes that may be missing are circled
A block using a steel cover uses dowel pins in the block, and has the locating holes in steel cover.
The Vortec block (right) does not use block mounted dowels to locate the cover. Instead, it has holes for the plastic cover's locating pins. The locating holes in the 880 block are >15/64" and <1/4", which is about right for a press-fit 1/4" dowel pin. That said, it's not presently known if the hole size is correct for a press fit solid steel dowel like used on the earlier blocks. As a precaution, the hole should be carefully measured before driving in a solid dowel to avoid cracking the casting. Another alternative is to use a 0.250" OD hollow roll pin to avoid stressing the casting. Also the timing cover flange is thicker - 5.7L cylinder blocks with the #880 casting will accept early and late timing covers.
The 880 Vortec block shown has all the holes present and tapped. This is not always the case; some blocks (those used with the 1996-02 C/K truck and vans to 2002 with the exception of those used for marine or industrial applications) are missing two holes and will need to use a gasket as a template to drill and tap the missing holes. (These blocks with the 2 undrilled timing cover holes will also have the water pump bypass hole and its corresponding hole on the RH block deck undrilled. Drilling the hole for the water pump bypass requires the use of a water pump gasket as a template (RH water pump hole) and a pre-Vortec head gasket (the hole is drilled at an angle). Fuel pump mounting boss area is usually unmachined (as with the previous 638 or 727 castings where the fuel pump pushrod hole is undrilled even if a factory blockoff plate was used). The timing cover bolt thread size is 1/4-20 (1/4" coarse), the pilot hole can be drilled with a #7 bit.
[edit]Gaskets and seals
The last thing that needs checked is the type of front oil pan-to-cover seal is needed. To check what front seal is needed, put a straight edge across the front of the pan and measure down to the lowest part of where the seal rests.
- 2-1/4" = thin (early 1955-'74) seal, 3/32" thick
- 2-3/8" = thick (later 1975-'85) seal, 9/64" thick
The SBC damper has to be installed fully so it "sandwiches" the crank gear between the crank and the damper snout. If a damper from a 1995-back SBC is used, it will be long enough to work properly.
[edit]Vortec damper
The Vortec damper from a reluctor wheel-equipped engine is shorter by the thickness of the reluctor. So if a reluctor-equipped Vortec damper is used, a spacer made from the reluctor needs to be used if a steel timing cover is going to be used.
This is because the reluctor ring won't fit behind the steel cover. Without the spacer, the damper will go on too far and the pulleys won't line up, and the damper might even bottom out on the timing cover.

Last edited by a moderator: