I seem to be overly trusting, when I buy parts at some auto parts store, I stupidly assume they will fit the application I requested, and even after 45 years of finding out that's not always the case, I still assume it will be,
obviously your eventually forced to admit to yourself that there will be times when parts that supposedly fit DON,T!
Id also strongly suggest you compare both prices and part quality or at least try to select well known brand name parts, most of the bottom dollar import parts I see are LOW QUALITY,and if you take the time to carefully measure the parts you find dimensional or material quality differences.
I well remember a $14 chevy bargain basement, imported timing chain and gear set a friend brought over , he got from the local auto parts bargain bin,that was a full 9 degrees out of specs
your forced to either return the defective component for a different brand that at least in theory will be a better match or you'll be forced to do the minor clearance work, polishing, re-threading or other mods required, to get things to fit!
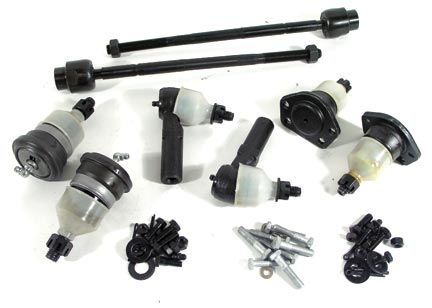
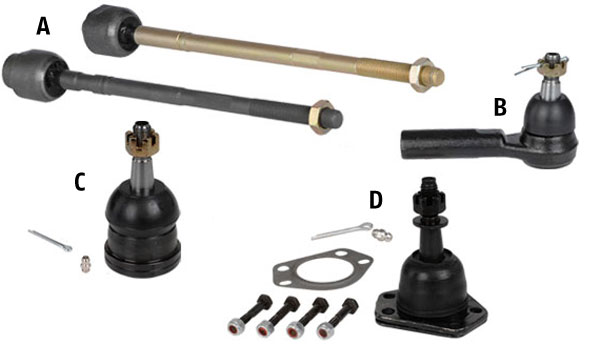
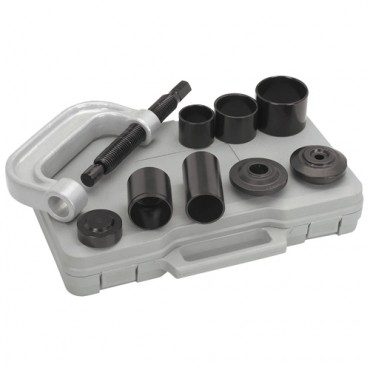
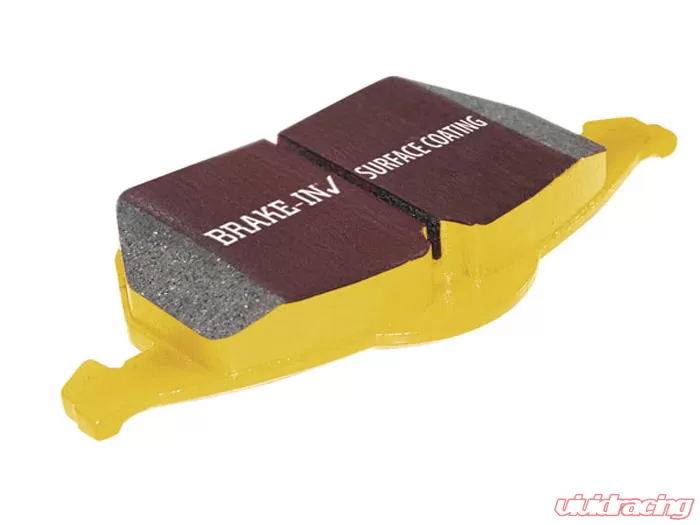
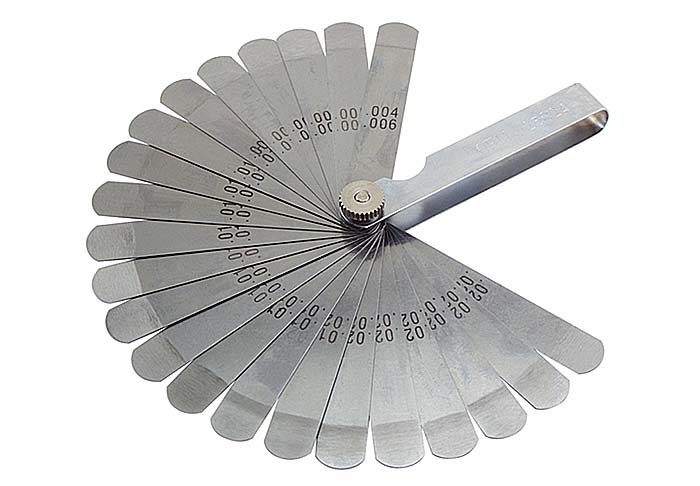
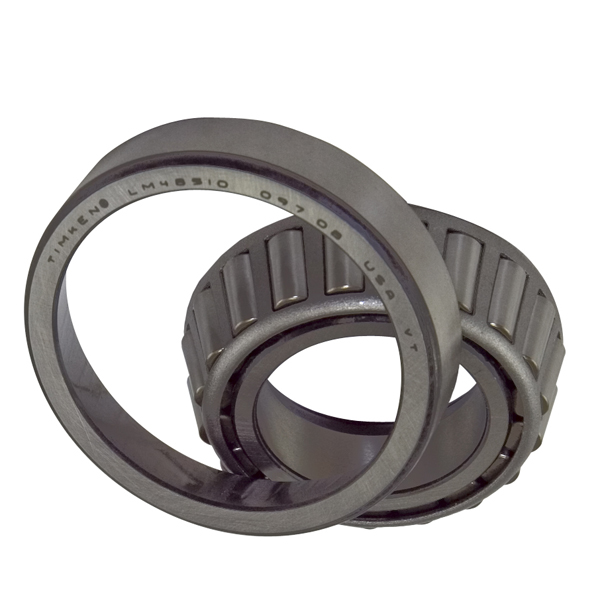
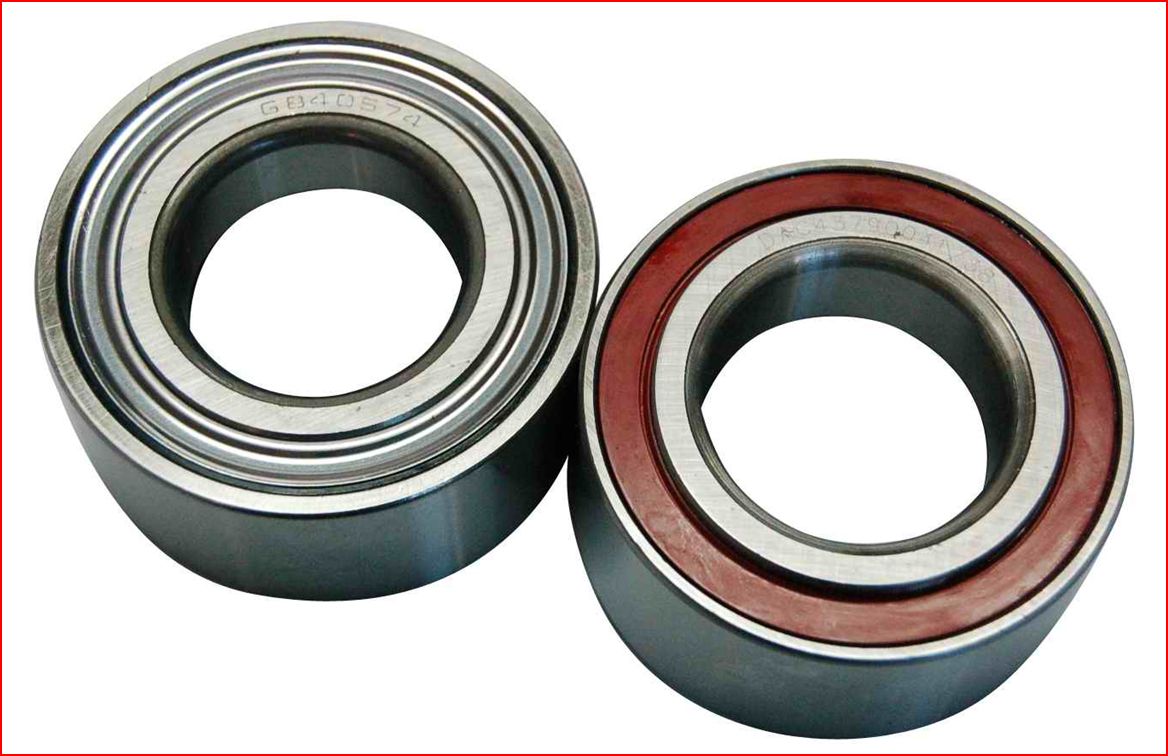
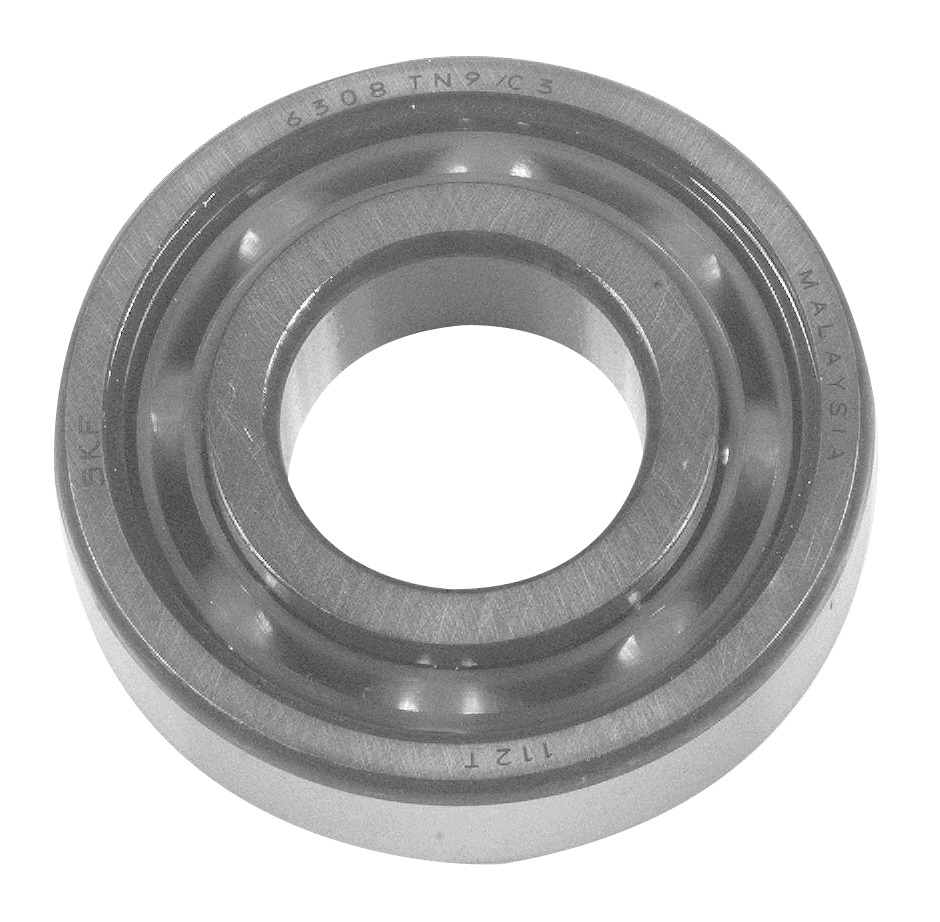
now on the more critical components like bearings, and valve springs you generally expect to use a micrometer, spring micrometer, dial caliper, feeler gauges and PLASI-GAUGE or some type of measuring device, to verify clearances . but on the less critical components you tend to just assume they fit if they look nearly identical to the old component.....thats where they get you!, things like brake calipers,disc brake pads,freeze plugs, shocks, ball joints, tie rods etc. are not always directly interchangeable and the quality of the machine work and tolerances tend to be a bit LAX, or lets say not kept to the same measure of detailed inspection, threaded holes don,t always arrive without burrs, or the axis of the bolt holes or spacing may be a bit out of alignment, ball joints frequently require a bit of minor clearance work with a belt sander or file on rougher castings, you may need to use a tap & die set to fix threads. Ive even had bolts neatly packaged in plastic bags in the kits with ball joints that could not possibly be used in the application.
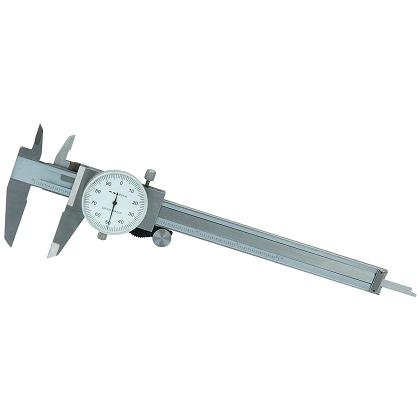
so take out the dial calipers and MEASURE and get out the taps and dies and verify the thread pitch before you drive your self insane wondering why a metric bolt was shipped for an SAE bolt hole, why a tie rod is threaded with a metric thread but your old part was threaded SAE, or why a ball joint thats .010 larger that the one you removed is so darn difficult to re-install.
read these links & threads
http://forum.grumpysperformance.com/viewtopic.php?f=53&t=4294
http://forum.grumpysperformance.com/viewtopic.php?f=53&t=247
viewtopic.php?f=53&t=3449&p=9134&hilit=+assembly+lube#p9134
viewtopic.php?f=53&t=2733
http://www.plastigaugeusa.com/how.html
Clevite 77 Plastigage
P/N Color Oil Clearance Range
MPG1 green .001 in - .003 in (.025 - .075 mm)
MPR1 red .002 in - .006 in (.050 - .15 mm)
MPB1 blue .004 in - .009 in (.10 - .23 mm)
MPY1 yellow .009 in - .020 in (.23 - .50 mm)
viewtopic.php?f=59&t=1390

http://store.summitracing.com/partdetai ... toview=sku
Plastigauge, Green Kit, 0.001 in.-0.003 in. Clearance Range, Each
"Accurately measure bearing clearances.
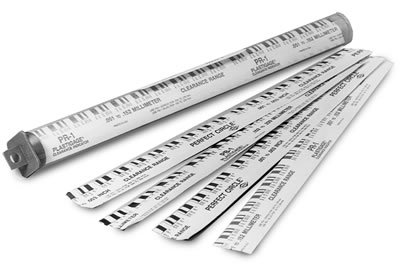
Made from a special extruded plastic thread with accurately controlled crush properties, Plasti-gage provides a fast and accurate way to check bearing clearances. Plasti-gage is packaged in a calibrated envelope that not only protects the plastic threads, but also serves as a scale to measure the bearing clearance. One package contains enough Plastigage to check both main and connecting rod clearance for one engine. "
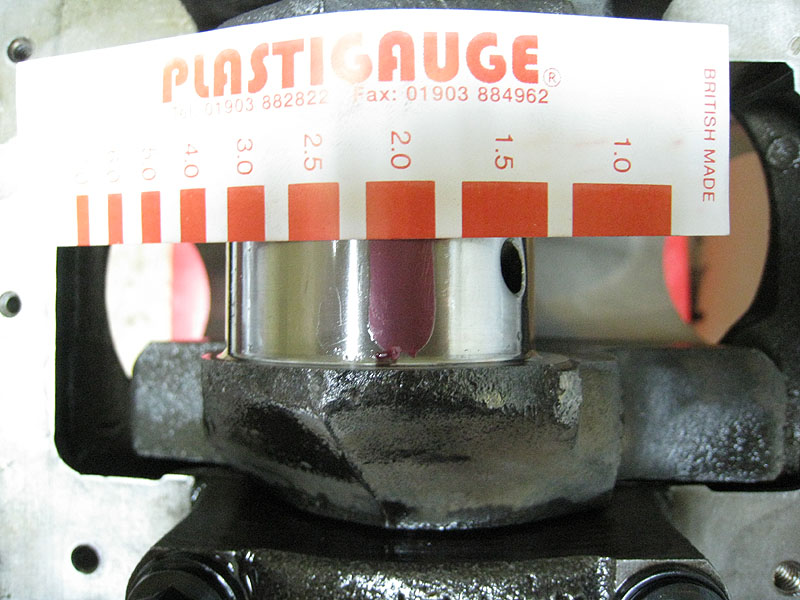
now this stuff is really easy to use , it looks like green angle hair spaghetti,, you spray down your crank journal,and matched bearing surfaces with wd-40 so it won,t stick to the surfaces, lay a 1/2" long section in the center of the journal, replace the bearing cap, and torque to specs, then WITHOUT spinning the crank you disassemble the bearing cap, remove the cap and use the edge of the package the plasti-gage came in to compare the crushed width to the scale on the edge of the packaging.
simple and REASONABLY EFFECTIVE, if you don,t own snap gauges and a full set of mics.......just remember to remove it from the bearing or journal,before you proceed further, in the engines reassembly
now personally I like the stuff (PLASTI-GAGE) as a secondary way to check bearing clearances, but a decent set of mics and a machinists caliper and snap gauges is a good thing to have , and altho I use plasti-gage I don,t trust it alone to check clearances
btw spray the bearing and the crank surfaces, and the plastigage with WD40 before you measure clearances and it won,t tend to stick as much


http://www.harborfreight.com/cpi/ctaf/d ... umber=5649

http://www.harborfreight.com/cpi/ctaf/d ... mber=32214

http://www.harborfreight.com/cpi/ctaf/d ... umber=5043
http://www.use-enco.com/CGI/INPAGE?PMPA ... s/317-0764

http://www.harborfreight.com/cpi/ctaf/d ... mber=97389
now theres FAR better QUALITY tools than the ones I linked too, but unless your doing engines on a regular basis I find these will work reasonably well, naturally if your doing it seriously youll want better quality tools
you might want too read thru this also
http://video.google.com/videosearch?oe= ... Q&start=20
viewtopic.php?f=59&t=807&p=8498&hilit=rusted#p8498
obviously your eventually forced to admit to yourself that there will be times when parts that supposedly fit DON,T!
Id also strongly suggest you compare both prices and part quality or at least try to select well known brand name parts, most of the bottom dollar import parts I see are LOW QUALITY,and if you take the time to carefully measure the parts you find dimensional or material quality differences.
I well remember a $14 chevy bargain basement, imported timing chain and gear set a friend brought over , he got from the local auto parts bargain bin,that was a full 9 degrees out of specs
your forced to either return the defective component for a different brand that at least in theory will be a better match or you'll be forced to do the minor clearance work, polishing, re-threading or other mods required, to get things to fit!
now on the more critical components like bearings, and valve springs you generally expect to use a micrometer, spring micrometer, dial caliper, feeler gauges and PLASI-GAUGE or some type of measuring device, to verify clearances . but on the less critical components you tend to just assume they fit if they look nearly identical to the old component.....thats where they get you!, things like brake calipers,disc brake pads,freeze plugs, shocks, ball joints, tie rods etc. are not always directly interchangeable and the quality of the machine work and tolerances tend to be a bit LAX, or lets say not kept to the same measure of detailed inspection, threaded holes don,t always arrive without burrs, or the axis of the bolt holes or spacing may be a bit out of alignment, ball joints frequently require a bit of minor clearance work with a belt sander or file on rougher castings, you may need to use a tap & die set to fix threads. Ive even had bolts neatly packaged in plastic bags in the kits with ball joints that could not possibly be used in the application.
so take out the dial calipers and MEASURE and get out the taps and dies and verify the thread pitch before you drive your self insane wondering why a metric bolt was shipped for an SAE bolt hole, why a tie rod is threaded with a metric thread but your old part was threaded SAE, or why a ball joint thats .010 larger that the one you removed is so darn difficult to re-install.
read these links & threads
http://forum.grumpysperformance.com/viewtopic.php?f=53&t=4294
http://forum.grumpysperformance.com/viewtopic.php?f=53&t=247
viewtopic.php?f=53&t=3449&p=9134&hilit=+assembly+lube#p9134
viewtopic.php?f=53&t=2733
http://www.plastigaugeusa.com/how.html
Clevite 77 Plastigage
P/N Color Oil Clearance Range
MPG1 green .001 in - .003 in (.025 - .075 mm)
MPR1 red .002 in - .006 in (.050 - .15 mm)
MPB1 blue .004 in - .009 in (.10 - .23 mm)
MPY1 yellow .009 in - .020 in (.23 - .50 mm)
viewtopic.php?f=59&t=1390
http://store.summitracing.com/partdetai ... toview=sku
Plastigauge, Green Kit, 0.001 in.-0.003 in. Clearance Range, Each
"Accurately measure bearing clearances.
Made from a special extruded plastic thread with accurately controlled crush properties, Plasti-gage provides a fast and accurate way to check bearing clearances. Plasti-gage is packaged in a calibrated envelope that not only protects the plastic threads, but also serves as a scale to measure the bearing clearance. One package contains enough Plastigage to check both main and connecting rod clearance for one engine. "
now this stuff is really easy to use , it looks like green angle hair spaghetti,, you spray down your crank journal,and matched bearing surfaces with wd-40 so it won,t stick to the surfaces, lay a 1/2" long section in the center of the journal, replace the bearing cap, and torque to specs, then WITHOUT spinning the crank you disassemble the bearing cap, remove the cap and use the edge of the package the plasti-gage came in to compare the crushed width to the scale on the edge of the packaging.
simple and REASONABLY EFFECTIVE, if you don,t own snap gauges and a full set of mics.......just remember to remove it from the bearing or journal,before you proceed further, in the engines reassembly
now personally I like the stuff (PLASTI-GAGE) as a secondary way to check bearing clearances, but a decent set of mics and a machinists caliper and snap gauges is a good thing to have , and altho I use plasti-gage I don,t trust it alone to check clearances
btw spray the bearing and the crank surfaces, and the plastigage with WD40 before you measure clearances and it won,t tend to stick as much
http://www.harborfreight.com/cpi/ctaf/d ... umber=5649
http://www.harborfreight.com/cpi/ctaf/d ... mber=32214
http://www.harborfreight.com/cpi/ctaf/d ... umber=5043
http://www.use-enco.com/CGI/INPAGE?PMPA ... s/317-0764
http://www.harborfreight.com/cpi/ctaf/d ... mber=97389
now theres FAR better QUALITY tools than the ones I linked too, but unless your doing engines on a regular basis I find these will work reasonably well, naturally if your doing it seriously youll want better quality tools
you might want too read thru this also
http://video.google.com/videosearch?oe= ... Q&start=20
viewtopic.php?f=59&t=807&p=8498&hilit=rusted#p8498
Last edited by a moderator: