TBucket Engine Project (Dart SHP)

Well, you could get the very expensive one like this $210,
SUM-G6312_ml.jpg
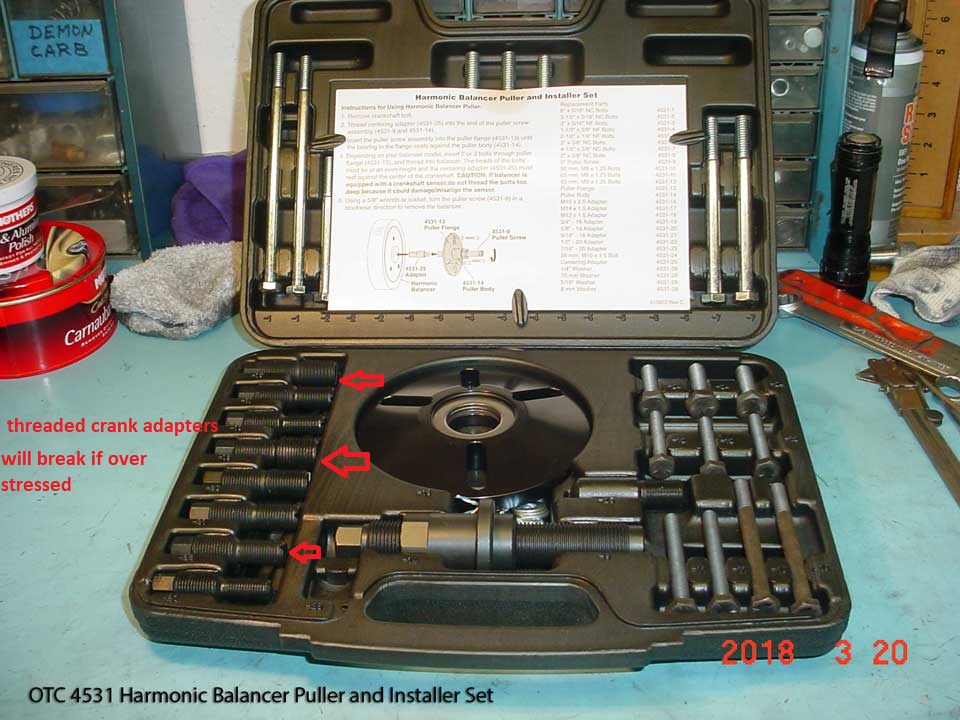
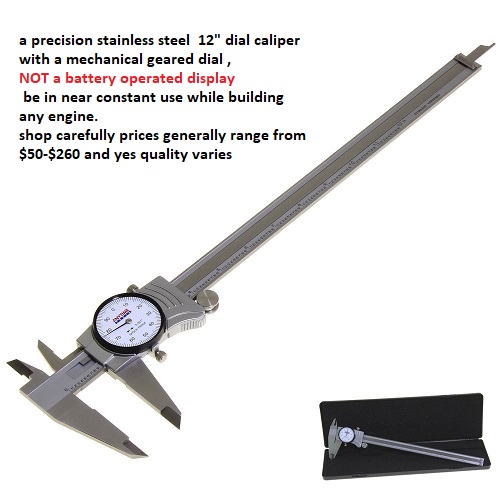
Thanks for that info, I might look into that. My bill is starting to add up now with the valve
train girdle, new lifter, valve job, etc.
.
 
Well, you could get the very expensive one like this $210,
Please no more suggestions, I can't afford any more of them !!! ;)

I placed an order for the following a few minutes ago. A 3 piece cover is needed so that the pan or
harmonic balancer is NOT required to be removed for a cam change.

https://www.summitracing.com/parts/cca-310
CompCams310TimingCover.jpg
https://www.summitracing.com/parts/csp-g1100

HarlandSharpStudGirdle.jpg

https://www.amazon.com/gp/product/B000F5LIW4/ref=oh_aui_detailpage_o01_s00?ie=UTF8&psc=1
HarmonicBalancerPullerInstaller_OTC.jpg
Trying to cover all my bases and be prepared, I ordered some Summit 0.100 inch water pump gaskets.
Just in case I have to space the water pump out a little bit. Also have a Nitrile crankshaft seal coming.

https://www.summitracing.com/parts/sum-g6303

http://garage.grumpysperformance.com/index.php?threads/cam-spacer-buttons.1793/#post-4553

http://garage.grumpysperformance.co...ped-nose-cam-in-early-block.14182/#post-71937

.
 
Last edited by a moderator:
yeah, there's no doubt at all that the number and cost of tools you need to accumulate ,
frequently come close too or at times even exceed the the number of parts you actually install on any properly built cars.
you obviously run the risk of eventually rationalizing the need to justify the tool obsession,
by building a new or second car to further make the purchase of the tools,
and learning all the related skills seem , like its rational.:rolleyes:
its a bit like the reloading cartridges hobby.. there's always the need to upgrade tools,
and once you have the tools you might as well but a new revolver or rifles,
since ammo won,t cost much now that you have the tools.:D:)
tool junky , and hand loading,& engine building insanity,
is a infectious, communicable virus, you can even catch over the internet.
 
Last edited:
yeah, there's no doubt at all that the number and cost of tools you need to accumulate ,
frequently come close too or at times even exceed the the number of parts you actually install on any properly built cars.
you obviously run the risk of eventually rationalizing the need to justify the tool obsession,
by building a new or second car to further make the purchase of the tools,
and learning all the related skills seem , like its rational.:rolleyes:
its a bit like the reloading cartridges hobby.. there's always the need to upgrade tools,
and once you have the tools you might as well but a new revolver or rifles,
since ammo won,t cost much now that you have the tools.:D:)
tool junky , and hand loading,& engine building insanity,
is a infectious, communicable virus, you can even catch over the internet.
I just did not want to travel back to O'Reilly's again, last time I didn't check before I went and had to go to
another store. I had to make a total of three trips, the first time they told me their rental would both remove
and install .... that was not true. Now I know what I'm looking at, but too late to help now.
 
.
I pulled the water pump in preparation for the new timing cover I purchased and changing the valve timing to reduce the possible detonation.

Looks like it's time to contact another manufacture of USA water pumps. I bought this Tuff Stuff water pump # 1354NC and spent a few hours smoothing it out and painting it with Por-15.
http://www.tuffstuffperformance.com/search.html?q=1354NC

DSC00338.JPG
.
What do you think, should Tuff Stuff meet me somewhere between a free replacement and their
cost for the pump ??? I have no idea when it started leaking, but it only has 14,000 miles in 7 years.

.
 
Last edited:
Sorry, the warranty most likely was voided when you polished it.
Sounds stupid, I know, but they will find any excuse not to stand behind it.
At least it sure seems that way nowadays with most manufacturers.
Then if you research it, you might find that it was actually made overseas.:(
 
Edelbrock Victor in chevelle over 10 years old now Rick made in USA I would have gone a different route but your order is in. You are sure that girdle works with your heads?
 
http://garage.grumpysperformance.com/index.php?threads/engine-water-pumps.832/#post-14799

shop carefully theres several different bearing sizes so it might be best to visit a local water pump rebuilder,
and get it done by their shop,
or at least disassembly yours and measure parts before,
ordering matched components
13cal.jpg


cal13.jpg

https://www.ecklerscorvette.com/corvette-water-pump-rebuild-kit-small-block-1958-1968.html

53634.jpg


you do realize that SBC water pumps in many cases could be rather easily and cost effectively be rebuilt,
in many cases with better quality than original bearings and seals
 
Last edited:
The Edelbrock Victor Reverse Rotation TPI 350 Water Pump has been on my 87 Corvette since 2008.
Has not leaked a single drop.
 
Sorry guys, I had to rest this 61 year old body of mine first!!! Well actually we
had to have onion burger at Sid's Diner in El Reno first and download the videos
to my computer, then prepare them for YouTube.

When I read Gumpy's post about all the info he wanted, including vacuum reading
and A/F ratio on both sides .... I'm thinking when in HELL am I suppose get time
to drive this thing while taking all those damn readings in 5 seconds. :lol:

As far the the Spark Plugs go, this is what I did. I waited until I got there, then
installed the new plugs, made 7-8 passes and then removed them. Took photos
and each bank, labeled them and put them back in the boxes. So if I need a better
photo later, I can always go back and take more, maybe with my 8x magnification.
Tomorrow I will the spark plug photos.

Below are the videos posted in the order they were run. I didn't post everyone of
them, but do have five different runs out of the 7-8 I made. Well I was going to
post them, but YouTube video stabilization processing is taking a long time.

I can post an run by a very wicked GTO.


Also a very nice Blown 55 Chevy vs a Mustang video.


I will follow up tomorrow with the videos, comments and spark plug pics.
Ahh I found It.
Rick is Street Racing In the T-Bucket.
 
As sure as I can be. Guess I could have called Harland Sharp. I made sure it was for 7/16 inch studs and SBC.
Yes, but the valve locations might be moved from standard location, commonly called a 60/40 split, IIRC.
My World Products S/R Torquer heads on my 334 have this and is how they allowed 2.02/1.6 valves to fit in that small (305 SBC) combustion chamber.
 
My OTC harmonic balancer Puller/Installer arrived. It does look much more substantial than
than ones I get from OReillys on loan.

FP12_BalancerPullerInstallerOTC_00340.jpg

It's very important to the survival of the tool to lubricate the threads that are taking all the forces.

FP12_OTC_Tool_LubeThreads_00344.jpg

It's a shame I didn't see the need for a new Comp Cams timing cover coming before I installed the
new Fluidampr balancer, then I wouldn't have to pull it off right after putting it on. I did this so that
I would not have to pull the front of the motor to make a cam timing change.

It's not like I do this every day, but I should have known better. Always read the directions, I had the
shoulder on the wrong side. No matter how much torque I applied to the tools, nothing moved. I
must be doing something wrong, and sure enough after watching a YouTube video, I saw the errors
of my way.

FP12_BalancerPullerDontWorkThisWay_00345.jpg

To remove the timing cover, I had to peel back the oil pan gasket about an inch. Then work
with a screwdriver to loosen the pan gasket from the lower lip of the timing cover.

I've been cleaning inside the pan gasket that I peeled loose and around to the other side something
like 10-12 times with alcohol and then Acetone. I will clean again at the last second before I go back
together.

No telling how many times I have run a thread chaser thru the crank bolt threads with solvent to
remove traces of the thread locker. Then flush with more solvent.

FP12_PanGasketUnderTimingCover_00351.jpg

FP12_NoCamGear_00349.jpg
 
Last edited:
index.php


http://garage.grumpysperformance.com/index.php?threads/cam-spacer-buttons.1793/#post-4553

http://garage.grumpysperformance.co...ped-nose-cam-in-early-block.14182/#post-71937

link to order replacement parts you may loose or break on that damper tool

https://www.summitracing.com/parts/otc-4531/replacementparts


https://www.amazon.com/gp/product/B000F5LIW4/ref=oh_aui_detailpage_o01_s00?ie=UTF8&psc=1
index.php


https://www.otctools.com/products/harmonic-balancer-pullerinstaller-set


damn the gal in that video, makes that process, look a whole lot more difficult in the video that it generally is,
and yes its very easily possible to over tighten the interchangeable central adapter screw,parts
if your not careful, and yes they do sell replacement adapter screws

(never lend tools to your friends, or you'll be buying , and replacing those replacement threaded, adapter components)
use moly grease on tool threads

OTCpul.jpg


Rick I have to say... thank you for posting that bit of info......

I never would have thought too even try assembling the damper tool that,way,
but I'm sure your not the first, nor will you be the last guy to do that,
so its a damn informative picture for those members, that might never of had seen that tool in use, most of us learn by making mistakes.. yeah Ive made my share also!
 
Last edited:
Back
Top