TBucket Engine Project (Dart SHP)

Wow .... what a great observation !!!

I have taken lots more photos, but not enough time to post them tonight with the usual
annotations and such. Tomorrow I will have plenty more to show.
 
Another thing that gets overlooked.
Yesterday when I saw your comment, I thought you were saying that the rocker was hitting the
stud because the slot was not long enough. But now I'm not so sure that's what you meant, I
believe you were pointing out the position of the rocker on the stud being correct.

Anyway assuming that's what you meant, I took a long hard look at those marks this morning. It
appears to me that it's not the slot that's leaving the marks, but the trunnion that's moving slightly
and polishing the stud leaving a shinny mark. My conclusion is derived from several observations.

- Not one mark can you feel or catch your finger nail on.
- The mark goes all the way around.
- One side of the rocker is straight, the marks are all curved.

FP23_RockerUnderSide_00417.jpg
FP23_RockerStudMarks_00416.jpg
FP23_RockerStudMarks_00412.jpg
FP23_RockerStudMarks_00420.jpg
 
Yes I think your observation on the origin of the rocker stud markings is spot on.
RICK
and
THANK YOU FOR THE DAMN IMPRESSIVE , HIGH QUALITY PHOTOS
 
Last edited:
I couldn't help but wonder what the solution was going to be if they were hitting the stud. I would
have guessed that they would have plenty of clearance with only 0.555 lift, some cams are going to
be in the 0.600 to 0.700 inch lift area. Some thought must have been given to their design in this
area, they are for this kind of application after all. Alas, it's always a good idea to check this
clearance ...... Thanks Love302Chevy !!!

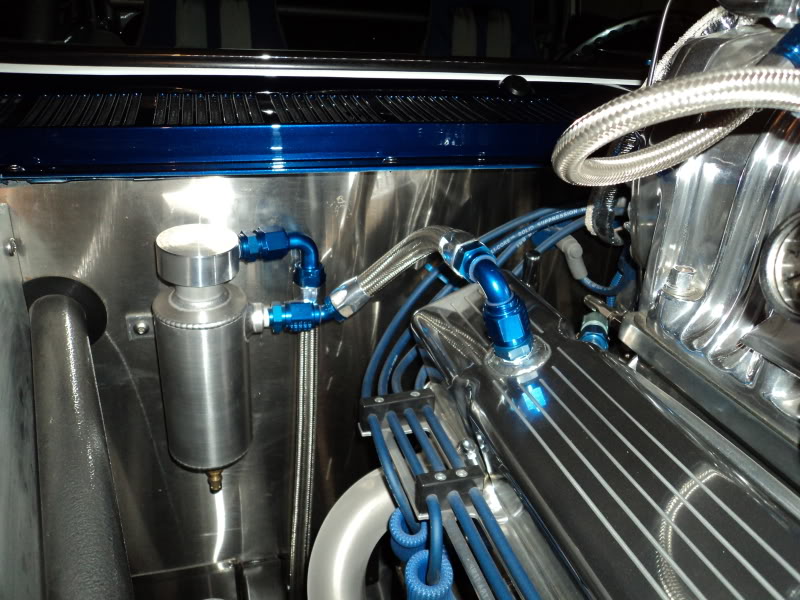
Next was trying on the Harland Sharp girdle to see what problems this might create. Now if you
don't might threading a needle this would fit, but it would have been too easy to be off by just 1/16
inch. The thicker valve cover gasket was a help, so if you are contemplating a girdle, then a thick gasket
might buy you some room.

The needle that had to threaded was created by the oil baffle on top and the rocker on the bottom.
By grinding the baffle, I gained 3/16 inch more clearance. But to do this also created a minor problem
as you can see below. I had to grind thru the 180° bend to gain the 3/16 inch more clearance, but this
also made the baffle come apart.

Well I think the photos will tell the rest of the story.

On top was the baffle ....

FP24_GridleToBaffleClearance_00423.jpg

And on the bottom restricting position of the girdle was the rocker.

FP24_GridleToRockerClearance_00428.jpg

FP24_OilBaffleModification_00425.jpg

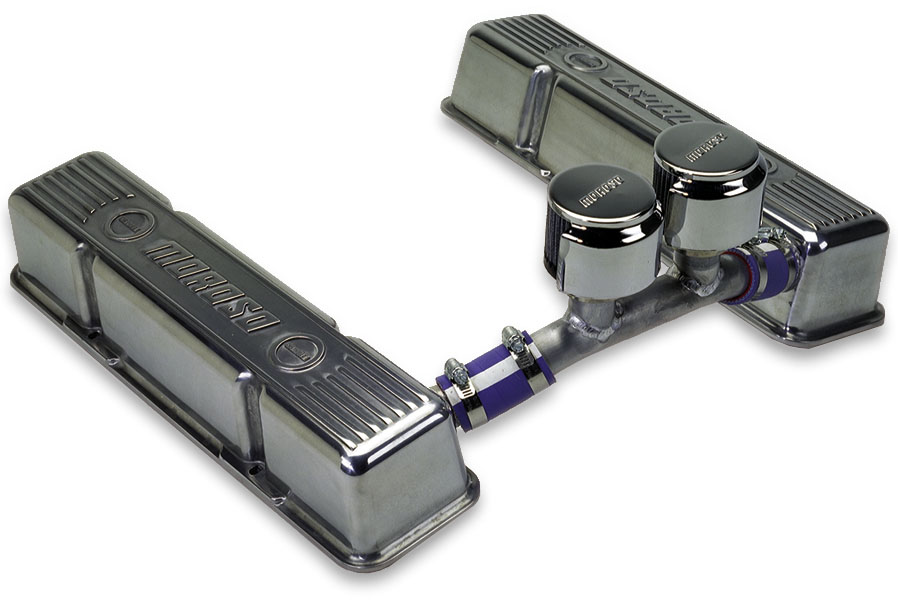
Notice how the pic is different than the actual girdle. The bolts are not Allen and they
are not recessed.

HarlandSharpStudGirdle.jpg

So the one question I had when buying the girdle was ..... did I need special poly locks. It seemed to
make sense, but since there was nothing telling me any of the documentation I couldn't be completely
sure. So if you are like me and buying a girdle for the FIRST TIME, then YES you will need poly locks
designed to work with the girdle. Some manufactures supply the locks as part of the girdle and some
don't. Just be aware when purchasing a girdle.
 
great quality pictures of the details, thank you!
btw those internal tin baffles are no great loss if discarded, as they are not all that effective.
one more in an endless list of reasons to own a decent TIG or at least MIG welder and a DRILL PRESS or ideally a MILL.

vcbr3.jpg

vcbr4.jpg

breatherpl5.jpg


http://garage.grumpysperformance.com/index.php?threads/blow-bye-and-breathers.10646/#post-48863

http://garage.grumpysperformance.co...reather-hole-in-valve-covers.2005/#post-28583

http://garage.grumpysperformance.co...hine-tools-like-a-mill-lathe.8340/#post-67349

http://garage.grumpysperformance.co...op-needs-a-decent-drill-press.970/#post-44221

http://garage.grumpysperformance.co...d-multi-process-welders-yet.14349/#post-73648

http://garage.grumpysperformance.com/index.php?threads/bits-of-tig-welding-info.295/#post-68371

http://garage.grumpysperformance.com/index.php?threads/most-versital-shop-welder.1594/#post-50625

http://garage.grumpysperformance.com/index.php?threads/mig-or-tig.72/
 
Last edited:
Spot weld the baffle Rick. No hardware to come loose.
Drill a hole in the outer piece and then make a small plug weld. Just like body panels.

Does the OD at the base of your polylocks match the recess in your rocker arm? They are usually .550 or .600 inch.

Don't you just love that every time you add a new part, you can't just install it, you have to modify 4 other parts, and on, and on........
I don't think Rick has a Mig Welder.
Recall Bob did Fabbing for Rick.
 
Just me Rick.
Its part race car & part street car tamed down.

Best solution is to loose the Baffles.
Run an external Race Car Catch can with a Breather on Top .
Moroso Catch Can.
Or Allstar.
Prefer the Moroso Catch can myself.

Works better than any other layout.
Turbo cars need especially.

Normal aspirated engines perform better & oil leaks minimized or eliminated.

Its not a real high rpm engine so a single catch can will work.
Two #10 AN Lines running to the catch can mounted on the chassis frame.
 
I hope it works out easily for you Rick. You wouldn't believe what I had to go through with my 302 SBChevy.
Offset intake rockers, adjustable guide plates, had to machine the stud girdle bars, fabricate baffles that just fit
inside the Edelbrock valve covers, and then there was the whole mess with fitting beehive valve springs in the Edelbrock
Performer RPM heads.
Every part like finding a needle in a haystack - spring seats, retainers, locks, pushrods & valve lengths all to end up
with the correct installed heights so the spring pressures matched the cam.
I feel your pain!
 
Best I can provide Rick while at work on my cellphone with links.

Help you out.

Want to upgrade the crankcase ventilation on the Olds 425 same way.
Moroso Oil catch can breather layout. Dual #10 AN lines.
 
Back
Top