I'm finally nearing the end of bodywork and paint prep. Got the doors in final primer which were the last big parts of the steel body panels and am currently sanding all of the small pieces that are in final primer (about 50) to be ready for sealer/paint. There's lots of different materials used in the construction of all the smaller pieces. Cast metal, stamped steel, various types of plastics, fiberglass, and the Endura bumper. The bumper caused me lots of lost time and materials.
The first time I painted the car 25 years ago I used 3M flexible material repair products followed by the old type lacquer primer followed by epoxy primer and top coated with acrylic enamel. Worked great and still looks good on my original bumper. I bought a new (used) bumper about 20 years ago with the intention of modifying when I got around to it, which is during this rebuild. The bumper had several layers of primers and paints over the the original paint. It was all cracked and crappy looking so I blasted and hand sanded it to bare Endura.
I modified the bumper by filling the bumper jack slots and trimming the lower lip and then proceeded to use the modern version of the 3M flexible repair material to repair lifting Endura and make it smooth. Then primed with PPG K-38, blocked, primed, and blocked till it was straight with very little primer on it. Then laid a couple medium wet coats of K-38 reduced for final prime and set the bumper aside to allow materials to shrink back while working on other parts. Knowing the bumper was going to get flexed moving it around off the car while working on it I used a flex agent in the primers to slow down full curing. When final primed I put the bumper in a safe place in the house to allow full curing and shrink back.. A year or so later I pulled it out to mock up all the front end sheet metal on the car and the "final" primer was all cracked.
I asked at my local paint supply store where I buy all my materials and they had no real positive answer as to why the final prime cracked. I'd gone through the same procedures with lots of other flexible parts for this car as well as modern cars and never had the final prime crack. The only difference was the use of a flex agent. SO, it was time to start from scratch.
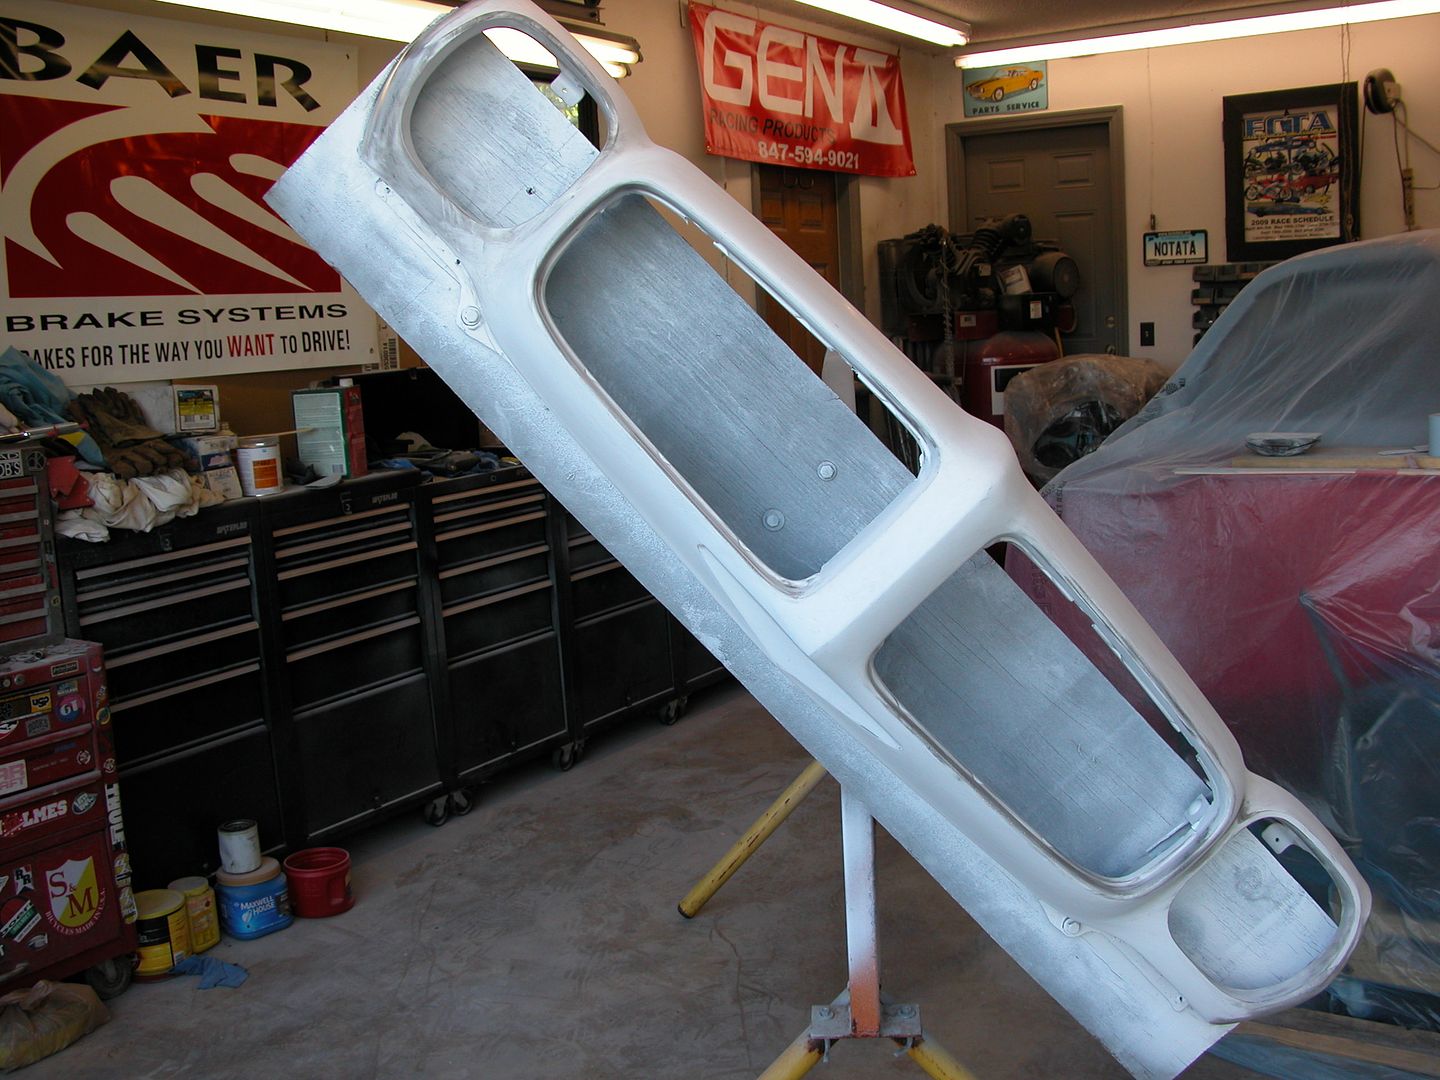
I stripped off all the primer and repair materials I'd put on the bumper and proceeded to go through the process all over again. Those of you who have sanded Endura bumpers know this is not fun at all because for some weird reason it seems to take twice as long to sand anything on an Endura bumper. This time the bumper was on the car with all the front end sheet metal aligned so I could work it so the panel alignment from bumper to fenders and hood was nice and smooth sanding across the panel gap. I did not use any flex agent in the primers and used PPG Omni primer for the blocking coats to reduce cost a bit then used K-38 reduced for the final prime. It looked perfect, so I set it aside in the house to shrink back and fully cure. I moved on to the G-brace mock up.
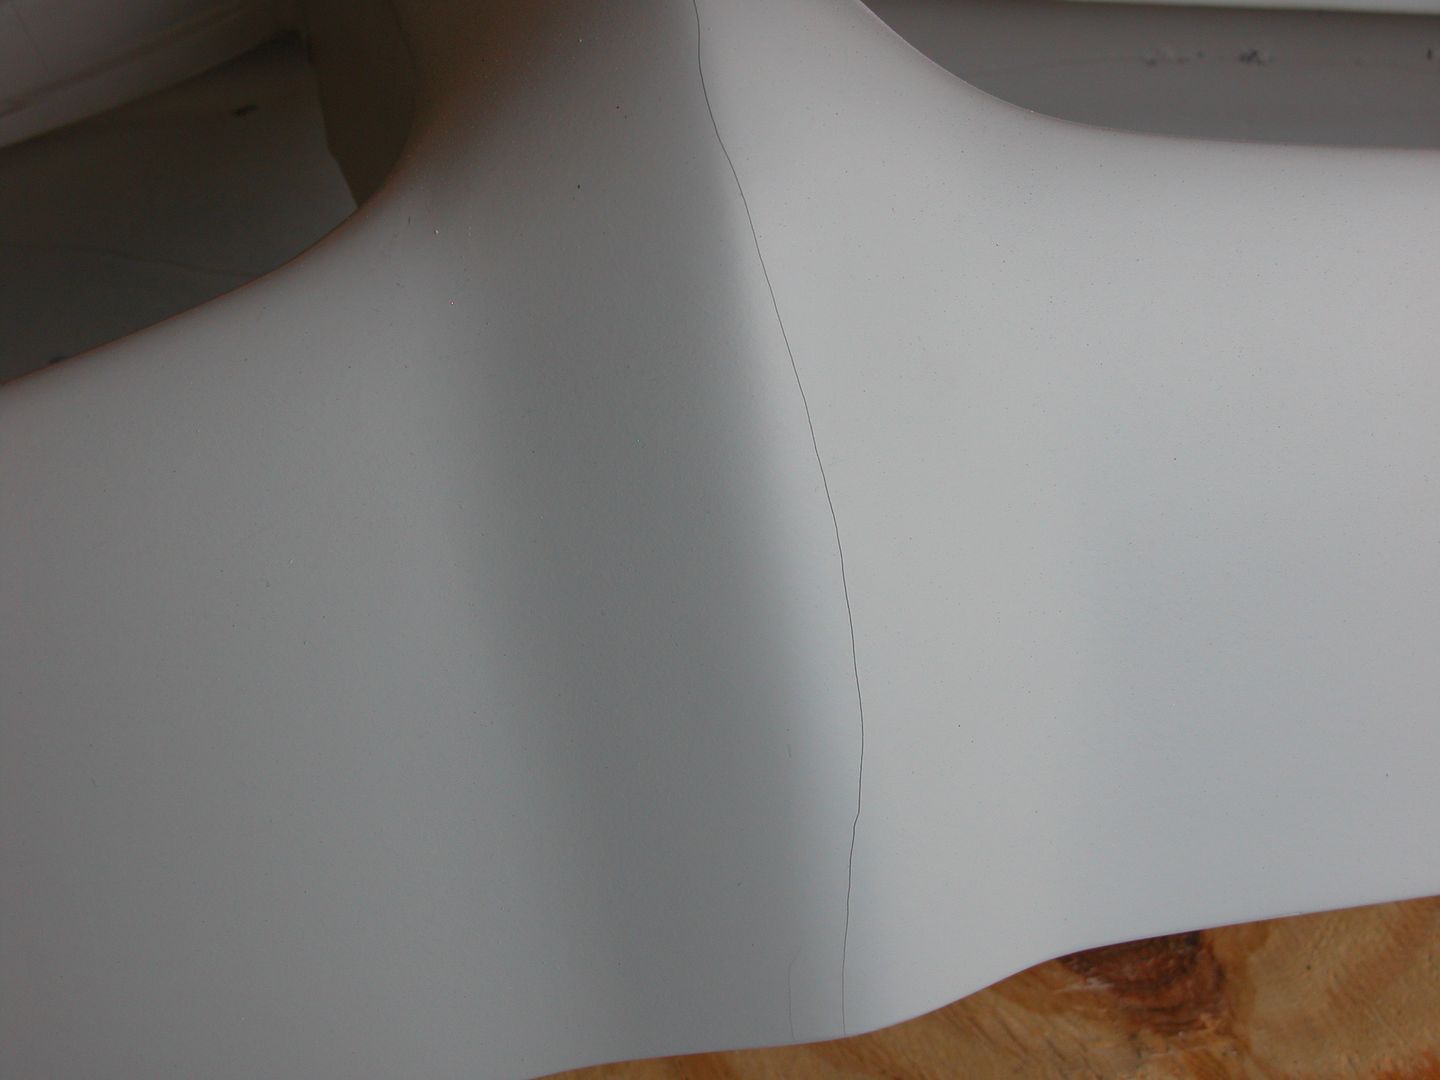
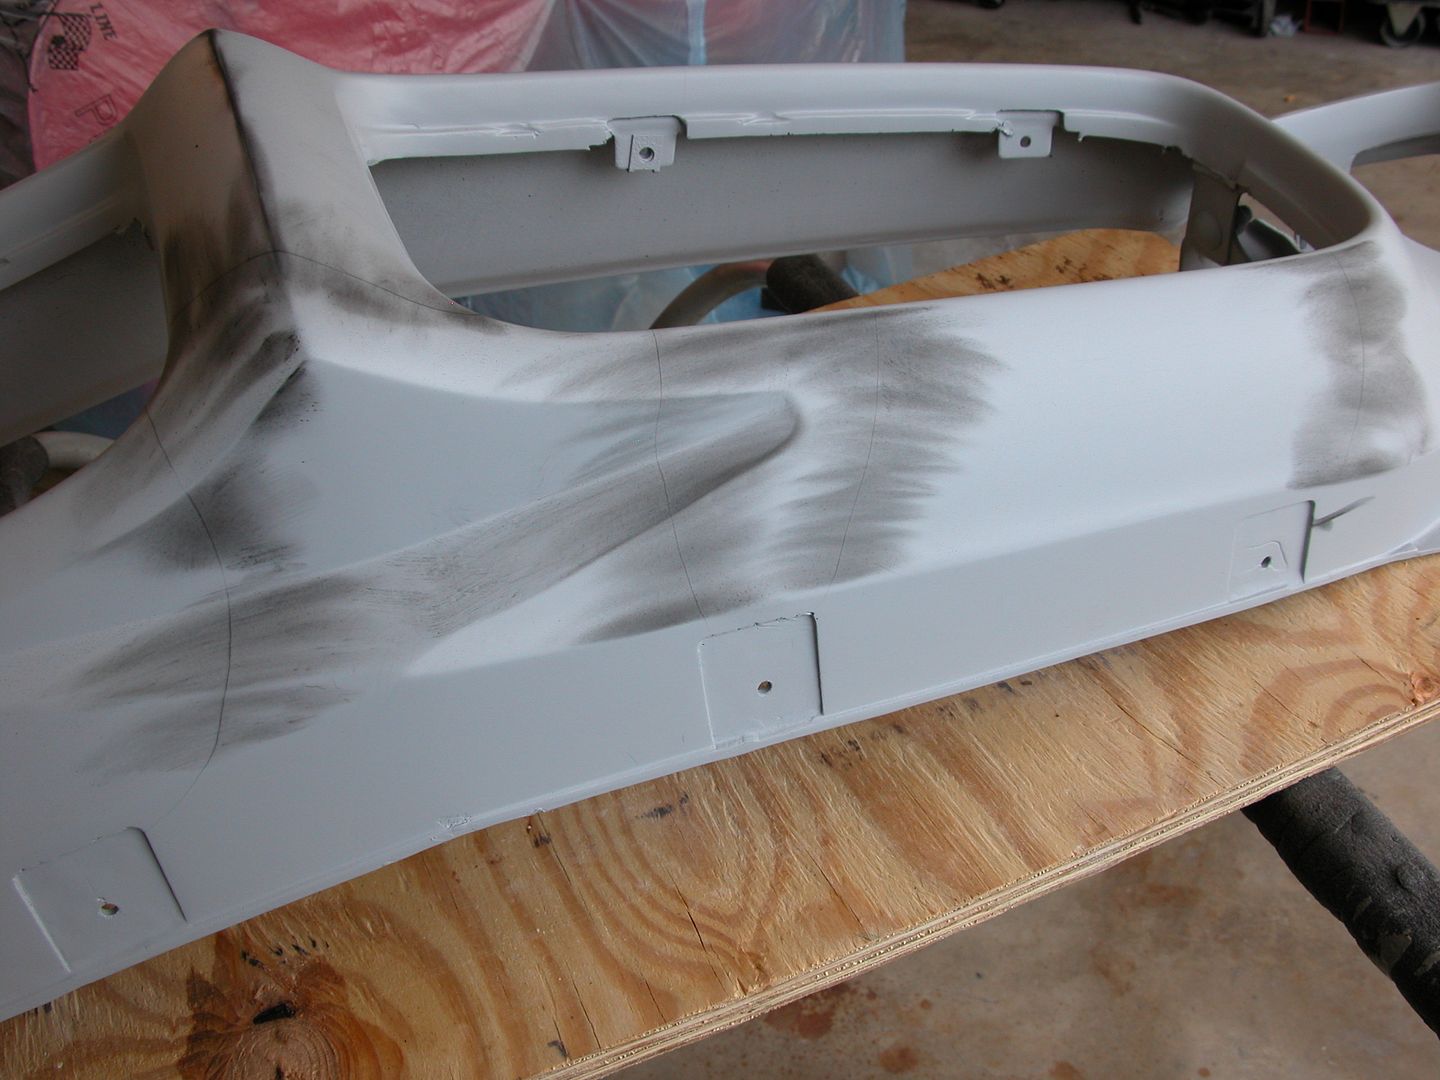
Several months later I needed to move the bumper out of the house overnight so I stuck it in the garage. In the morning I went to retrieve the bumper and found the cracked primer you see in the pics below. GRRRRRR! So I put the bumper in the truck and zipped up the street to the paint store. They related that a restoration shop they supply was having the same problems on a GTO Endura bumper. A quick internet search showed that others had similar problems when using the modern high fill primers like the PPG Omni and K-38. The general consensus is not to use a high fill but rather an epoxy primer for blocking sanding etc. on Endura. So I sanded all the primer off by hand then sprayed it with PPG DP48LF epoxy primer the paint store guys gave me for free because they felt bad and knew how much time and materials I already had in the bumper. It's now almost ready for "final?" prime with reduced epoxy primer.
Apparently the thin Lacquer primer and epoxy primer I used 25 years ago was fine but the Endura bumper expansion/contraction rate is different enough from the rate of the high build primer that it causes the cracking? We'll see...... Tough lesson as I now refer to it as the $3,000.00 bumper because I've got over 100 hours in it plus a couple hundred dollars worth of blasting media, panel bond, flexible repair material, and many coats of primer that ended up on the floor. K-38 is 300 bucks a gallon!
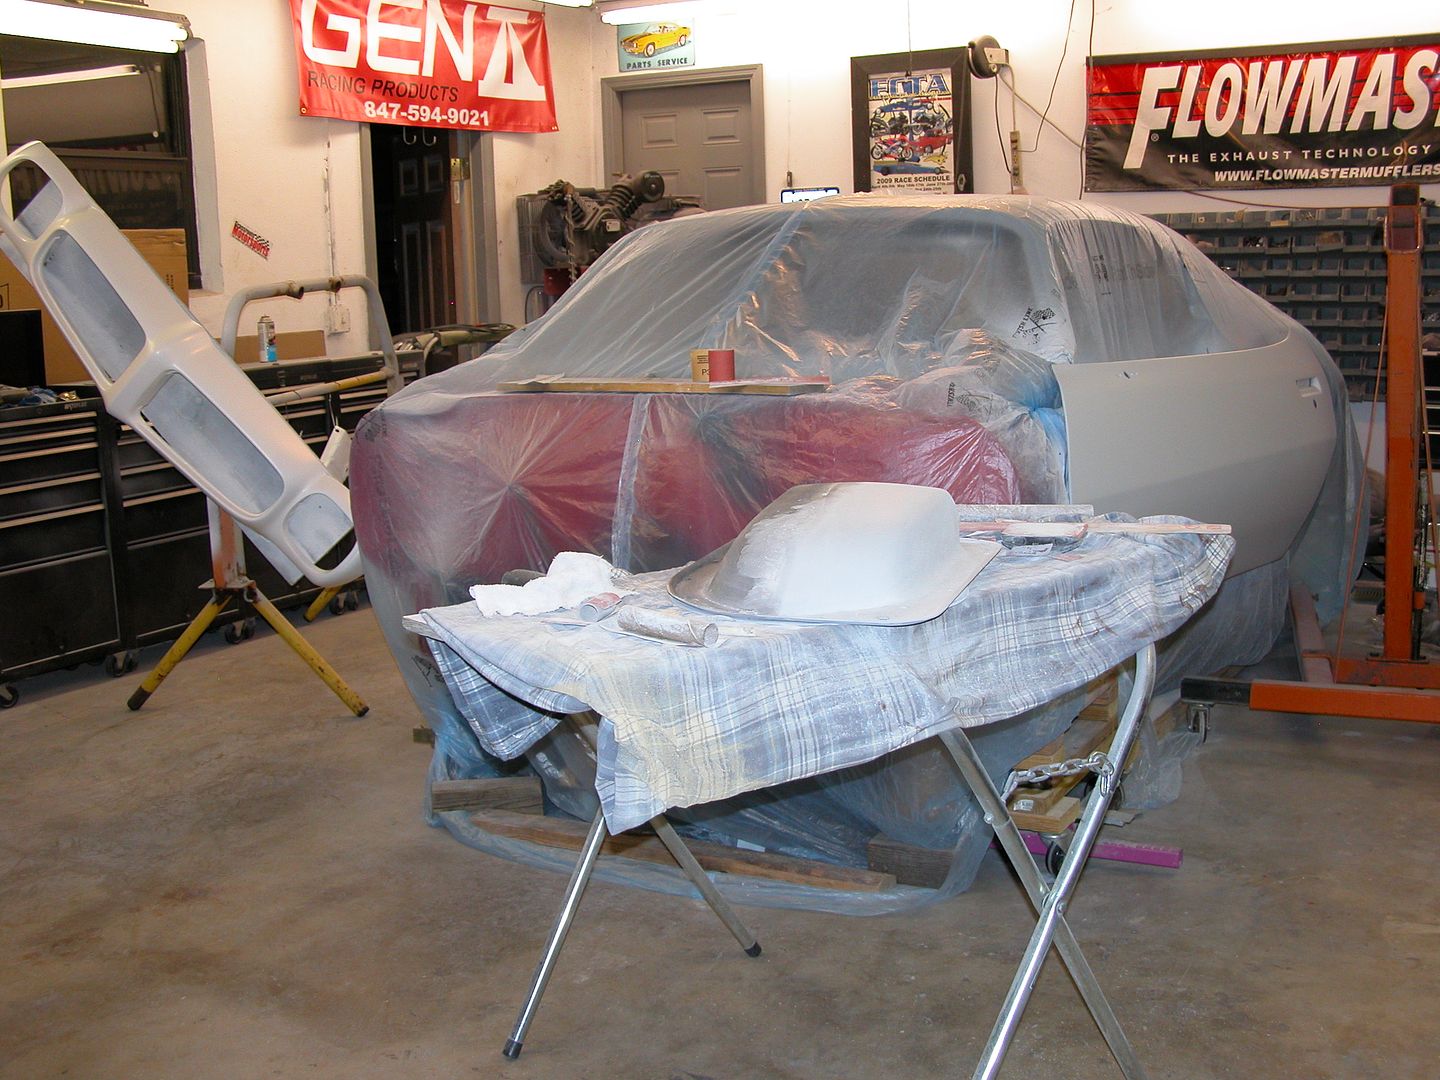
So here's the pics. I put some dry guide coat magic dust on the cracks so you can see them in the pics. If it doesn't work out this time I'm gonna buy a fiberglass bumper. Last pic is blocking out the final prime on the shaker scoop, most of the other small pieces are done with blocking and ready for sealer/paint!