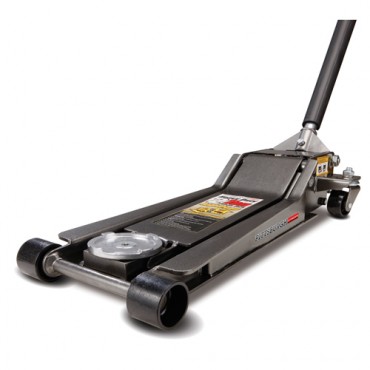
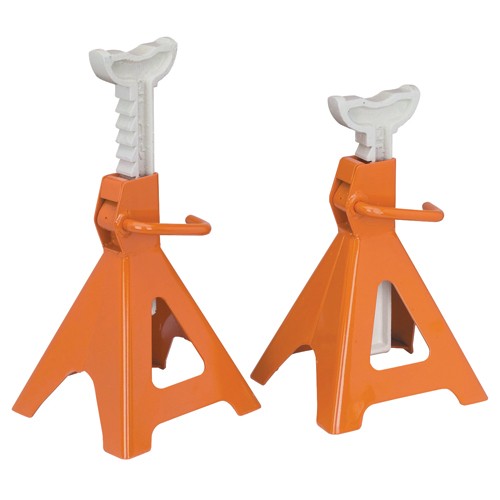
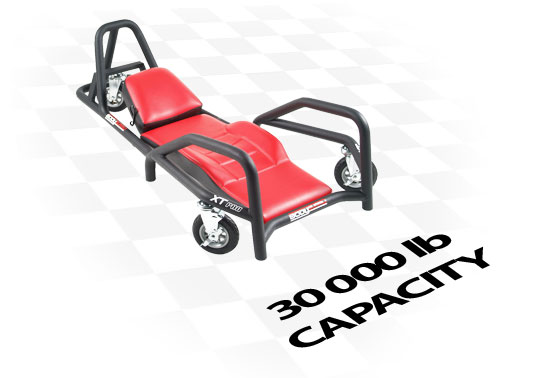
(1) you generally won,t be able to position floor jacks on the correct frame support on all locations and still be able to work the jack correctly and generally won,t have a jack that lifts the car high enough, floor jacks have handles designed to come loose during use,and retaining pins designed to be easily broken or lost.
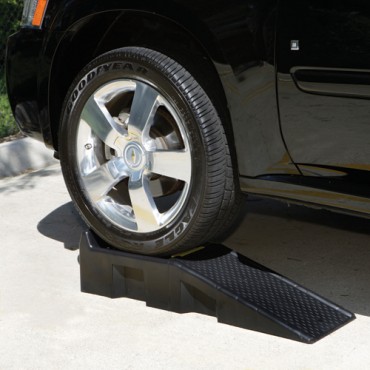
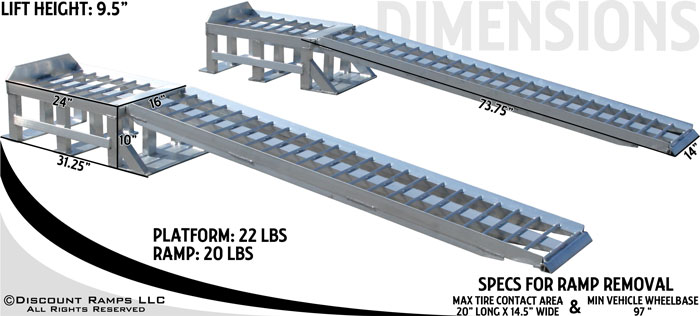
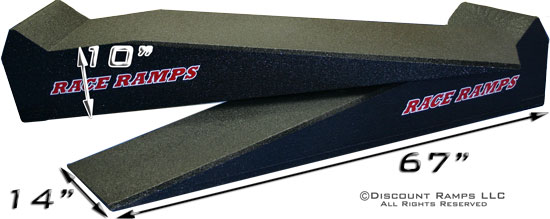
(2) any car ramps will ALWAYS skid out from under tires as the cars moved forward onto them
(3) the chance of the floor jack hydraulics leaking is directly proportional to the speed you need to do an oil change,the more urgent the time frame the higher the chances the jack will malfunction, and no floor jack will roll easily in a strait line
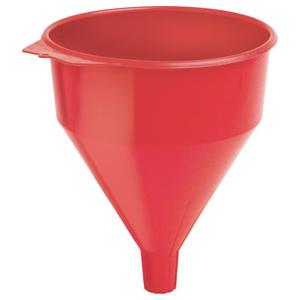
(4) funnels with screens will slow the oil drain speed from seconds to what will seem to be almost hours , removing the screen will almost guarantees you drop something small into the engine thru the funnel
(5) oil filters rarely come off easily, and driving a screw driver thru them to use as leverage almost always results in either oil pan or sensor damage or a huge mess, open oil cans placed on the engine always fall into places that cause problems, and retrieving them without spilling oil is highly unlikely
(6)if you can,t see the oil filter mount & sealing surface, the old gasket is likely to be stuck or ripped, preventing the replacement filter from sealing properly
(7) parts counter guys have a mental fetish about selecting and selling you the wrong oil filter
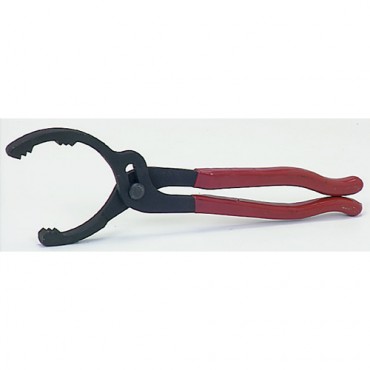
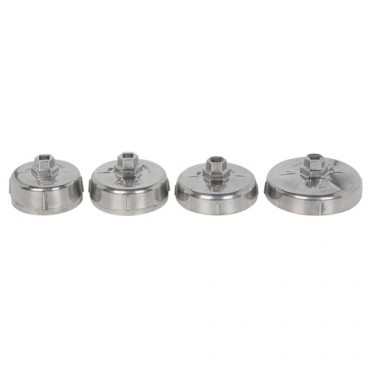
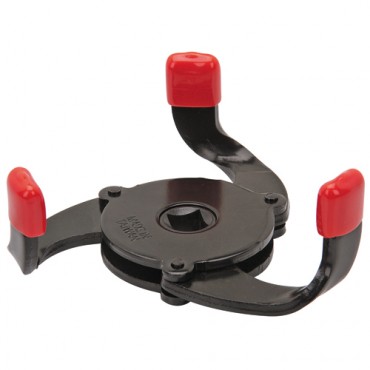
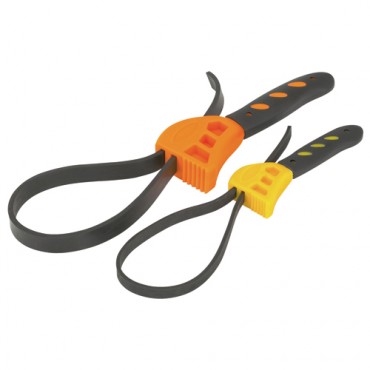
(8) most oil filter wrenches will only be located in your tool box AFTER you butcher the old oil filter to the point they won,t fit
(9) you'll usually be 1-3 quarts short on oil because someone used several quarts of your oil and put the empty oil cans you thought were full back on the shelf, but you'll only find out ONLY after you drain the oil pan, and usually when you don,t have access to a second car.
(10) any oil pan plug, or socket used will almost always fall and roll to the least accessible location in your garage, at least 50% of all oil pan drain plug threads are factory defective or cross threaded
(11) the big sign at the auto parts store that says we accept old oil will have a tiny note saying the tanks full, we can,t accept any today
(12) parts store hours always close 3 minutes before you arrive with used oil
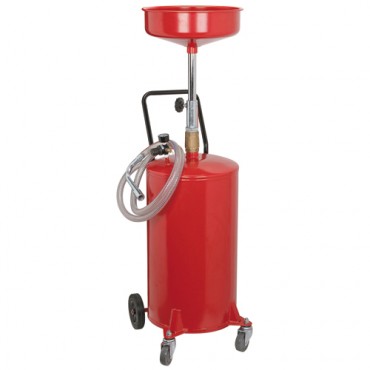
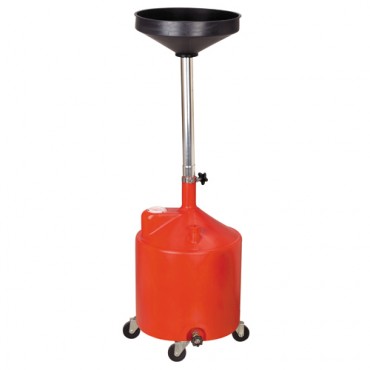
(13)you will always have individual used oil bottles leak in your trunk unless you place them in a large plastic box, and you will usually be forced to drive around for days before finding a legal place to dump used oil
(14) you will forget your wearing a good shirt and slacks until you get old black oil on them
(15) your dipstick will bend or break, or be mis-placed if your in the least hurry, and the oil cap is always going to fall and roll under the car just out of easy reach, and at least once , its going to be damaged when found
(16) ONLY after you pour the last quart of oil into the engine you'll remember you forgot to re-install the oil pan drain plug
(17) your "knowledgeable friend" who always talks about cars, that wants to help is frequently a TOTAL MORON
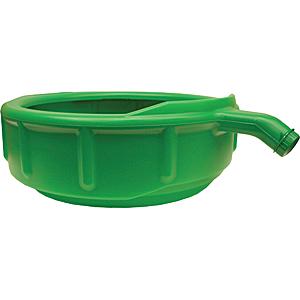
(18) mis-placed, wallets, keys or eye glasses placed in top shirt pockets, or placed on car roofs , normally fall into the used oil salvage pan only after its full of hot black oil
(2) any car ramps will ALWAYS skid out from under tires as the cars moved forward onto them
(3) the chance of the floor jack hydraulics leaking is directly proportional to the speed you need to do an oil change,the more urgent the time frame the higher the chances the jack will malfunction, and no floor jack will roll easily in a strait line
(4) funnels with screens will slow the oil drain speed from seconds to what will seem to be almost hours , removing the screen will almost guarantees you drop something small into the engine thru the funnel
(5) oil filters rarely come off easily, and driving a screw driver thru them to use as leverage almost always results in either oil pan or sensor damage or a huge mess, open oil cans placed on the engine always fall into places that cause problems, and retrieving them without spilling oil is highly unlikely
(6)if you can,t see the oil filter mount & sealing surface, the old gasket is likely to be stuck or ripped, preventing the replacement filter from sealing properly
(7) parts counter guys have a mental fetish about selecting and selling you the wrong oil filter
(8) most oil filter wrenches will only be located in your tool box AFTER you butcher the old oil filter to the point they won,t fit
(9) you'll usually be 1-3 quarts short on oil because someone used several quarts of your oil and put the empty oil cans you thought were full back on the shelf, but you'll only find out ONLY after you drain the oil pan, and usually when you don,t have access to a second car.
(10) any oil pan plug, or socket used will almost always fall and roll to the least accessible location in your garage, at least 50% of all oil pan drain plug threads are factory defective or cross threaded
(11) the big sign at the auto parts store that says we accept old oil will have a tiny note saying the tanks full, we can,t accept any today
(12) parts store hours always close 3 minutes before you arrive with used oil
(13)you will always have individual used oil bottles leak in your trunk unless you place them in a large plastic box, and you will usually be forced to drive around for days before finding a legal place to dump used oil
(14) you will forget your wearing a good shirt and slacks until you get old black oil on them
(15) your dipstick will bend or break, or be mis-placed if your in the least hurry, and the oil cap is always going to fall and roll under the car just out of easy reach, and at least once , its going to be damaged when found
(16) ONLY after you pour the last quart of oil into the engine you'll remember you forgot to re-install the oil pan drain plug
(17) your "knowledgeable friend" who always talks about cars, that wants to help is frequently a TOTAL MORON
(18) mis-placed, wallets, keys or eye glasses placed in top shirt pockets, or placed on car roofs , normally fall into the used oil salvage pan only after its full of hot black oil