Lololol - you got me there. It's another one of my quirks. I am very meticulous about my hands, I keep em perfectly manicured. I also use pore sealer, wear surgical gloves under mechanic's gloves, etc. I am not a germ freak. I simply enjoy the reaction you just had: hands are too clean to be tinkering on cars... Not possible! It's kinda like mating a blown SBC400 to a THM200-4R.
It must really bother you then when the tires have to touch that dirty pavement !
Naaah, not a neat freak at all. But I often get people making comment on my hands being too neat to be working on a car.
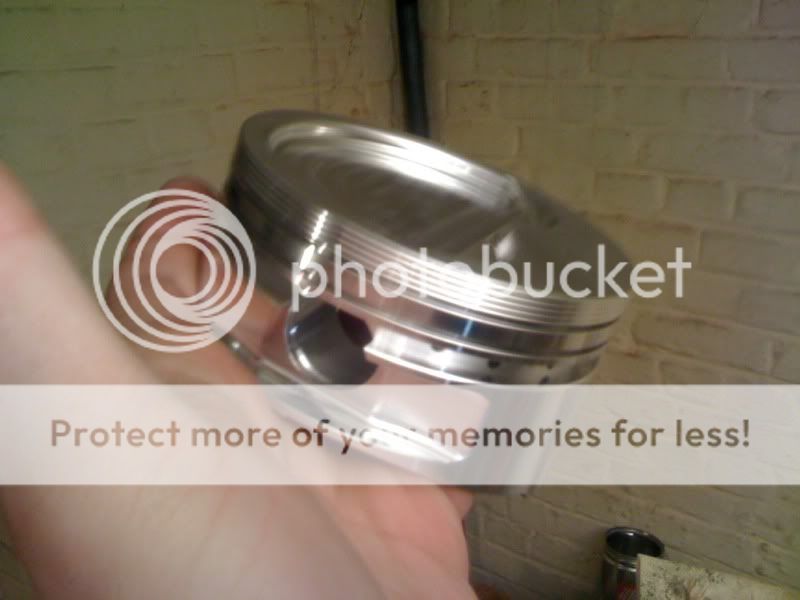
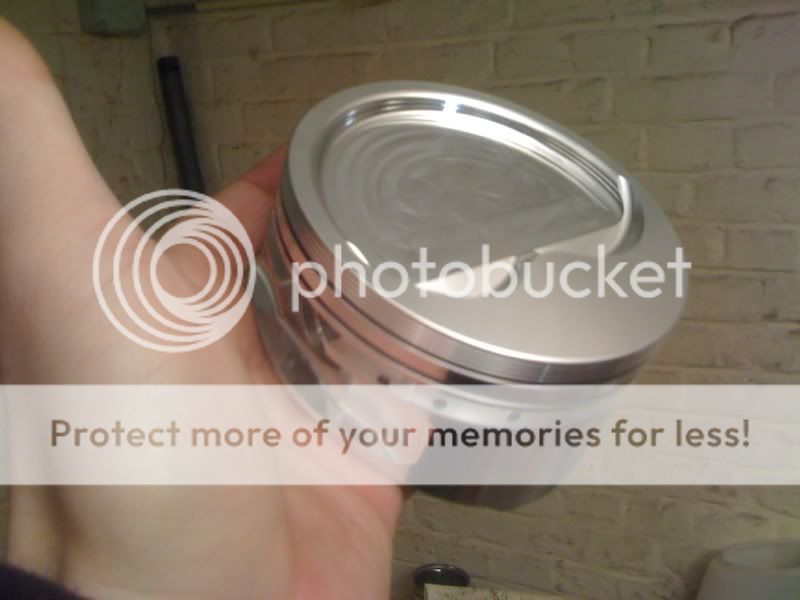
Indeed these are JE blower pistons with a 28cc dish. Compared to the stock pistons, they are clearly very robust. Impressive. JE also did a good job taking off all the sharp edges. Slippery!
Are you going to run the blower you already have that I've seen in your pics or something new ?
Same blower.
I was shooting for a lower CR. According to what I calculated, this will be around 8.2:1 Stock pistons were 22cc dish at 8.6:1. The idea here was to be able to mildly uptick boost later if I wanted to - never above 14 PSI. However, it also occurred to me that I can spin this faster than the 5500 RPM I set the rev limiter at. Ohio Crankshaft tells me the assy is good to 7000. I'll keep it to 6200, I think. Still, in other words, since I can spin this a bit faster... let's wait on upticking boost. This should make a nice difference as is.
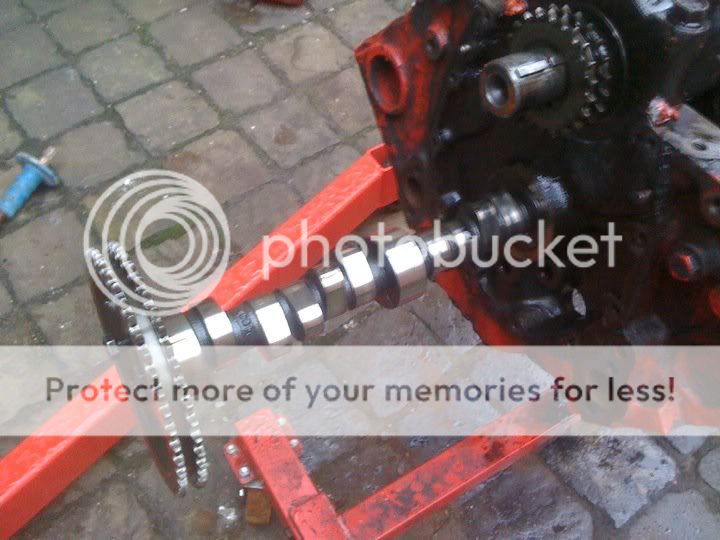
So with the camshaft you have what RPM should you shift ??? Looks like your more focused on the durability side of things, than getting the best ET.
Reliability and durability were indeed the primary focus. If I can pick up a few ponies on the way, why not? It then occurred to me that with centifugals, boost builds quicker than RPM... So a gain in RPM will result in significant boost uptick. Possibly 2 to 3 PSI. Not to mention staying longer in lower gears.
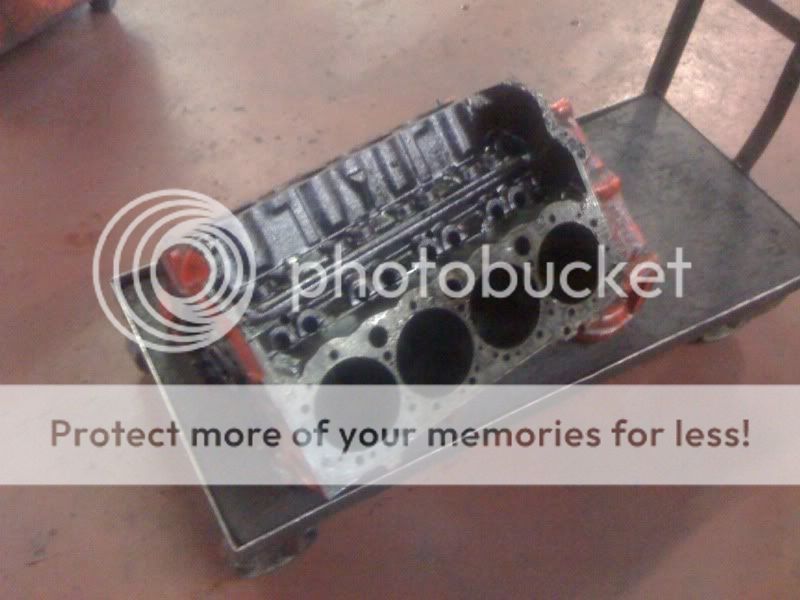
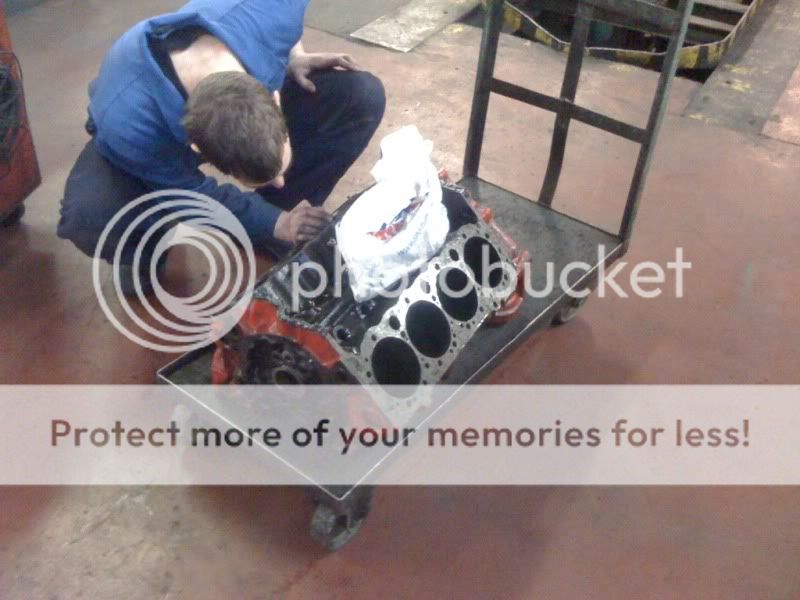
I am not going to zero deck but just skim off the top to make sure it's flat and true. Since this will be a blown SBC, I'd rather keep the extra deck material than look for a good squish.
Can't you get very close to the squish you want by adjusting the head gasket thickness. Doesn't seem like you should have to compromise on this. I'm sure you already knew this....its hard to get every thought in to words on a forum.
I'm deriving most of my power from boost, cubes and a reasonably goos flowing long block. Squish would indeed help deter detonation on higher compression N/A motors. Also some power gains due to turbulence, but nothing relatively significant. My compression and boost will be low enough that I don't really have to worry about detonation. Plus, I have water/meth injection. To get proper squish, I'd have to use a shim gasket or deck. I thought about it and figured I'd rather keep meat on the deck and avoid a shim gasket. I hear they aren't as durable on blown plants.
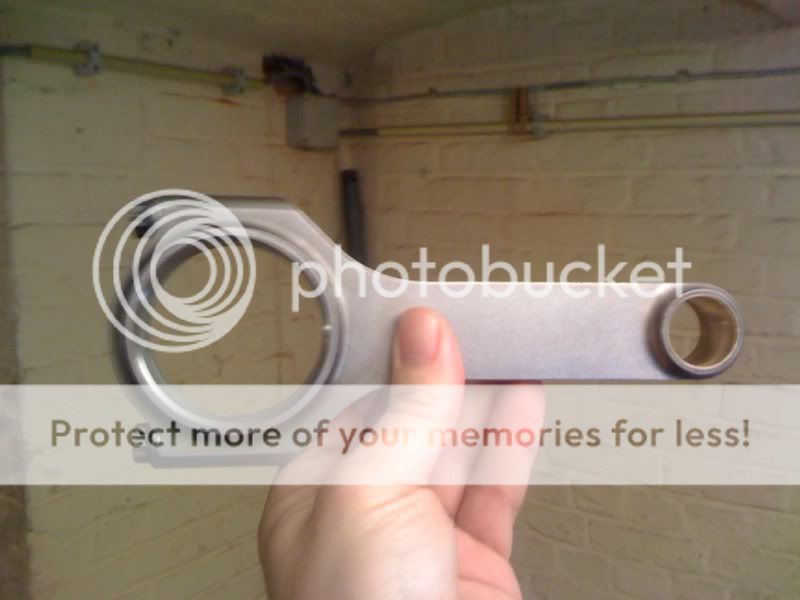
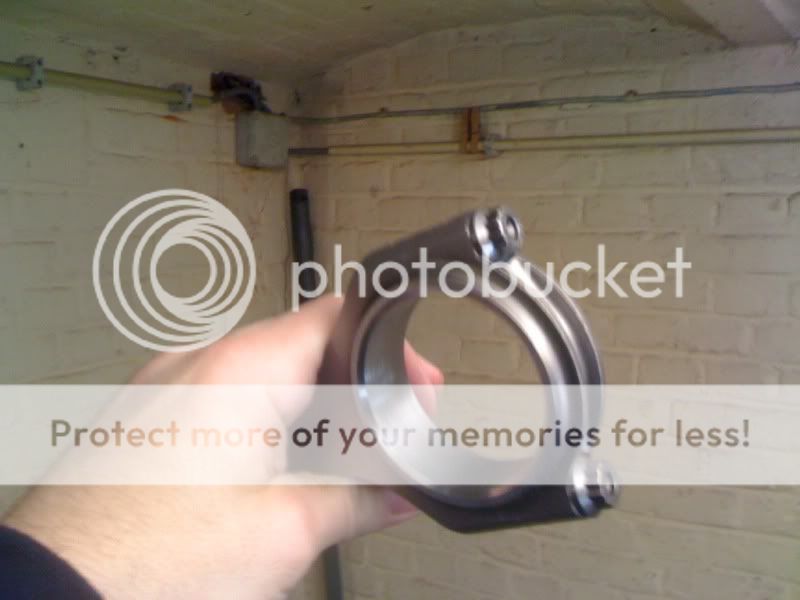
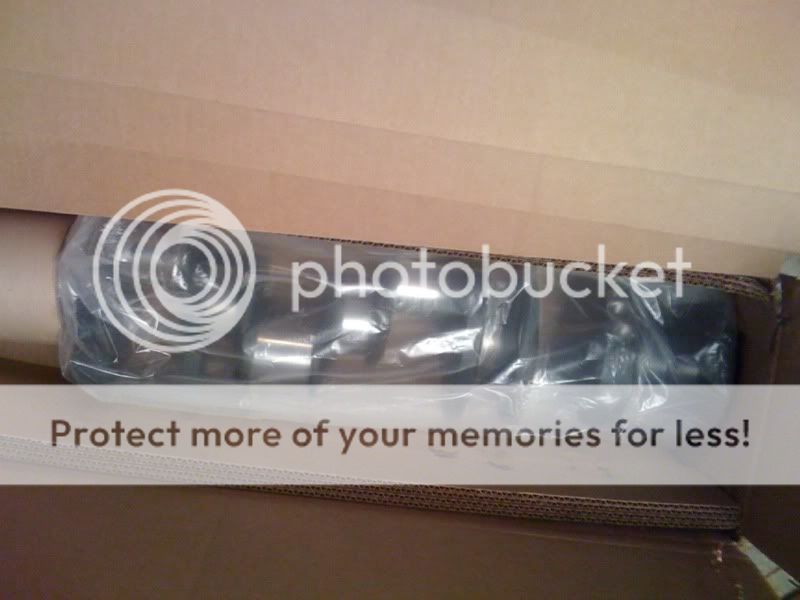
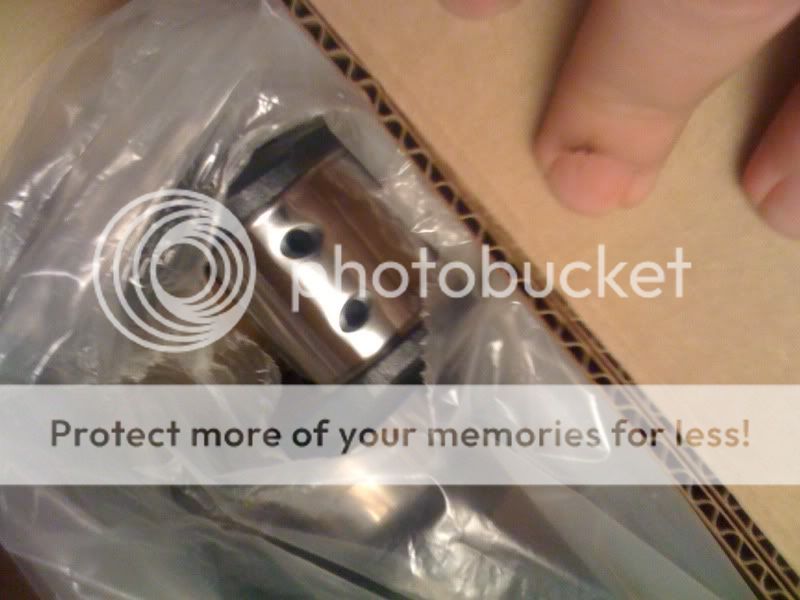
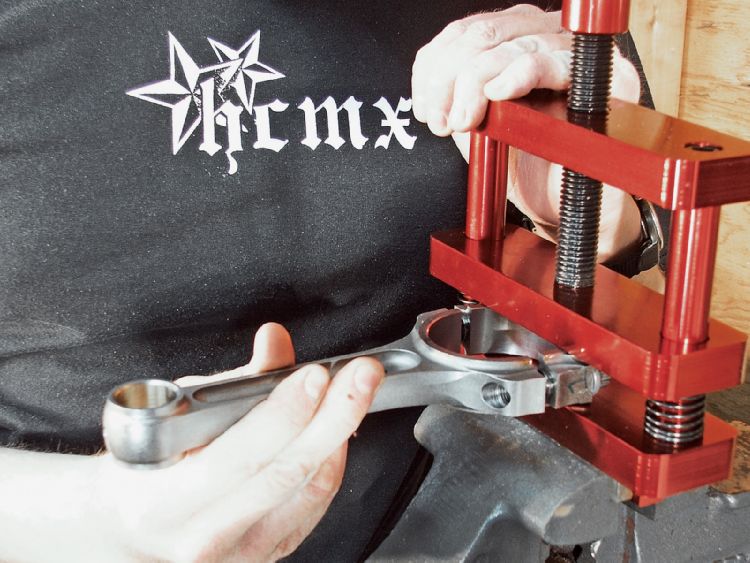
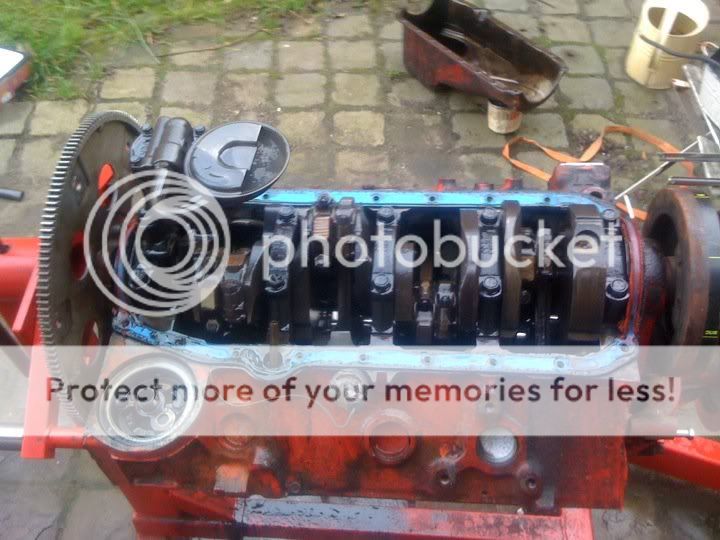
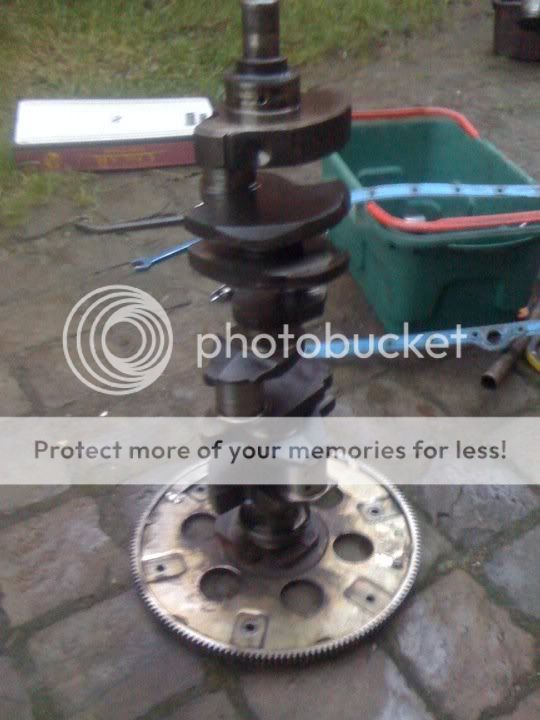
The crank is from Ohio Crankshafts (OC) and is 4340 steel. Very nice! I love the detailed oil holes. Nicely polished journals. The rods are also OC. They are 6-inch with 7/16 ARP 2000 bolts. I am really impressed with the detailing. I am however less clear on orientation - on stock rods, if I recall correctly, the bevel side of large diameter faces the crankshaft, the flat side faces flat side the other rod. Here, one side appears to have just a slight bit more bevel than the other.
If this is what you are referring to, you are right.
Yup! Problem is, the bevels on each side aren't much different.
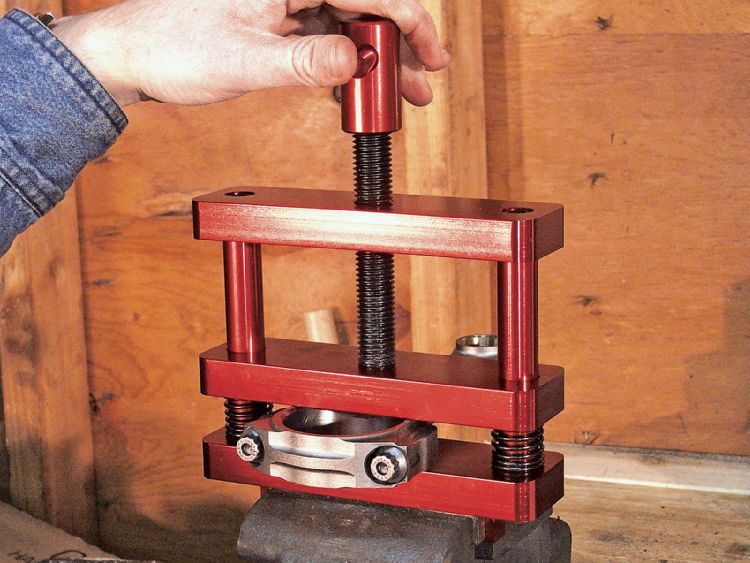
And WTF do they torque the rod bolts down so tightly for shipping?
Mine were the same way, seemed to be torqued to the final setting.
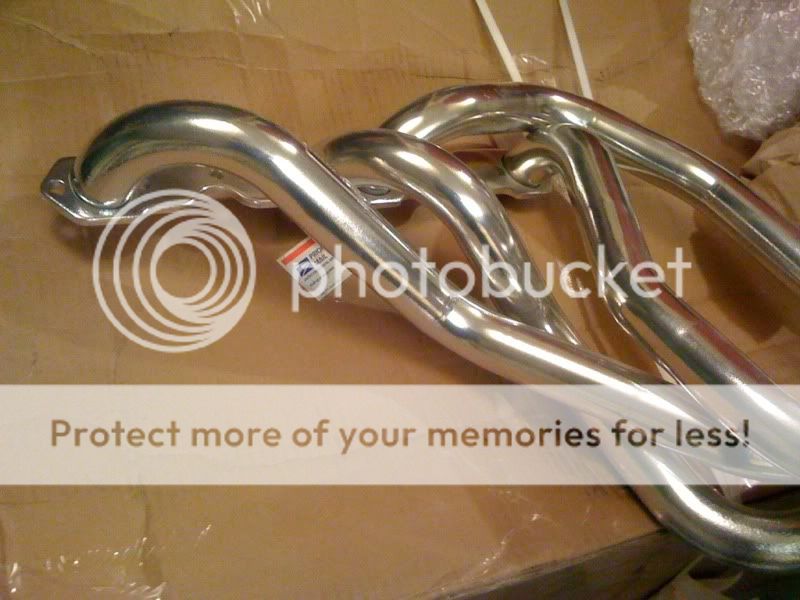
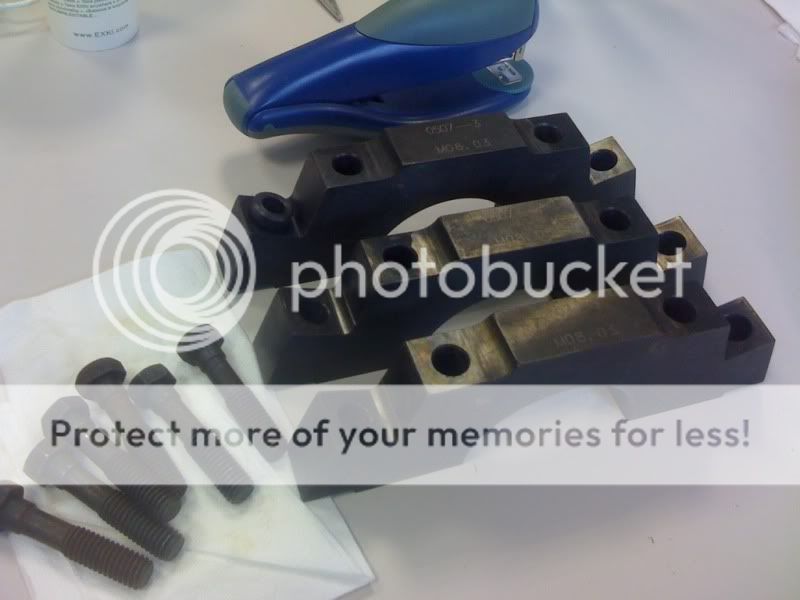
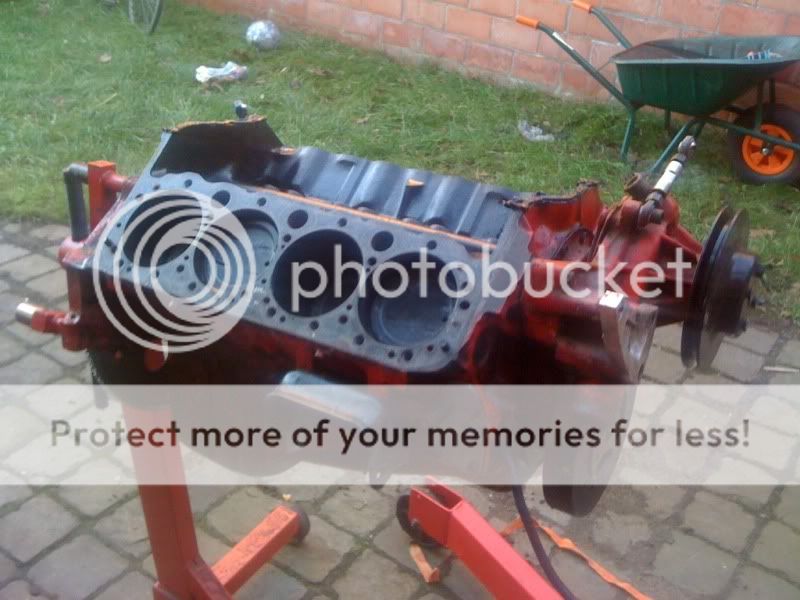
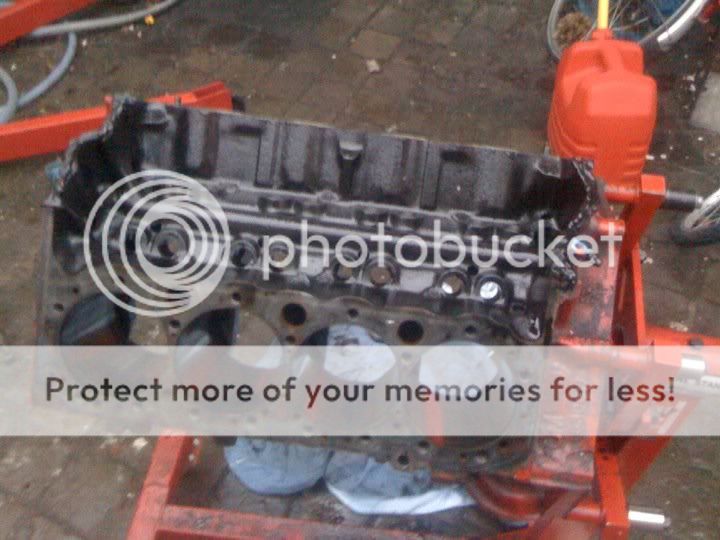
The steel splayed caps are on order as are the new cam bearings. Next week I drop them + all the rest off at the machine shop. I am still wrestling with the level of detailing I want to put into the block and what I color I want to paint it. If the hot tank strips off the red paint from the block, I might go with a hot yellow. I'm not sure if I want to paint manifold and heads yet. Water pump for sure of course. I think I will detail and paint the manifold. I am tired of corroding aluminum. Powder coating is not an option... Hmmmmmmm. That flathead guy impressed me.
Do you have a link, I'm not too far from painting and would like to see how his looks ?
viewtopic.php?f=50&t=4588
I like the ultra-slick paint job. The chore seems very similar to the body work I did. That could be cool! Painting the heads? Hmmm... Or... I could ask a local body shop to mix my some sunset orange metallic... the color of the body... Hmmmm...
I vote for the Orange color !!!
I think I agree: ORANGE!!! Will probably do the booster and carb hat too...
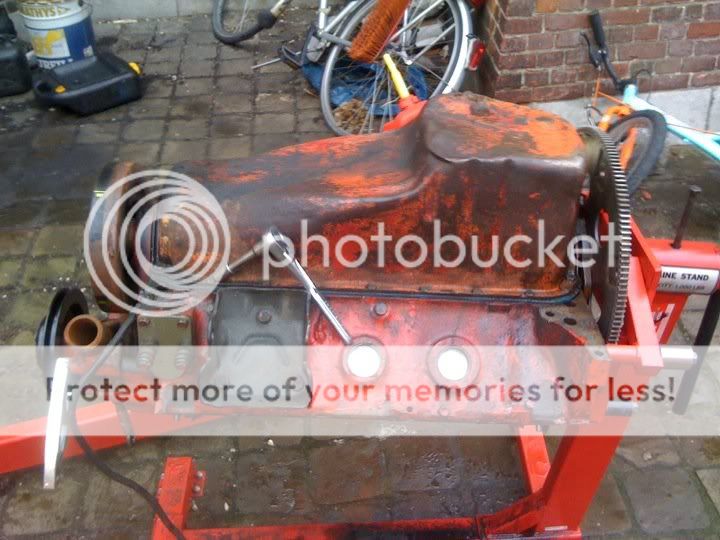


 i don.t remember where i got it from , it sits in my garage for to long