Mig Wire Feed Slows To A Crawl

Indycars

Administrator
Staff member
I wanted to do some practice and was trying to figure out what the wire feed speed was
in IPM, since I only have a 1-10 scale. I was watching Jody and he had nice way to figure
out the IPM of the wire feed. This happens in Part 3 of 7.

http://www.weldingtipsandtricks.com/mig-welding-basics-3.html

Ok so back to my problem. After several test to determine the wire feed speed, the
Eastwood MIG 175 started to slow down without ANY changes to the machine. I let
the machine cool for 30 minutes, but this had zero effect. Watch the video below and
let me know what you think?

.
 
https://www.eastwood.com/welders/parts-consumables/parts-consumables.html


not your problem, but nice too see they offer parts

https://www.eastwood.com/eastwood-mig175-welder-torch-liner.html

https://www.eastwood.com/mig175-knurled-drive-roller.html


http://garage.grumpysperformance.com/index.php?threads/tips-on-mig-welding.14225/

http://garage.grumpysperformance.com/index.php?threads/useful-mig-weld-info.441/
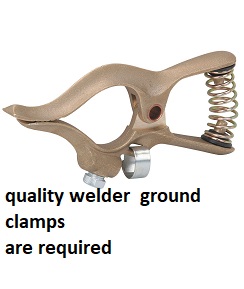
check the ground wire connection in your mig and
check the ground connection clamp on the part your welding,
many mig welders come with very low quality ground clamps ,
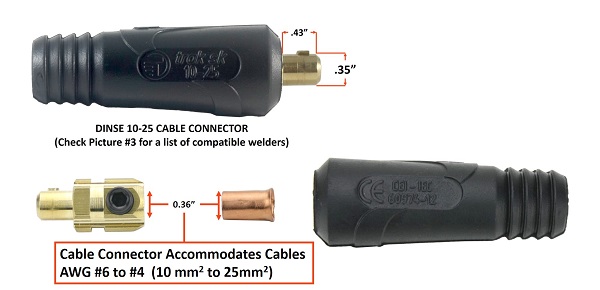
and many welders have plug in ground cables

welgrnd.jpg


that must be carefully cleaned occasionally,as they corrode
and
the ground clamp on the material must be clamped on bare metal, no rust or paint
https://www.harborfreight.com/400-amp-welding-ground-clamp-63849.html?cid=paid_google|*PLA+-+All+Products+-+Lower+Sales+Items|New+Products+-+(1)+Price+<$10|63849&utm_source=google&utm_medium=cpc&mkwid=s8fKMoHtg|pcrid|318476002950|pkw||pmt||pdv|c|slid||product|63849|&pgrid=63088204786&ptaid=pla-351447560567&pcid=1654049980&intent=&gclid=EAIaIQobChMIu4-9--PY4wIVDZ-fCh3jCwLVEAYYASABEgLbA_D_BwE
63849_I.jpg


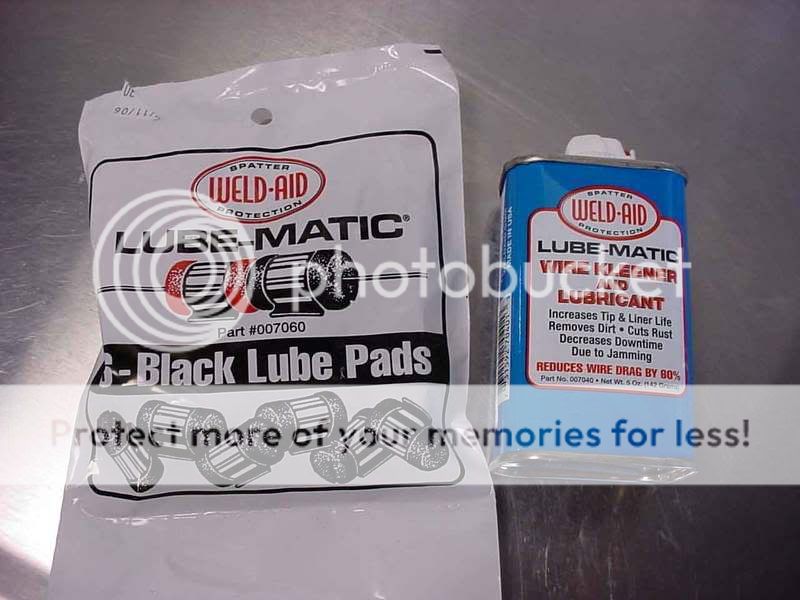
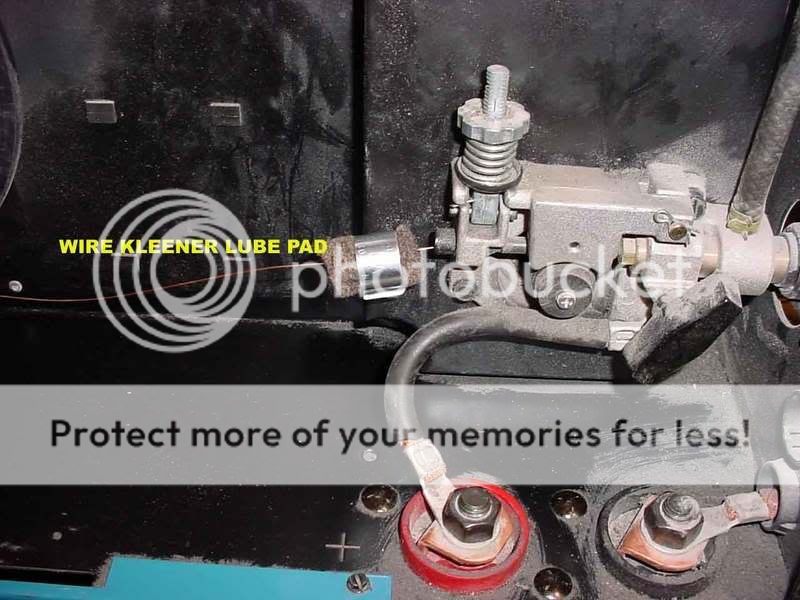
Id also look it over and find out if your wire feed requires,
periodic parts replacement
or lubrication,
cleaning,
or adjustments
and if there some rheostat or therm-mister , or slipping mini clutch ,
or worn plastic gears ,
or the switch in the mig wire feed gun,
might need replacing, or
loose electrical connection or ground,
thats causing the issue


welding101-P2.jpg


welding101-P3.jpg
 
Last edited:
Rick...I had a simular situation with my Miller wire feed slowing down...It is a 140 mig welder and I put an 11lbs spool of wire on it.
The weight of spool slowed it down.
 
My solution was to tighten the roller just a tad because i had been using those two pound rolls.
A bad liner will slow down the feed also.
 
In the video you will notice that I'm not even pushing the wire, the drive wheel is off the motor spindle.

I called Eastwood tech support and Bob quickly asked me if I had the voltage turned down, which I had
turned it all the way down. With Bob on the phone I went to the welder and turned the voltage up, problem
solved!!! He said it's a fail safe, the machine considers the settings an unweldable situation when the
voltage and wire feed are not in a realistic position.
 
Nice.... That is good news Rick..

Yes I posted before I watched the video .... My Bad..
 
.
So I finished up my table to convert 1-10 scale on the front of the welder to IPM. I measured all
the whole number and calculated all the half numbers in Excel.

Eastwood_MIG175_FeedRates.JPG
.
 
Last edited:
I guess the chart above would make more sense if I also posted this chart from .......weldingtipsandtricks.com

For practice I'm using 0.8mm/.030 wire on 1/8 inch steel. So the steel is .125 thick and 1 amp
per .001 thickness x 2(see chart below .030) = 250 IPM wire speed. So if I go to the chart above you can see
that I need to set the Eastwood welder at a wire speed setting of 5 (260).

Welding-Chart.jpg
.
 
Last edited by a moderator:
thanks RICK. Im sure that bit of info will be very helpful to some people over the coming years
 
My first practice with the Eastwood MIG 175 AMP welder.

Yes Grumpy I already had a much better ground clamp than comes with the welder.

FP01_PracticeWelding_1179.jpg
FP01_PracticeWelding_1181.jpg
.
 
Looks good Rick.
You might want to try the spot and pause method (I know there is a more technical term for it) where you crank the welder up "hotter" and burn a series of spot welds in a line. Much like a tig weld - looks like a row of stacked nickels. Good for heavier gauge metals where the welder might otherwise be undersized.
 
I like the chart Rick... I will try and apply it to my welding. It took me a long time to figure out speeds and feeds for different thicknesses
of metal. Still learning every day!

Mike I have used the spot method also... It does work... takes alot longer to weld but it does look nice when done.
 
Looks good Rick.
You might want to try the spot and pause method (I know there is a more technical term for it) where you crank the welder up "hotter" and burn a series of spot welds in a line. Much like a tig weld - looks like a row of stacked nickels. Good for heavier gauge metals where the welder might otherwise be undersized.
Thanks!

I'm gearing up to put a 1/8" NPT bung for the temp gauge and drain plug in the transmission
pan. Would your stitch method work for different thickness of metals?
 
index.php


the weld labeled ...weld direction push and the one above it look the best,
youll be amazed at how fast, more practice tends to improve results
but I might increase the amps marginally ,and slow the speed, you get a bit better penetration
wider is not generally a problem, but getting significant bond due to depth of penetration can be at times,
obviously metal thickness is a major concern and you really can,t effectively judge until your butt welding two separate pieces of metal,
if you do that, flip the weld over, the visual on the back side tells you a great deal,
and yeah, welding steel on an aluminum heat dissipation table effects the results (generally helps once the amps and wire speed are correct.
and yes metal thickness and wire diam, effect results also.
 
Last edited:
I'm gearing up to put a 1/8" NPT bung for the temp gauge and drain plug in the transmission
pan. Would your stitch method work for different thickness of metals?

I tig welded my bung in the pan..But.. I would not be afraid to mig it. Make sure to start and direct most of the heat into the bung and dift onto the pan quickly then back to the bung. I would stitch as to keep the pan cooler.

Try to practice with a piece of metal sized to the bung and a piece of thin metal first.
 
I would stitch as to keep the pan cooler.

Try to practice with a piece of metal sized to the bung and a piece of thin metal first.
It seems stitching would be more likely to leak ??? Maybe not ???

Yes, practice with something as close to my project as possible. I did buy 3 jam nuts for the drain
plug, figured I might need a spare or two for mistakes.
 
TIG, has the advantage that you can individually control heat and the volume of filler metal independently
unlike MIG where you need to add metal to weld
 
Back
Top