My Chevelle build and spot to Rant

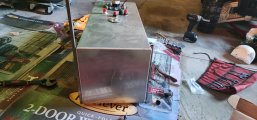
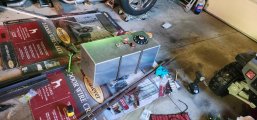
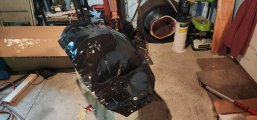
So I moved onto getting my fuel system up to par as I need to wire up the pump. Long time ago if you look towards the beginning of this thread I talk about buying most of the stuff for the fuel system before spinning the bearing and the great rebuild happened. But I realized the RCI fuel cell I purchased is top fed and I sorted my options. I already owned an external fuel pump quite capable of supporting my EFI power outputs with room to spare along with plenty of Aeromotive socketless push lock hose and a bunch of MOCAL fittings. So my options are to run the external pump mount it low and hope for the best which from what I read will kill a pump pretty quick and is not the way we do things around here. So it was buy a new cell that has a lower sump better designed for an external pump or buy a new pump and retrofit the cell for the new in tank pump. So one of the reasons I purchased the cell I did is because I want to mount it low and forward to axle as much as possible. The advertised dimensions are 12x12x30. A replacement would be a more boxed style 20 gallon so not really feeling that. I am not concerned with maximizing quarter mile times but getting a better spirited driving car because I travel more curvy roads then straight line ones anyways. Now behold this little feat of greatness. The Aeromotive stealth 340 it was part #11540 with plenty of pumping force. At the time of purchase it was $120 shipped at the best price I could find and was designed to be a stock replacement pump that can support high HP applications. Rated 850hp EFI and 700hp EFI forced induction. Carbureted 1000hp and carbureted forced induction 850hp. It is also E85 safe with a lower hp rating. The pump came with a filter, rubber hose, and wiring. It is a much smaller package but the main reason why the external pump is designed to be cooled by fuel also.
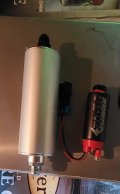
20240528_194530.jpg

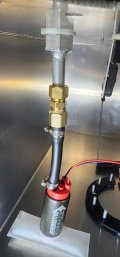
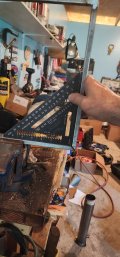
So ok wait we got it but what's the plan John how are you gonna toss that in your cell and go driving away. If you have a ton of money there are a bunch of high dollar plug and play solutions but last time I looked at the US economy that isn't happening. So we are gonna reuse the pick up tube and fit the fuel pump to it. Quick trip to the Home Depot grabbed myself a 1/2" compression fitting and a 3/8" barb and a tiny rigid pipe cutter.
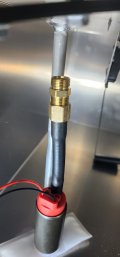
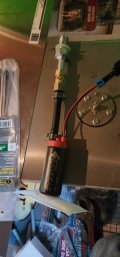
20240529_194027.jpg
20240529_195954.jpg
20240529_200357.jpg

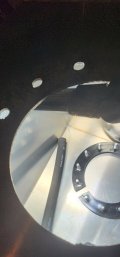
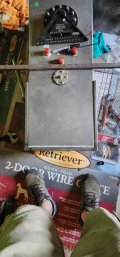
Oh wait we need to get the wires out of the cell. So I grabbed a fuel cell wiring bulk head fitting. Now we are getting some where. where is my drill oh there it is.
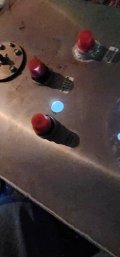
20240529_201320.jpg

Let's get that head on there. sorry that pick was a little blurry.
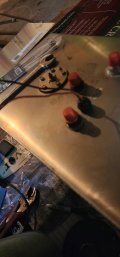
20240529_201937.jpg

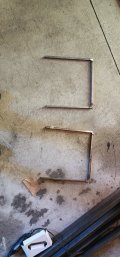
Sweet but wait we have an issue here I really doubt that pump is gonna sway around in the base but I want to be sure so I went to Ace Hardware and grabbed some stainless zip ties. I also stopped at tractor supply and grabbed a 6" x 18" piece of aluminum. I figure why not reuse the aluminum pick up I cut off and I need to build a baffle to make sure I have fuel when I am below a 1/4 tank. So I folded the aluminum enough to get it in the cell through the hole and cut out some spots along the base and left a gap for fuel to enter also. I used some JB weld epoxy to give it some rigidity and zip tied it to the fuel pump and hose
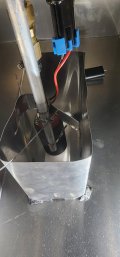
20240530_202800.jpg

But wait there is more RCI wants to dump the return line right above the pick up which is a prime way to add air to your fuel.
That video was brought to my attention from one of my favorites on his YouTube channels. He did this to his.
So I had a few -8an fittings around from my original plan so lets swap out that vent fitting with the bulk head and get the returning fuel to a better spot in the cell.
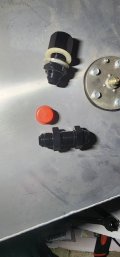
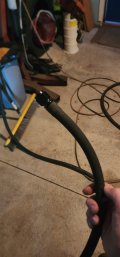
20240530_204018.jpg20240530_204817.jpg20240530_211912.jpg

That looks much better. I then took a painters tack rag and cleaned all the aluminum shavings and any other garbage or dirt out of the inside of the cell and sealed it back up to get it ready to be mounted, plumbed, and used. So fabrication time for mounting the cell is coming up soon.
 
Last edited:
I REALLY LIKE THE POSTED DETAILS AND RELATED PHOTOS
so few people bother to document their projects and its generally helpful,
to see what went on even if they screw up OR hopefully succeed!
 
Hey everyone hope you are all good. Been still working on the car and getting the wiring wrapped up. It has been a ton of work to do and do correctly. The under the hood area is all done but Brake lines to the proportioning valve, Air cleaners plans are to use 2 K&N 56-9188-1 air filter assemblies and the IAT sensor because with out the air filter assembly no where to mount the sensor yet. It has been a ton of work to get right and neat with the EFI and all the sensors. I have double sensors on a lot of systems now. Gauges get a sensor and ECU gets a sensor. This went for the temp, fuel, and the oil. But all wires are neatly wrapped up like OEM or better. I don't recall if I told you guys I bought a more modern ECU as over 10 years has gone by and Lance Nist has totally retired and can't be found now if I have any questions. So I upgraded to a Fueltech 550 lite. Lite meaning no screen but I had already purchase gauges and will just be using a laptop for tuning. This will also allow me to run traction control down the road and also program in fuel or timing cuts if there is temp or any other sensor issues. I will dive deeper into this in later posts. I have been exploring the different options for the traction control wheel sensors that are needed from CPP 2" drop spindles that can use the C5 hubs that have speed sensors or using the speedway g-comp spindles using the back of the lugs as triggers and then will need to add a drive shaft wheel for the rear trigger. With my plans for suspension and brakes I want a tall spindle with a 2" drop also planning to run double adjustable coil overs down the road. The brakes are going to be a priority to get done at least the front ones done before the car sees the road as 4 wheel drums are currently on it. Another thing I have been talking about doing is 8hp trans swap the TCU and the adapter are the biggest cost of the swap but are reusable the 8hp70 is found in dodge 2wd rams and can be had for around $300 right now but it is probably a $3500 swap said and done. We will see, the trans and suspension are not a top priority right now as getting the car back into a driving project is priority one. I will get some new progress pics up for you guys hopefully tonight.
 
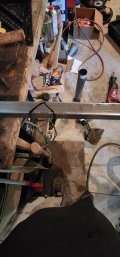
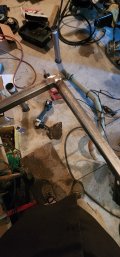
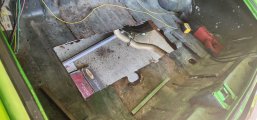
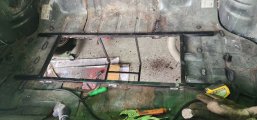
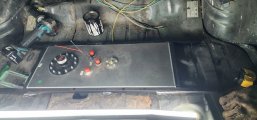
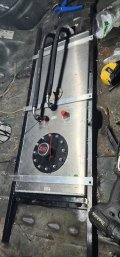
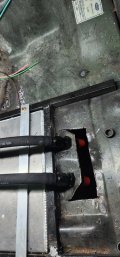
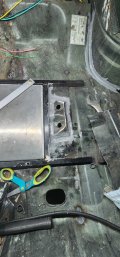
So this is where we left off May/early June of last year. I fabricated and started mounting the fuel cell in the trunk. So goal was to get the weight forward and low for better handling. So I made a frame and cut a spot in the trunk floor to mount the frame. Making great use of the the plasma cutter!!

20240531_164334.jpg20240531_164330.jpg20240531_164903.jpg20240531_164936.jpg20240531_170520.jpg
20240531_173847.jpg20240531_174646.jpg20240601_145756.jpg20240607_122517.jpg20240612_190736.jpg
 
Last edited:
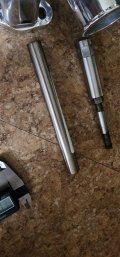
How did you decide between tall and skinny or short and wide? The first moves it back and up, the other keeps it lower and wider?

Guess you will be insulating the exhaust under the tank?
.
 
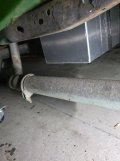
I was aiming for a larger tank size this is 19 gallons. I also was planning to keep the weight closer to the rear axle when I picked the cell out like 8 or more years ago you can go back in this thread when I bought it. But the exhaust does not run under it. The exhaust runs on the sides of it!! It will be farther away then factory was.
How did you decide between tall and skinny or short and wide? The first moves it back and up, the other keeps it lower and wider?

Guess you will be insulating the exhaust under the tank?
 
I fabbed up a spot to mount the bulkhead fittings that aim the fuel line right into the frame. The Grey is seam sealer. I need to grab some more pics from the car of it for you guys. This was June last year. I still need to run the vent line but have not yet as I concentrated on other parts of the build. Plan is to build a cover over this so I still have a functional trunk with a more finished look and place for stuff like chairs or a suitcase for car shows or cruises.
20240620_210223.jpg20240620_210232.jpg20240621_182141.jpg
 
thank you for posting the pictures of how you installed the fuel tank/cell it may help others at a later date!
related threads
http://garage.grumpysperformance.com/index.php?threads/setting-up-your-fuel-system.211/
http://garage.grumpysperformance.com/index.php?threads/how-big-a-fuel-pump-do-you-need.1939/

http://garage.grumpysperformance.com/index.php?threads/installing-a-fuel-cell.733/#post-6470

http://garage.grumpysperformance.co...-sizing-return-vs-feed.3067/page-3#post-61157

http://garage.grumpysperformance.co...c-fuel-pump-selection.10664/page-3#post-47899

http://garage.grumpysperformance.co...-big-a-fuel-pump-do-you-need.1939/#post-46020

http://garage.grumpysperformance.com/index.php?threads/setting-up-your-fuel-system.211/#post-23798

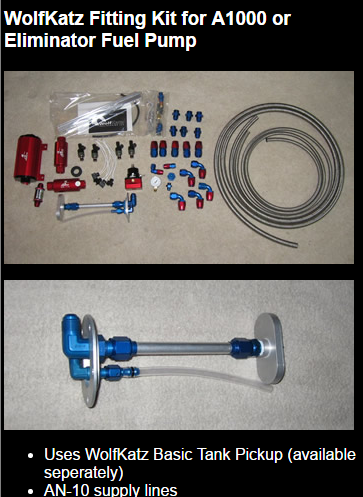
tankfity.png
 
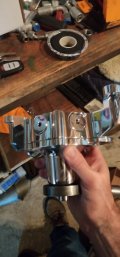
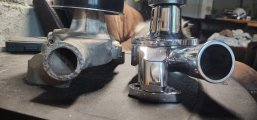
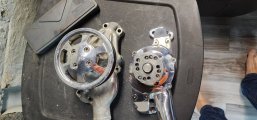
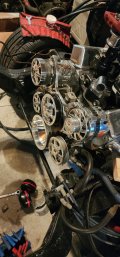
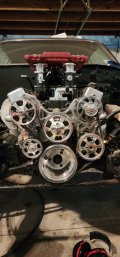
So if you go back a few posts back I was talking about ordering a different water pump it was a beautiful but did not work. The difference in hieght of the bolt pads and it came with special allen bolts because of tight clearances so I was unable to shim the mounting hardware for the serpentine system. I went out and bought some aluminum plate and mocked up what would fit after clearancing for the victor waterpump. I had a friend of mine tig it for $50 he also pressure tested it for me. But that really sucked because I lost money on restocking with the return to jegs.

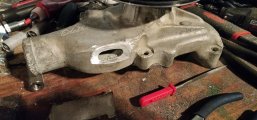
20240609_112732.jpg20240609_192502.jpg20240609_192514.jpgthat is the thick wall stainless tubing I bought to cut to try to shim but if you look at the flange also in the picture below you can see how tight the flange is. I was not about to risk grinding on it.
20240611_162248.jpg20240611_162252.jpg
It did fit and worked on the one flange.
20240611_161909.jpg
This is after I grinded it make it fit.
20240611_211614.jpg20240614_114011.jpg
Plenty of clearances for the wheel now.
20240614_152941.jpg
 
So I needed to shim out the rest of the serpentine system the same width as the 58x wheel. I had aluminium plate left from the waterpump that was the right thickness so I drilled it cut it and grinded it to shim the rest of the system.
20240616_201721.jpg20240616_201726.jpg20240616_201748.jpg20240616_201643.jpg20240616_203651.jpg
 
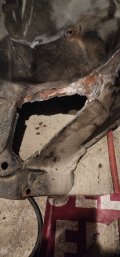
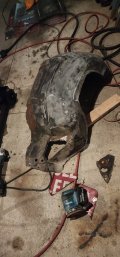
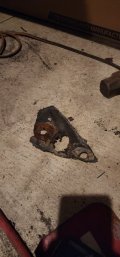
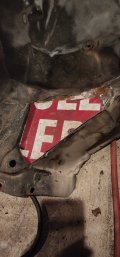
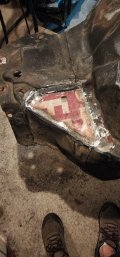
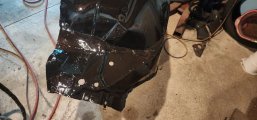
So the passenger inner fender had some rot and at this point my account is hurting so time to fix over replace which I am glad I did came out great along with the battery tray being mounted above the patch. I first cut out all the rot. Then started fitting the patch panel welded it up then did a bit of grinding. I sanded and prepped it real good then painted it with tractor implementation paint.
20240628_214646.jpg20240628_214927.jpg20240628_214622.jpg20240628_214626.jpg20240629_150445.jpg20240629_152300.jpg20240629_152307.jpg
 
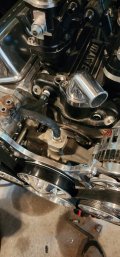
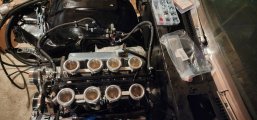
So after getting the serp all connected I started getting some of the hoses ran and figuring out those fitting and where things will be ran. It looks as if I had not even put the intake gaskets on or torqued the intake down yet. I do believe it was right around this time I did get that done. By the way the water filler neck was a JEG's o-ring style billet.
1748110436188.jpeg
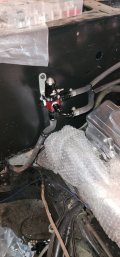
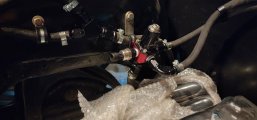
I had at first mounted the regulator to the firewall. Then after, I sent a picture of it to my friend. He said I needed to move it because I would not pass tech inspection with it mounted there. This is why I rushed to get the inner fender done and mounted. This is still last year mind you.
1748110308431.jpeg
I got it mounted up to the wheel well in accordance to NHRA rules. That way instead they can kick me off the track for not having a roll bar and running too fast instead. Which that may not be the case as I really want to install one in the car but as we all know and face there is no money faucet installed in my house to cover all the costs to get one right now. But I keep moving forward with the build and am saving where I can by building and fabricating.


1748110254396.jpeg
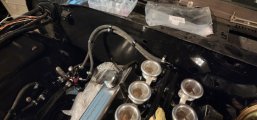
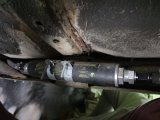
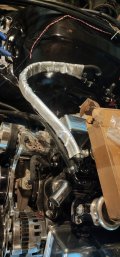
The main fuel line is -8AN Aeroquip socketless from the cell/tank to the fuel filter that is mounted in the frame. I will adress the minor rust on the bottom of the car when I paint underneath I have a can or por15 waiting fot that task. I will probably tackle it after I finish mounting the exhaust or if I am just trying to get something done that doesn't take much thought I will grab a chip brush and start painting a bit at a time.
1748112099841.jpegfrom the filter I then split the line into 2 -6AN socketless to the 2 fuel rails.
1748111299148.jpeg
1748112387757.jpeg
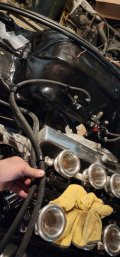
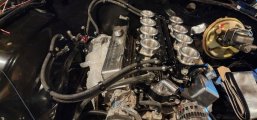
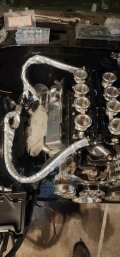
I then have -6AN from the rails back to the regulator. From the regulator there is a -8AN return line coming out of the bottom of the regulator. You can also see I have bolted and torqued the intake down by this time. If you are wondering the seperators I used are from Amazon it did help to keep things neat but could easily be done with zip ties at same time.
1748112567226.jpeg
1748112600024.jpeg
I then wrapped the fuel lines under the hood in heat protection this is not as necessary with a NA engine as much as it would be with a turbo engine but I tell you what it won't hurt to keep fuel temps down which can make a difference in tuning.

1748112620542.jpeg
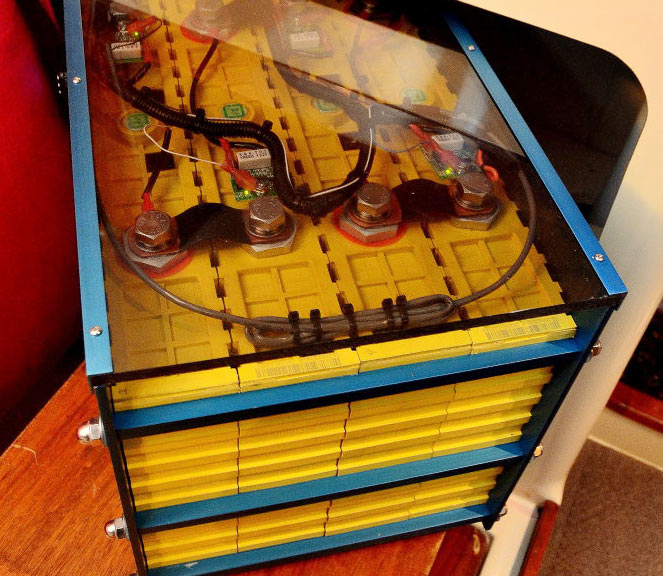
Don't let this picture fool you it is not on the header!! You can also see in this pic the new battery tray came in and I have got it mounted to the inner fender where that patch panel was. Plans are to run a LiFePO4 battery not a trunk mount as the weight savings is around 30-35lbs and I will not need to run a kill switch either per NHRA. This means it might be more weight to run a trunk mount then to run a 0 gauge battery cable from the back to the front of the car.

1748112952753.jpeg
 
Last edited:
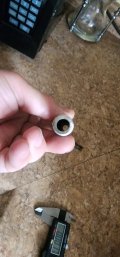
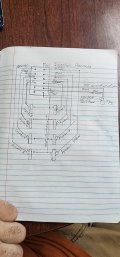
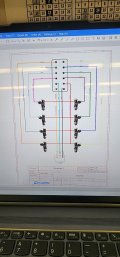
So I started work on the fuel injector wiring harness first on paper.

1748114265883.jpeg
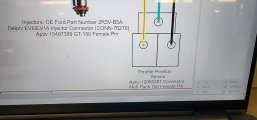
I later created a diagram in the PC I will print down the road to have a service manual for the car. Easy EDA is the Program it is freeware.
1748114308175.jpeg
1748115149314.jpeg
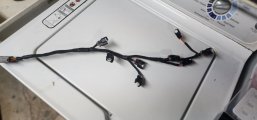
I later constructed the harness test fitting as I made it you really need to think it through when you are not using split loom and heat shrink loom.1748114205607.jpeg

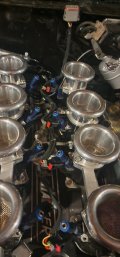
I was happy how it came out and got it installed in the car.
1748114227302.jpeg
 
Last edited:
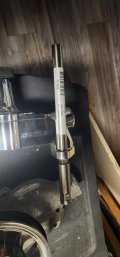
Plans are to run a LiFePO4 battery not a trunk mount as the weight savings is around 30-35lbs and I will not need to run a kill switch either per NHRA.
How will you charge the battery?

. When I looked into this for a street vehicle it was not clear if you could charge one properly with an standard alternator.
 
that STACK EFI looks very impressive!
please let us know how it runs once its correctly tuned
 
How will you charge the battery?

. When I looked into this for a street vehicle it was not clear if you could charge one properly with an standard alternator.
Yeah, from what I read it seams you can with an alternator. I know they can be fussy on voltage which is where issues have happened. I went down a rabbit hole on this and have read plenty of reviews where others have just dropped it in and had no issues. We are gonna find out though.
 
that STACK EFI looks very impressive!
please let us know how it runs once its correctly tuned
Yes will do I need to get some specialty tools for initial set up on fire up day. Should prove interesting I have been down quite the rabbit hole on initial set up on the ECU. But found this video that I believe is helpful.
 
Yeah, from what I read it seams you can with an alternator. I know they can be fussy on voltage which is where issues have happened. I went down a rabbit hole on this and have read plenty of reviews where others have just dropped it in and had no issues. We are gonna find out though
Will you buy the battery pack built or buy the cells and build it yourself?

Several years ago when checking this out, my concern was the batteries capability to charge at a very high current. This would burn up a standard automotive alternator

Here are few link that I saved that might be helpful . Maybe you have already read them.

.
 
Back
Top