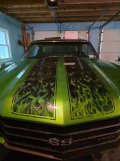
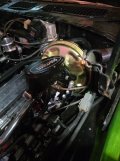
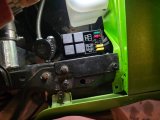
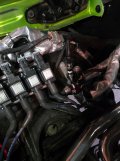
My Chevelle build and spot to Rant

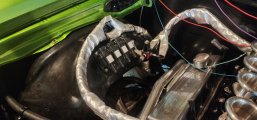
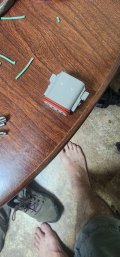
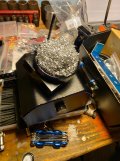
I ordered this 4 channel relay box from Summit it is MSD Part# 4566-4. My radiator has 2 smaller fans so each one will get it's own relay. The fuel pump will get it's own relay and the other will go to a Cadillac CTS vacuum pump for the brakes. I have both fans triggered at the same time as I do not want to use all my ECU outputs up. The fuel Pump and the Vacuum will be triggered by a second ECU output. The main reason I am using the ECU for fuel pump and not the key on is it will kill the pump if it does not see any rpm from the engine.
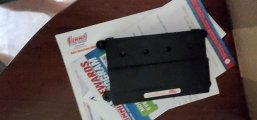
20240713_152507[1].jpg
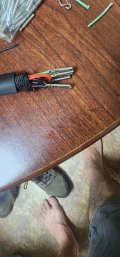
This reminds me I need to order some back up fuses just in case.
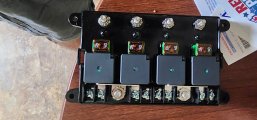
20240713_152524.jpg
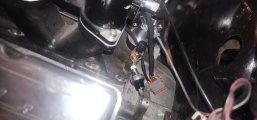
So I took the factory bulk head out and removed all the pins. I then ordered new Packard 56 connectors so I could directly connect them to the new updated universal wiring harness. I went though one at a time writing down my wiring in my notebook as I go.
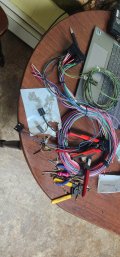
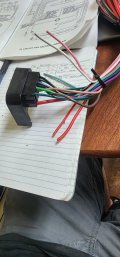
20240713_222337.jpg20240713_184359.jpg
 
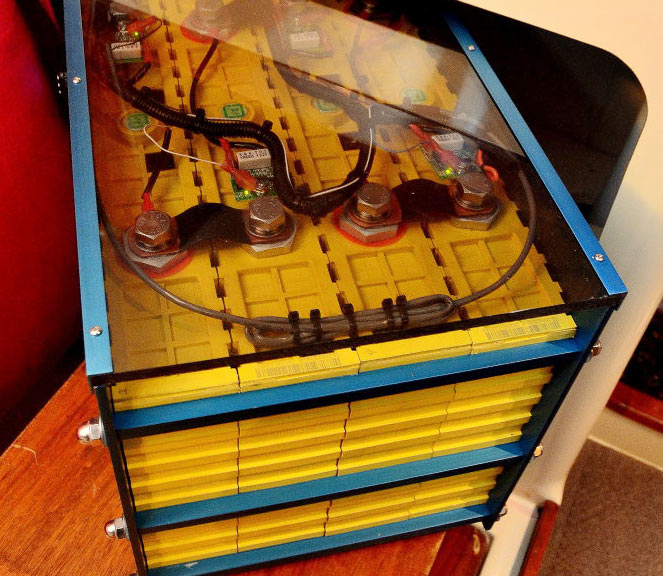
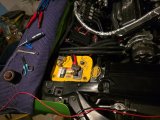
Will you buy the battery pack built or buy the cells and build it yourself?

Several years ago when checking this out, my concern was the batteries capability to charge at a very high current. This would burn up a standard automotive alternator

Here are few link that I saved that might be helpful . Maybe you have already read them.

.
I am sure I have read a ton on it but will look into it it is one of those newer technologies that is constantly improving. I have read everything from guys using a lawnmower/motorcycle battery as a buffer before to guys running them with no issues. I figure I will give it a try see what happens. This is what I am looking at running.

 
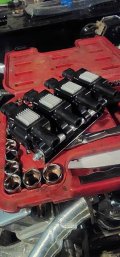
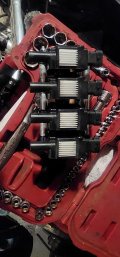
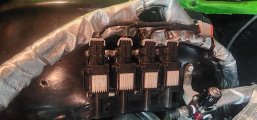
So I don't know if you guys remember I am running LS1 coils on this project with a MSD 85141 Cam Sync Plug to turn the oil pump and tell the ECU so I had to come up with a way to mount the coils somewhere so I fount these mounts on Amazon.20240715_182750.jpg
20240716_203124.jpg

20240716_203129.jpg

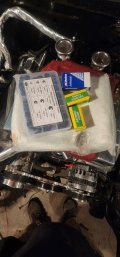
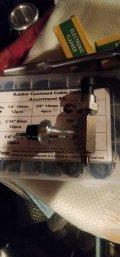
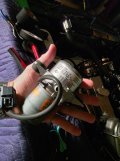
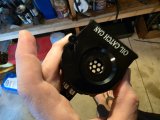
Another delivery of small items that came in to get things put together LED flashers AC Delco oil light sensor and a splitter so I can have the gauge and a oil light.

20240717_201715.jpg

20240717_202100.jpg20240717_204057.jpg

​

​

 
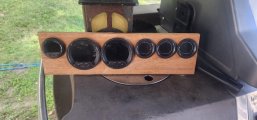
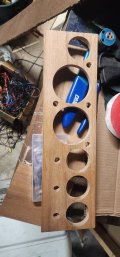
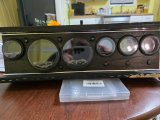
So another spot I am saving money is building my own gauge cluster which I did start to install on Friday but this was July of last year. I know I am jumping around allot on the car but some with so much to do some times you need a break from wiring and there always some other task that needs to be done you can start on or use to get a break while making some progress in the right direction. i had some of this wood that was at my house when I moved in so purchased some hole saws the right size and marked it out on the back where to drill. The small holes are for my turn signal, high beam, brake light, oil light, battery light(using the 4 pin connector on the alternator), and a check engine light that I have no clue what I plan on using that one for yet. Possibly as a temp warning or maybe swap it out for a shift light.

20240720_101631.jpg
20240720_192217.jpg
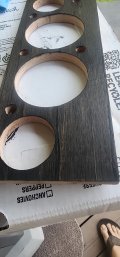
I bought some black stain to give it a dark look
.20240721_110022.jpg
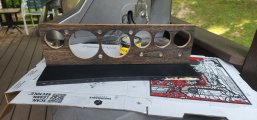
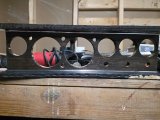
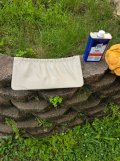
And then hit it with Poly, I cut a base to match the curve on the bottom of the spot the original sweep dash was and covered it with Napa Leather.
20240721_123327.jpg
Jump now to 5/27/2025 and I have wired the the whole under hood and am at a point I need to get this finished up. Don't worry I will not skip the other pics of wiring and what I remembered to document in my phone. But I figured this was a good post to show this on. I cut and painted a top piece and added some chrome trim piping to give it a more period correct look.
20250527_173833.jpg
Mounted the gauges in there but with the indicator lights I have start wiring this in the car but will save that when I get there.
20250527_220612.jpg


I already purchased the feeler gauges and I have an digital fuel pressure gauge going into the car with a sensor right on the regulator. I also do have a pressure gauge for when I do mechanic work such a nice tool to own.
 
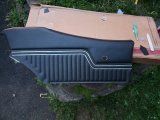
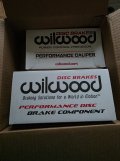
Well, it has been another year so soon I will gather up all the pics I have but I am doing the final finishing touches at this point to the wiring. Things that are done rear suspension ride tech and rear end build tru-trac with 3.42 gears installed rear disc brake upgrade nothing too fancy just drilled and slotted with the Cadillac single piston calipers had to reroute the exhaust to fit the coil overs. Also added a rear sway bar. Head liner installed trunk has been finished amps and a couple sub woofers. Allot of the interior is complete. Pretty close to fire up and driving it.

Things left to do.
Wire the car stereo deck and front speakers
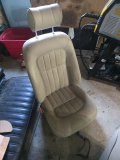
Wire the seats they are jaguar power and heated out of a 96 xj
Install the seatbelts 3-point shoulder newer style factory looking updated
Build an air filter housing the one I had ordered from k&n had to be canceled and just the filters orders (after talking to them they pretty much said indefinite backorder)
Install new front suspension and front disc brake kit.
Add oil prime engine!!!!
 
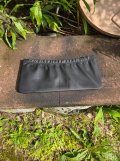
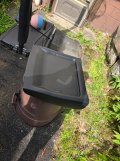
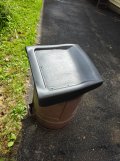
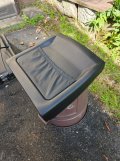
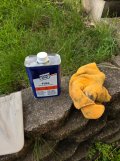
Working recoloring the seats this is continued from last summer. First I took the parts of the seats off that I could and wiped them down with denatured alcohol. Prep is everything!!
20250618_164131.jpg
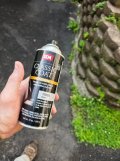
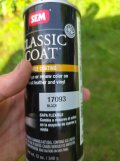
Using SEM Classic Coat Black it has always worked real good for any of my projects.
20250618_164108.jpg
20250618_164930.jpg
20250618_164106.jpg20250618_164933.jpg20250618_171124.jpg
 

Attachments

  • 20250618_164133.jpg
    20250618_164133.jpg
    248 KB · Views: 0
  • 20250618_165902.jpg
    20250618_165902.jpg
    115.5 KB · Views: 0
  • e3d16f74-b0df-47aa-8b88-e65a71ba2170.jpg
    e3d16f74-b0df-47aa-8b88-e65a71ba2170.jpg
    161.6 KB · Views: 0
please let us know if the seat re-coloring process, still looks good after a few months of driving,
some will still look great, but some others fade or wear off rapidly
 
Seemed I missed a bunch from 2024 trying to get it all in here, I have the coils on the mounts I bought a relay/fusebox for headlights and the msd relay box so needed to come up with ways to mount properly.
20240813_180105.jpg
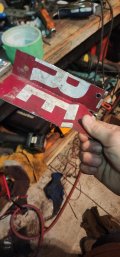
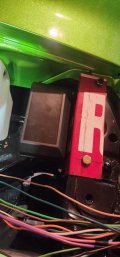
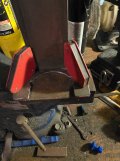
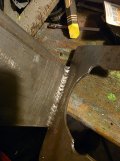
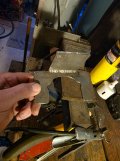
I had an old metal sign in the garage so cut off a chunk and started to bend a custom mounting bracket for the fuse box to mount to the radiator support.
20240813_184225.jpg
20240813_184233.jpg
Test fitting trying to keep a factory oem look
20240813_184932.jpg
Now that I have fit it I paint the part. I believe I used krylon fusion paint I did prep it using a scuff pad before painting.
20240813_191617.jpg20240813_194538.jpg
 
Last edited:
More from 2024 mounted the coils to the fender wells had to find a good spot to mount them this ended up being it.
20240816_185036.jpg
20240816_185137.jpg
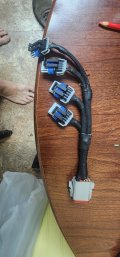
I made some wiring harnesses for them.
20240817_211549.jpg
20240817_211547.jpg20240817_220306.jpg20240817_221107.jpg
 
Last edited:
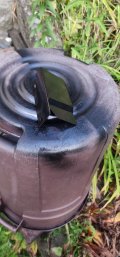
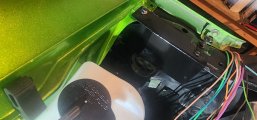
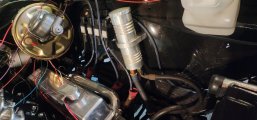
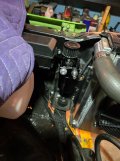
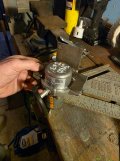
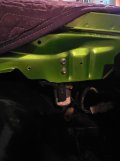
I purchased a Cadillac cts vacuum pump for my brake booster designed a mount and mounted it in my fender behind the washer fluid bottle.
20250428_172726.jpg
20250501_193639.jpg20250501_194913.jpg20250501_200049.jpg20250501_200151.jpg20250507_191759.jpg
 
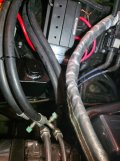
Miscellaneous pics here I have done all the AC plumbing and fuel line plumbing along with wrapping the fuel lines in heat wrap. I have also built another bracket to mount the MSD relay box to. I believe I was also trying to find a good spot to mount the radiator overflow too.20250508_204140.jpg
Spark plug wires were cut and allot of wiring harnessed up and wrapped up neatly.
20250508_204248.jpg
Pretty sure I was running the wire to the auxiliary fuse box at the time.

20250508_204239.jpg
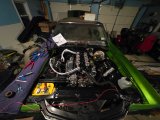
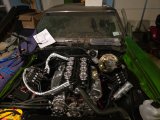
At this point ready to bolt the hood back on.
20250508_204202.jpg
 
Last edited:
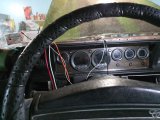
started to work on the interior now so got the dash reinstalled in the car and the gauges mounted in the dash you can see I added the idiot lights as extra warning.

dd47aeac-e383-402d-9cc2-c30a04f889d9.jpg
 
Last edited:
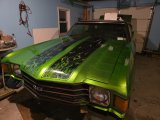
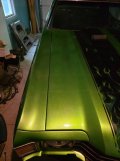
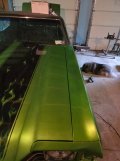
Got the hood mounted to the car!!! It was a nightmare getting it all to line up properly., You don't realize how easy it is to have to realign it all!!
Hours of work later here is the result. 20250517_215720.jpg
20250518_133530.jpg
20250518_133522.jpg20250520_192500.jpg
 
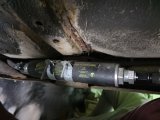
Originally the fuel filter was mounted in the trunk now it is mounted to frame under the car.
20250524_143729.jpg
New Wilwood Master cylinder came in and was installed. It was a 1" which was not the right size and was replaced with a 1 1/8" which matches my brake setup.
20250522_191029.jpg
20250524_133325.jpg
The relay/fuse box I ordered some breaker fuses for the lights.
20250524_133518.jpg
Rest of the fuel plumbing is done!

20250524_133418.jpg
 
Back
Top