ENGINE BUILDING TOOL Shopping WISH LIST List
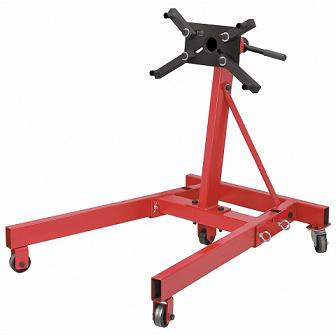
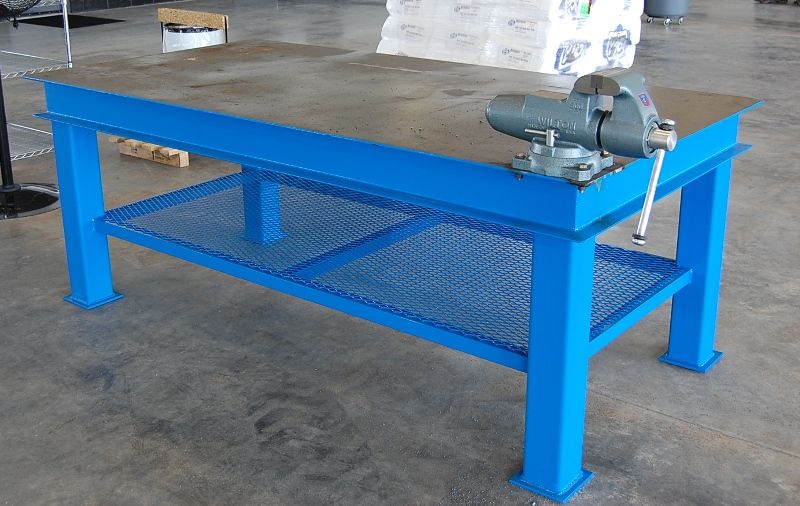
ENGINE STAND

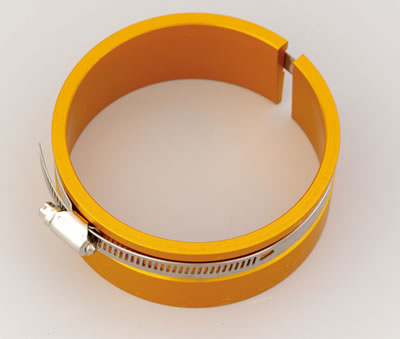
Tapered Ring Compressor
THIS BEAM STYLE TORQUE WRENCH IS THE TYPE TORQUE WRENCH YOU WANT TO CHECK ROTATIONAL RESISTANCE
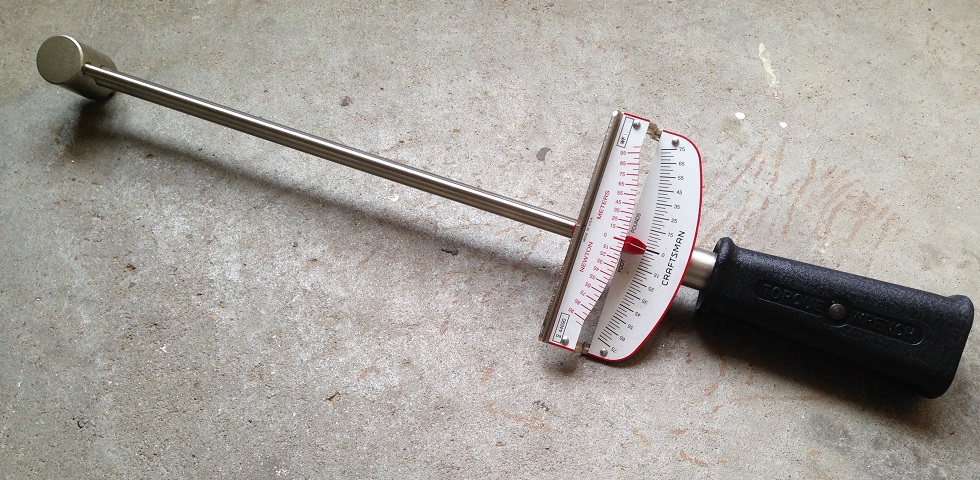
BUT NOT WHAT YOULL USE TO TIGHTEN HEAD BOLTS
HUSKY $88 (worked rather well, over all I was pleased)
http://www.homedepot.com/p/Husky-1-2-in-Click-Torque-Wrench-H2DTW/202916180?N=5yc1vZc6ev
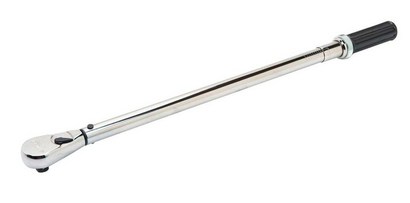
FOR HEAD BOLTS AND MAIN CAP STUDS ETC.
youll need a good quality torque wrench
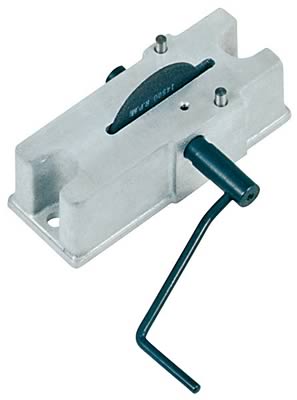
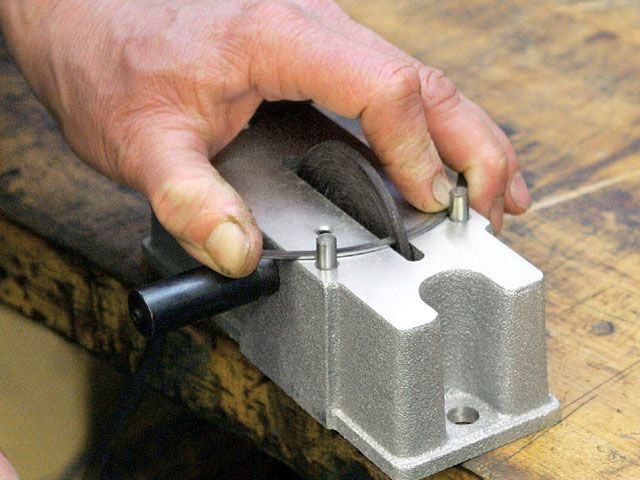
Piston Ring Squaring Tool
http://www.grumpysperformance.com/[/B]
ringsqtool.jpg
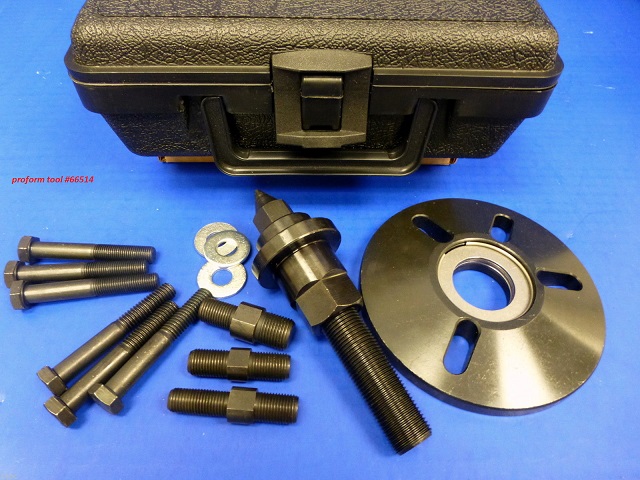
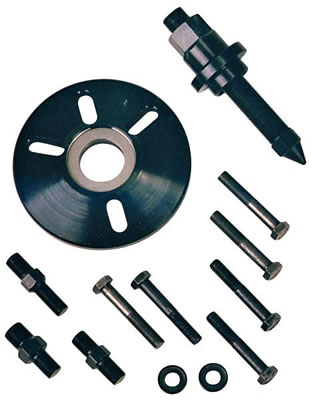
damper tool
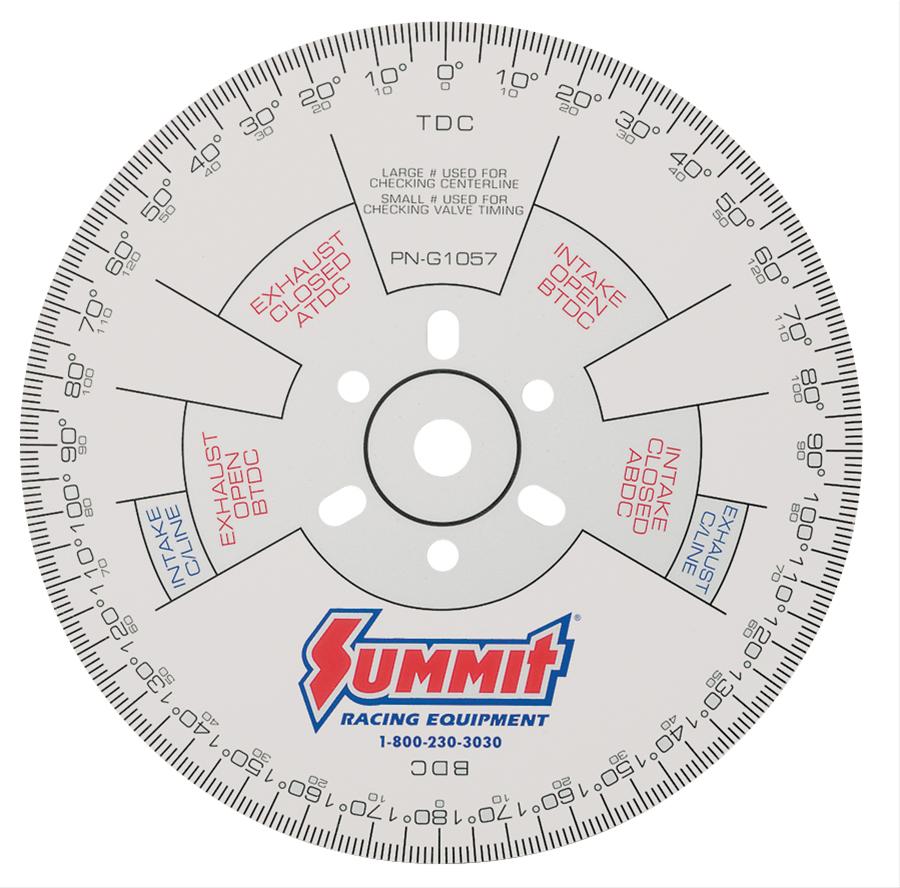
Degree Wheel
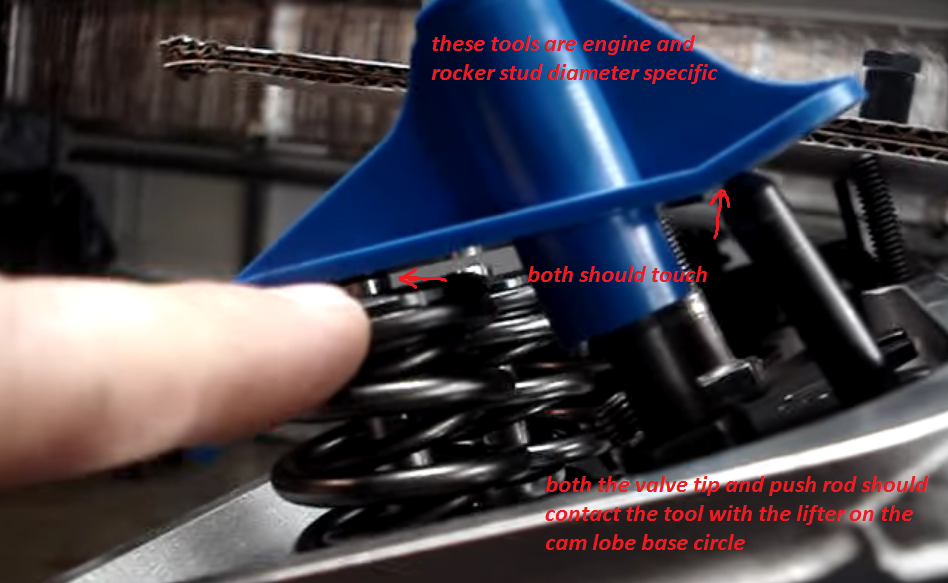
checking lifter
degree wheel
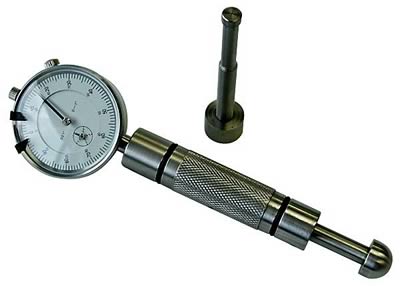
Dial Bore Gauge
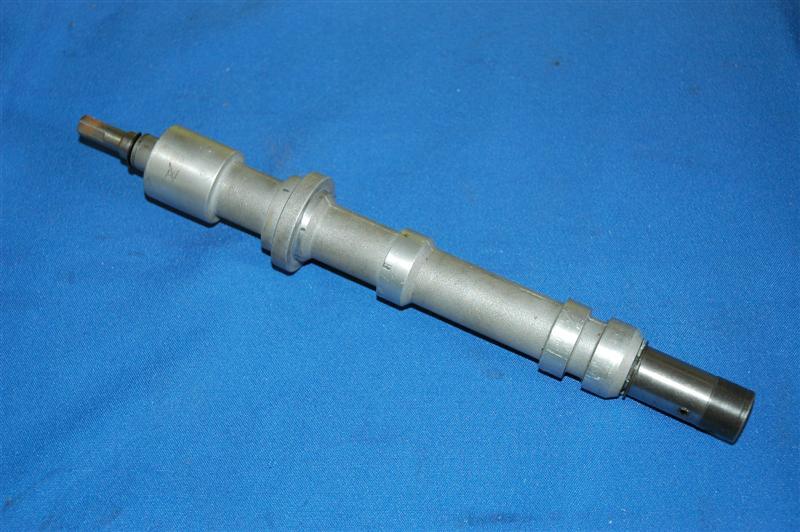
Pushrod Length Checker
http://www.summitracing.com/search/...d-length-checkers?autoview=SKU&ibanner=SREPD5
Proform Pushrod Length Checkers 66789 SBC 3/8" rocker studs
Proform Pushrod Length Checkers 66790 SBC 7/16" rocker studs
Proform Pushrod Length Checkers 66806 BBC 7/16" rocker studs
Oil Pump Primer
http://www.harborfreight.com/36-piece-3 ... 60669.html
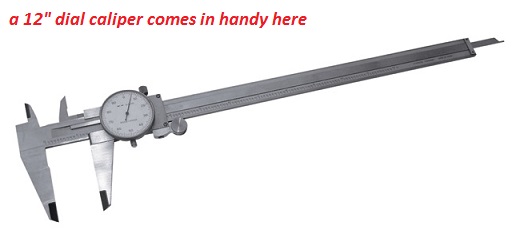
harbor freight has cheap and perfectly acceptable calipers
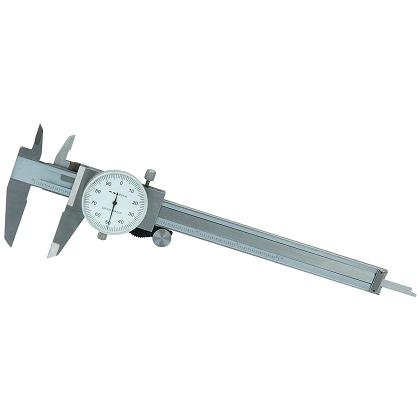
http://www.harborfreight.com/6-in-dial-caliper-62362.html
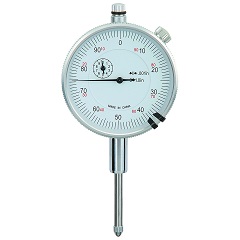
http://www.harborfreight.com/1-inch-travel-machinists-dial-indicator-623.html
http://www.harborfreight.com/multipositional-magnetic-base-with-fine-adjustment-5645.html
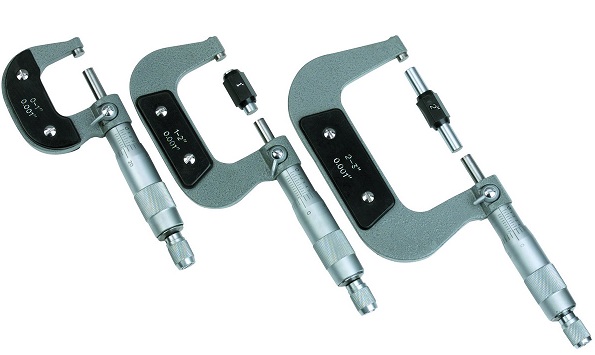
spring micrometers,
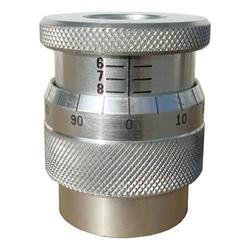
a crank snout, turning socket,
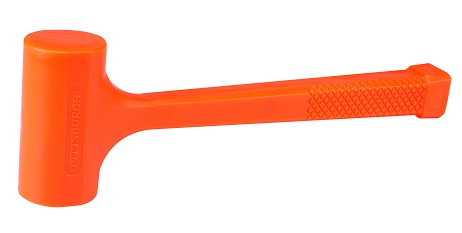
a dead blow mallet ,
a can of moly spray lube,
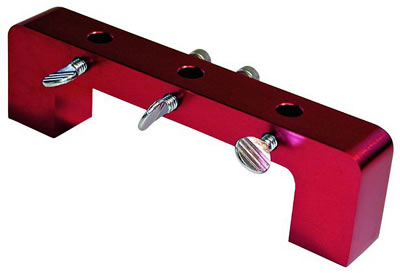
DECK BRIDGE
http://www.summitracing.com/parts/PRO-66797/
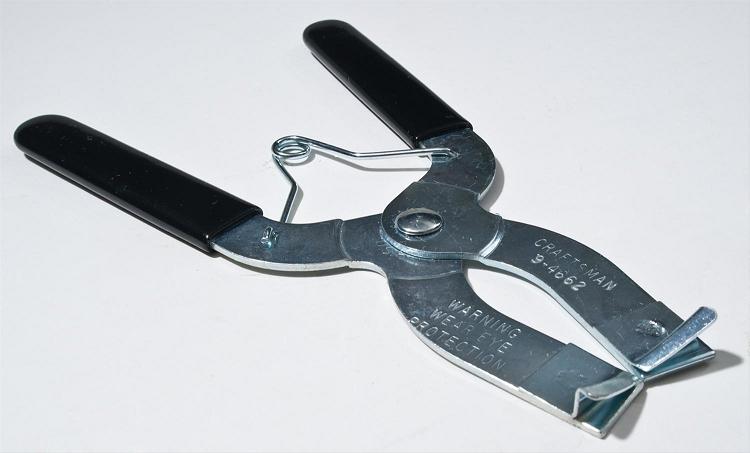
ring install pliers
piston ring filer,
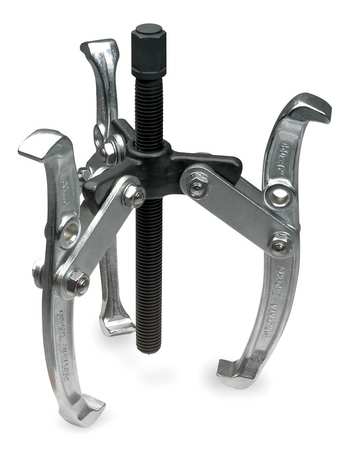
GEAR PULLERS
http://www.hotrod.com/how-to/engine/ccrp-9901-affordable-engine-building-tools/
http://www.powerhouseproducts.com
https://www.proformtools.com/
http://www.bierbros.net/EngineBuildingAndPrecisionTools.html
http://www.superchevy.com/how-to/148-0505-engine-building-tools/
http://www.goodson.com/
ENGINE STAND
Tapered Ring Compressor
THIS BEAM STYLE TORQUE WRENCH IS THE TYPE TORQUE WRENCH YOU WANT TO CHECK ROTATIONAL RESISTANCE
BUT NOT WHAT YOULL USE TO TIGHTEN HEAD BOLTS
HUSKY $88 (worked rather well, over all I was pleased)
http://www.homedepot.com/p/Husky-1-2-in-Click-Torque-Wrench-H2DTW/202916180?N=5yc1vZc6ev
FOR HEAD BOLTS AND MAIN CAP STUDS ETC.
youll need a good quality torque wrench
Piston Ring Squaring Tool
http://www.grumpysperformance.com/[/B]
ringsqtool.jpg
damper tool
Degree Wheel
checking lifter
degree wheel
Dial Bore Gauge
Pushrod Length Checker
http://www.summitracing.com/search/...d-length-checkers?autoview=SKU&ibanner=SREPD5
Proform Pushrod Length Checkers 66789 SBC 3/8" rocker studs
Proform Pushrod Length Checkers 66790 SBC 7/16" rocker studs
Proform Pushrod Length Checkers 66806 BBC 7/16" rocker studs
Oil Pump Primer
http://www.harborfreight.com/36-piece-3 ... 60669.html
harbor freight has cheap and perfectly acceptable calipers
http://www.harborfreight.com/6-in-dial-caliper-62362.html
http://www.harborfreight.com/1-inch-travel-machinists-dial-indicator-623.html
http://www.harborfreight.com/multipositional-magnetic-base-with-fine-adjustment-5645.html
spring micrometers,
a crank snout, turning socket,
a dead blow mallet ,
a can of moly spray lube,
DECK BRIDGE
http://www.summitracing.com/parts/PRO-66797/
ring install pliers
piston ring filer,
GEAR PULLERS
http://www.hotrod.com/how-to/engine/ccrp-9901-affordable-engine-building-tools/
http://www.powerhouseproducts.com
https://www.proformtools.com/
http://www.bierbros.net/EngineBuildingAndPrecisionTools.html
http://www.superchevy.com/how-to/148-0505-engine-building-tools/
http://www.goodson.com/
Last edited: