Indycars said:
I can't find any details on the Fel Pro RACE gasket, I would really like to know what materials are
used for the front and rear main seals. I've email Federal Mogul, but have not received an answer yet.
Anybody have experience with these Fel Pro RACE Gaskets ???
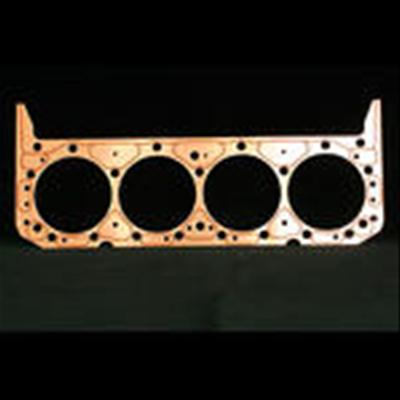
Also I'm hoping I have not missed anything, below is all the gaskets I should need for
SBC Dart SHP with Brodix IK200 aluminum head engine.
if your only referring to the front and rear intake manifold seals I don,t think it matters that much as they generally get pitched in a local dumpster
watch the video
viewtopic.php?f=44&t=700&p=1095&hilit=sealant#p1095
http://www.youtube.com/watch?v=YdIGZ-tV ... re=related
step 1
pull and carefully clean and degrease the intake mount surfaces...BUT ONLY after you bring the engine to TDC on the damper tab and balancer marks and verifying the distributor rotor is pointing at cylinder #1, so you know where its suppose to point during the re-installation then
throw the intake manifold kits rubber front and rear intake seal bars in the new intake set in the dumpster
step 2
clean the block rails and the matching lower intake surfaces with acetone, or a toluene soaked, shop rag. clean all previous gasket material and sealant off the heads and block surfaces with a gasket scrapper or razor, and acetone soaked rag, (optional but recommended) then use a steel center punch to dimple the block upper surface china walls(front and rear upper surface lightly , and the matching lower intake rail area, to provide a firm grip and adhesion for the high temp silicone gasket cement, youll spread in a 1/4" thick bead on both surfaces, be sure the corners get just a bit extra silicone during the application of the silicone gasket cement
step 3
place a 1/4" wide bead of black silicone sealant along the length of the center of BOTH the front and rear block rails and both the matched lower intake mating surfaces, just AFTER first spreading a bonding coat on both dimpled surfaces with your finger,and allowing it to bond and dry for 2 minutes so the silicone beads that will shortly be added, and melded/compressed above and compressed between the matched dimpled mating surfaces,you just covered with a thin layer of smeared gasket cement and that bead of sealant on those twin mating surfaces of the block rail and intake will bond firmly place the intake port gaskets and align the bolt holes with the holes in the cylinder heads and put a small very thin bead of silicone sealant around 360 degrees of the water transfer ports,on both sides of the gasket, on both gaskets then place the intake straight down into place so the wet sealant beads mesh, blend and squeeze out a bit.
step 4
drop the intake into place with minimal forward or backward or side to side movement, use a long Phillips screw driver in a bolt hole will help to easily align the intake, tighten slowly in stages working from the center bolts outward, use a #2 Phillips screw driver to make minor adjustments to the intake thru the bolt holes if it moved a bit during the install, then drop the bolts into place and thread all bolts finger tight before tightening any of them,.then torque them down in stages, working in a circular pattern out to the ends.
http://www.nationaltbucketalliance.com/ ... torque.asp
step 5
allow to dry for a couple hours minimum over night,will be better, before use
OPTIONAL but RECOMMENDED
the use a sharp object like a steel punch or awl and plastic hammer to DIMPLE both upper and lower surfaces to give the silicone sealant a firmer grip, by lightly dimpling the surfaces over a large surface really does increase the bond and tends to avoid leaks
read these four threads
viewtopic.php?f=44&t=700&p=1095&hilit=sealant#p1095
viewtopic.php?f=51&t=1718&p=4257&hilit=rear+seal+leak#p4257
viewtopic.php?f=50&t=1222
viewtopic.php?f=44&t=464&p=570&hilit=dimple#p570