2Loose
reliable source of info
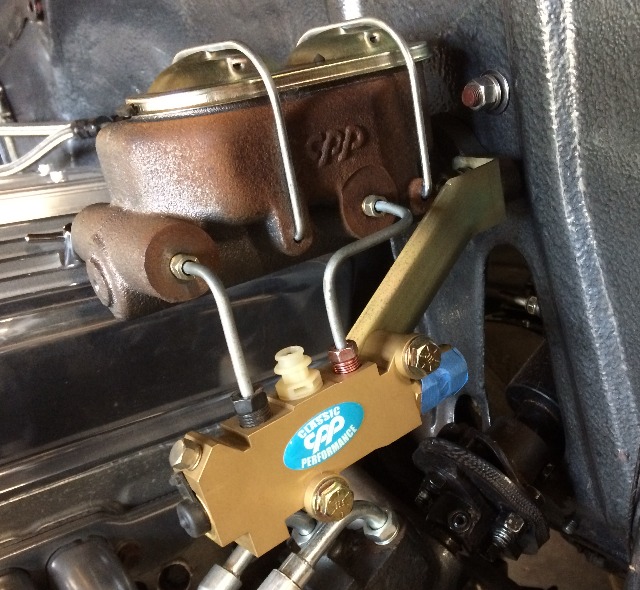
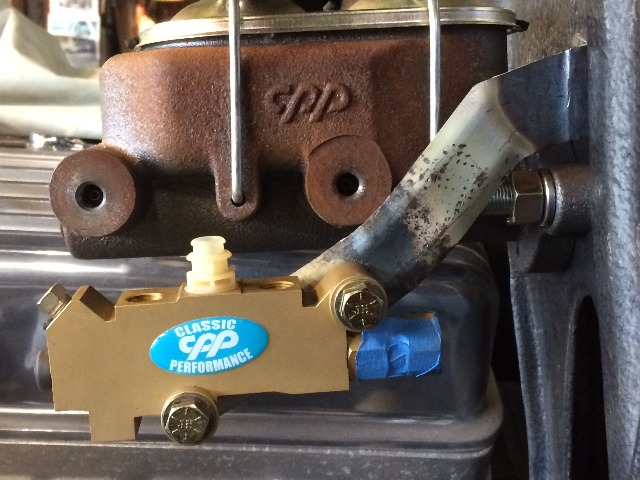
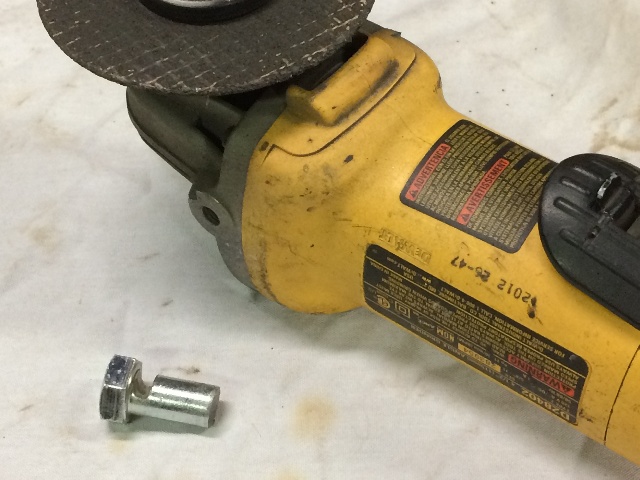
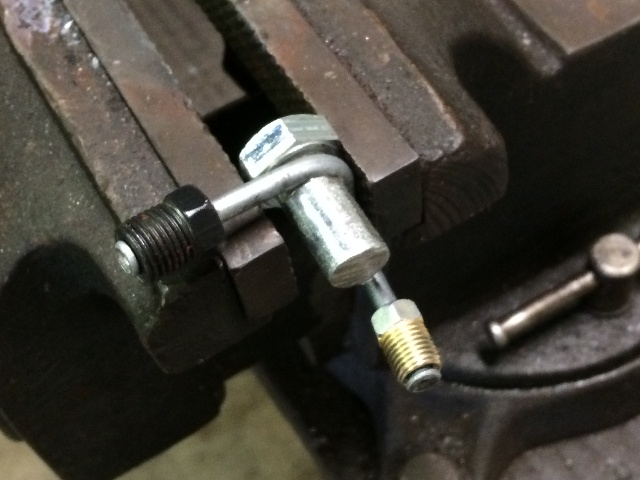
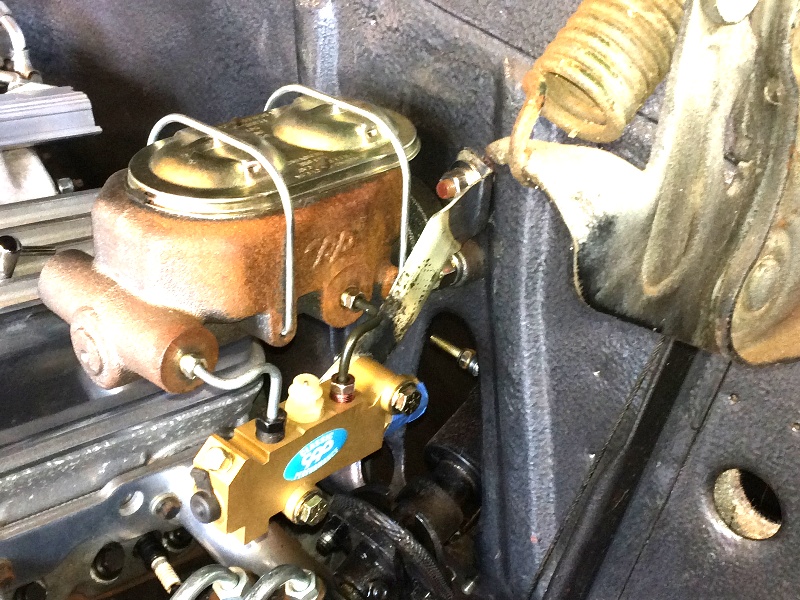
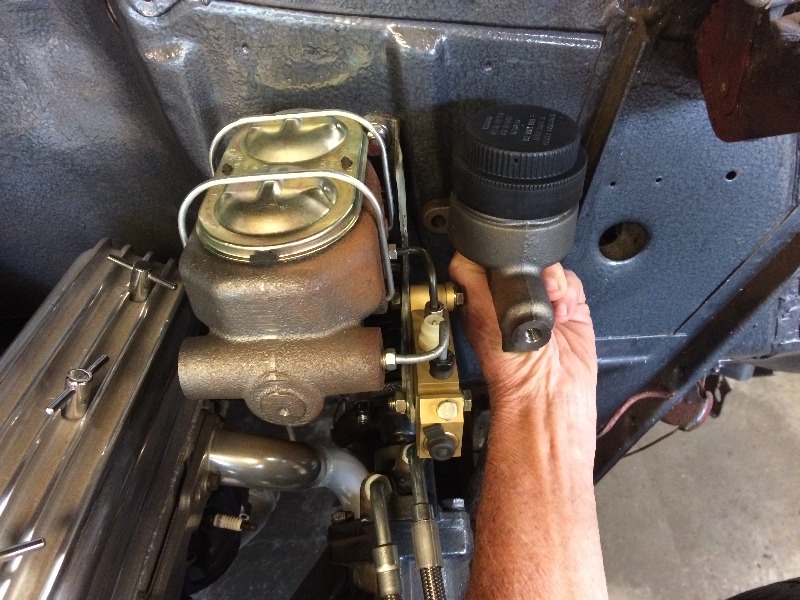
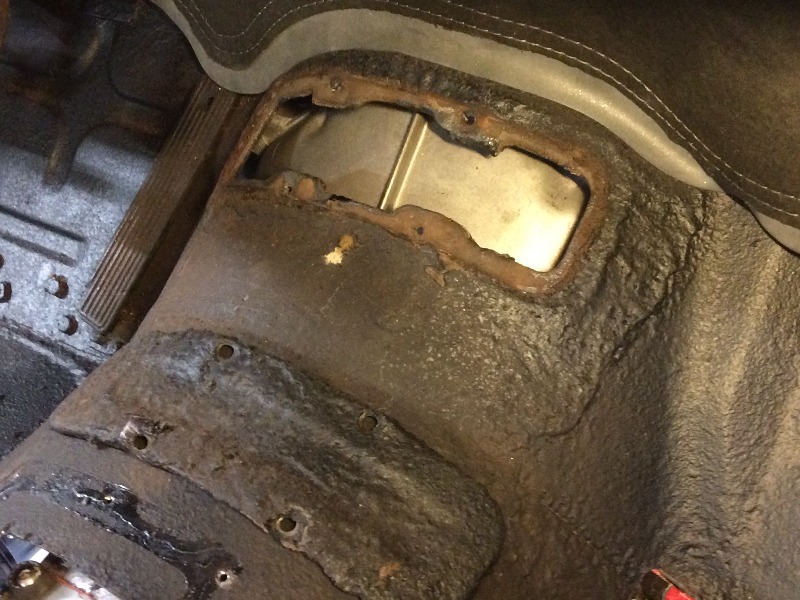
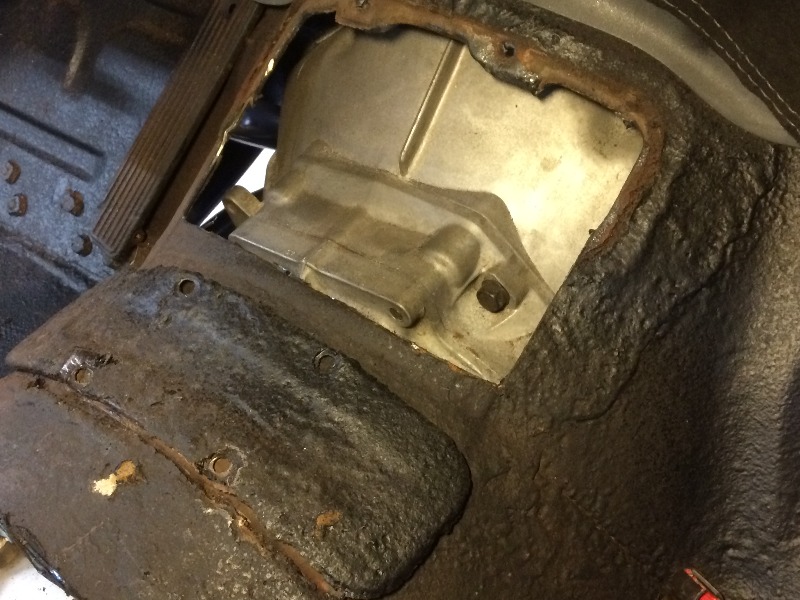
The 3/8" studs on the firewall to mount the brake mc, were too short for this thick flange on the mc...
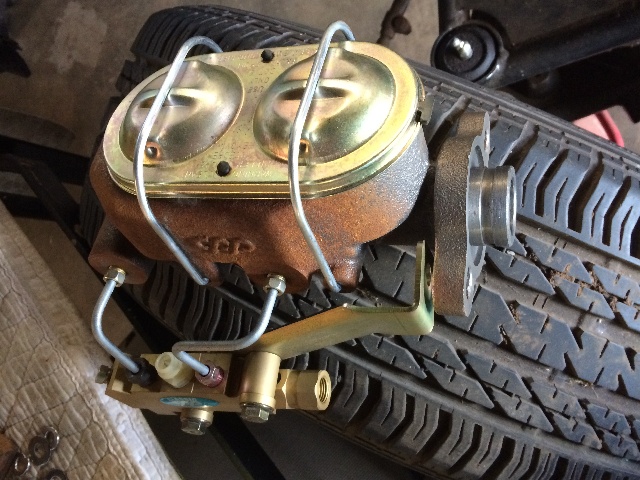
Looked at a couple of options, but the quickest was to cut the heads off a couple 1/2" bolts and thread them to fit over the 3/8" studs, with locktite....

That worked fine, except I can't get at the left side nut to tighten it with a wrench, the bracket
for the proportioning valve is in the way, so now I need to modify that bracket so I can get a
wrench in there to tighten that up...
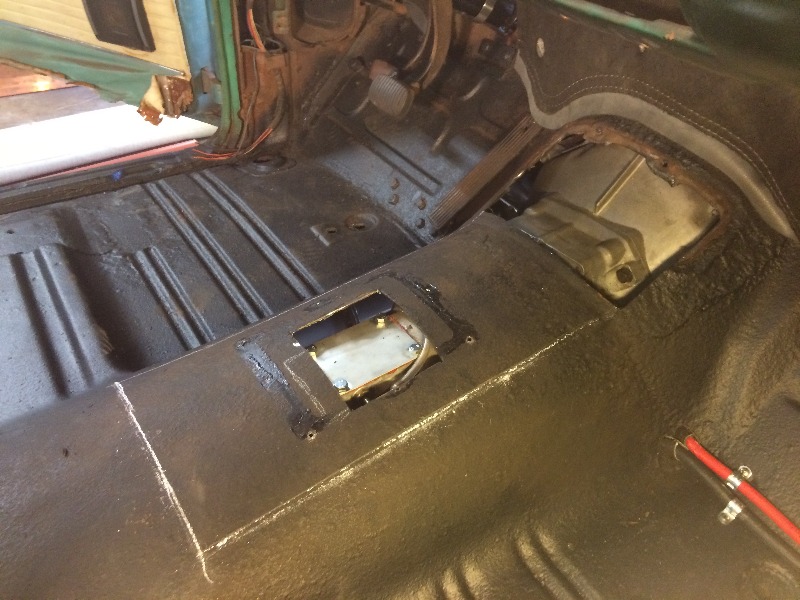
more pix here
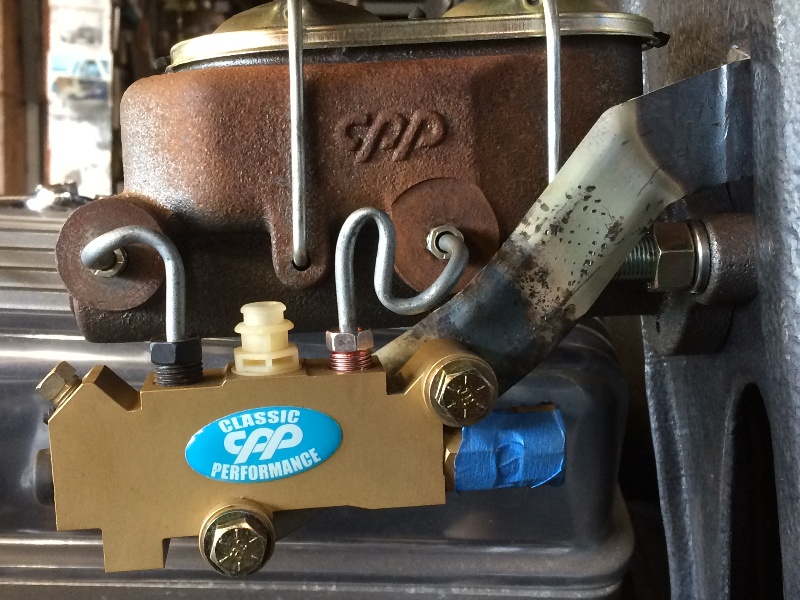
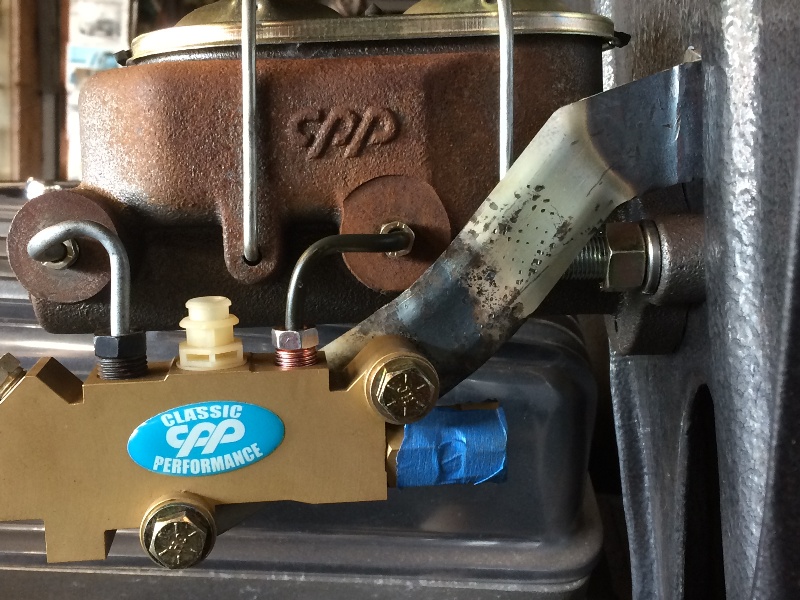
Looked at a couple of options, but the quickest was to cut the heads off a couple 1/2" bolts and thread them to fit over the 3/8" studs, with locktite....
That worked fine, except I can't get at the left side nut to tighten it with a wrench, the bracket
for the proportioning valve is in the way, so now I need to modify that bracket so I can get a
wrench in there to tighten that up...
more pix here

")