Ok here it goes… I have been back and forth with engine swaps in this car for a long time. Since 2003 or so I have done 3 swaps in this car and I have finally made a good choice with the LT1. I actually initially started with the LT1 and then took it out and sold everything off to put away money for a house. I then dropped a turbo 4cyl. In it thinking that would pacify my needs (well that did not last long). So here we are again with the new swap (back to the ole LT1).
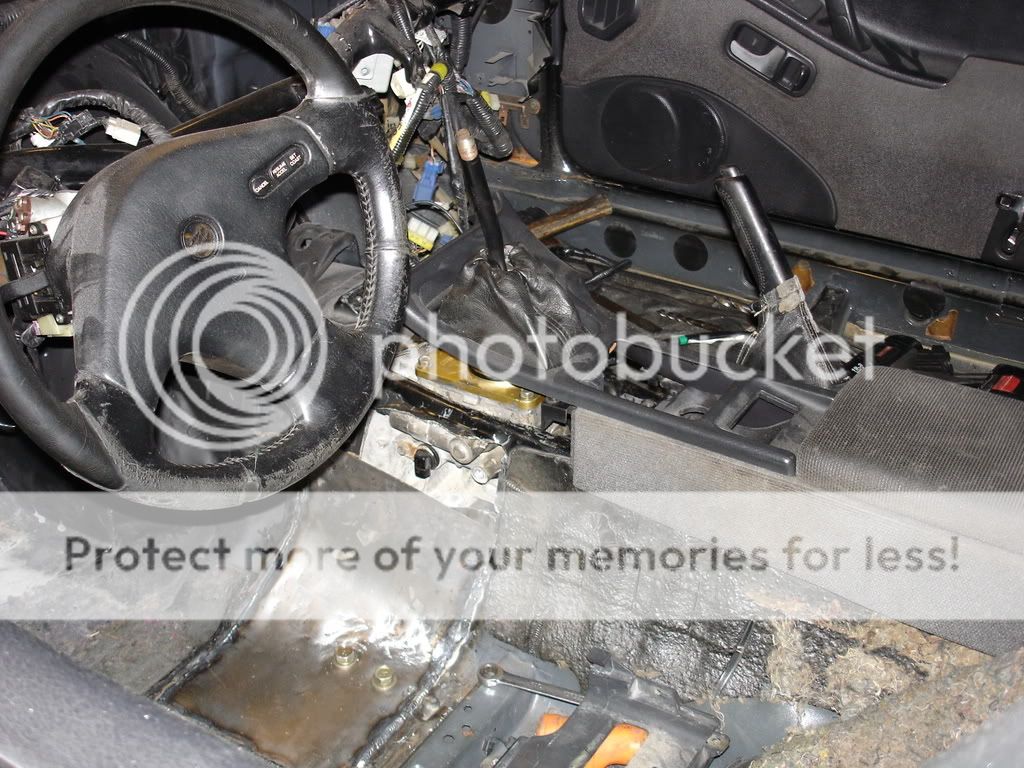
The first time I did this swap I really did not plan anything out and pretty much just threw the setup in and wired it up… it turned out pretty shitty to say the least (but it was a lot of fun). So this time I really thought things out and just dove right into a huge project. I first started with tearing out the inside of the car and cutting some big ass holes… lol.
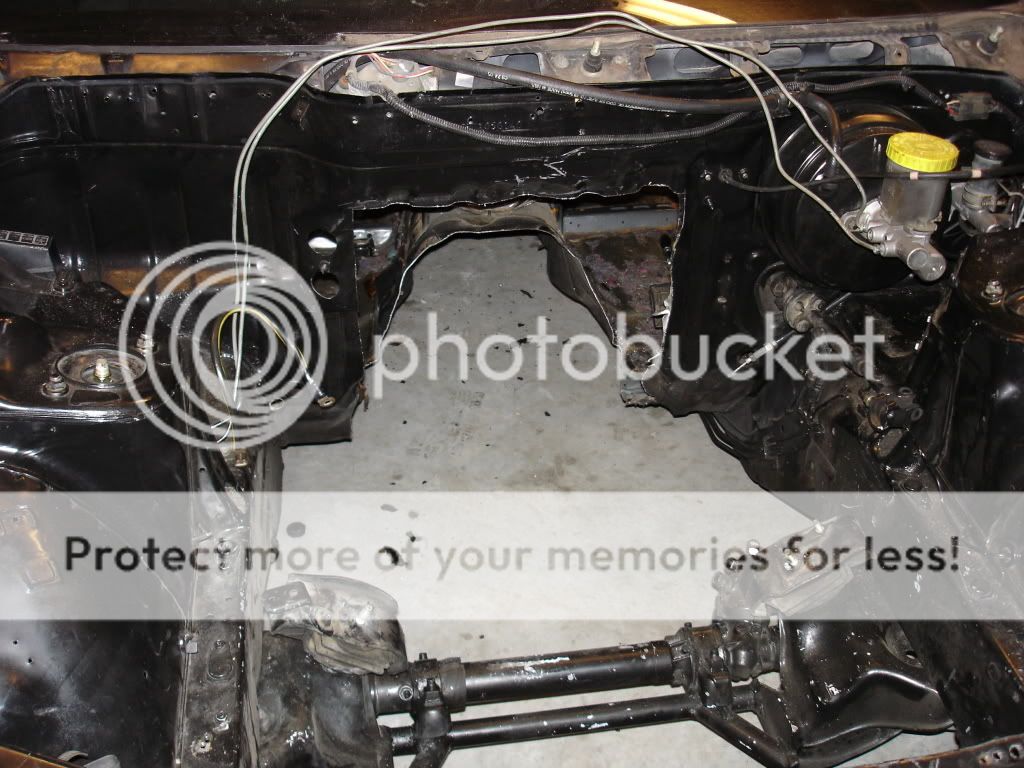
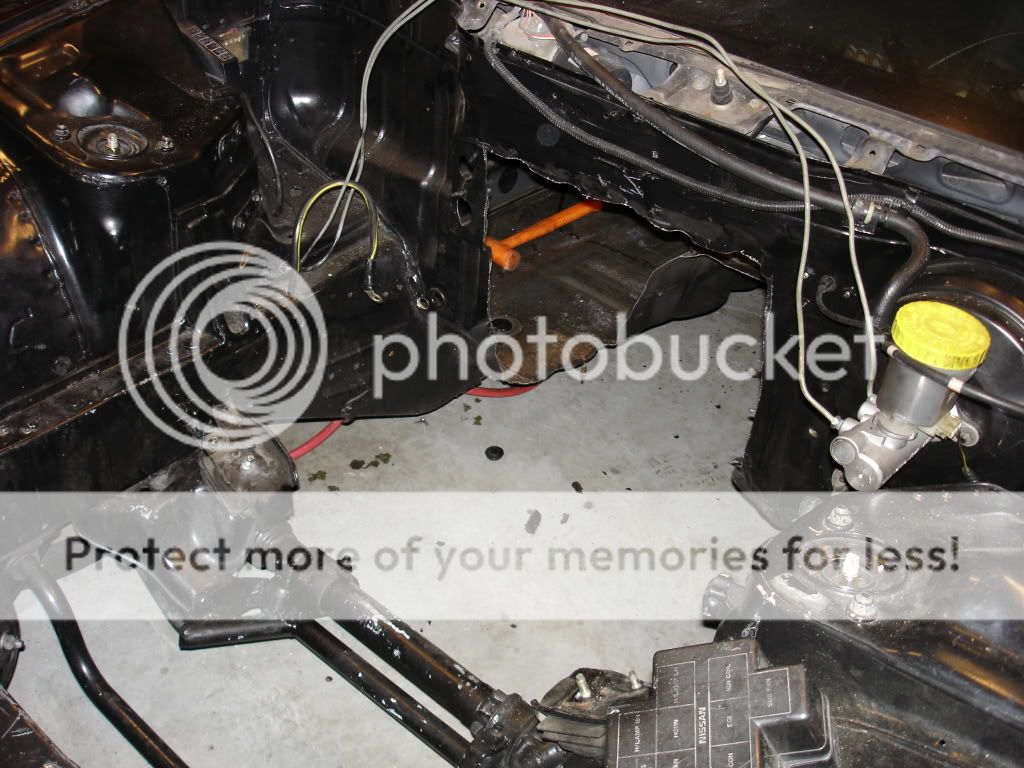
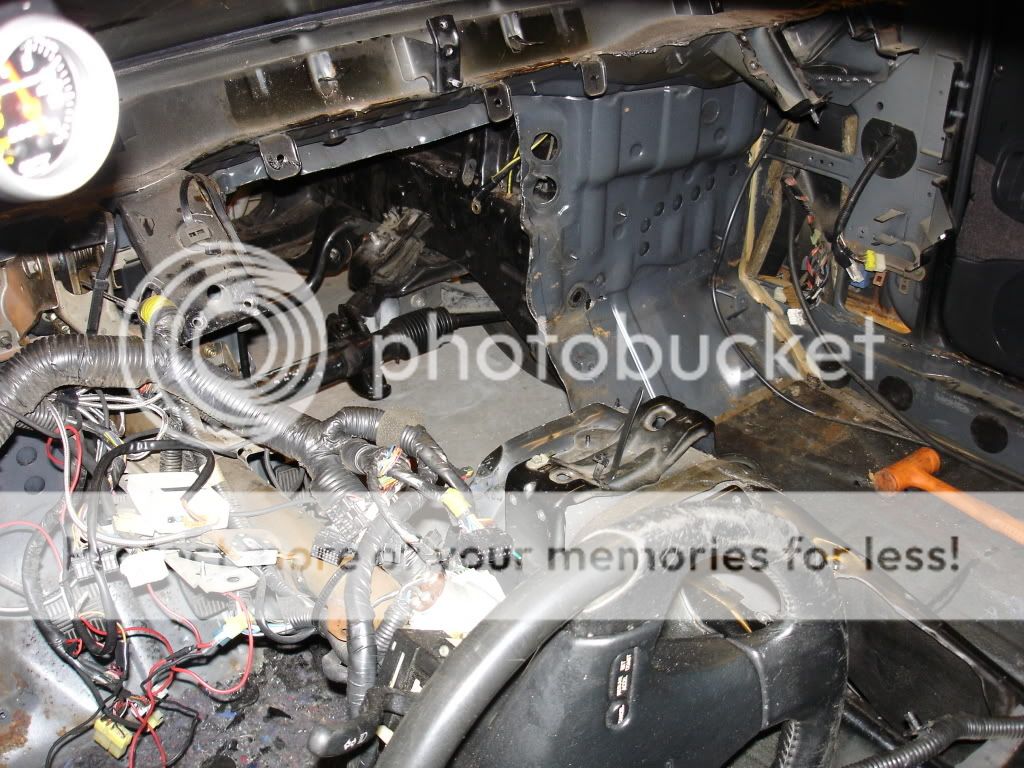
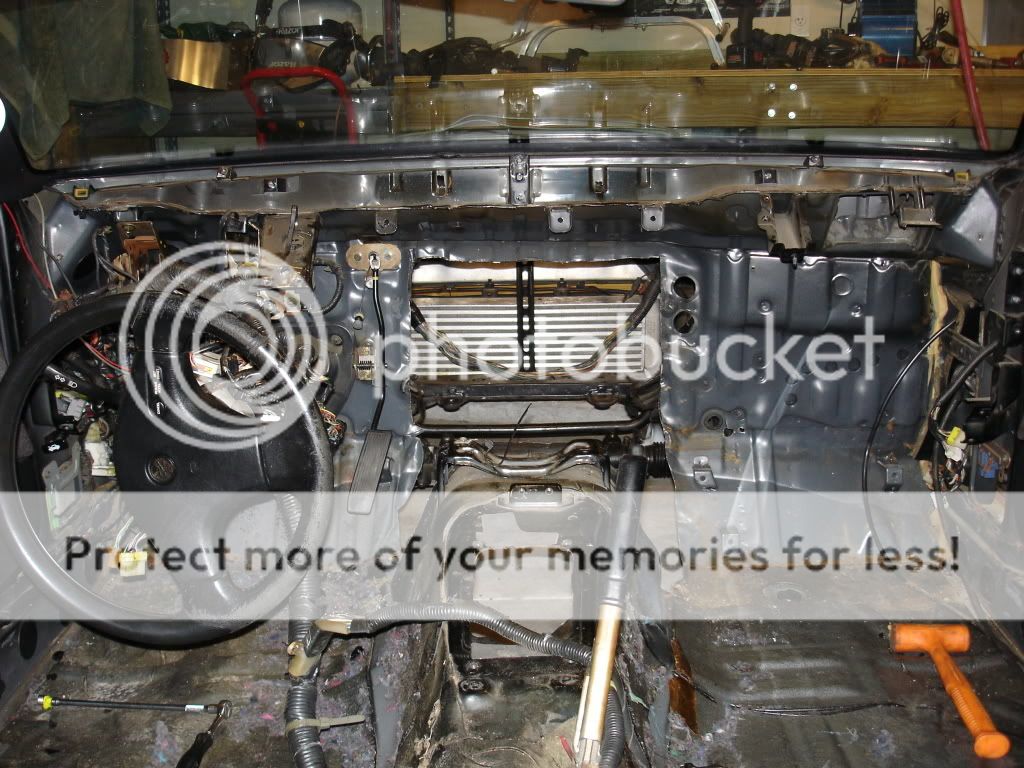
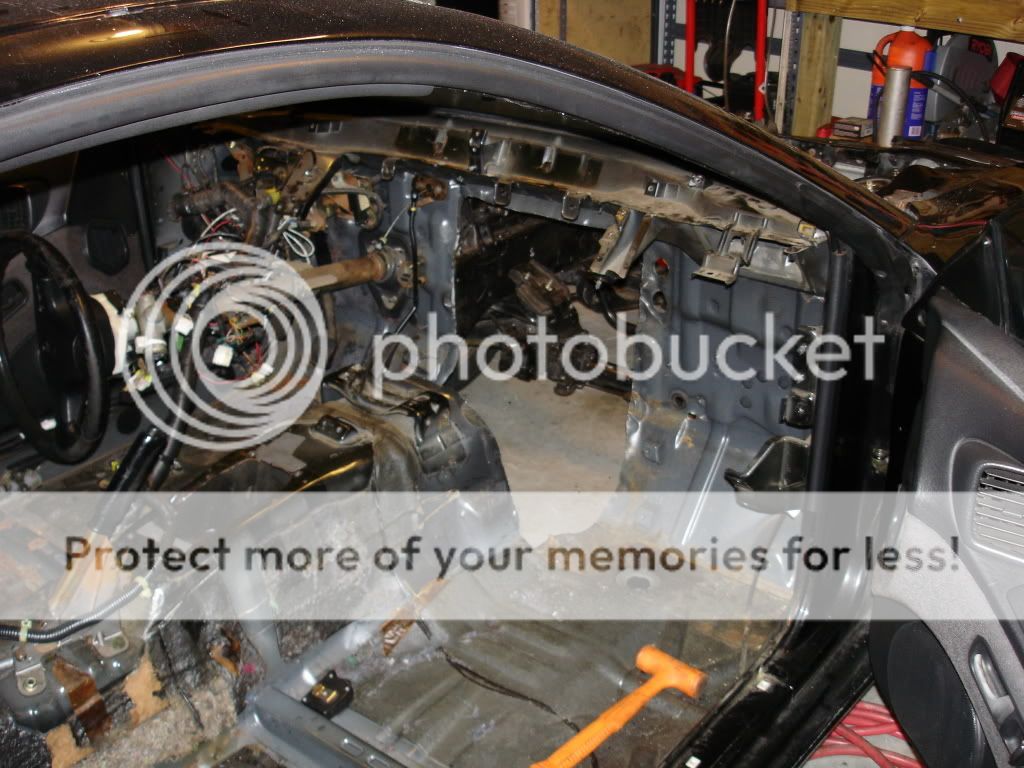
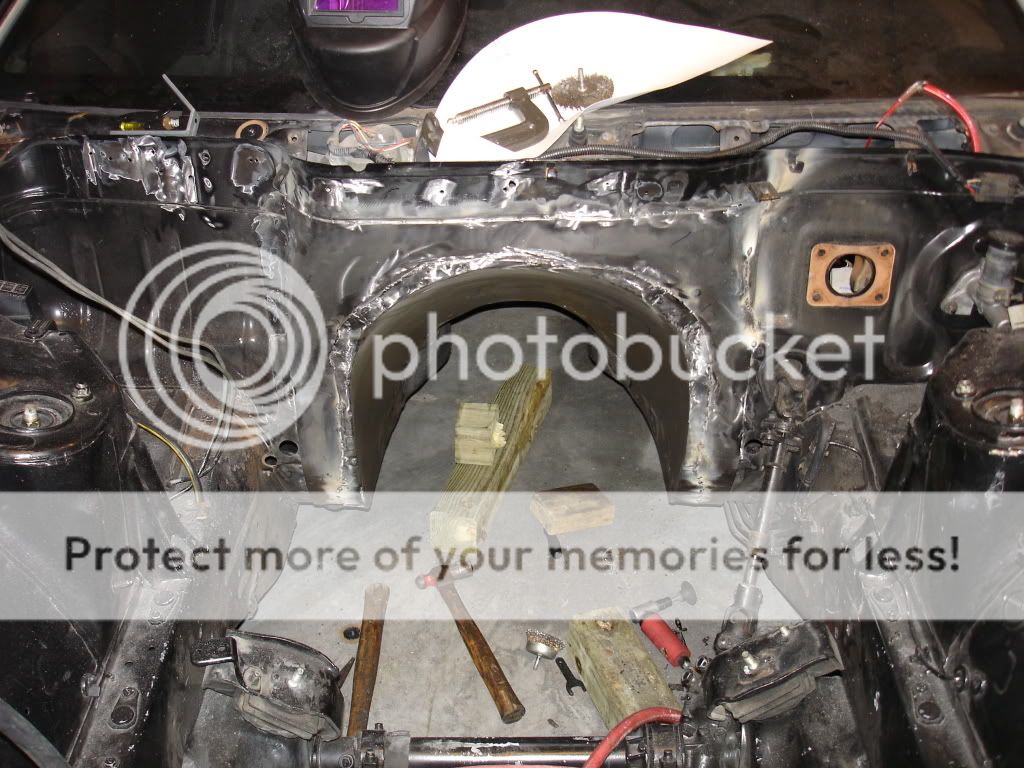
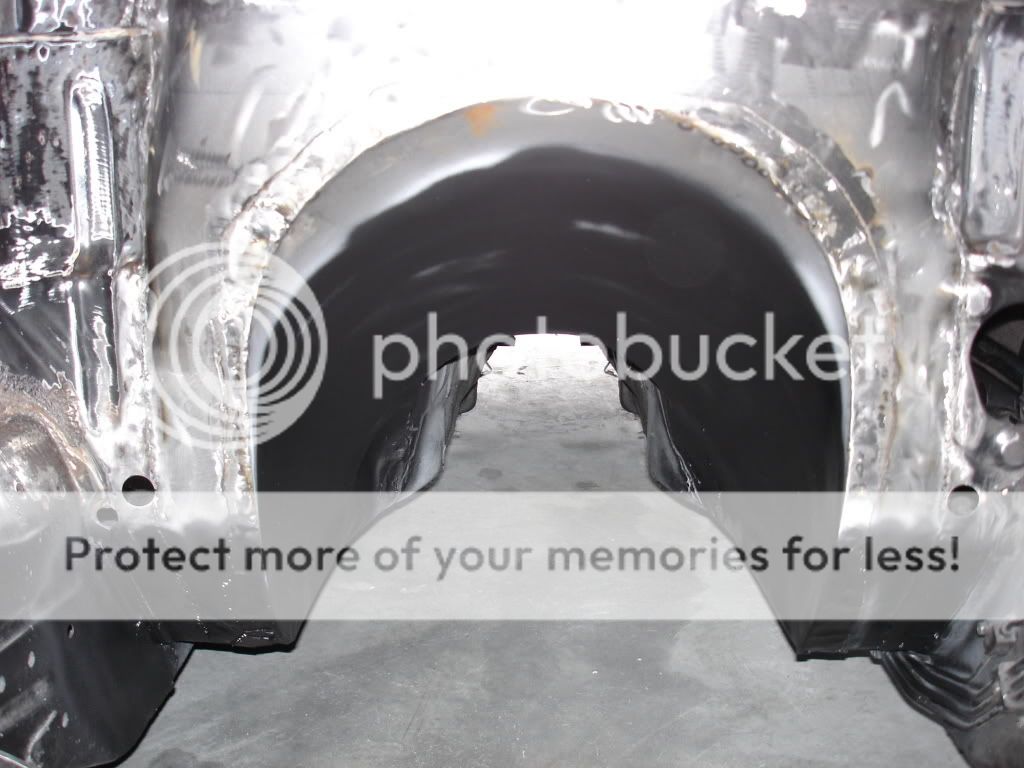
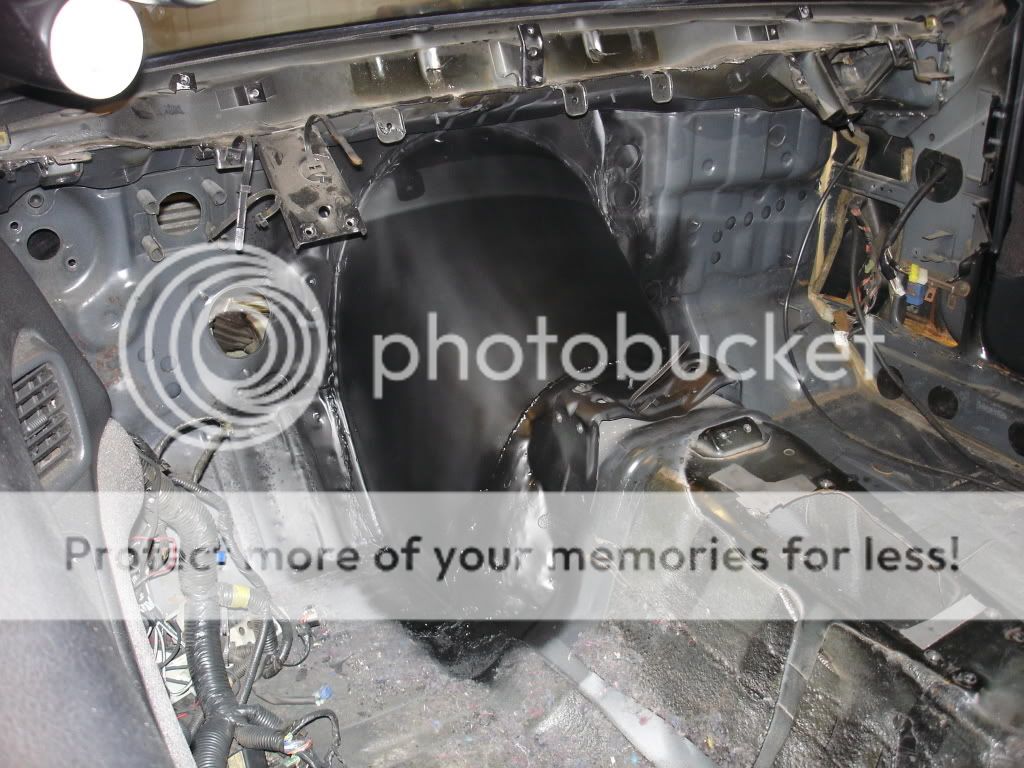
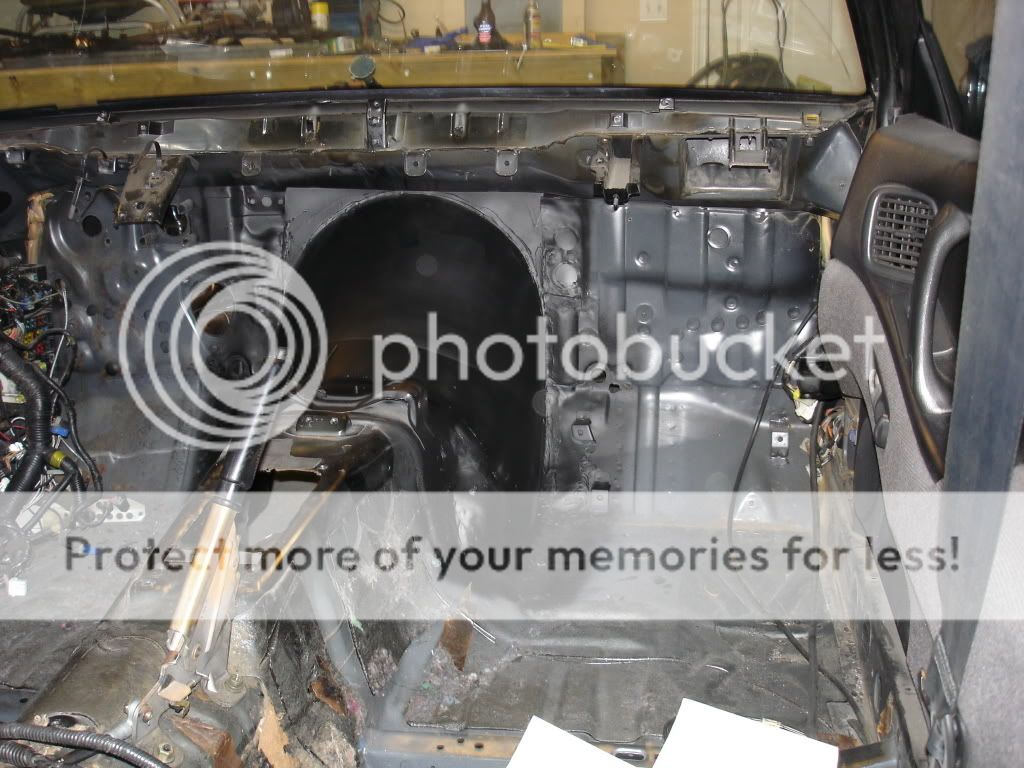
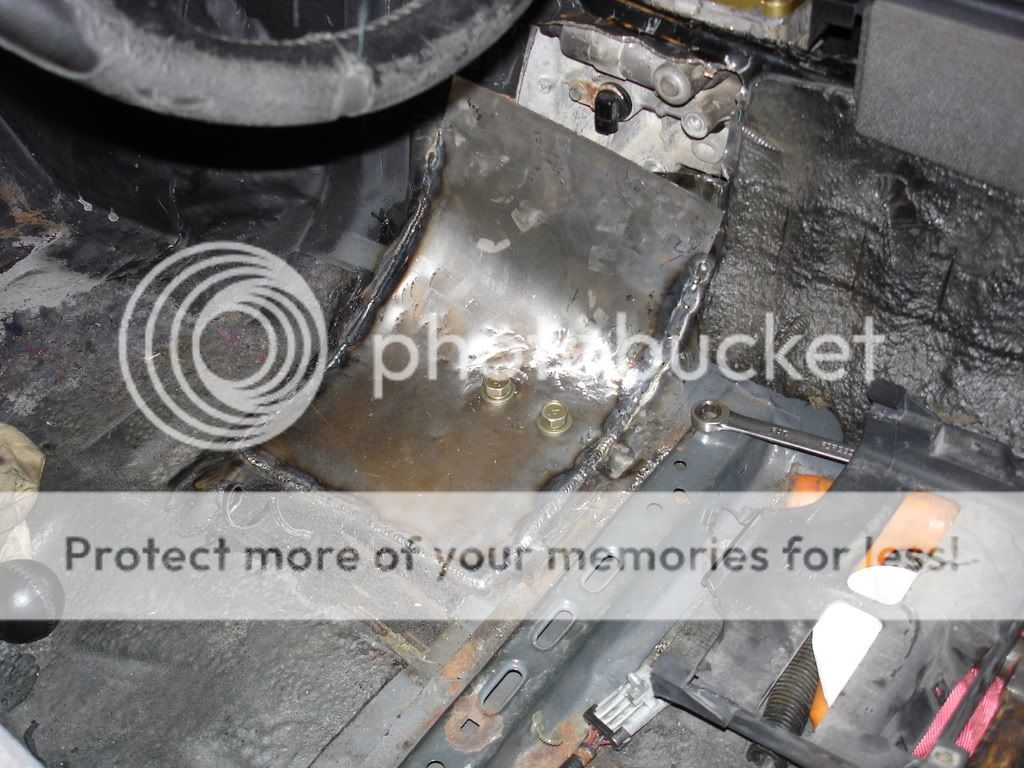
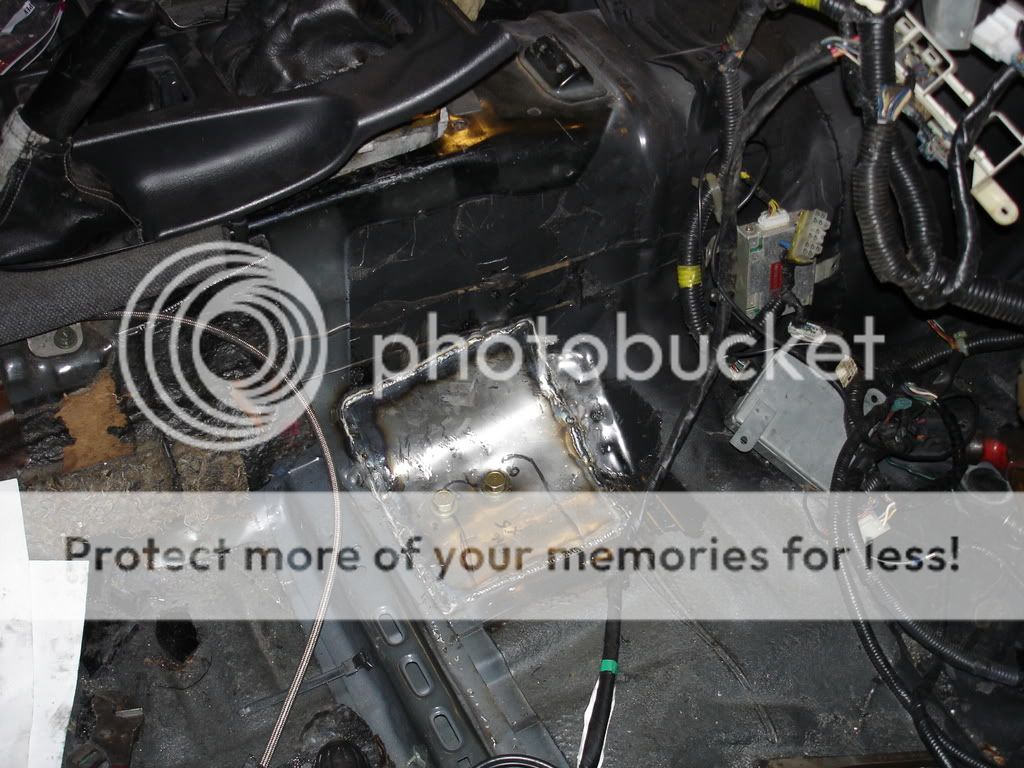
I got excited after cutting the hole and forgot to take some good pictures so here is the new tunnel in rough stages. I pretty much took a sheet of 16 gauge for the fire wall and cut out a nice radius and tangent legs to wrap underneath the car. Then I used a sheet of 22 gauge to create the tunnel. The 16 gauge piece on the firewall acted as a guide for putting the tunnel in and just kinda fell in place (with a little persuasion of course). Then I broke out the good ole body filler and sander and went to town.
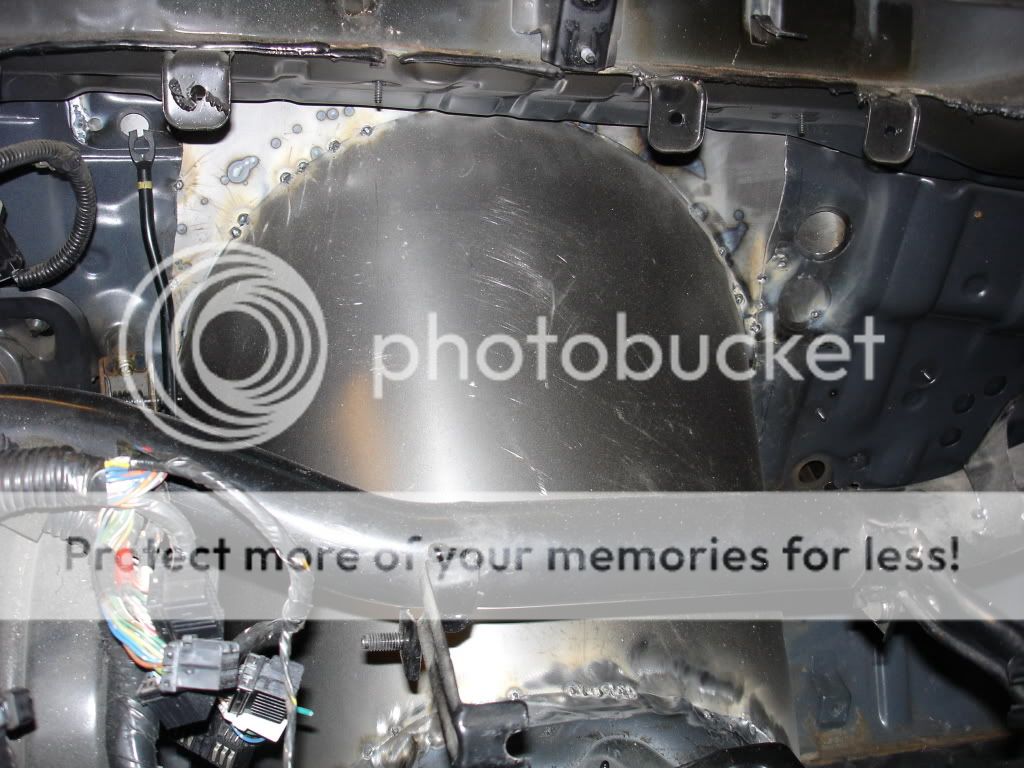

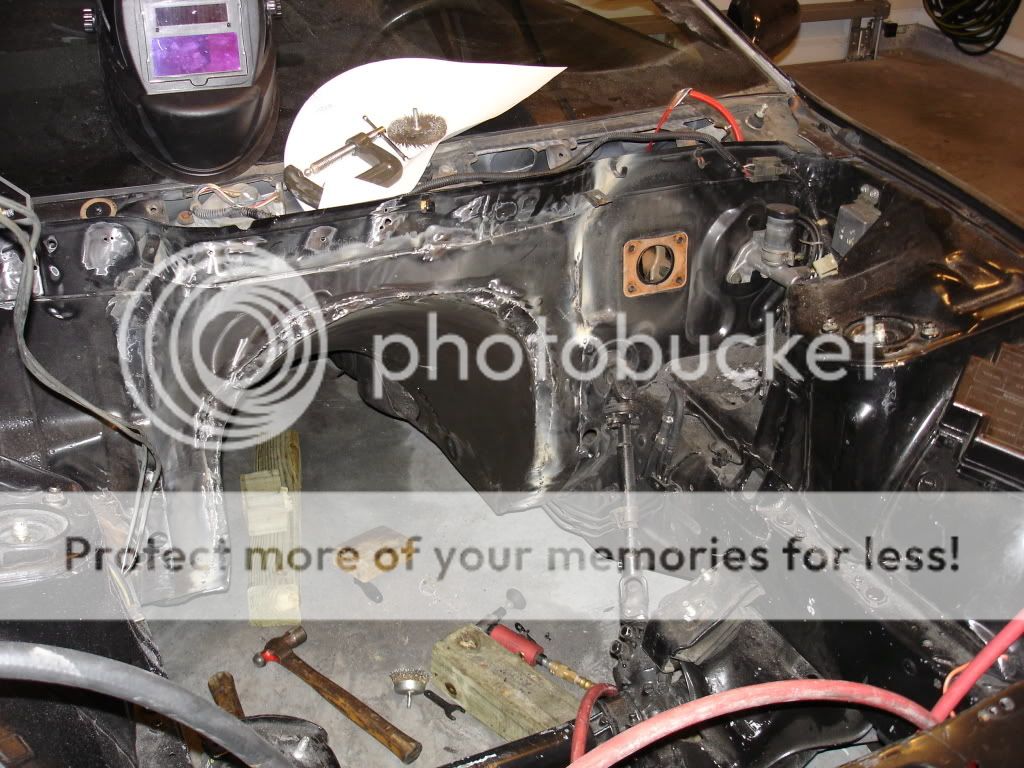
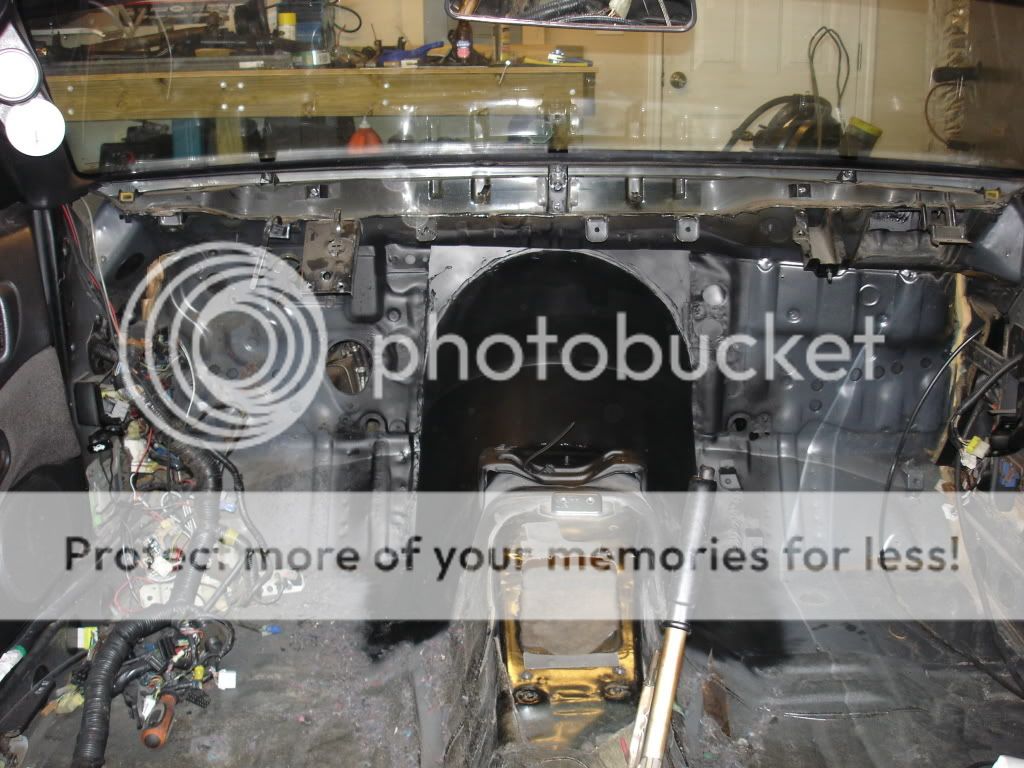
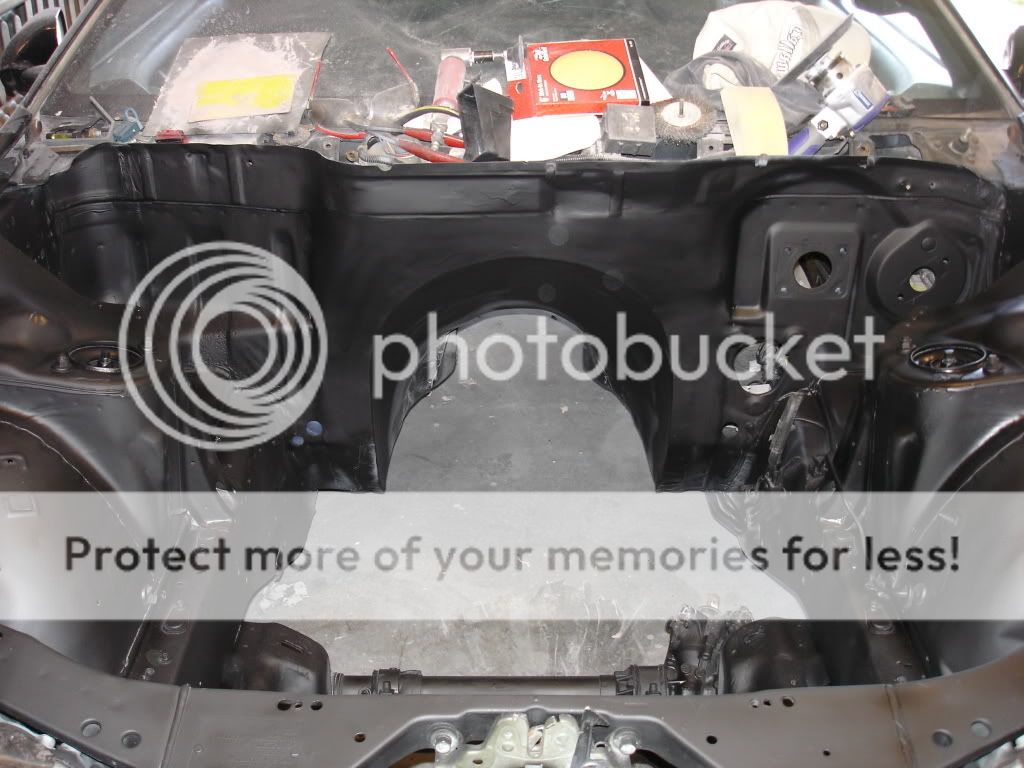
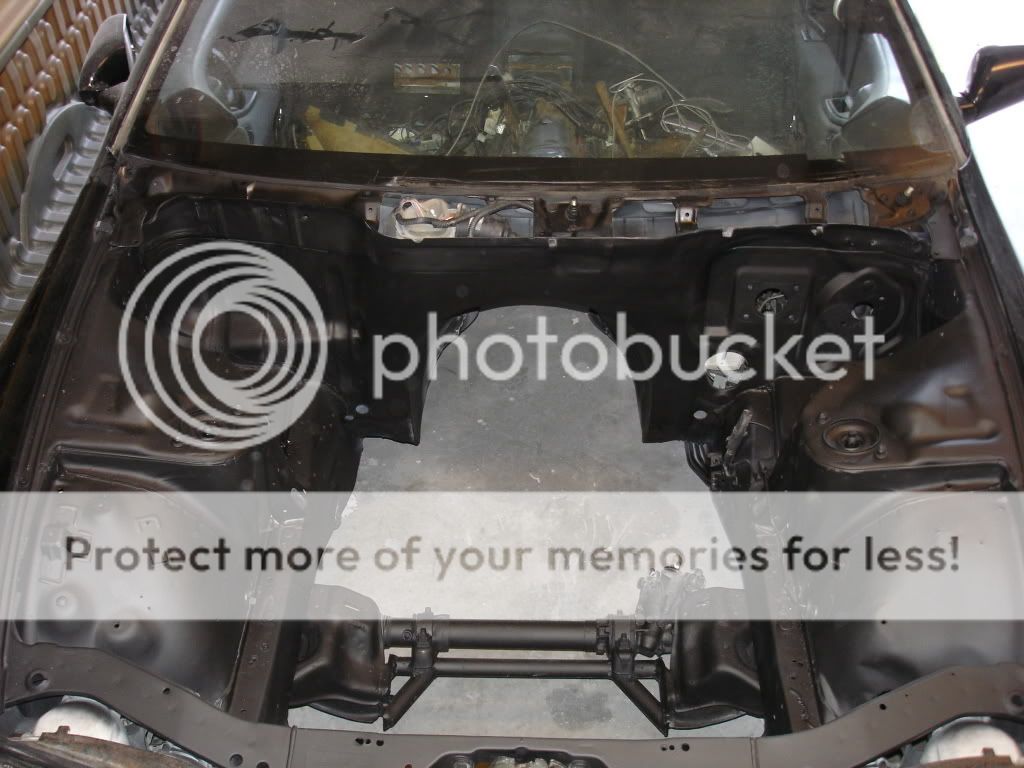
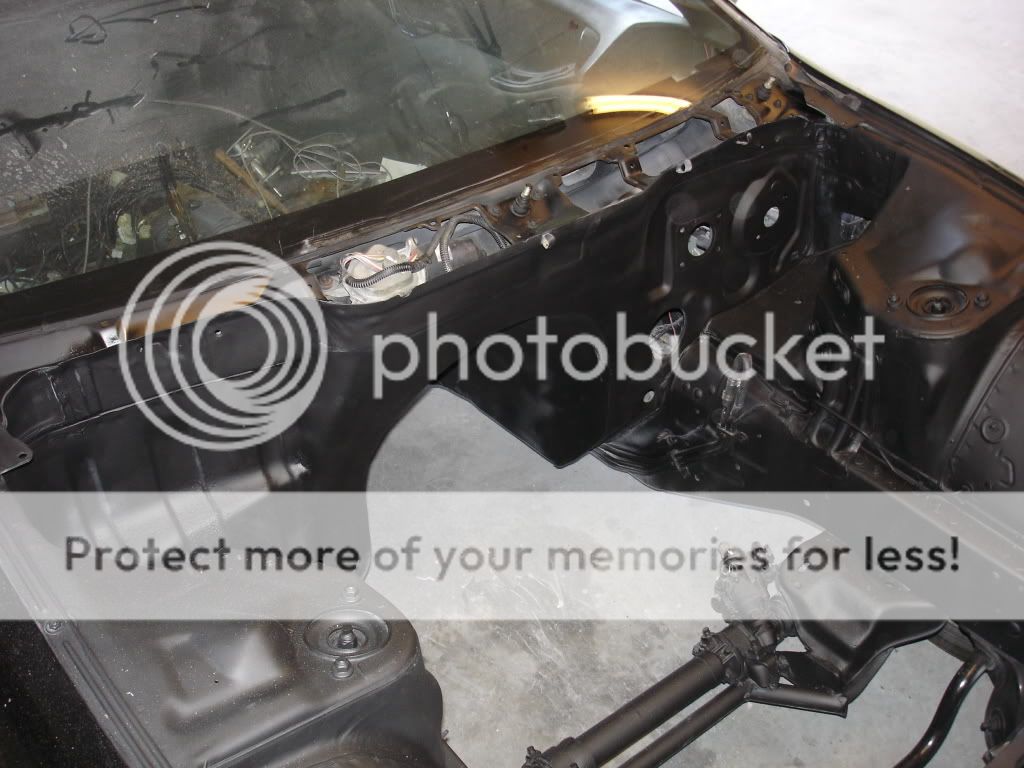
Ahhh amazing what a little bondo and paint does…

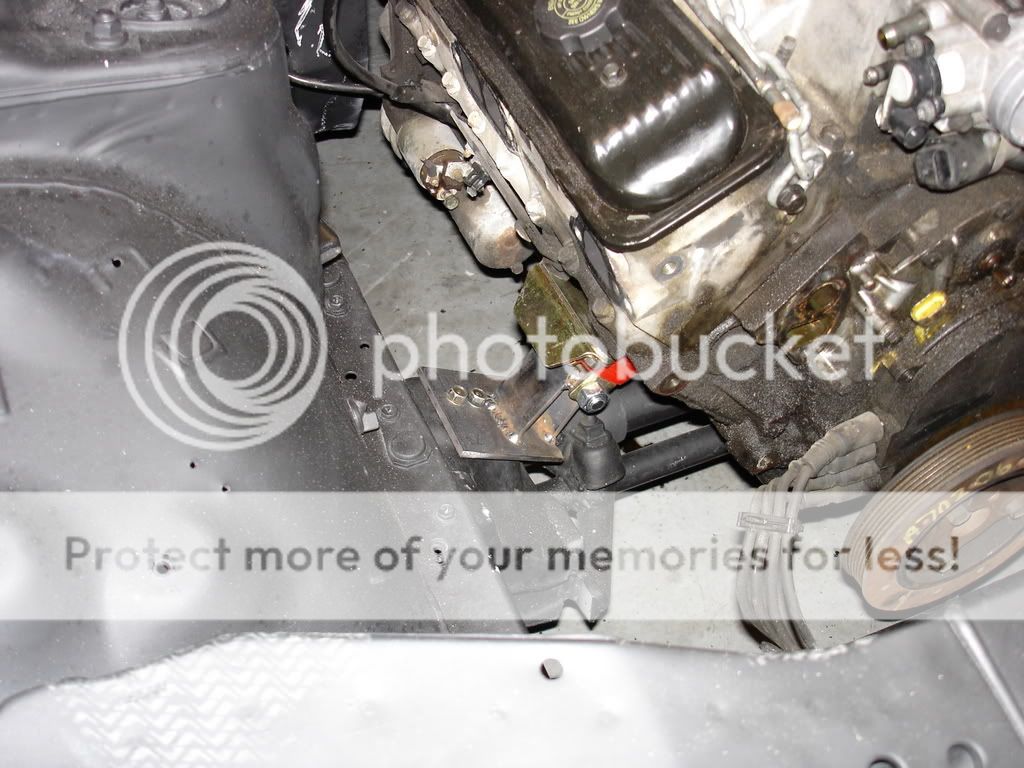
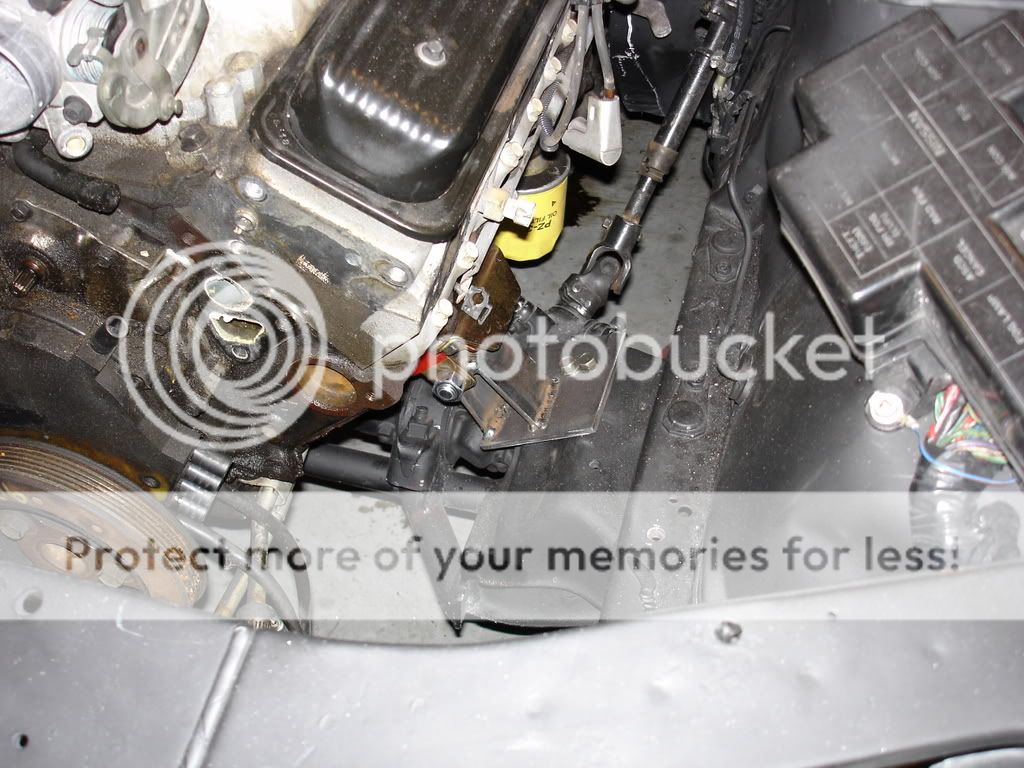
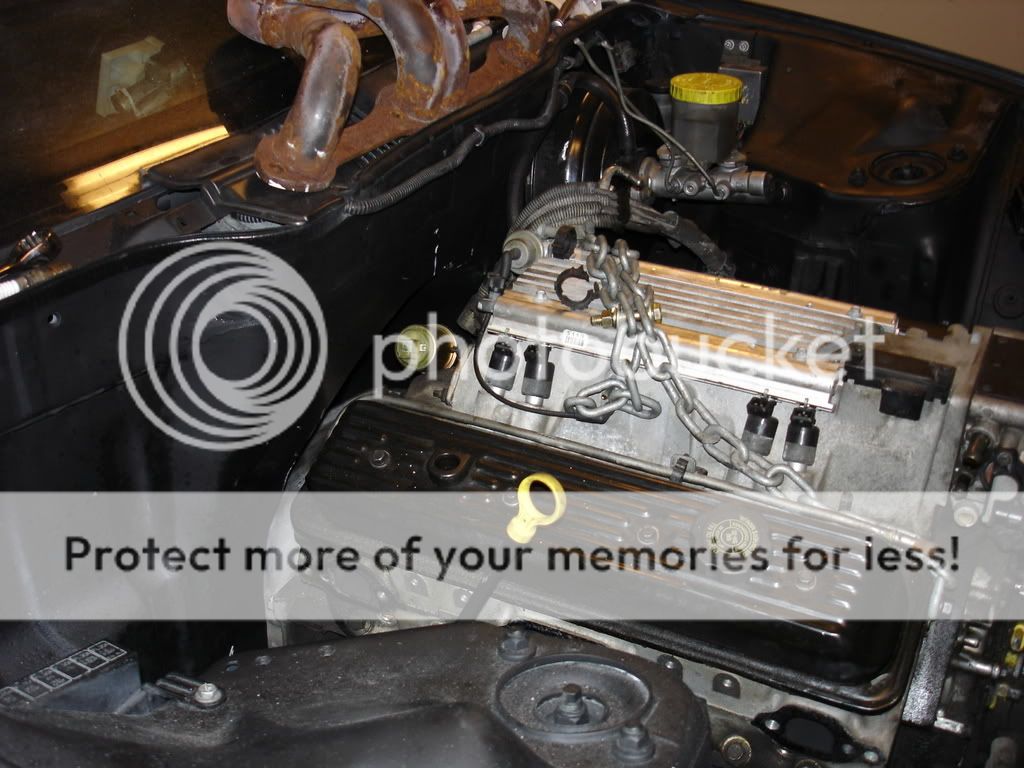
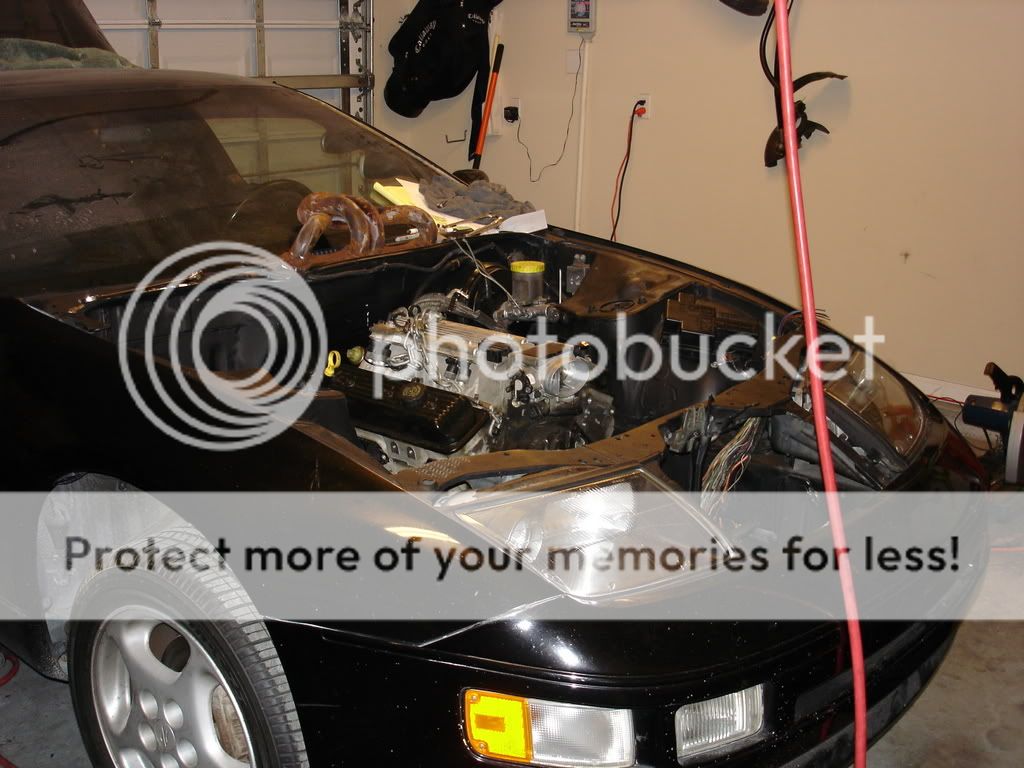
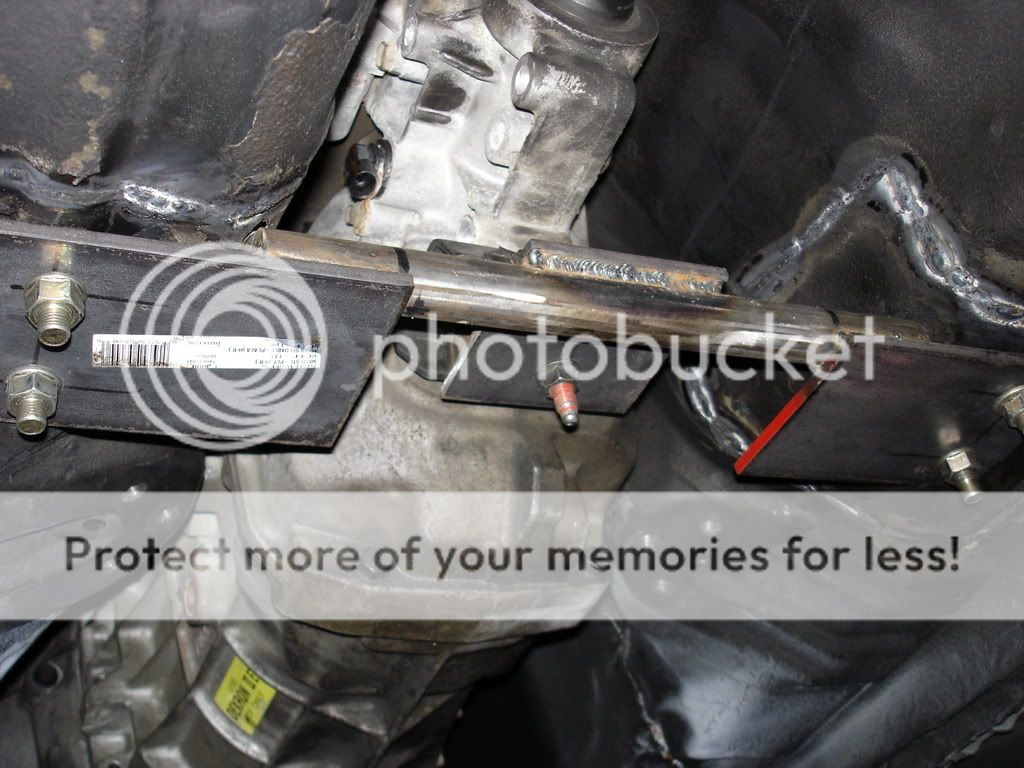
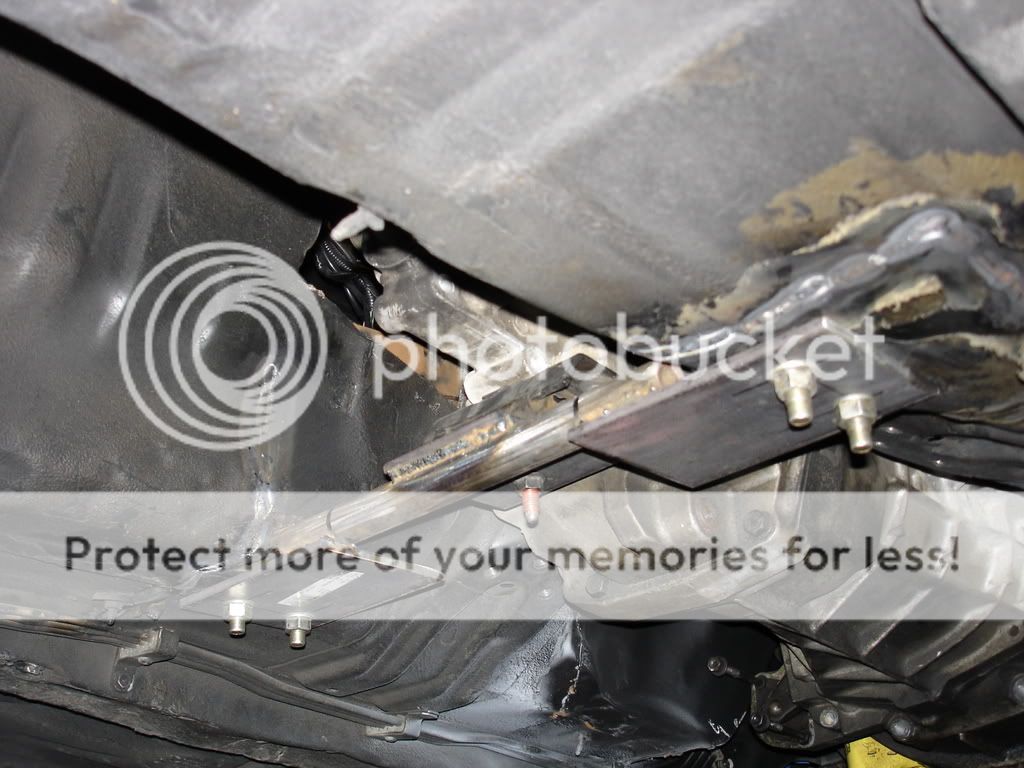
Now its time to fab up some mounts. First thing is first lets see how far back we can shove this engine and center everything up. You have to center everything up tack it in place then build your mounts. Don’t do what I originally did and wedge it in and weld it… lol. Take you time and be sure everything has clearance and nothing will interfere with the engine rocking from torque and settling in place with the new mounts. I’m not a pro just a DIYer so don’t take everything literal. So here are the engine mounts and how the engine sits.
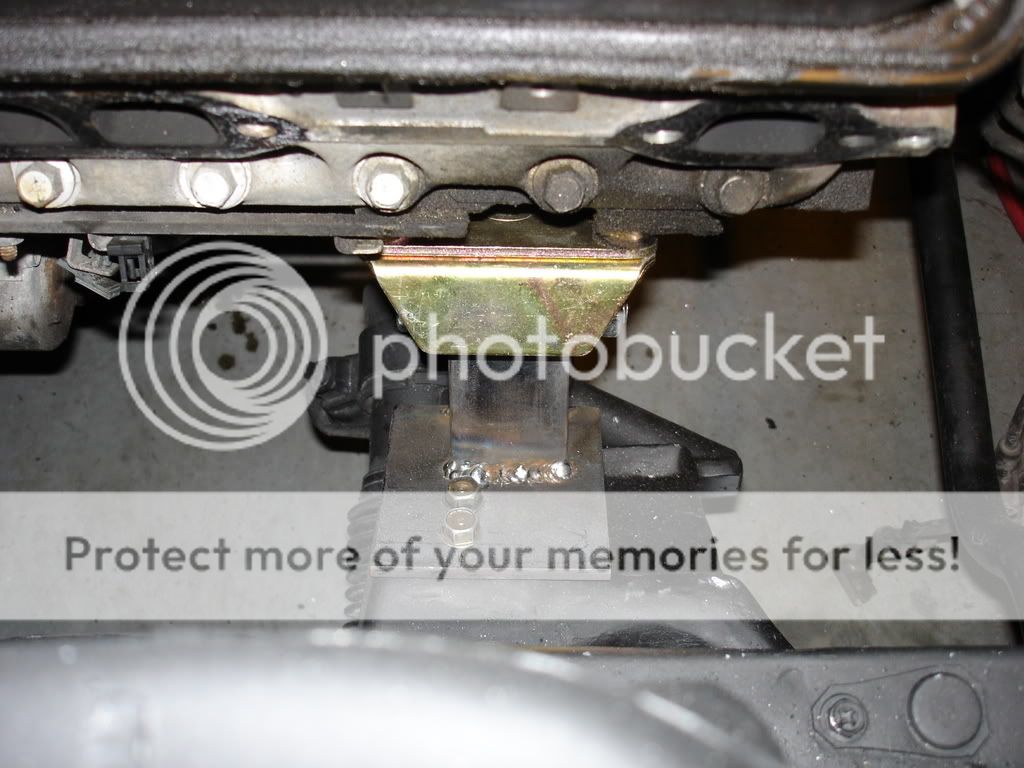
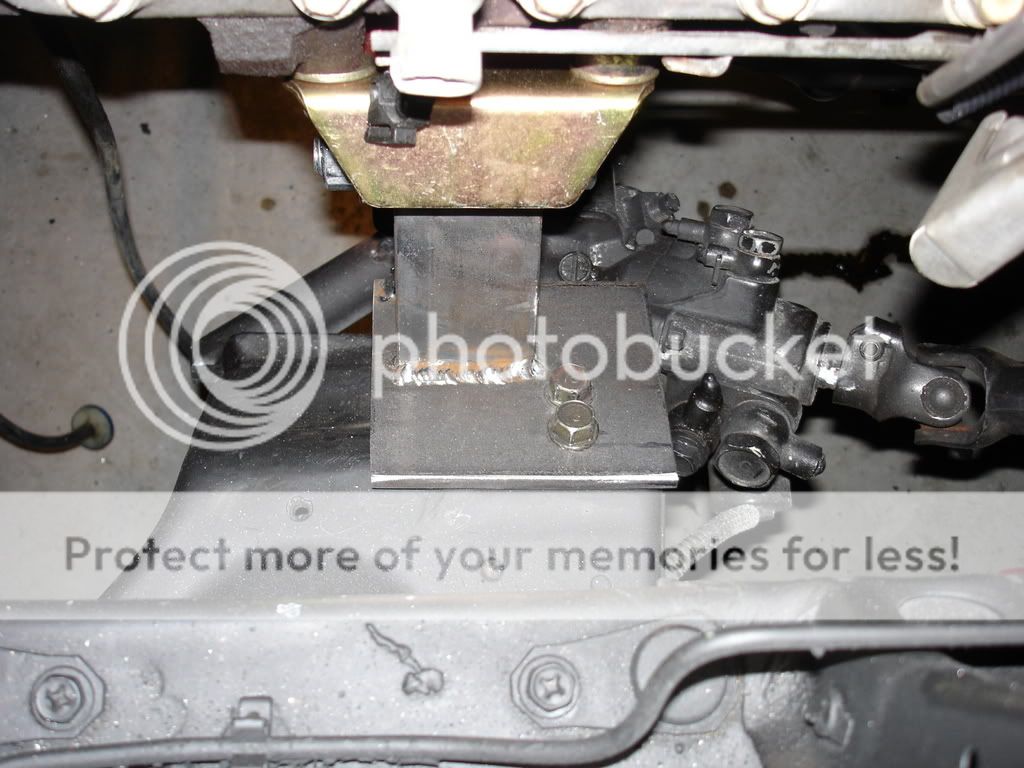
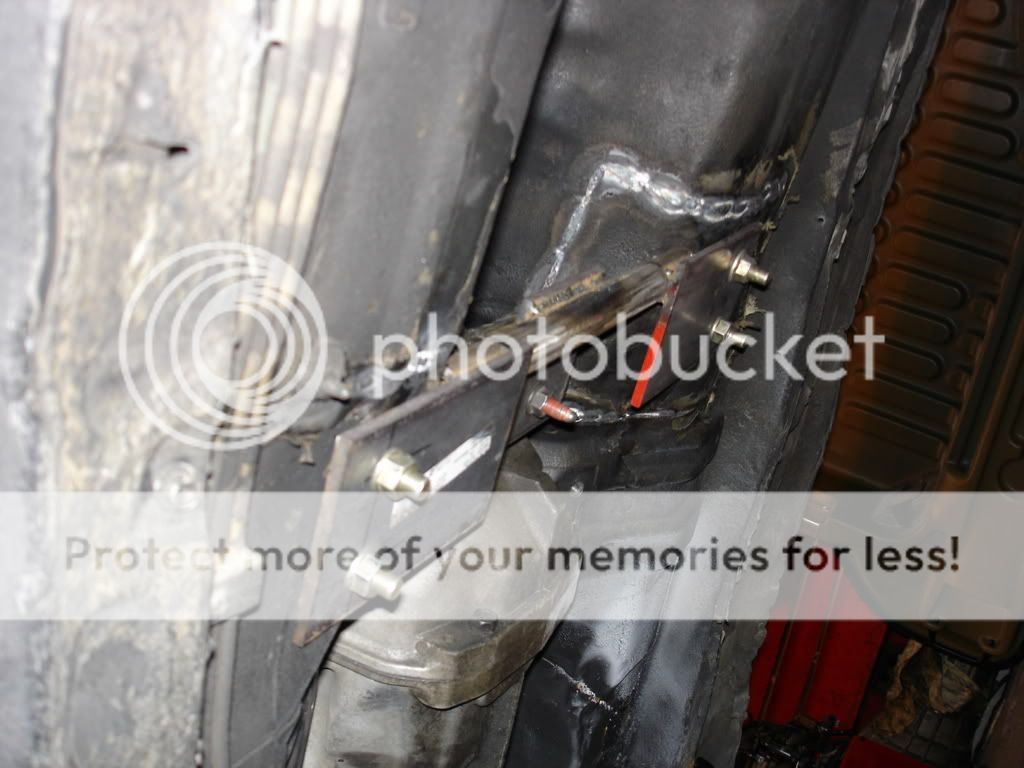
Here is the tranny mount… kinda beefy. Gotta have reinforcement.
Now you gotta figure out the wiring. Its pretty simple if you do your research. And here is the first fire up. Ohh and don’t forget everything else like exhaust, driveshaft, radiator, fans, fluids, filters, etc….
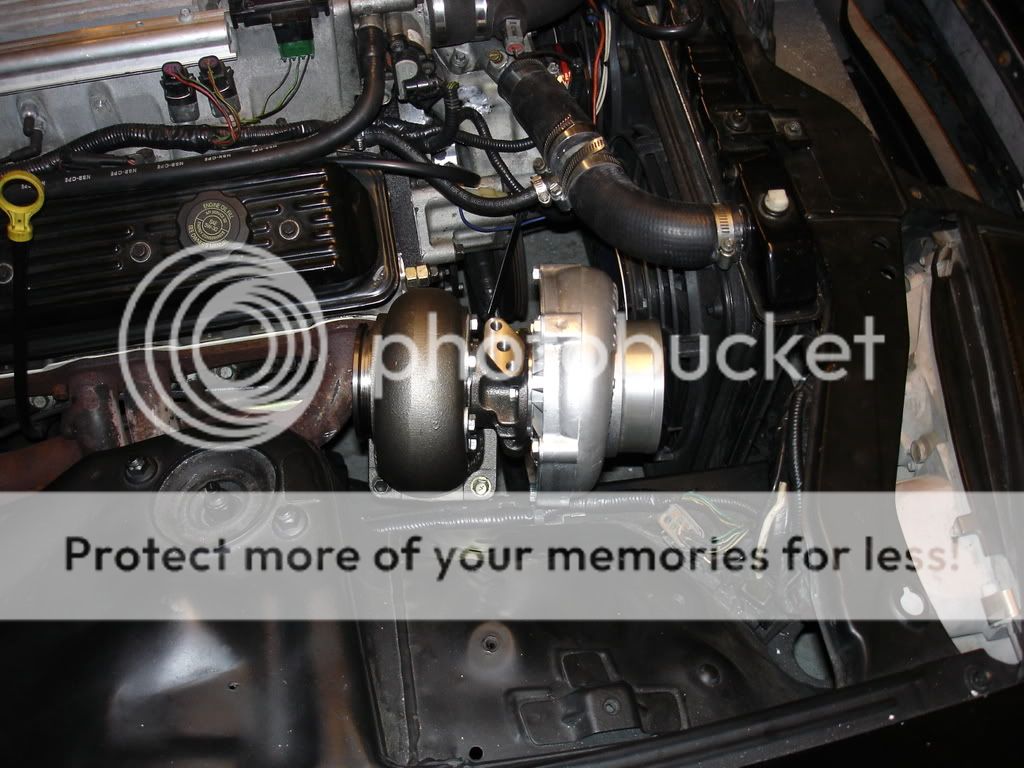
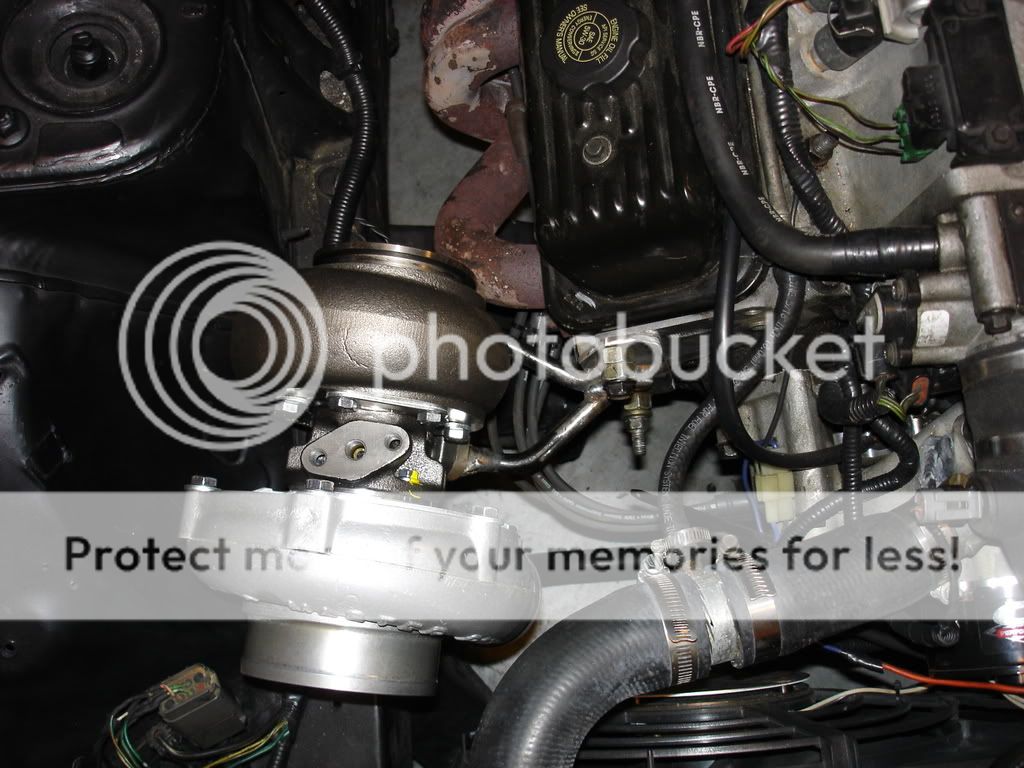
And when naturally aspiration is not enough you gotta build a home made turbo kit.


And this is what happens when you don’t tune the car and just turn up the boost without adjusting the timing on a 130k engine that has overheated a few times due to a bad fan relay… lol. Blown head gasket and broken ring lands on pistons 1 and 3. I heard the detonation on the final dyno pass. I get excited when I start making power and well I’ll turn up the boost until something happens… woops.
http://videos.streetfire.net/video/Turb ... 158121.htm


Its amazing when you have a ton of time to figure things out cause your broke and you have nothing to do but think of ways to spend the money you don’t have. So instead of just replacing a few pistons and the head gaskets might as well go the distance. Now I’m working on installing a MSII engine management and Ford EDIS-8, injectors, forged pistons ARP hardware and a bunch of other goodies. Here are the pictures of the progress with the EDIS stuff. This is from design to finish.. well almost finished. Here is a good place to get informed about the EDIS stuff. http://www.projectlt10.com/content/modu ... x.php?id=1

This is a bracket a I came up with to hold the VR (variable reluctance) sensor… and it bolts right where the opti used to reside.


Here is the wheel after getting it back from the EDM. Man it turned out good…


Here is everything mocked up on a timing cover.

Well I ended up adding a revision to the design. I got a ATI balancer hub and now where I decided to key the factory hub is not going to work with the ATI. So since this happened I decided to make the wheel concentric to the ATI hub to minimize runout. But I still mocked everything back up so I could get everything lined up and ready to go. Although this is not the final 36-1 wheel you can get the idea.


There will be more to come!!!!
Ok just an update to show you where I’m at… I’ve got some goodies in the mail over the last few months and the engine is going to the machine shop tomorrow. So far I have everything for the bottom end build minus the cam.


I’m still waiting on the new 36-1 wheel but I got the new alternator bracket I drew up and it fits pretty well. I still need to wait till I get the engine together to build the spacers to line up the pulley but you get the idea.


I’ve also installed the new shifter… going with an ole turbo 350 to take some stress off the R200 and axles in place of the T56 I previously had.

I got a wild hair and threw together a side exhaust that exits out of the lower front quarter. I have always wanted to do this… I took an old magnaflow muffler and cut it down to about 8†from its original 12 or so. I took great care not to screw up the packing and overall it turned out great. I revised the engine mounts just a touch centering the engine in the bay within 1/16â€. I made the new down pipe to connect to the muffler and cleaned all unnecessary wiring and fuse blocks out of the engine bay. I relocated everything in the car under the dash (easy access). Incase you are wondering about tire clearance between the exhaust there is plenty from lock to lock.


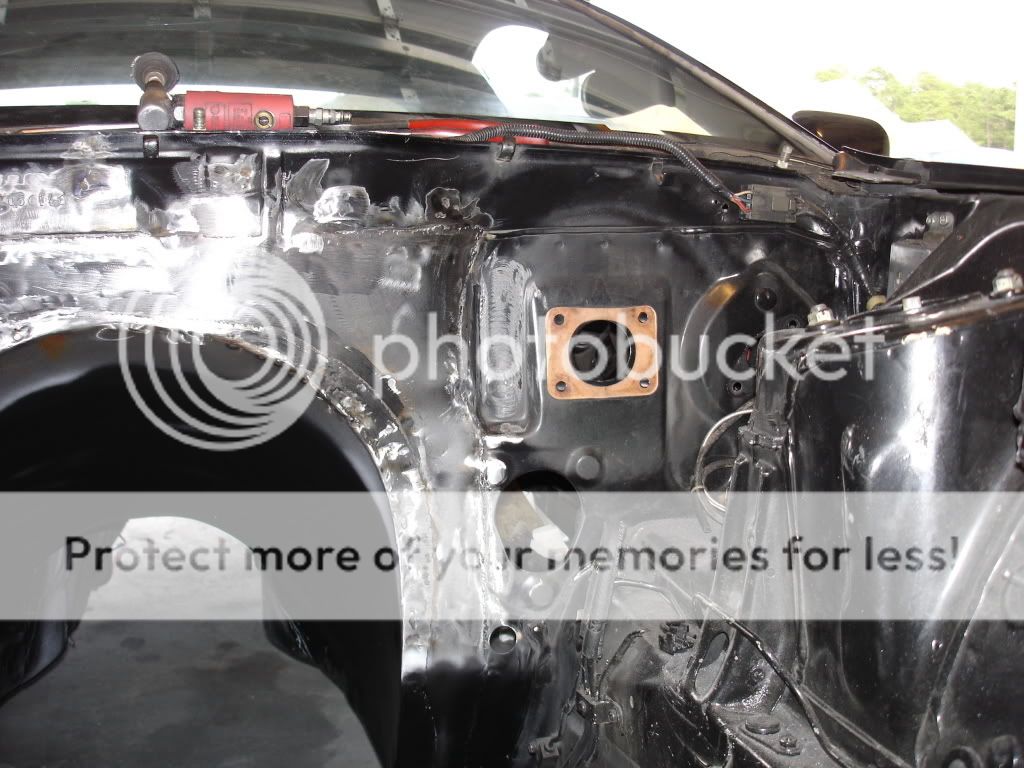
This is the block off plate I made for the clutch master.

The first time I did this swap I really did not plan anything out and pretty much just threw the setup in and wired it up… it turned out pretty shitty to say the least (but it was a lot of fun). So this time I really thought things out and just dove right into a huge project. I first started with tearing out the inside of the car and cutting some big ass holes… lol.
I got excited after cutting the hole and forgot to take some good pictures so here is the new tunnel in rough stages. I pretty much took a sheet of 16 gauge for the fire wall and cut out a nice radius and tangent legs to wrap underneath the car. Then I used a sheet of 22 gauge to create the tunnel. The 16 gauge piece on the firewall acted as a guide for putting the tunnel in and just kinda fell in place (with a little persuasion of course). Then I broke out the good ole body filler and sander and went to town.
Ahhh amazing what a little bondo and paint does…
Now its time to fab up some mounts. First thing is first lets see how far back we can shove this engine and center everything up. You have to center everything up tack it in place then build your mounts. Don’t do what I originally did and wedge it in and weld it… lol. Take you time and be sure everything has clearance and nothing will interfere with the engine rocking from torque and settling in place with the new mounts. I’m not a pro just a DIYer so don’t take everything literal. So here are the engine mounts and how the engine sits.
Here is the tranny mount… kinda beefy. Gotta have reinforcement.
Now you gotta figure out the wiring. Its pretty simple if you do your research. And here is the first fire up. Ohh and don’t forget everything else like exhaust, driveshaft, radiator, fans, fluids, filters, etc….
And when naturally aspiration is not enough you gotta build a home made turbo kit.
And this is what happens when you don’t tune the car and just turn up the boost without adjusting the timing on a 130k engine that has overheated a few times due to a bad fan relay… lol. Blown head gasket and broken ring lands on pistons 1 and 3. I heard the detonation on the final dyno pass. I get excited when I start making power and well I’ll turn up the boost until something happens… woops.
http://videos.streetfire.net/video/Turb ... 158121.htm
Its amazing when you have a ton of time to figure things out cause your broke and you have nothing to do but think of ways to spend the money you don’t have. So instead of just replacing a few pistons and the head gaskets might as well go the distance. Now I’m working on installing a MSII engine management and Ford EDIS-8, injectors, forged pistons ARP hardware and a bunch of other goodies. Here are the pictures of the progress with the EDIS stuff. This is from design to finish.. well almost finished. Here is a good place to get informed about the EDIS stuff. http://www.projectlt10.com/content/modu ... x.php?id=1
This is a bracket a I came up with to hold the VR (variable reluctance) sensor… and it bolts right where the opti used to reside.
Here is the wheel after getting it back from the EDM. Man it turned out good…
Here is everything mocked up on a timing cover.
Well I ended up adding a revision to the design. I got a ATI balancer hub and now where I decided to key the factory hub is not going to work with the ATI. So since this happened I decided to make the wheel concentric to the ATI hub to minimize runout. But I still mocked everything back up so I could get everything lined up and ready to go. Although this is not the final 36-1 wheel you can get the idea.
There will be more to come!!!!
Ok just an update to show you where I’m at… I’ve got some goodies in the mail over the last few months and the engine is going to the machine shop tomorrow. So far I have everything for the bottom end build minus the cam.
I’m still waiting on the new 36-1 wheel but I got the new alternator bracket I drew up and it fits pretty well. I still need to wait till I get the engine together to build the spacers to line up the pulley but you get the idea.
I’ve also installed the new shifter… going with an ole turbo 350 to take some stress off the R200 and axles in place of the T56 I previously had.
I got a wild hair and threw together a side exhaust that exits out of the lower front quarter. I have always wanted to do this… I took an old magnaflow muffler and cut it down to about 8†from its original 12 or so. I took great care not to screw up the packing and overall it turned out great. I revised the engine mounts just a touch centering the engine in the bay within 1/16â€. I made the new down pipe to connect to the muffler and cleaned all unnecessary wiring and fuse blocks out of the engine bay. I relocated everything in the car under the dash (easy access). Incase you are wondering about tire clearance between the exhaust there is plenty from lock to lock.
This is the block off plate I made for the clutch master.
")


