Decided that my carb was looking a little rough and it needed to be painted. Eastwood has several
paints for carburetors, but I decided to use the Por-15 Detail Paint. Except for the body and that
was painted with Krylon. Both paints had the better nozzles that shot a fan shape pattern instead
of the usual cone shape.
https://www.eastwood.com/paints/underhood-paints.html
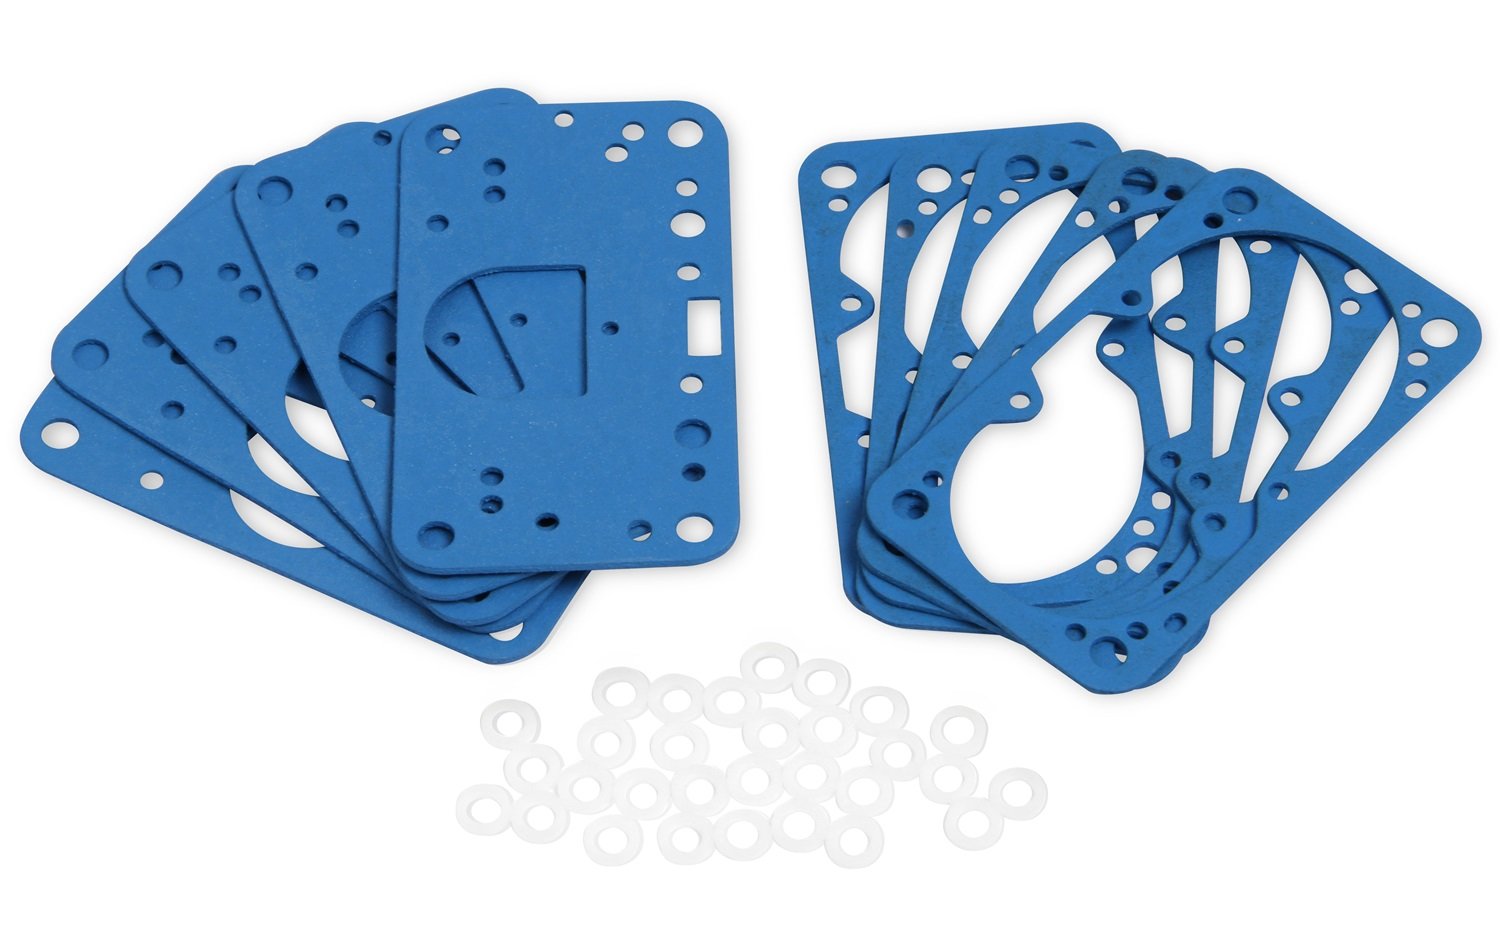
As I started disassembling the carb it became very apparent that I would need a kit because the
gaskets were dried up and were being destroyed when the pieces came apart. I have always kept
bowl and metering plate gaskets on hand, but not the base-to-body gasket. I purchased the carb
in December 2012, so it's 8 years old now and time for a rebuild anyway.


No doubt I will need a complete set of gaskets to put this carb back together.

I used Chem-Dip carburetor cleaner and soaked the bowls and metering blocks over night. For
some reason the blocks were fine, but the bowls were effected negatively by the Chem-Dip. It left
a coating on the surface and you could not just wipe off, I had to use Scotch-Brite (Red) to remove
this film.
In the photo below you can see where I could not get the float bowl complete submerged in the
Chem-Dip. The photo is also after cleaning with Scotch-Brite. There was no room for the body, so
that was soaked in PSC 1000 solvent.
You probably can't tell, but I went around the carb removing any sharp edges, paint just will not stay
on a sharp edges with the slightest bump from anything.

There were lots of holes and surfaces to tape off or add an extra screw to keep paint out. For this
reason I decided NOT to paint the base plate and metering block. Besides they had a different
finish from Demon that has held up better than the rest of the carb.


Much nicer finish now, but only time will tell if it holds up any better than the
original finish.

I'm going to wait a day or two and let the paint cure before I re-assemble the carb.
.
paints for carburetors, but I decided to use the Por-15 Detail Paint. Except for the body and that
was painted with Krylon. Both paints had the better nozzles that shot a fan shape pattern instead
of the usual cone shape.
https://www.eastwood.com/paints/underhood-paints.html
As I started disassembling the carb it became very apparent that I would need a kit because the
gaskets were dried up and were being destroyed when the pieces came apart. I have always kept
bowl and metering plate gaskets on hand, but not the base-to-body gasket. I purchased the carb
in December 2012, so it's 8 years old now and time for a rebuild anyway.


No doubt I will need a complete set of gaskets to put this carb back together.

I used Chem-Dip carburetor cleaner and soaked the bowls and metering blocks over night. For
some reason the blocks were fine, but the bowls were effected negatively by the Chem-Dip. It left
a coating on the surface and you could not just wipe off, I had to use Scotch-Brite (Red) to remove
this film.
In the photo below you can see where I could not get the float bowl complete submerged in the
Chem-Dip. The photo is also after cleaning with Scotch-Brite. There was no room for the body, so
that was soaked in PSC 1000 solvent.
You probably can't tell, but I went around the carb removing any sharp edges, paint just will not stay
on a sharp edges with the slightest bump from anything.

There were lots of holes and surfaces to tape off or add an extra screw to keep paint out. For this
reason I decided NOT to paint the base plate and metering block. Besides they had a different
finish from Demon that has held up better than the rest of the carb.


Much nicer finish now, but only time will tell if it holds up any better than the
original finish.

I'm going to wait a day or two and let the paint cure before I re-assemble the carb.
.
Last edited:

 chemtooler


