FOUND THIS ON A DIFFERENT SITE, THOUGHT IT MIGHT BE USEFUL INFO FOR SOME GUYS
http://garage.grumpysperformance.com/index.php?threads/cleaning-used-pistons.8745/#post-30913
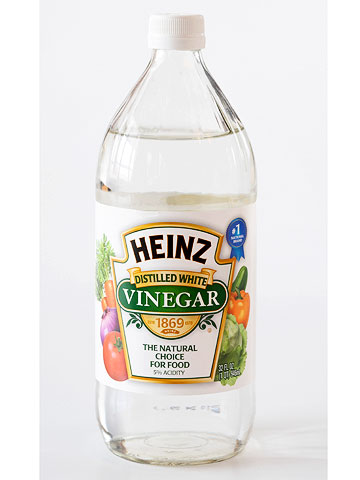
"OK Guys, so you want to get rid of rust from your chromed bike part but you don’t like the idea of having dangerous chemicals around the house. Well here is a great way that is so safe and easy a 5yr old could do it! All you need is a container (tub) big enough to fit your rusty part in, a toothbrush (scrubbing brush, dish brush etc.) and enough White Vinegar to cover the part. I just use the cheap stuff from the supermarket. Place your part in the container of Vinegar and wait a day or two. Remove the part and brush off the rust, then wipe down with a rag, if your satisfied with the job, give it a spray over with a water displacer (WD40,CRC etc.) or dry with a hair dryer to stop the rust coming back straight away, if your not happy, drop it in for a bit longer. So there you go, it’s that easy smile
Try it yourself on an old rusty chromed part and I guarantee you will be amazed at how well it comes up!!!
Notes:
Don’t throw your vinegar away afterwards, it can be used over and over again.
It will go a rusty color after use.
It may help to add a tea spoon of Bi Carb Soda (Baking Soda) per Ltr of Vinegar to help speed up the process a little(caution, it will fizz up!!)
It may remove your decals if you use it on a part with stickers or decals
DON'T LEAVE FOR OVER 48hrs (it is possible to damage parts as it is acidic)
Here is a demonstration I done over the weekend.
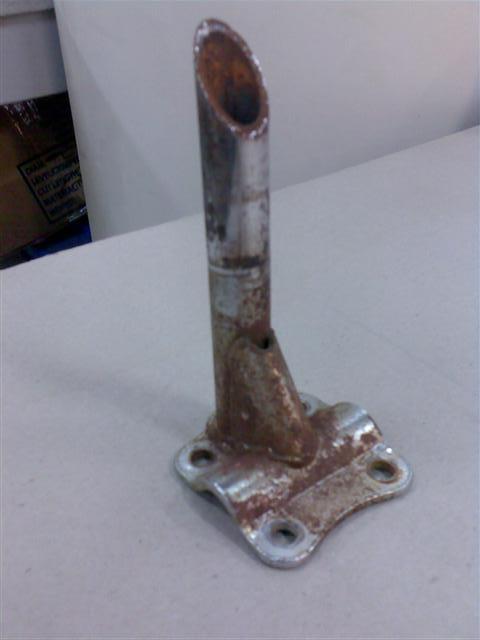
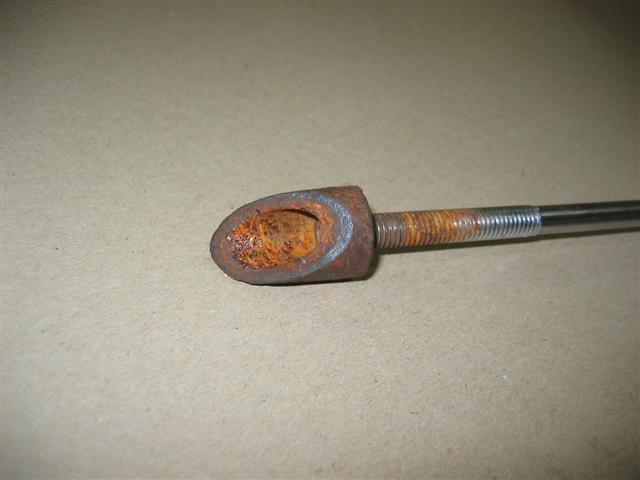
Here is the Stem before being soaked in the Vinegar
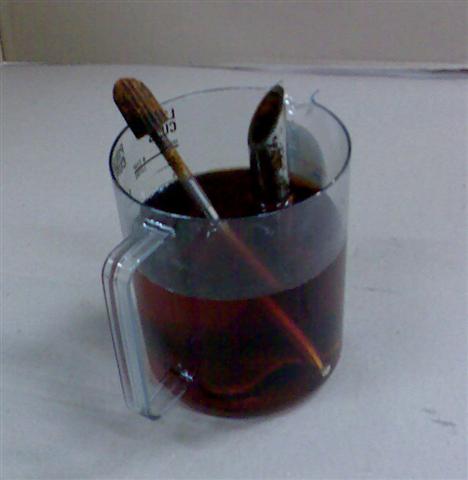
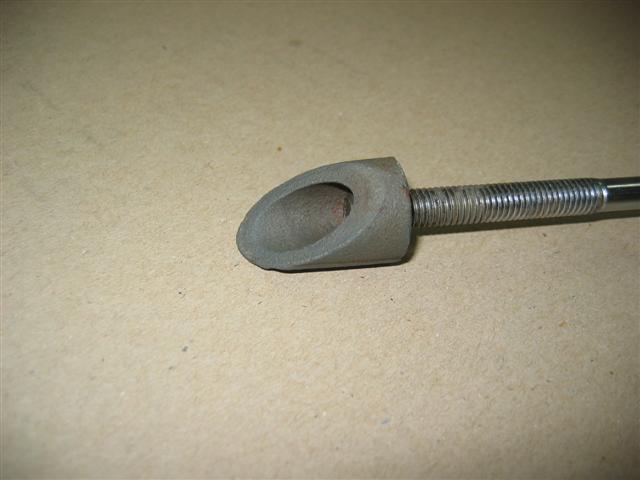
Here is the stem after being cleaned!! Note, the top wasn’t submersed
before soaking 48 hours
after soaking 48 hours
theres also this product
"http://www.northerntool.com/shop/tools/product_200409363_200409363?cm_mmc=Google-pla&utm_source=Google_PLA&utm_medium=Automotive > Parts Washers&utm_campaign=Evapo-Rust&utm_content=334501&ci_src=17588969&ci_sku=334501&gclid=COH58qyLz8oCFQokHwoddb8HCA
http://bcove.me/booa7qmd
http://garage.grumpysperformance.com/index.php?threads/cleaning-used-pistons.8745/#post-30913
"OK Guys, so you want to get rid of rust from your chromed bike part but you don’t like the idea of having dangerous chemicals around the house. Well here is a great way that is so safe and easy a 5yr old could do it! All you need is a container (tub) big enough to fit your rusty part in, a toothbrush (scrubbing brush, dish brush etc.) and enough White Vinegar to cover the part. I just use the cheap stuff from the supermarket. Place your part in the container of Vinegar and wait a day or two. Remove the part and brush off the rust, then wipe down with a rag, if your satisfied with the job, give it a spray over with a water displacer (WD40,CRC etc.) or dry with a hair dryer to stop the rust coming back straight away, if your not happy, drop it in for a bit longer. So there you go, it’s that easy smile
Try it yourself on an old rusty chromed part and I guarantee you will be amazed at how well it comes up!!!
Notes:
Don’t throw your vinegar away afterwards, it can be used over and over again.
It will go a rusty color after use.
It may help to add a tea spoon of Bi Carb Soda (Baking Soda) per Ltr of Vinegar to help speed up the process a little(caution, it will fizz up!!)
It may remove your decals if you use it on a part with stickers or decals
DON'T LEAVE FOR OVER 48hrs (it is possible to damage parts as it is acidic)
Here is a demonstration I done over the weekend.
Here is the Stem before being soaked in the Vinegar
Here is the stem after being cleaned!! Note, the top wasn’t submersed
before soaking 48 hours
after soaking 48 hours
theres also this product
"http://www.northerntool.com/shop/tools/product_200409363_200409363?cm_mmc=Google-pla&utm_source=Google_PLA&utm_medium=Automotive > Parts Washers&utm_campaign=Evapo-Rust&utm_content=334501&ci_src=17588969&ci_sku=334501&gclid=COH58qyLz8oCFQokHwoddb8HCA
http://bcove.me/booa7qmd
Last edited by a moderator: