Basic, easy to follow, do it once rear main seal change.
BTW
heres info on installing a later one piece rear seal crank in the older two piece rear seal block
http://garage.grumpysperformance.co...ear-seal-crank-in-1-piece-block.301/#post-489
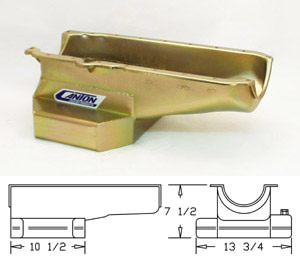
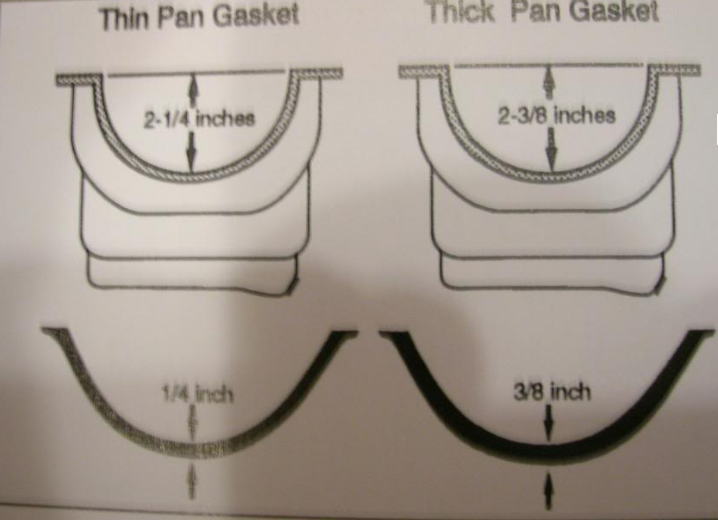
swapping to a higher capacity baffled oil pan, thats no more than 7.5" deep for road clearance adds reliability
Once you have the pan down, remove the oil pump and pickup. Remove the rear main cap. The lower half of the seal is right there. Don't scratch the bearing. Take a small screwdriver and pop the lower half out of the cap, then use the screwdriver, (I have one that I did a little bit of grinding on so it's got a better flat end) and push on the exposed end of the upper half of the seal. You may hve to tap it a little bit to break the upper seal loose. Drive it out until you can get a good grip on it and then just walk it on out. Now the old seal is out, clean the block and the seal groove with something like brake cleaner, just hose it out really well.
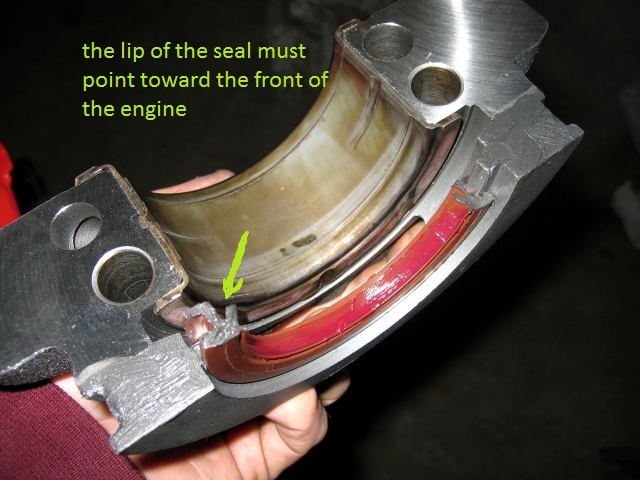
The trick part is next. GM and the aftermarket have 3 different widths of rear seals. The difference in them is from the dust lip on the back to the wiper lip on the forward side of the seal. The best (and widest one) is the one you need to find. The biggest distance between the two lips. You may have to hunt for it. GM had them all under the same part number, but there are different ones. The side of the seal that is "UP" in this picture is the "FRONT"

don't forget the rear surface of the rear seal to block and main cap needs to be sealed, oil tight
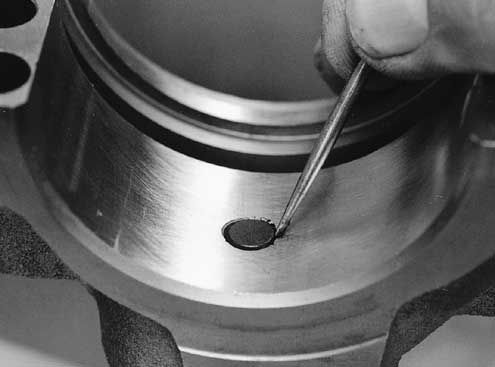
this seal CAN easily be installed backwards - all mating surfaces should be clean and free of oil, but the cranks surface should be lightly oiled to prevent the lip sticking to its surface, a mini- finger tip worth of Vaseline smeared on the crank surface will prevent that
(NOTICE THE DESIGN, and LOCATION,: theres no direct oil pressure, being applied to the rear seal, only oil, mist and blow bye pressure in the oil pan, will exert minimal pressure against the forward facing lip pushing against the lip forcing it to seal against the crank, and lubing the contact point, of the lip so wear is minimized, having a properly functioning PVC and breather combo, helps and having deck plate honed the cylinders and correctly installed the rings limits the crank case pressures)
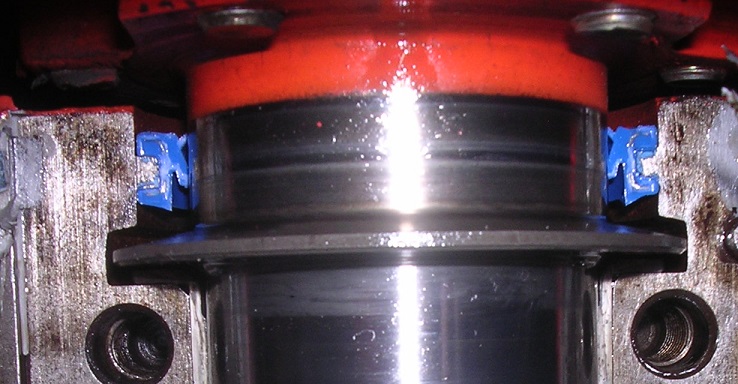
Take the rear main cap to your bench grinder and use the wire wheel on the mating surfaces adjacent to the seal. Look at the second picture. Where you want to buff the cap is where the sealant is applied. Don't get so far forward to catch the bearing. Buff the cap, get it really clean. Then hose it down with the brake cleaner too. Let it dry while you install the upper half of the seal.

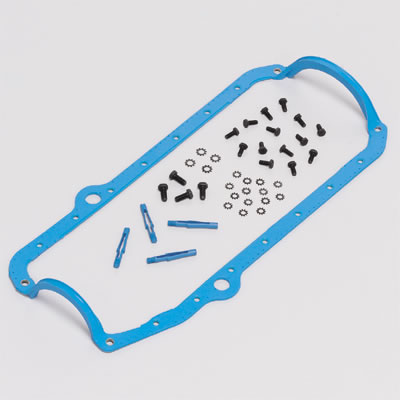
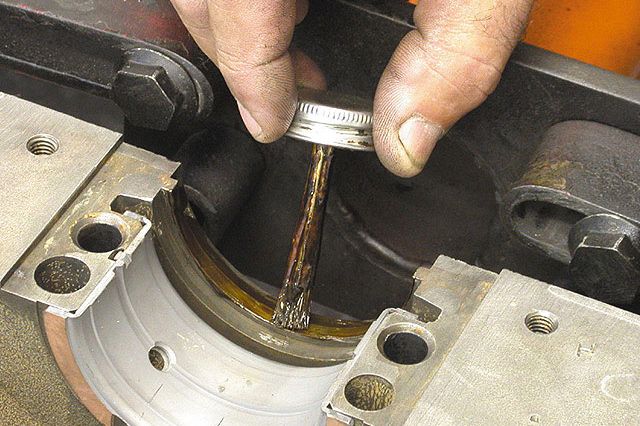
In the package there is a little plastic "spoon". Use it to install BOTH the upper and lower halves. Put a little bit of grease on the lips of the upper seal. If you don't, the rib on the inside of the seal gets sliced off and will seep underneath the seal.
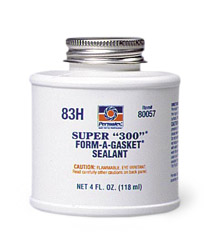
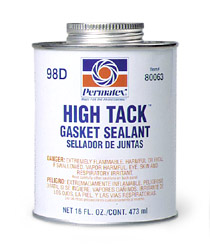
Once you have the lower seal in place, wipe a little bit of grease on the lips of that seal too. Apply a very thin coat of form-a-gasket or an anerobic sealer or something like that on the cap next to the seal. Just above the pan gasket groove. Install the cap, torque to specs and install the oil pump, and pan. Use a dab of RTV at the corners where the gasket turns to go over the cap or timing cover. Do this on both the old style 4 piece gaskets AND the new one piece..

I've done literally hundreds of rear main seals over 15+ years of working for Chevy dealers and NEVER had to do the same one twice.
I hope this helps and I also hope I didn't confuse the issue for you. If you have any questions, just drop me a note..
BTW
heres info on installing a later one piece rear seal crank in the older two piece rear seal block
http://garage.grumpysperformance.co...ear-seal-crank-in-1-piece-block.301/#post-489
swapping to a higher capacity baffled oil pan, thats no more than 7.5" deep for road clearance adds reliability
Once you have the pan down, remove the oil pump and pickup. Remove the rear main cap. The lower half of the seal is right there. Don't scratch the bearing. Take a small screwdriver and pop the lower half out of the cap, then use the screwdriver, (I have one that I did a little bit of grinding on so it's got a better flat end) and push on the exposed end of the upper half of the seal. You may hve to tap it a little bit to break the upper seal loose. Drive it out until you can get a good grip on it and then just walk it on out. Now the old seal is out, clean the block and the seal groove with something like brake cleaner, just hose it out really well.
The trick part is next. GM and the aftermarket have 3 different widths of rear seals. The difference in them is from the dust lip on the back to the wiper lip on the forward side of the seal. The best (and widest one) is the one you need to find. The biggest distance between the two lips. You may have to hunt for it. GM had them all under the same part number, but there are different ones. The side of the seal that is "UP" in this picture is the "FRONT"
don't forget the rear surface of the rear seal to block and main cap needs to be sealed, oil tight
this seal CAN easily be installed backwards - all mating surfaces should be clean and free of oil, but the cranks surface should be lightly oiled to prevent the lip sticking to its surface, a mini- finger tip worth of Vaseline smeared on the crank surface will prevent that
(NOTICE THE DESIGN, and LOCATION,: theres no direct oil pressure, being applied to the rear seal, only oil, mist and blow bye pressure in the oil pan, will exert minimal pressure against the forward facing lip pushing against the lip forcing it to seal against the crank, and lubing the contact point, of the lip so wear is minimized, having a properly functioning PVC and breather combo, helps and having deck plate honed the cylinders and correctly installed the rings limits the crank case pressures)
Take the rear main cap to your bench grinder and use the wire wheel on the mating surfaces adjacent to the seal. Look at the second picture. Where you want to buff the cap is where the sealant is applied. Don't get so far forward to catch the bearing. Buff the cap, get it really clean. Then hose it down with the brake cleaner too. Let it dry while you install the upper half of the seal.
In the package there is a little plastic "spoon". Use it to install BOTH the upper and lower halves. Put a little bit of grease on the lips of the upper seal. If you don't, the rib on the inside of the seal gets sliced off and will seep underneath the seal.
Once you have the lower seal in place, wipe a little bit of grease on the lips of that seal too. Apply a very thin coat of form-a-gasket or an anerobic sealer or something like that on the cap next to the seal. Just above the pan gasket groove. Install the cap, torque to specs and install the oil pump, and pan. Use a dab of RTV at the corners where the gasket turns to go over the cap or timing cover. Do this on both the old style 4 piece gaskets AND the new one piece..
I've done literally hundreds of rear main seals over 15+ years of working for Chevy dealers and NEVER had to do the same one twice.
I hope this helps and I also hope I didn't confuse the issue for you. If you have any questions, just drop me a note..
Last edited by a moderator: