Compressor Installation and Piping


Grumpy,

Of course I should have said NORMAL for me, not normal by anyone else's standards!
Ill wait and see............I think that expectation, is assuming a great deal for most of us gear heads :mrgreen:
according to my wife Ive never been "NORMAL"

87vette81big,

Yes I think venting says it well. Not sure if I was smart or it was just the end of the day, maybe I was just lucky
I just call it venting.
Smart people will walk away and come by to visit later in the day or tomorrow.

mathd,

Suppose another way to look at is.....I've been "Touched Too Much" In The Head !!!
Thanks for the song!
was in the truck yesterday and i heard this song and instantly think about rick's signature

Ok, I'm back to MY NORMAL and ready to take on the challenge!
Thanks Guys !!!


Indycars said:
I don't have anger issues like you, I'm just PO'ed! :D

Dont worry, I will be normal tomorrow.
I don't have anger issues anymore, I just get wound up like a 12 hr clock!
 
Few projects come out as intentionally planned for me Rick.
Often the end results of my efforts come out better than 1st planned.
Sometimes it takes a while to come to realization.
Thick headed stubborn I tend to be.

BR
 
87vette81big said:
Few projects come out as intentionally planned for me Rick.
Often the end results of my efforts come out better than 1st planned.
Sometimes it takes a while to come to realization.
Thick headed stubborn I tend to be.

BR

I agree, they never look like the original plans. I was just trying to make connections.


This morning the solution was easy and obvious, just unscrew the fitting in
question and then I have plain-old-fashion 1/4 NPT.
SlappyHeadAnim.gif
Problem solved !

 
Indycars said:
87vette81big said:
Few projects come out as intentionally planned for me Rick.
Often the end results of my efforts come out better than 1st planned.
Sometimes it takes a while to come to realization.
Thick headed stubborn I tend to be.

BR

I agree, they never look like the original plans. I was just trying to make connections.


This morning the solution was easy and obvious, just unscrew the fitting in
question and then I have plain-old-fashion 1/4 NPT.
SlappyHeadAnim.gif
Problem solved !


I have had a similar but different week too Rick.
As long as were alive , there will be problems & issues to overcome.
Too bad patience is not free, has to be earned.
;)
 
grumpyvette said:
Indycars said:
[/color]

Dont worry, I will be normal tomorrow.

Ill wait and see............I think that expectation, is assuming a great deal for most of us gear heads :mrgreen:
according to my wife Ive never been "NORMAL"
Hahahahahaha! I must be normal all the time, I don't have a wife to say I am not normal.
 

Progress is slow, another hand would be helpful and make this go alittle
faster. I feel your pain Grumpy, my wife is nice, but just not the
same as having another guy's eye and perspective.

Now that I have the intercooler piping done, I'm moving on to the
distribution lines. Would have liked to keep it 3/4" copper from the
tank until I drop down from the main line, but the flexible line from
the tank to the copper is 1/2 inch.

I used this hydraulic line from Tractor Supply for my flexible line
between the tank and copper distribution line.
http://www.tractorsupply.com/en/store/h ... re-24-in-l

I'm hoping that running 3/4" copper around the ceiling will give the
air more time to cool, since the velocity will be lower.

P06_DistributionLines01_4053.jpg
P06_DistributionLines02_4058.jpg
P06_DistributionLines03_4056.jpg


Last edited:
busterrm said:
Hmmm, I am wondering if Rick is hinting that he wants Mr. Bob to return! :D

So you want me to kiss ass and call you Mister now. I see how
it works......smooch, smooch, smooch !!!

KissingAss.jpg

I have to denounce that last line in case my wife reads this! :lol:

 
Last edited:
Indycars said:
busterrm said:
Hmmm, I am wondering if Rick is hinting that he wants Mr. Bob to return! :D

So you want me to kiss ass and call you Mister now. I see how
it works......smooch, smooch, smooch !!!


I have to denounce that last line in case my wife reads this! :lol:

No not really! Down here in Wichita Falls, there is a appliance store (wichita appliance) that is owned and operated by a guy named Bob Wilson. Anyway, he puts these goofy commercials on local tv and his catch phrase is: "Hi! I am Mr. Bob from Wichita Appliance, do you need me and my trustee techs to come by and fix your appliance problems.
 

I finally finish my piping project......Yipppeee!!!

I turned the corner with a long radius 3/4" elbow. Then another two feet and
I had to put in a 3/4" union(behind the heater), any longer and I wouldn't be
able to maneuver piping in to place. As it was it was bending from it's own
weight. Right after the union I put in a drop just to drain any water before it
gets to the next drop with the filter.

P07_WestWall_4081.jpg

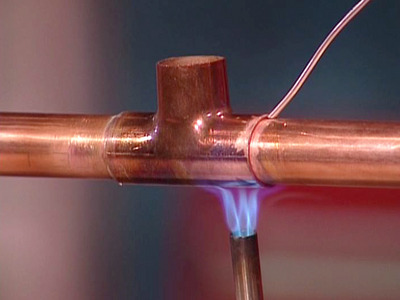
I found that the Map Torch didn't put out enough heat in certain situation
like the one below where I'm getting alot of mass in a very short space. My
solution was to setup a stationary propane torch and then use my Map Torch
to apply heat where needed. I'm using Harris Stay-Silv5 which melts at
1190°F as my filler material.

P07_HeatDeficitDuringBrazing_4068.jpg

I needed to know what my minimum lengths were so I could decided how to
mount the filter, so I did this mockup.

P07_MockupForFilter_4060.jpg
Drill three 1-3/8" holes in the shelves, for the 1/2" drop down to the filter
and I took the air of the top.

P07_AirDropForFilter_4064.jpg

P07_HolesInShelfForFilter_4063.jpg

Additional to the filter I also have an unregulated pressure connection.

P07_Filter_4087.jpg

When I first pressurized the piping I had a big leak, but using both
torches again and re-flowing and adding filler I was able to fix the leak.

P07_LeakRepair_4071.jpg

Now I can get back to painting the transmission case and then
assembling it.
 
Last edited:
Now the fun part is comming, putting those tool at work :)
I think you will love spraypainting now that you have the setup for it.
 

I have much higher expectations compared to when I painted the engine
with that worn out 40 year old siphon feed Devilbiss gun my dad had.

A month or two ago I bought this the new Devilbiss FLG4 spray gun kit.
Yes you could say I'm pumped to paint something!!! :cool:

https://www.amazon.com/Devilbiss-Fi...2&sr=8-1-spell&keywords=devilbis+finishline+4

Get the Ultimate Spray Gun Set-Up
Spray the Lightest to the Heaviest Coatings, and all with the same gun
All 4 Fluid Tips Available: 1.3 mm on the gun, 1.5 mm, 1.8mm and 2.2mm
Air Valve Regulator with Gauge and 900 CC Aluminum Cup with Lid

P08_DevilbissSprayGunKit_4089.jpg
 
Last edited:
Rick, that is the exact same spray gun i have, the DeVilbiss finishline "FLG4", minus the case.(same one i used to paint my hood"basecoat+clearcoat")
Very good spray gun for the price.
I used a cheap siphon feed spray gun with big nozzle(2.2 i think) for primer.

I feel you will want to spray some body panel soon so..
Get ready to be impressed of your own work ;)
Just make sure to go around the whole gun lubing and setting the "packing" as per the instruction.

If you have any question i will be glad to reply(i know i did use mine just once but i will do my best to answer you)
 
mathd said:
Rick, that is the exact same spray gun i have, the DeVilbiss finishline "FLG4",
Yes I know!!

Why do you think I bought this one, because you had it and like it!!!

 
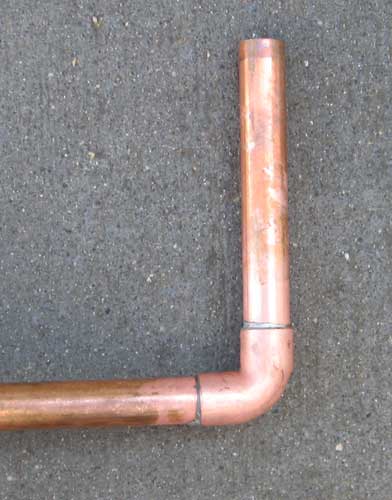
It sure looks like your doing a very professional install, on those copper pipes, in fact I rarely see guys take the effort to do things as well as you have there, in your shop. and having a few leaks on the first test, on solder joints is almost just part of the process,
It takes some experience to do, but over time youll find that,
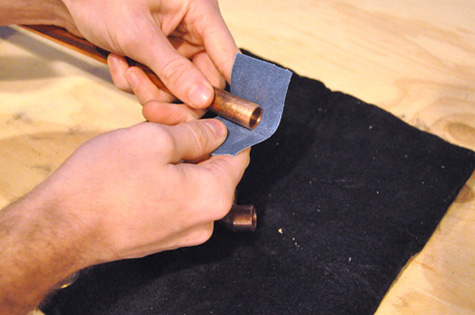
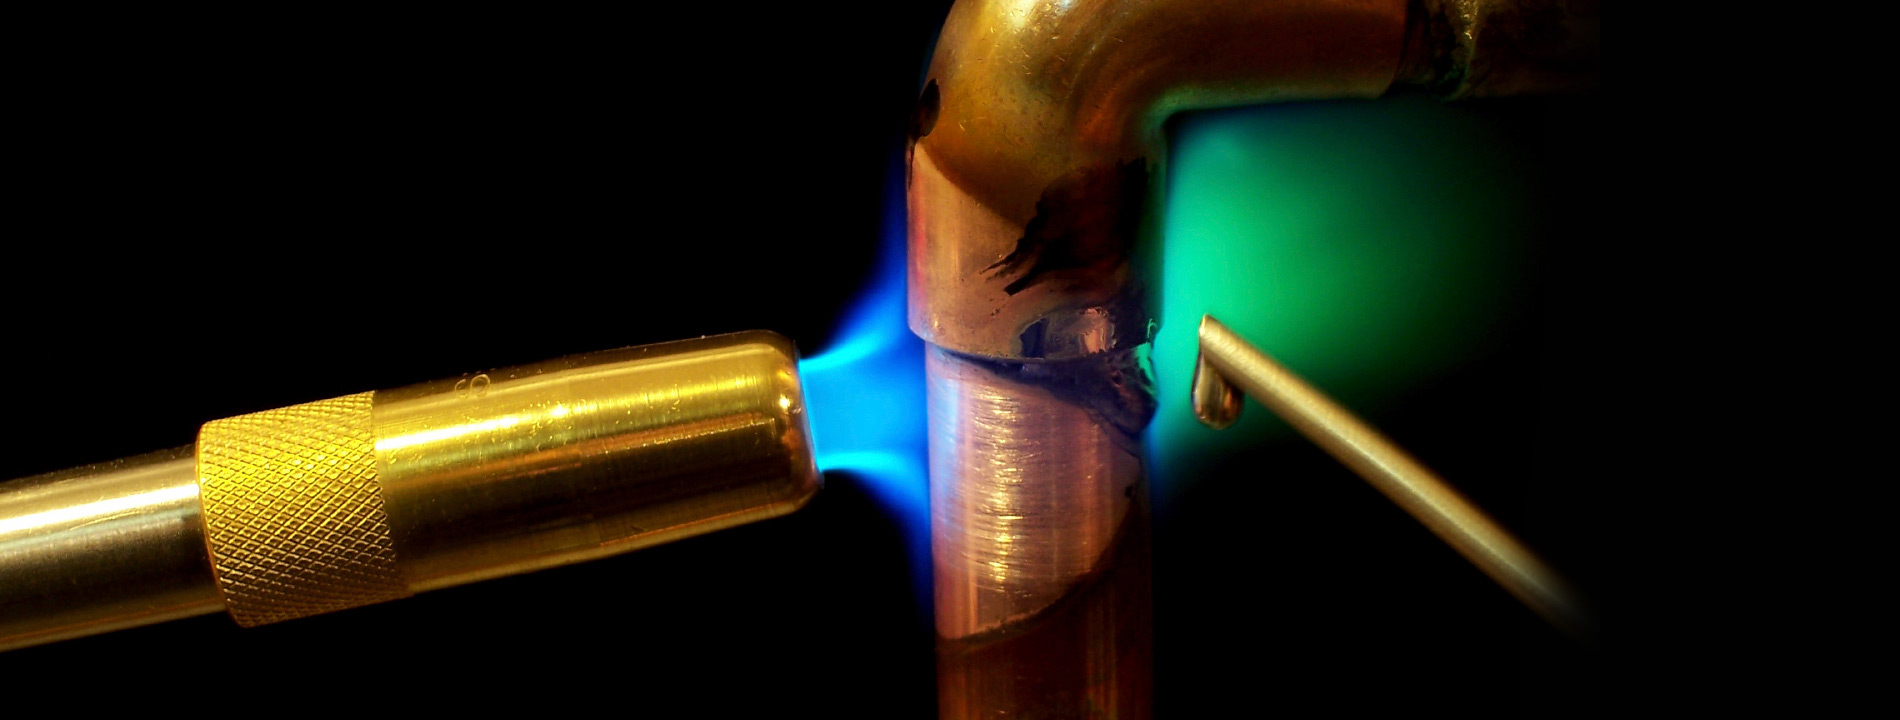
a bit more flux ,a bit more cleaning time with a stainless wire brush and that silver solder will seep into and seal the copper pipe joints a bit better.
I know several plumbers that still occasionally find leaks in soldered joints they solder so its not like your ever going to have a flawless job every time, but careful prep helps

slv3.jpg

slv4.JPG

slv5.jpg


slv6.jpg

slv1.jpg
 
One of the things my Dad and I always did when we were soldering copper pipe, we would do the normal clean up of the joints. Then we used a paste flux for prep, and would heat the joint pieces and dip them in the paste flux and let it melt onto the copper then put it together and then get it set and heat it and solder it in place.
 
You do very nice work Rick. :cool:

Looking Forward to seeing your 200 R4 trans go together for your T- Bucket.
Nothing quite like riding in a T- bucket.
Lots of fun in the summer time cruising.

:D
 
I agree Brian, I have seen his work first hand. I am just as excited to see his T bucket rolling too!.
 
busterrm said:
I agree Brian, I have seen his work first hand. I am just as excited to see his T bucket rolling too!.

Yes Bob.
It will be one sweet and very quick T- bucket when Rick gets it back together.
 
Back
Top