Re: BBC is it really necessary for 4 bolts or stds good enou
as Im sure your aware the difference in total weight between the SBC you ran and the BBC your thinking of running, is in the case of the BBC enine,in the neighborhood of about 80lbs-140lbs different depending on components selected,
that weight increase is mostly from larger and stronger parts , but there are limits to what the stock component will endure over the long haul.
(even with the stronger ARP main cap studs)
Ive personally built a couple dozen 489-496 big blocks, some with stock chevy blocks, a few with DART blocks and a couple with WORLD blocks I vastly prefer the DART BLOCKS, they have at least in the examples I worked with been well machined and had zero issues.
Id advise you to be more concerned with maintaining a reasonably thick and rigid cylinder walls as maintaining ring seal , than pushing the bore size to max, and on a race engine Id get the compression ratio up in the 12.7:1-13.7:1 range.
that extra displacement of a 496 with its 4.25" stroke and 6.385" connecting rods and the increased component weight potentially increases the stress on the main caps and bearings to far higher levels than the 3.75" stroke of the 400 sbc engine
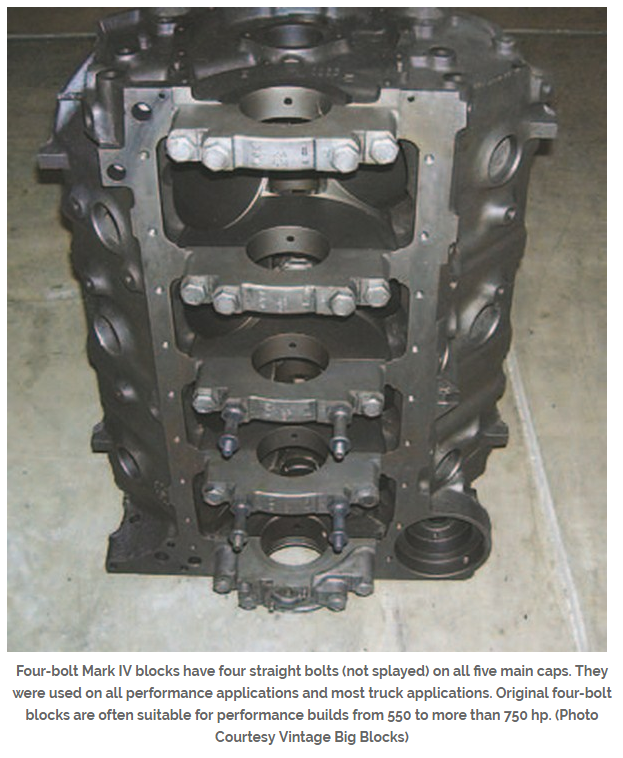
while theres no question that the chevy big block , block is fairly strong pushing a 4.25" stroke crank to over 6000rpm and expecting the two bolt main caps to still prevent movement is in my opinion asking for rather UN-reasonable demands, yes theres a hundred guys that build 427 chevy big blocks and spin them to 6000rpm plus all the time and get good results, theres even a few guys doing it with a 4" 454 crank or a 468 BBC in a two bolt block, but the stress goes up rapidly as the stroke increases and the rpms increase and stress is cumulative.
you may get away with something for months, but thats no guarantee your not damaging the bearings or stressing the block , in a way that WILL eventually cause it too fail.
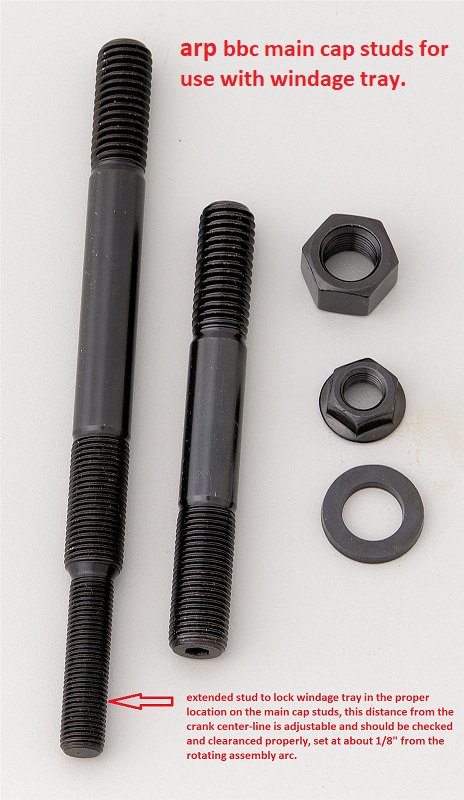
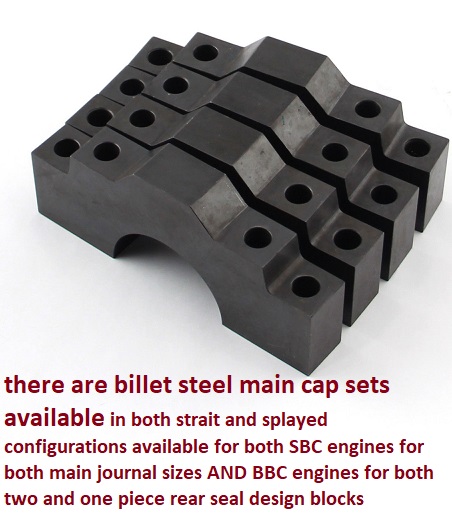
there are SPLAYED MAIN CAP conversion caps to convert a 2 bolt block to a splayed 4 bolt config, these add rigidity, and tend to increase durability.
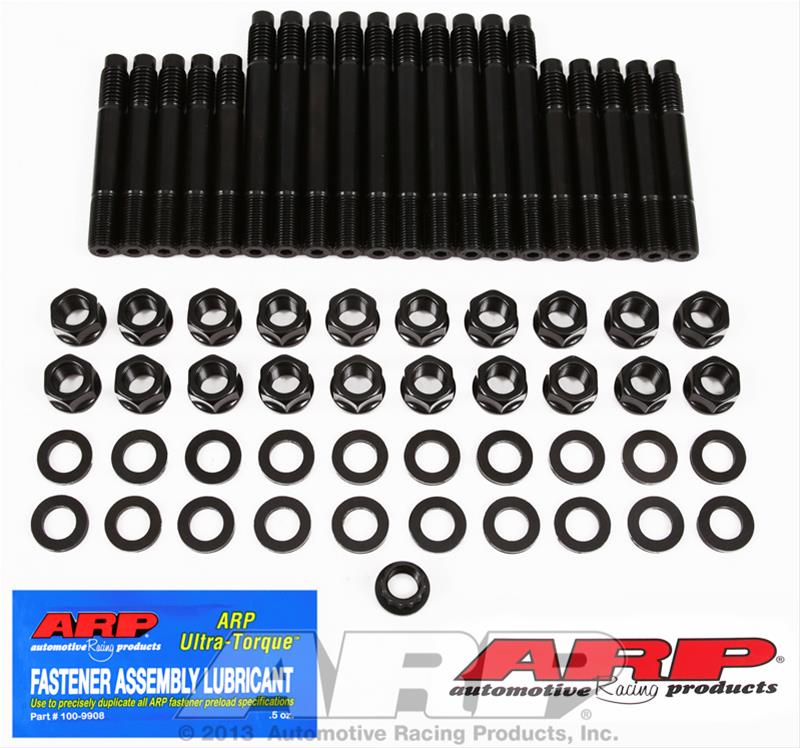
theres ZERO QUESTION in my mind that converting the center 3 main caps to splayed bolt config and using ARP main studs and outer splayed cap bolts increases block rigidity enough to be worth the added cost if your building a 496 with that 4.25" stroke and intend on spinning it over 6000rpm, and I would strongly suggest the AFTERMARKET connecting rods with ARP 2000 series 7/16" rod bolts, as a good minimum precaution
keep in mind that main cap STUDS will have the entire threaded length of the main cap stud fully threaded into the block threads BEFORE the clamping force is applied and that the end extending through the main cap will have a finer thread pitch, that will allow
a greater clamping force to be applied with identical torque wrench , torque loads
ARP said:
Do I need to re-torque my head bolts or studs?
If you follow the ARP installation instructions, there should be no need to do a re-torque. However, it may be necessary under certain circumstances if the gasket manufacturer’s instructions require it, particularly if a fire ring has been installed. ARP recommends not doing a re-torque on a hot engine.
Do I need lube on my bolts or studs?
We recommend using ARP Ultra-Torque lube to ensure an even, accurate clamp load and to prevent thread galling. This is particularly important for stainless steel fasteners. The lube should be used under the head of the bolt or the bearing surface of the nut and on the threads, unless a thread sealer is used.
Can I use Loctite or any thread locker instead of ARP Ultra-Torque assembly lube?
Yes, you can. Some engine builders use blue Loctite on the stud end that goes into the block. Do NOT use Loctite on the nuts for the head studs or main studs. Always ensure that the threads are clean prior to applying any lube. When using Loctite, make sure you assemble the parts before the Loctite cures. You can use Loctite instead of ARP Ultra-Torque, but do not use them together.
Do I have to use Ultra-Torque?
We spent two years developing ARP Ultra-Torque and we have come up with what we believe to be the ultimate fastener lubricant. All of our torque values are based on using Ultra-Torque. We do not provide torque values for use with any other fastener assembly lubricant (such as motor oil, moly lube, etc.) Use these other lubes at your own risk, as their use may lead to a part or engine failure, for which we are not responsible.
Do the threads of the bolts or studs going into the block need lube?
Yes. On blind holes use a small amount of ARP Ultra-Torque lube on those threads. Additionally, if the studs protrude into a water jacket, you will need to clean the threads in the block to remove all coolant and oil residue. Apply a liberal amount of ARP thread sealer or a high temperature thread sealer.
Are ARP bolts and studs re-usable?
Yes. As long as the fasteners have been installed and torqued correctly, and show no visible signs of damage, they can be re-used. If they show any signs of thread galling or corrosion, they should be replaced. In the case of rod bolts, if any of them have taken a permanent set and have stretched by .001” or longer, you should replace them immediately. See page 29 in the catalog for more detailed information on this critical measurement.
Do I install my studs into the block first?
After test fitting the studs in the block, it is generally easier to remove the studs, put the head gasket and head on the block and install the studs. This will reduce the possibility of damaging the upper threads of the stud and scraping the cylinder mounting holes. If the block has no alignment dowel pins, you can use the stud to align the gasket and head.
Does the chamfer on the inside diameter of the washer go up or down?
The chamfered side of the washer goes up, towards the head of the bolt. The chamfer is there to create clearance for the radius between the bolt shank and the bolt head.
Do the head studs only go in hand, or finger tight?
Yes, cylinder head studs are installed only hand tight. Other than the use of an allen wrench on the hex broached into the end of the stud (to ease installation, not to apply torque), use no tools to seat them in the block. However, it is extremely important to ensure that the studs are fully bottomed out in the hole in the block and not hung up on damaged or corroded threads in the block preventing the stud from being fully seated. This is often indicated when the stud threads extend past the deck surface.
I have heard that some people have had trouble with newly installed cylinder head studs leaking water. How do I make sure I don’t have the same problem with my new ARP head studs?
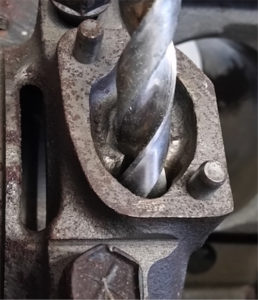
Prior to installing your new head studs, it is very important that you have clean threads on both the block and the studs. First, clean up all the threads in the block with a thread-cleaning chaser, NOT a regular tap. Thread chasers are designed so that they do not remove material from threads but merely remove debris and corrosion. Make sure you go all the way to the end of the threads in the bottom of the hole. Then clean out all the holes in the block with brake or carburetor cleaner to remove all the debris. Make sure the threads on the new studs are clean. Use a liberal amount of ARP thread sealer, high temp silicone or Loctite to ensure that there will be no air pockets that can cause leaks. Then follow the ARP instructions for installing the fasteners.
Are ARP’s torque recommendations the same as the vehicle manufacturer’s specifications?
Sometimes ARP will recommend using torque specifications that are different than the manufacturer, but not always. Our kits are engineered for specific applications, factoring in the necessary clamp load we’re trying to achieve, material type, block or head material, etc. To achieve our target clamp load, it may be necessary to use a different torque figure than what the factory calls out.
The torque/stretch number listed for my after-market connecting rod is different than what ARP calls out for the same bolt. Which specification do I use?
Refer back to the rod manufacturer and use their torque/stretch value.
What drill size do I need for my wheel studs?
To determine what drill size you need, you will need to know your axle/hub material and the wheel stud knurl diameter. If your axle/hub material is cast iron or steel, your drill size will be 0.005” smaller than the knurl diameter. If your axle/hub material is aluminum, your drill size will be 0.007” less than the knurl diameter. The Wheel Studs section in the catalog, pages 76 & 77, list the knurl diameter size.
What is the difference between ARP2000 and Custom Age 625+ studs?
ARP2000 is an alloy steel that has a tensile strength of 220,000 PSI. Custom Age is an austenitic alloy that has a tensile strength of 260-280,000 PSI, providing a greater clamping force than that of ARP 2000.
Why does L19 material require special handling?
Like most high-strength quench and temper steels, L19 requires special care to avoid hydrogen embrittlement or stress corrosion. The material is easily contaminated and subject to stress corrosion. The parts must be kept well oiled at all times and not exposed to moisture. Wearing gloves while handing L19 parts is a good precaution.
I have heard that the black oxide bolts and studs I get from ARP will eventually rust. Is this true and if it is, can it be prevented?
Yes, the bolts or studs will rust. Black oxide is a conversion coating formed by a chemical reaction with the iron in the metal to form an integral protective surface. It is NOT a permanent coating that has bonded to the surface of the fastener. The black oxide process is a short-term rust preventative only and any part exposed to the atmosphere will show signs of rust in a matter of days. Frequent application of oil to the part will increase corrosion resistance. In addition, the bolt head could be painted with black epoxy primer, followed by semi-flat paint or clear lacquer.
look closely at ARP main studs have one end with course threads matching the O.E.M. block threads and the outer end with finner pitch threads, that use a harden washer and 12 point flange nuts
main cap studs, studs are NOT torqued into the block!
studs are screwed into the block for the full thread length then backed out 1/2 turn,
STUDS are installed through the main caps, before the nuts and washers are installed,
I generally oil the threads on the lower stud threads in the block,
but no loads are applied to the studs until the threads in the block are full length engaged,
into the block and the washers & nuts on the studs are tightened.
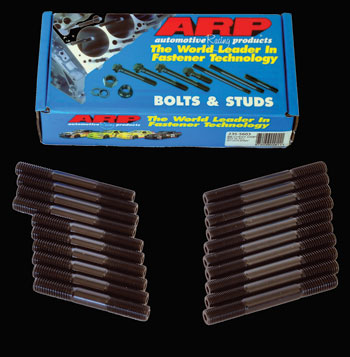
Serious race engine builders mostly use high strength ARP studs to anchor the main caps. Studs provide a more even clamping force with higher tensile strength than most bolts and they are less highly stressed in the block ...
hotrodenginetech.com
How to Install ARP Main Cap Studs
Serious race engine builders mostly use high strength
ARP studs to anchor the main caps.
Studs provide a more even clamping force with higher tensile strength than most bolts and they are less highly stressed in the block .
 1.
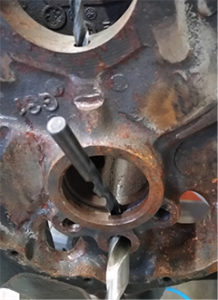
1. Clean and inspect ALL threads in the cylinder block thoroughly. After initial tank cleaning, dry the block and inspect threads closely. Chase the threads
with the appropriate size ARP thread chaser if necessary.
2. To prepare the threaded holes select a small stiff bristle nylon cleaning brush as found in engine brush kits available from online retailers.
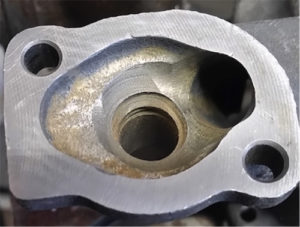
We prefer to scrub the main cap bolt threads with a brush and brake cleaner and then blow them out with air to get them spotlessly clean prior to assembly. At this point you should also ensure that the main cap mounting surfaces are spotlessly clean and free of any nicks, burrs or other contamination. This step is important to ensure perfect seating of the main caps.
3. Clean and inspect ALL studs and verify all dimensions. Remove all shipping lubrication from the studs until they are squeaky clean.
4. Screw the studs into the appropriate holes HAND TIGHT ONLY! While not specified by the manufacturer,
we prefer to brush a very thin coating of ARP Ultra-Torque fastener assembly lube on the threads. Do not over-tighten the studs in the block.
Note: If permanent mounting of the studs is desired, Loctite may be applied to the threads.
If you do this the fasteners must be final torqued before the Loctite sets up.
 5.
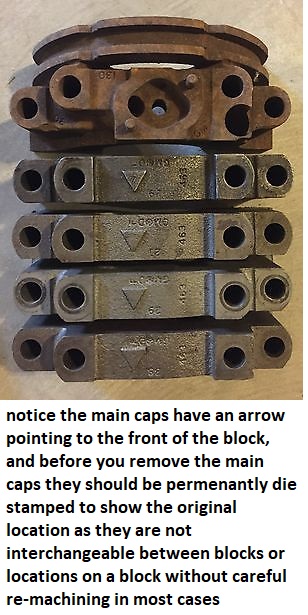
5. Install the main caps and check for proper fit and alignment.
Splayed bolt main caps require outer stud installation after each main cap is installed.
Install the inner studs and use them as a guide for the main cap.
Tap the cap into place and then install the outer studs. (USE A DEAD BLOW MALLET)
6. Use a small application brush to coat the stud threads and washers with assembly lube and install the nuts finger tight.
Whether using
ARP fasteners or others,
we recommend ARP Ultra-Torque fastener assembly lubricant to ensure consistent torque readings.
Lubing with regular motor oil is discouraged due to inconsistent clamping forces. (THIS IS REFERING TO THE UPPER FINER THREADS< NOT THE
CORSER STUD THREADS IN THE BLOCK
7. To apply the proper preload to the studs follow the manufacturer’s recommendations.
Torque the nuts in three even steps until you reach the recommended torque spec.
Note: clamping forces will change when installing new studs. Check the main bearing housing bores for proper size and out of round condition. In most cases align honing the mains with the new studs properly torqued will be necessary to ensure proper fit and clamping forces.
Editors note: If you found this article helpful, please click HERE to let them know and to order you copy of their 2013 catalog.
http://garage.grumpysperformance.com/index.php?threads/torque-specs-calculator-links-etc.1222/
http://garage.grumpysperformance.com/index.php?threads/splayed-main-caps.1014/
O.E.M. factory bolts use the 110 lb torque
ARP main cap bolts and STUDS CAN and frequently DO require a different torque
splayed aftermarket main caps generally use smaller diameter outer bolts that require less torque
http://www.autoserviceprofessional....tuds-vs-bolts-and-tips-on-achieving-proper-cl
http://www.summitracing.com/parts/mil-11200
http://www.summitracing.com/parts/sca-2 ... /overview/
viewtopic.php?f=69&t=7267&p=24723&hilit=splayed#p24723
viewtopic.php?f=51&t=1014&p=24525&hilit=splayed#p24525
http://www.summitracing.com/parts/sca-6638522a
http://garage.grumpysperformance.co...bearing-studs-torque-stretch.9409/#post-34238
http://garage.grumpysperformance.co...4-bolts-or-stds-good-enough.10632/#post-45801
http://garage.grumpysperformance.com/index.php?threads/installing-splayed-caps.7267/#post-24723
http://garage.grumpysperformance.com/index.php?threads/splayed-main-caps.1014/#post-16462
http://garage.grumpysperformance.co...eventing-leaky-head-bolts-studs.50/#post-1253
http://garage.grumpysperformance.co...block-cylinder-wall-thickness.976/#post-22976
http://garage.grumpysperformance.co...gine-block-main-cap-movement.6162/#post-19172
http://garage.grumpysperformance.com/index.php?threads/main-cap-fit-in-block.5945/#post-18302
http://garage.grumpysperformance.com/index.php?threads/decking-or-truing-up-the-block-deck.16152/
http://garage.grumpysperformance.co...-help-with-main-bolt-question.2851/#post-7377
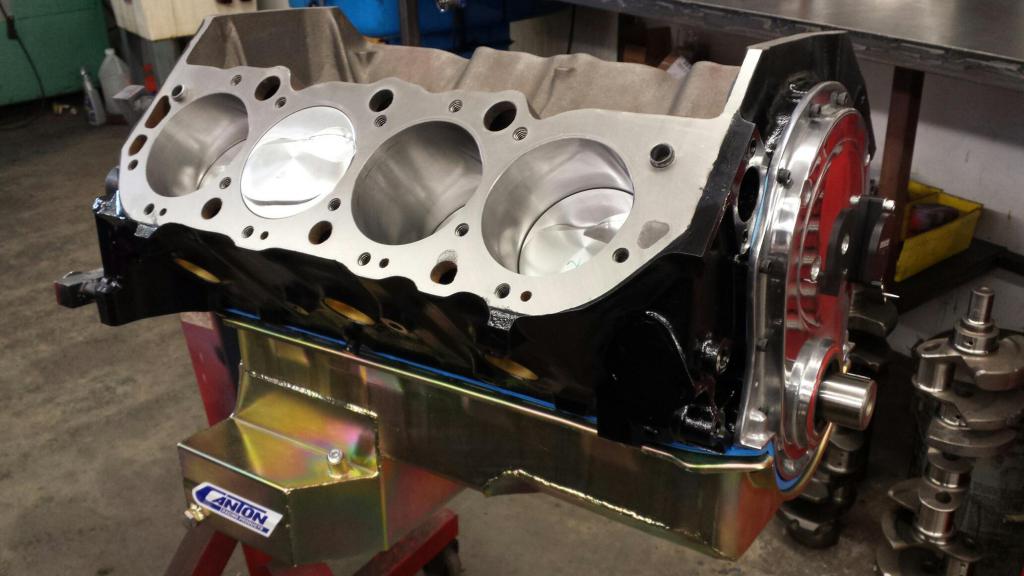
having a good high capacity baffled oil pan on your engine adds considerably to its potential durability and potential life span
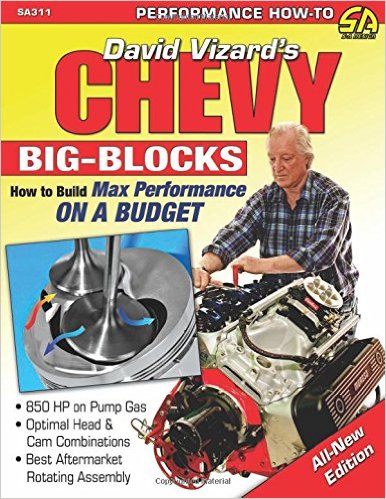
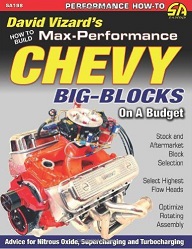
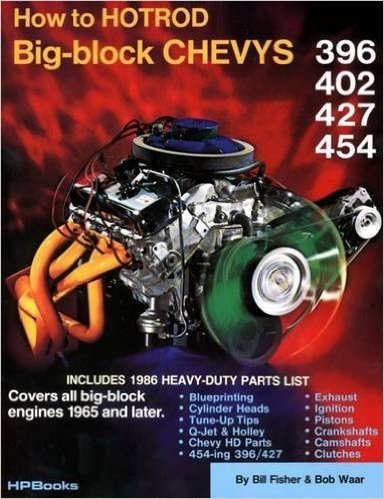
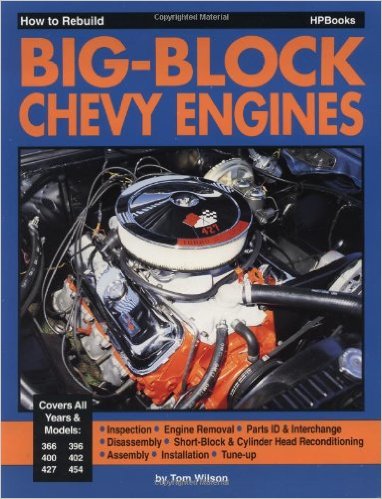
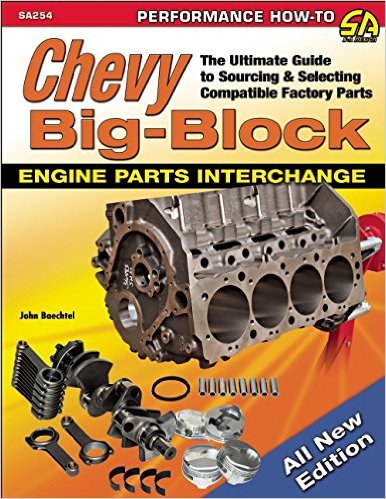
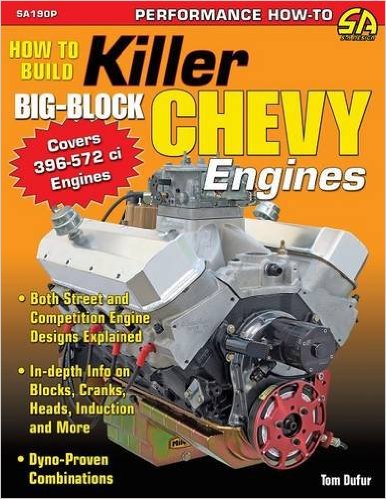
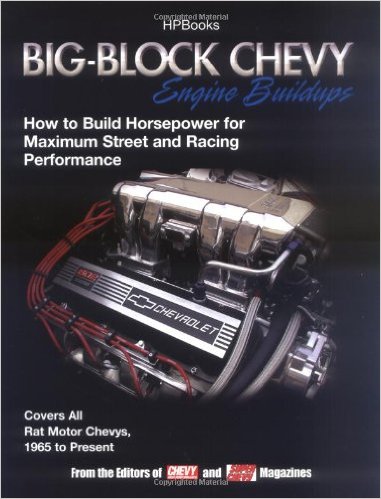
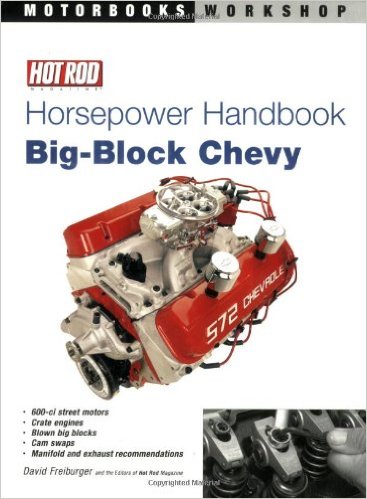
INVESTING THE TIME AND EFFORT IN PURCHASING AND READING A FEW BOOKS WILL BE VERY COST EFFECTIVE
A FORGED BIG BLOCK PISTON CAN EASILY WEIGHT 600-700 grams , the connecting rod a similar weight, thats over 1200 grams, far more than the 500 grams listed in the calcs previously above, every one of those 8 pistons and rods effectively adds over 5 tons of stress to the main caps as it changes direction at 6600rpm
http://www.jepistons.com/Catalogs/Autom ... t_top.aspx
viewtopic.php?f=53&t=204
viewtopic.php?f=51&t=125
viewtopic.php?f=51&t=10472
viewtopic.php?f=53&t=852
viewtopic.php?f=53&t=510
viewtopic.php?f=53&t=1168
viewtopic.php?f=53&t=509
viewtopic.php?f=51&t=710
viewtopic.php?f=53&t=341
http://www.chevydiy.com/select-parts-big-block-chevrolet-engine-rebuild/
http://www.chevydiy.com/rebuild-big-block-chevrolet-engine-step-step-startup-guide/
http://www.chevydiy.com/big-block-chevrolet-engine-step-step-rebuid-cleaning-guide/
http://www.chevydiy.com/rebuild-big-block-chevrolet-engine-step-step-inspection-guide/
http://www.chevydiy.com/build-chevy-big-blocks-complete-assembly-guide/
https://www.chevydiy.com/ultimate-guide-building-chevy-big-blocks-cylinder-blocks-instruction/
http://www.chevydiy.com/big-block-chevrolet-engine-step-step-rebuid-machine-shop-guide/
http://www.chevydiy.com/74-final-assembly-steps-big-block-chevy-engine-rebuild/
http://www.chevydiy.com/gaskets-fasteners-guide-big-block-chevy-engines/
http://www.chevydiy.com/camshafts-lifters-valvetrain-components-guide-chevy-big-blocks/
http://www.chevydiy.com/awesome-chevy-big-block-builds-9-examples/
")