bearings

grumpyvette

Administrator
Staff member
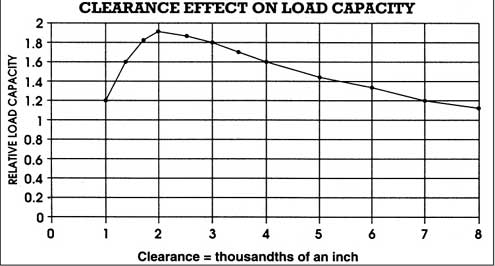
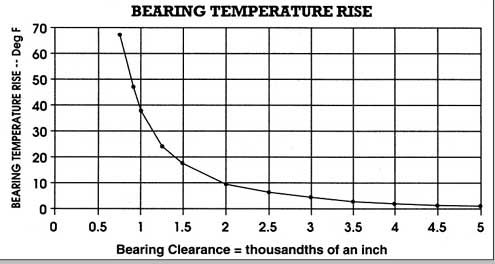
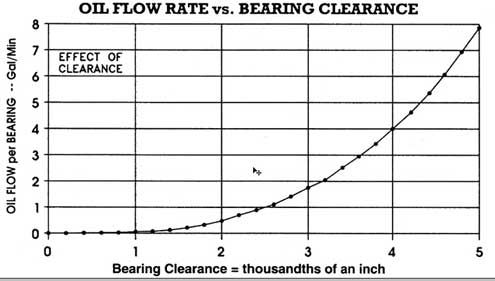
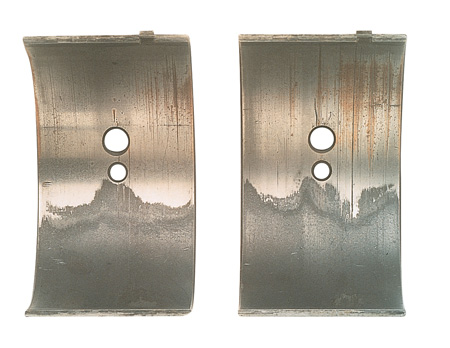
more info, read thru the links and sub linked info, keep in mind the oil flow rates and pressure effect bearing life and for a bearing to function properly there needs to be a constant flow of pressurized oil forming a layer between the bearing surface and the crank journals or similar moving components, its that boundary film that draws heat and crud from the surfaces and prevents contact that results in rapid wear, read these links theres a great deal of useful info contained within them

http://www.thewarfields.com/HotRodBlogEngineAssy4.htm

http://www.reliabilitydirect.com/appnotes/jb.html

http://www.bobistheoilguy.com/bearingwe ... alysis.htm

viewtopic.php?f=53&t=2726

http://automotiveindustry-search.blogsp ... place.html

http://engineparts.com/solutions/US-C77-03.pdf

http://copper.org/publications/pub_list ... _701-4.pdf

http://www.bobistheoilguy.com/bearingwe ... alysis.htm

http://www.themotorbookstore.com/resmchstvi.html
(A GREAT IDEA TO BUY AND LOOK THRU THIS DVD IF YOUR NOT REALLY EXPERIENCED)

http://engineparts.com/solutions/US-C77-02.pdf

http://www.carcraft.com/techarticles/cc ... _tips.html

viewtopic.php?f=59&t=1390

viewtopic.php?f=54&t=150

http://www.aclperformance.com.au/us/Che ... ingsus.htm

http://www.babcox.com/editorial/ar/ar20128.htm''

http://engineparts.com/it_crankinstall.asp

viewtopic.php?f=50&t=1027&p=2393#p2393

http://engineparts.com/it_bearinginstall.asp

http://engineparts.com/techbulletins/CL77-1-205R.pdf

http://www.babcox.com/editorial/cm/cm99828.htm

http://www.thirskauto.net/Engine_Thrust_Bearings.html

http://www.thirskauto.net/BearingPics.html

http://members.rennlist.com/v1uhoh/cranksha.htm

http://www.babcox.com/editorial/us/us90126.htm

http://www.maintenanceresources.com/Ref ... s/oa-m.htm

http://www.circletrack.com/tipstricks/4 ... tion_tips/
 
take the time and effort to read thru the links if your interested in knowning a bit more about bearings

http://www.thirskauto.net/BearingPics.html

viewtopic.php?f=59&t=1026&p=1900&hilit=used+bearings#p1900

http://www.babcox.com/editorial/ar/ar20128.htm

http://www.babcox.com/editorial/cm/cm99828.htm

http://www.thirskauto.net/Engine_Thrust_Bearings.html

http://www.aptfast.com/Flyer_HowTo_Dir/HowTo_Folder/Cam_Bearing_Install/Install_Cambearings.htm

http://www.babcox.com/editorial/us/us90126.htm

http://www.circletrack.com/tipstricks/4636_crankshaft_rod_bearing_installation_tips/index.html

http://www.stockcarracing.com/techarticles/scrp_0509_coated_bearings/index.html

http://www.engineparts.com/motorhead/techstuff/brgclear.html

http://www.engineparts.com/motorhead/techstuff/bearingfailures.htm

http://www.engineparts.com/motorhead/techstuff/clrcode.html

http://www.babcox.com/editorial/ar/ar10180.htm

http://www.popularhotrodding.com/tech/0711phr_bearing_clearance_control/index.html

http://www.tpub.com/content/engine/14076/css/14076_73.htm

http://mahleclevite.com/techbulletins/CL77-1-205R.pdf

http://www.chevyhiperformance.com/t...rain/0707ch_main_bearing_clearance/index.html

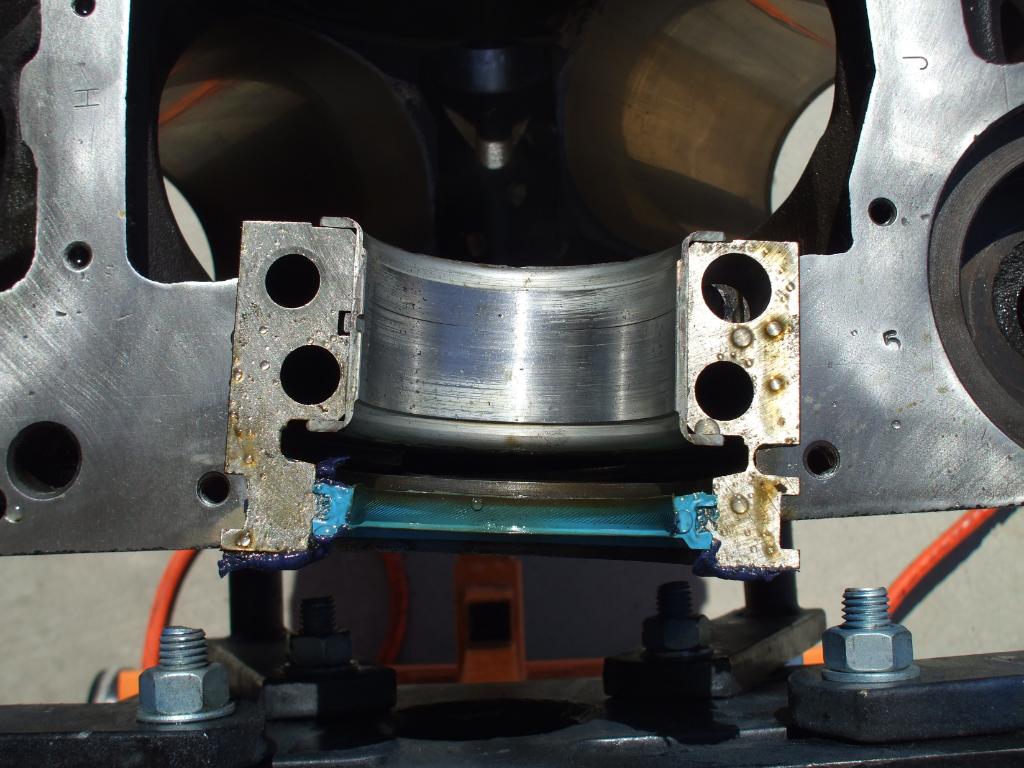
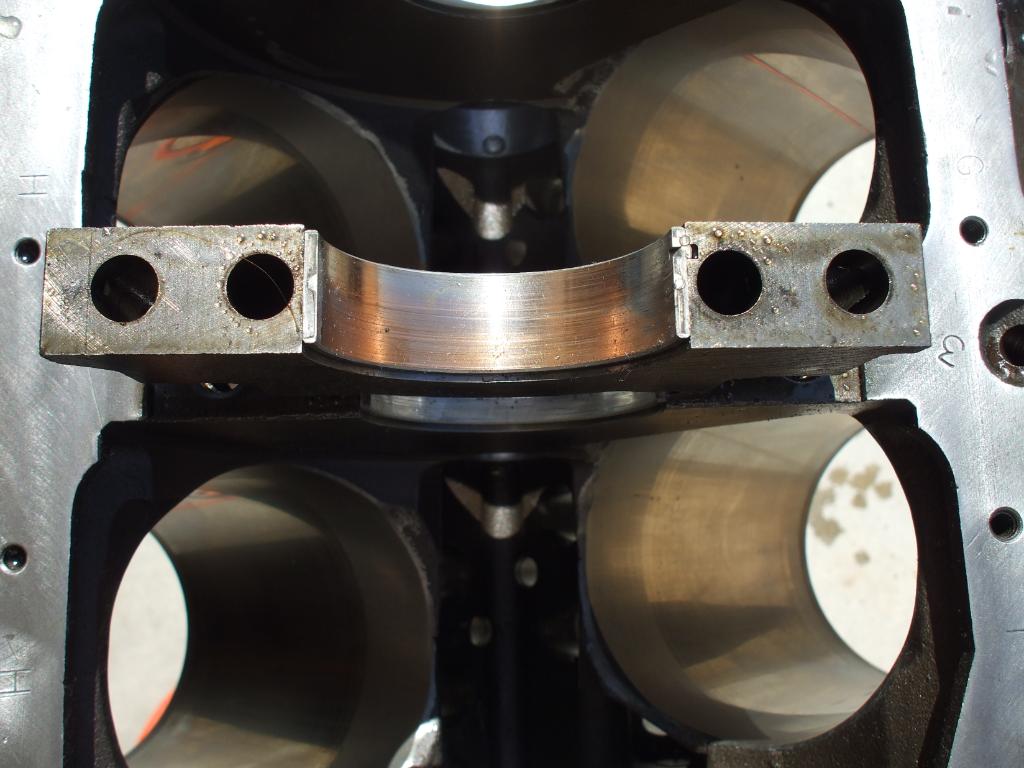
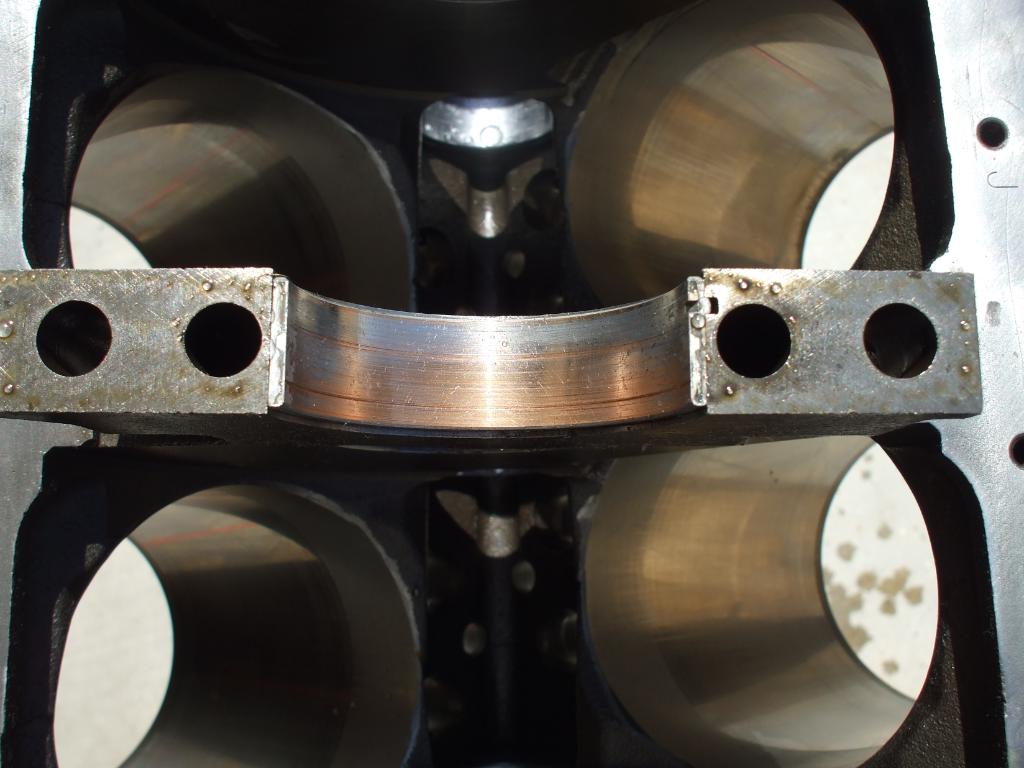
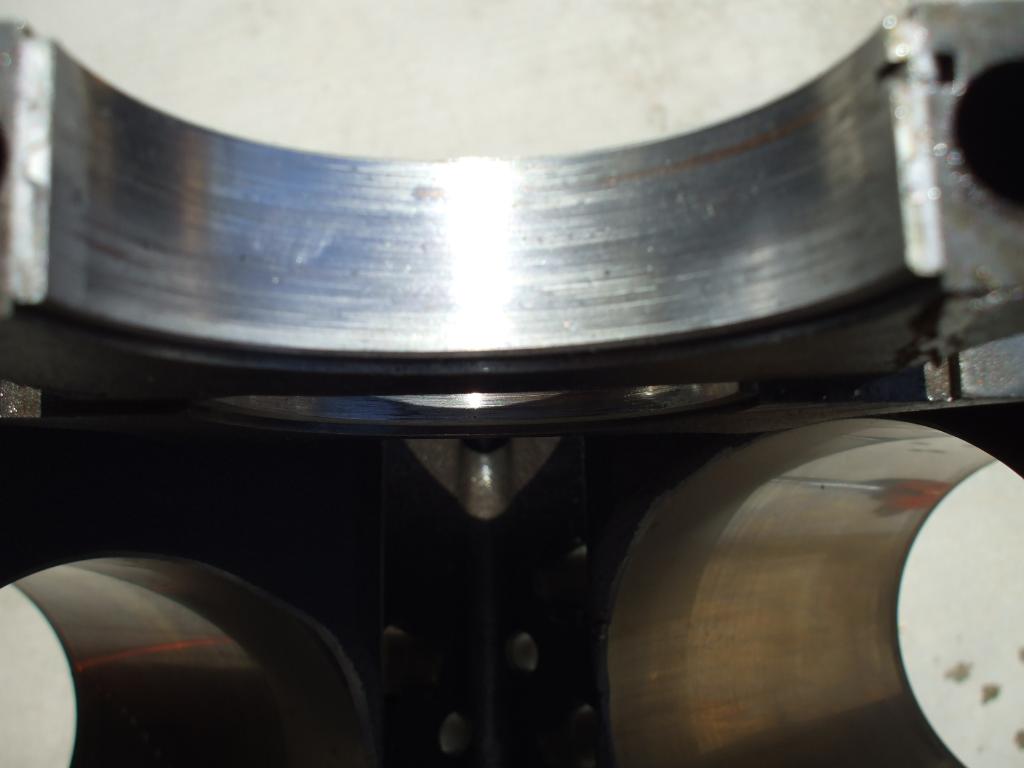
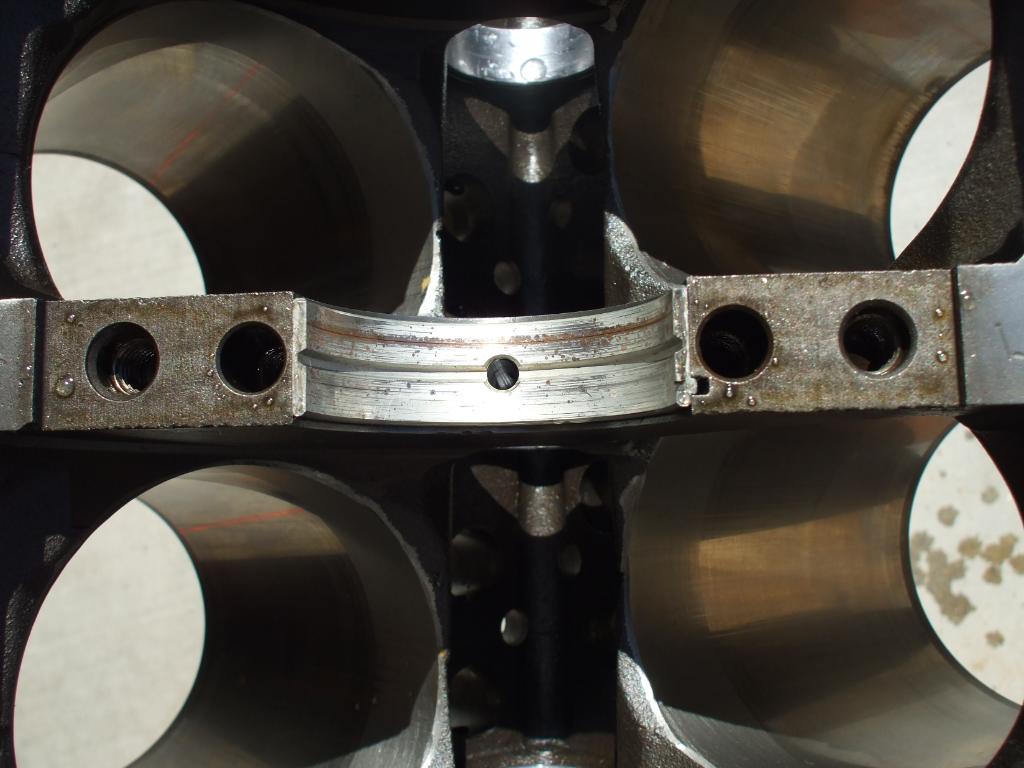
BTW bearing shells rarely fit the block EXACTLY ,its common, for the bearing shells to need TWEAKING/FITTING to the application, a different brand of bearing MIGHT fit/line up better but its not a big deal or unknown, use a dremel tool to teardrop, and SMOOTH/RADIAS the block port to a depth of about 3/16" -1/4" so as too match the bearing shell opening which can, and should also be opened slightly where it blocks part of the port ,with part of the bearing shell ,if your careful to further open access to the port in the block too allow full oil flow to the bearing shells oil port opening.
DON,T forget to totally clean up any chips or grinding dust and wash the area till its clean with solvent, little things like that are why its called ENGINE BUILDING vs ASSEMBLING engine PARTS and why EXPERIENCE COUNTS.
BTW avoid the urge to just use a big drill bit to open up the block as it COULD cause stress points in the block that WON,T show until the blocks under stress
remember the upper bearing has far less stress that the lower bearing shell, but it needs to maintain the oil wedge , pressure and flow rates supporting the cranks main journals.
DSCN0093.jpg


ITS common to need to open that feed port, BUT its best to smooth the block feed port and the bearing feed port to maximize the flow
Plainbearing.jpg


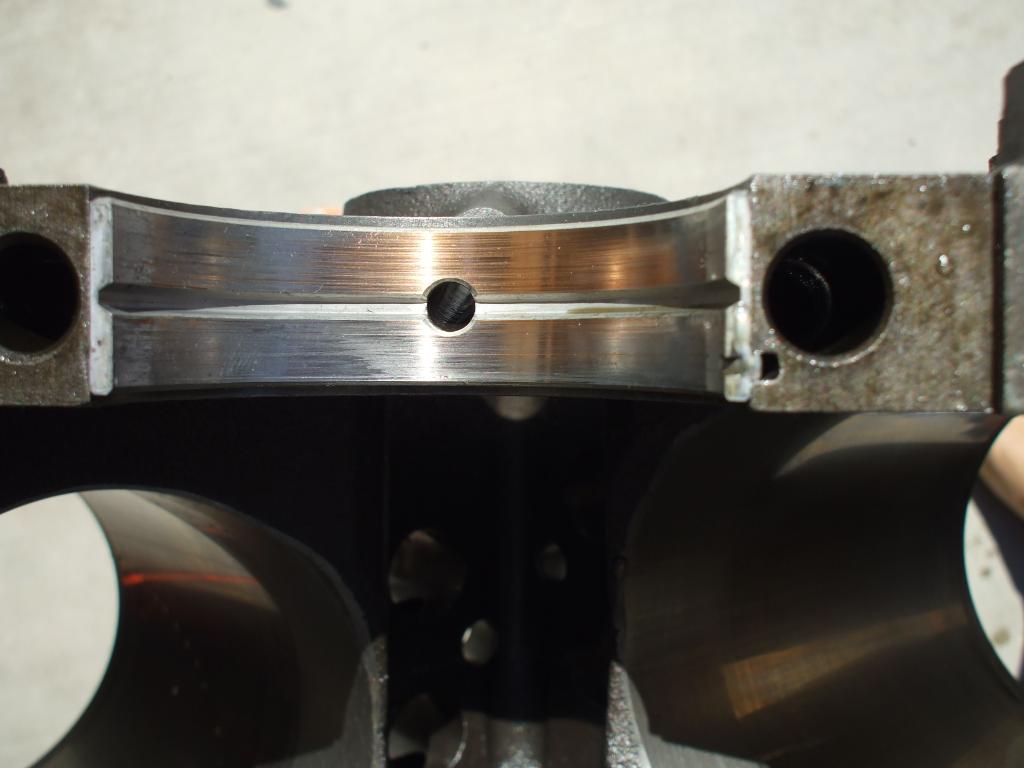
heres a MINIMALLY TEAR-DROPPED PORT entrance

oilportdremmeling.jpg


thats the idea! but the TEARDROP being ground into the port exit should be DEEPER to ease flow restriction, and any part of the bearing shell that overlaps the port exit needs to be removed and smoothed

http://www.circletrack.com/tipstricks/4 ... index.html

http://www.circletrack.com/howto/1815_c ... index.html

http://www.babcox.com/editorial/us/us90126.htm

http://engineparts.com/Motorhead/techst ... stall.html

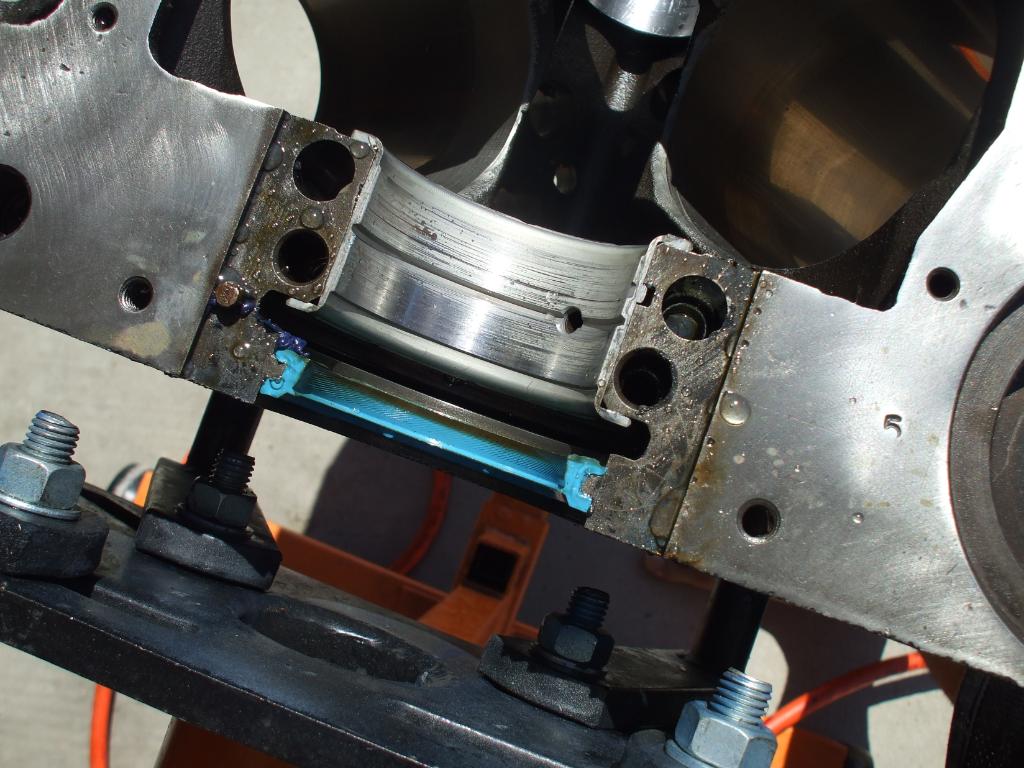
btw spray the bearing and the crank surfaces, and the plasti-gauge with WD40 before you measure clearances and it won,t tend to stick as much
DSC01947.jpg


from chevy high performance mag

p33039_image_large.jpg


p33038_image_large.jpg


p33037_image_large.jpg


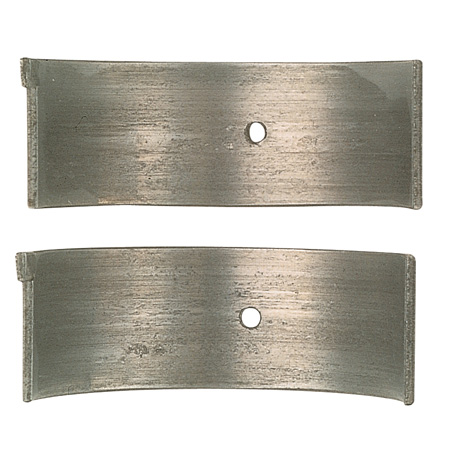
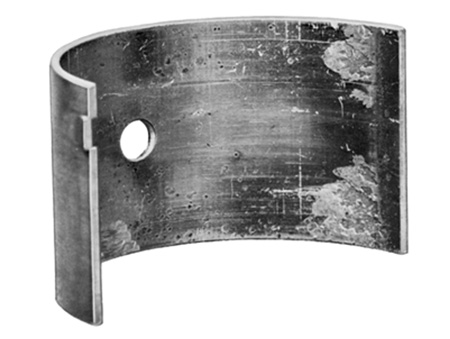
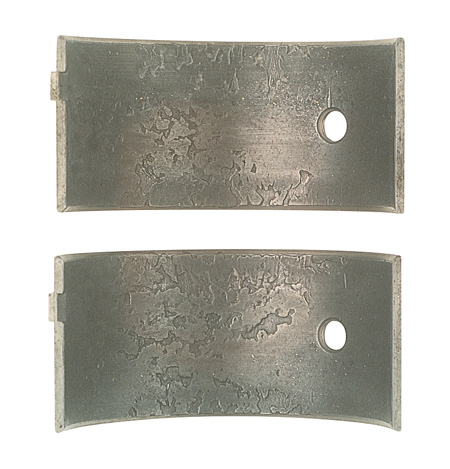
here your looking at the results of an engine pulled down after only a short time running and the resulting bearing damage, its rather obvious that there was a great deal of metallic crud left in the oil passages, or block that got flushed into the bearings and that the block or crank should be checked for straitness, as the were seems to indicate both particulate in the oil and un-even wear

trashinbearing.jpg

trashinbearing1.jpg

trashinbearing2.jpg

trashinbearing3.jpg

trashinbearing4.jpg

trashinbearing5.jpg

trashinbearing6.jpg
 
Ok youve just installed your crankshaft in the block, with new bearings and everythings well coated with assembly lube,and oil, and youve torqued down the main caps to spec. in at least three stages, and then gone back and rechecked the studs or bolts per the manufacturers instructions, but you have yet to install the pistons and rods, OK, its time to check the rotational resistance at the first stage.
Get out the torque wrench and with the damper bolt installed turn the crank, while its yet to have the rods and pistons installed, and its lying in its bearings, IT SHOULD TAKE ABOUT 10-15 ft lbs OR LESS to get it moving, and LESS than 10 lbs to keep it moving.
IF it takes more theres a clearance issue or the crank or block needs to be checked carefully for straitness, journal tapper and roundness and surface finnish and the bearings need to be checked for clearance and proper installation and crush, don,t forget to check the TRUST BEARING fore and aft movement/CLEARANCEonce youve installed EACH connecting rod, youll want to do the test again, each piston with its rings adds drag, but in a well oiled cylinder, the amounts not that great, ideally each one installed adds a bit of resistance but at no time should the short block take over 40 ft lbs ABSOLUTE MAXIMUM to start it spinning,and LESS than 20 lbs to keep it moving and IT SHOULD take between 20lbs-25 lbs to start it spinning if the clearances are correct! and LESS than 20 lbs to keep it moving
IF it takes over 40 ft lbs to get it rotating ,youll need too DISASSEMBLE and FIND OUT WHY!

btw
heres the good assembly lube (I usually add about 10% oil too the assembly lube,to get it easy to smear on surfaces durring the assembly process)
http://www.cranecams.com/index.php?show ... l=2&prt=15

MORE USEFUL INFO


http://www.chevyhiperformance.com/tech/ ... index.html

http://www.4secondsflat.com/Thrust_bear ... lures.html

http://www.chevyhiperformance.com/tech/ ... index.html
 
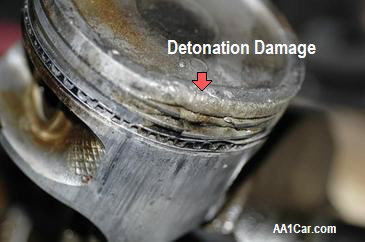
yes its entirely possible that detonation from the tuning parameters can cause bearing and piston problems,(too fast of an ignition curve, to much advance or leaning out the fuel/air mix) but the one thing that should not be overlooked is the oil flow and viscosity, if the viscosity is to thick for the bearing and piston to bore clearances , the rate of flow and the resulting reduction in heat transfer rates from those areas is reduced, heat builds rapidly and damage results.
Damage that a thinner oil, in a higher volume, pushed thru those clearances might have prevented

http://www.aa1car.com/library/us697.htm

http://www.madsens1.com/saw%20piston%20fail.htm

http://www.thirskauto.net/BearingPics.html

http://antique-engines.com/documents/detonation.txt

http://www.enginelogics.com/detonation.html

armed with these forensic tools, should those mysterious bearing failures occur, you should easily be able to solve the crime.


bearing1.jpg

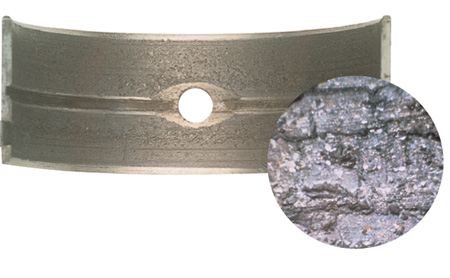
metallic machining trash, left in engine
bearing2.jpg

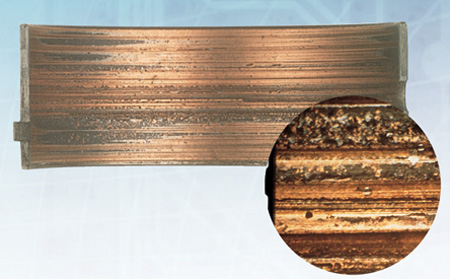
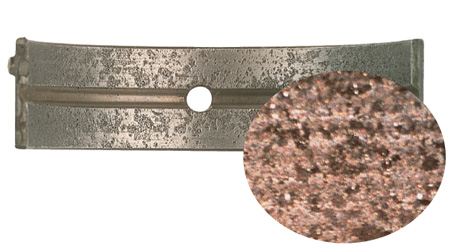
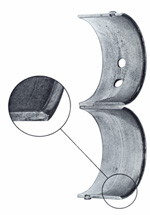
Overplated copper alloy bearing gouged by cast iron debris.(wiped cam) Inset photo shows the microscopic detail of the gouges
bearing3.jpg

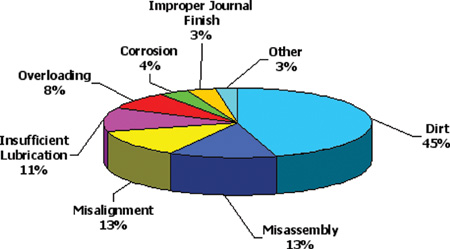
The reasons bearings fail are many and varied, but they’re not usually the fault of the bearings themselves.
bearing4.jpg

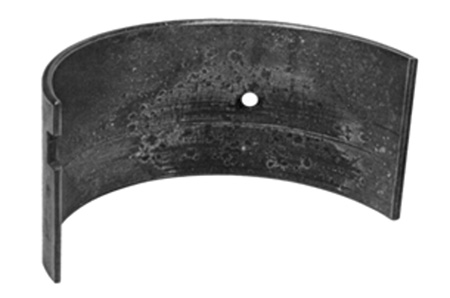
This aluminum bearing was damaged by embedment of glass beads. Inset photo shows the extent of the damage.
bearing5.jpg

Foreign particles in the bearing lining may be the result of improper cleaning or a failure to replace the filter and may include road dirt and sand
bearing6.jpg

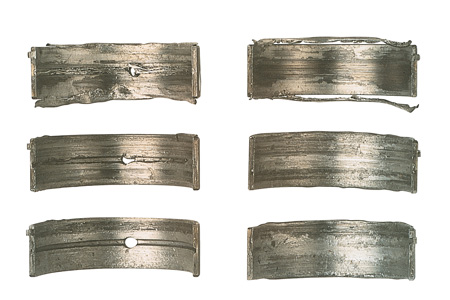
Lubrication is vital. This shows the result of a dry start. The bearings on the left, furthest from the oil pump have the most wear.
bearing7.jpg

Low oil supply or oil starvation doesn’t just sound bad, it does bad things inside the engine.
bearing8.jpg

Too rich a mixture or blow-by past the piston ring can lead to dilution of the oil.This damage can be seen here
bearing9.jpg

Excessive wear seen near parting lines of upper and lower shells was caused by Bearing Cap Shift. This results in metal-to-metal contact and excessive pressure-causing deterioration.
bearing11.jpg

Fillet ride occurs if the radius of the fillet in the corner of each crank journal is larger than needed. The edges of the bearing can then ride on those fillets rather than fitting neatly between them.
bearing12.jpg

Distress from excessive idling results in an unsupportive oil film.
bearing13.jpg

These upper connecting rod bearings show distress caused by lugging. The lower main bearings were similarly affected.


HERES A GREAT DEAL OF INTERESTING RELATED INFO

viewtopic.php?f=53&t=619&p=10925&hilit=bearings#p10925

viewtopic.php?f=54&t=3519&hilit=bearings

viewtopic.php?f=54&t=3834&p=10199&hilit=bearings#p10199

viewtopic.php?f=53&t=3449&p=9293&hilit=bearings#p9293

viewtopic.php?f=54&t=2187&p=9097&hilit=bearings#p9097

viewtopic.php?f=53&t=247&p=8348&hilit=bearings#p8348

viewtopic.php?f=51&t=1479&p=7446&hilit=bearings#p7446

viewtopic.php?f=53&t=2727&p=7078&hilit=bearings#p7078

viewtopic.php?f=53&t=2351&p=6453&hilit=bearings#p6453

viewtopic.php?f=53&t=88&p=5709&hilit=bearings#p5709
 
HEY GRUMPYVETTE!
"I recently disassembled my engine because of rapidly dropping oil pressure, bearing clearances were larger than installed and bearing shells were loose in the main and rod caps and the crank was mildly scored,One very peculiar sight is the combustion chambers and exhaust ports which were polished when assembled,are rough and it feels , gritty almost like pool sand., and the Tops of pistons same way
No major damage to any of this, except the FROSTED appearance ,on the piston tops ,and combustion chamber surfaces, some it just scrapes off with fingernail. "


what your describing quite well is damage done or at least contributed too by DETONATION


http://www.thirskauto.net/BearingPics.html

if the edges of the piston lands look rounded off slightly and FROSTED thats the results of detonation, the rough stuff it micro sized bits of molten piston aluminum , that got transfered to the combustion chamber and exhaust port surfaces
piston_detonation_damage.jpg
 
Back
Top