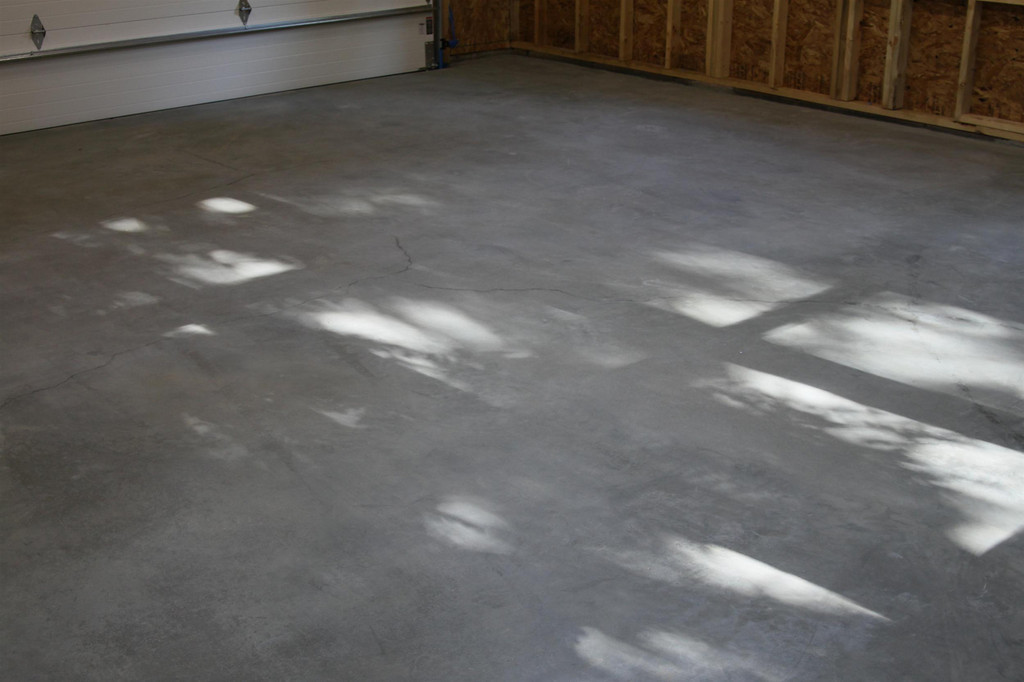
theres a HUGE variation in price, quality, durability and the thickness and strength of these coatings, some are just a thick PAINT, others form a significant and durable layer of a nearly fiberglass like coating on the floor 1/16"-up to 1/4" thick, so shop very carefully ,and ask pointed questions
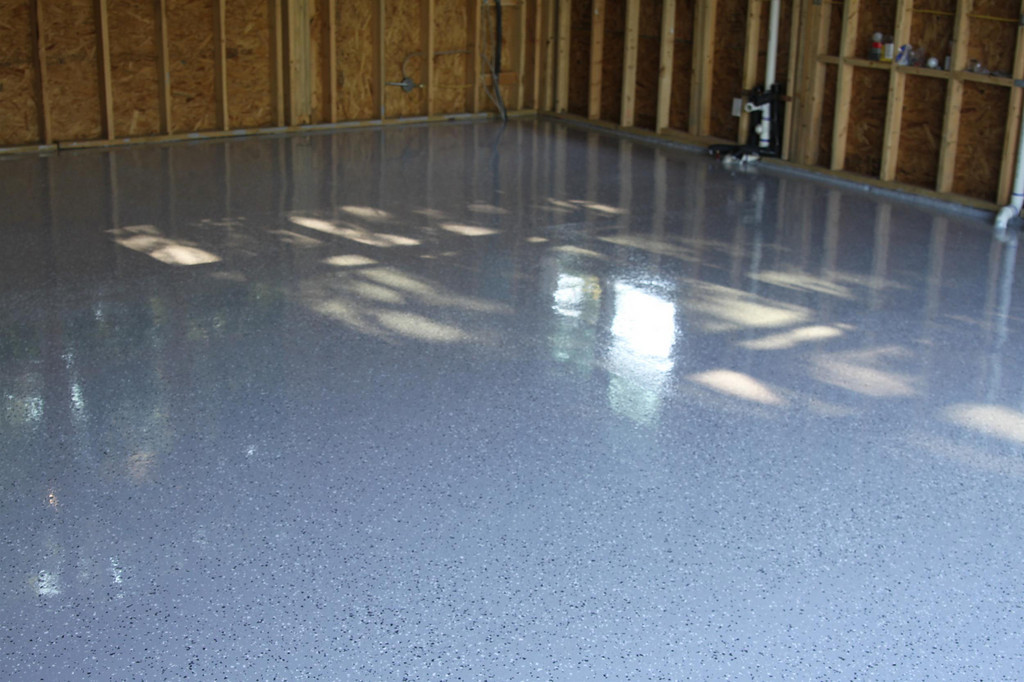
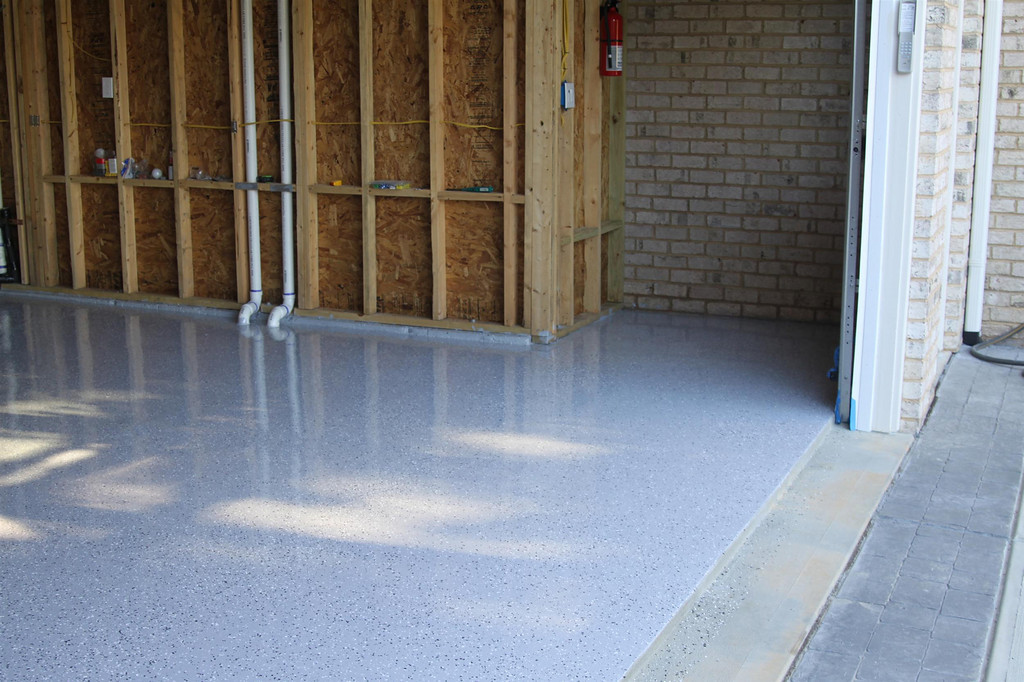
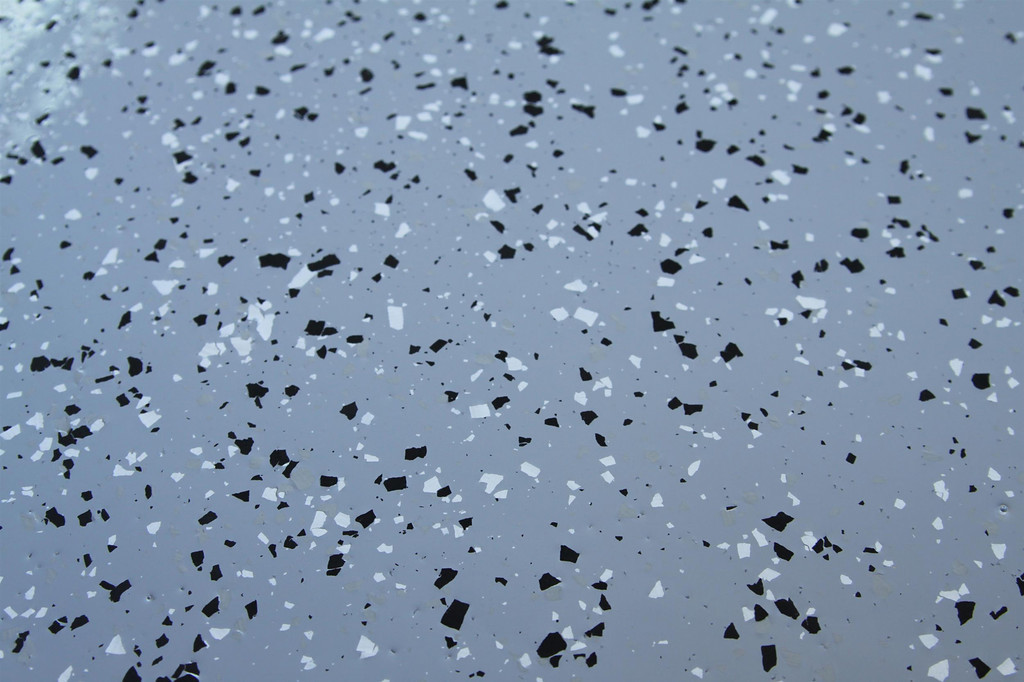
EXAMPLE
a shop floor coating or epoxy that is designed to hold a max of 5-8 lbs per square foot, (as some are rated) is going to self destruct in days under hard use so ask detailed questions about durability and any warranty for wear, or life span, and get the warranty in writing
some spray on like paint, most form a moisture barrier, most are chemical resistant to some extent, some products,take far more complex installation procedures , and surface preparation, so ask questions, and be very sure what the cost per square foot is, how difficult the surface preparation requirements are and verify exactly what your getting, its potential life expectancy, what type of abuse it can sustain and any WRITTEN GUARANTEES or professional installation options you might have as options to doing the install yourself.
If you simply store your car in your garage that will require a far less durable surface than some garage, that routinely rolls steel wheel engine stands with engines mounted on them around the shop and supports cars on jack stands on the shops floor surface
a great deal of the rust issue most of us have can be reduced by proper planing,
tools should ideally be stored in a near moisture free area.
with good ventilation and no big temp changes that tend to allow condensation,
to form on tools or components in storage.
if your planing a shop, mandate the contractor takes the time to place, both a multiple plastic layer moisture barrier under the concrete floor of your shop
, and spray a strong residual insecticide for termites under the concrete slab,
before its poured., this will help a great deal,
if you bought a building that has no moisture barrier under the poured slab, you should consider the better epoxy based floor coatings
and in either case roof vent fans and ceiling fans that keep the air moving reduce the chances of parts and tools rusting.
most of us have some type of tool chest and if you have the tools long enough,
your sure to have issues with surface rust forming on those tools,
if the area you store the tools in does not dry and well ventilated.
now most of us will have noticed the better quality tool trays have a felt or plastic pad on the drawer floor
,if you spray the pools with a mist of WD40 occasionally,
the lower surface tends to retain the residue and constant use of the tools,
and occasional preventive misting with the WD40 will greatly reduce the rust formation issues.
obviously if your tool chest does not have a lower drawer pad, (ideally thick felt of similar oil retaining material,)
you might want to carefully measure and install some floor in each drawer,
so that lower surface will retain some rust preventative oil the tools are stored on.
http://www.dayattherange.com/?page_id=3667
http://www.thisoldhouse.com/toh/how-to/ ... 54,00.html
http://www.concrete-floor-coatings.com/
http://www.quikretecoatings.com/epoxyGa ... orCoat.jsp
http://www.garagecoatings.com/
http://www.rustoleum.com/Product.asp?fr ... d=56&SBL=1
http://www.deltachemicals.com/concrete- ... ealers.htm
http://www.garagesealers.com/
http://www.armorcladepoxy.com/?gclid=CK ... nAodSgjF5Q
http://www.musclegloss.com/shoppingcart ... Commercial
http://www.lsepoxies.com/
http://www.rd.com/how-to-apply-epoxy-fl ... 17770.html
http://www.superfloorcoat.com/?gclid=CJ ... nAodryeteg
BTW if youve got experience, with these shop floor coatings, either GOOD or BAD please post your experiences and the brands involved so that others cam benefit from your results
THESE GUYS POSTED A NICE DETAILED THREAD ON INSTALLING A THICK DURABLE SHOP FLOOR
http://www.pfyc.com/c/C6/2005-2011+C6+C ... l?a_aid=dc
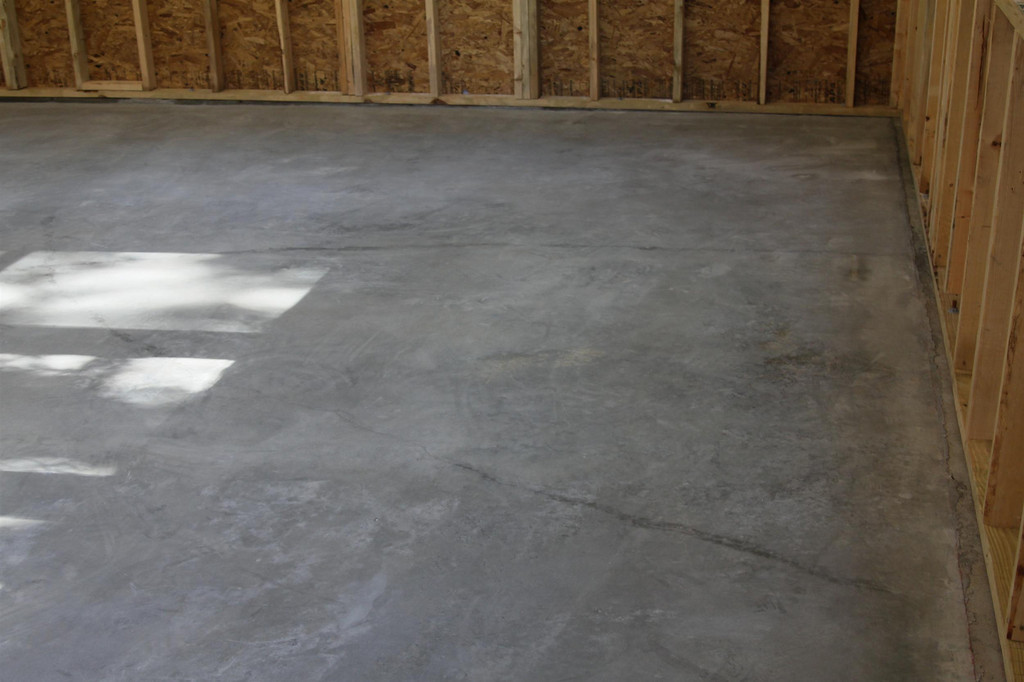
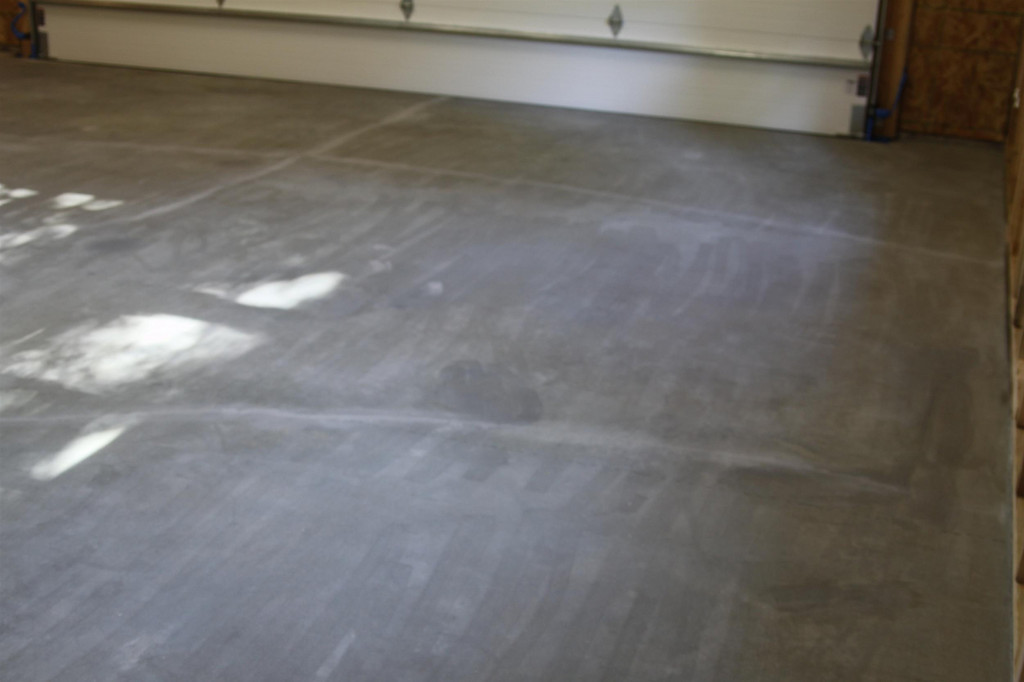
After what seemed to me like endless amounts of reading online, and narrowing my choices down to Wolverine and Epoxy-Coat (two top brands of epoxy that others had good experiences with), I decided to go with Epoxy-Coat based mostly on cost and ease of application. I didn't think that spending double would get me a floor that would be twice as good, so that's what I decided. I had a fresh 40-50 day old slab of concrete with no expansion joints, minor hairline cracks, never been touched by tires or any chemicals. Total of about 600 square feet.
This is the story of my journey from prep to finish and what I learned along the way. My floor didn't turn out as perfect as I had expected, but perhaps that's my fault for being an amateur or possibly for doing a double thickness. I'll explain below with photos.
I ordered a total of two and a half kits (so that I could do a double thick application of 20 mils per their recommendation) and on one Friday night several weeks ago I began my prep process. Here are the steps I followed in general:
Remove contents (I didn't have much in there, since I knew I'd be doing this before "moving in" so to speak). This includes removal of the sink.
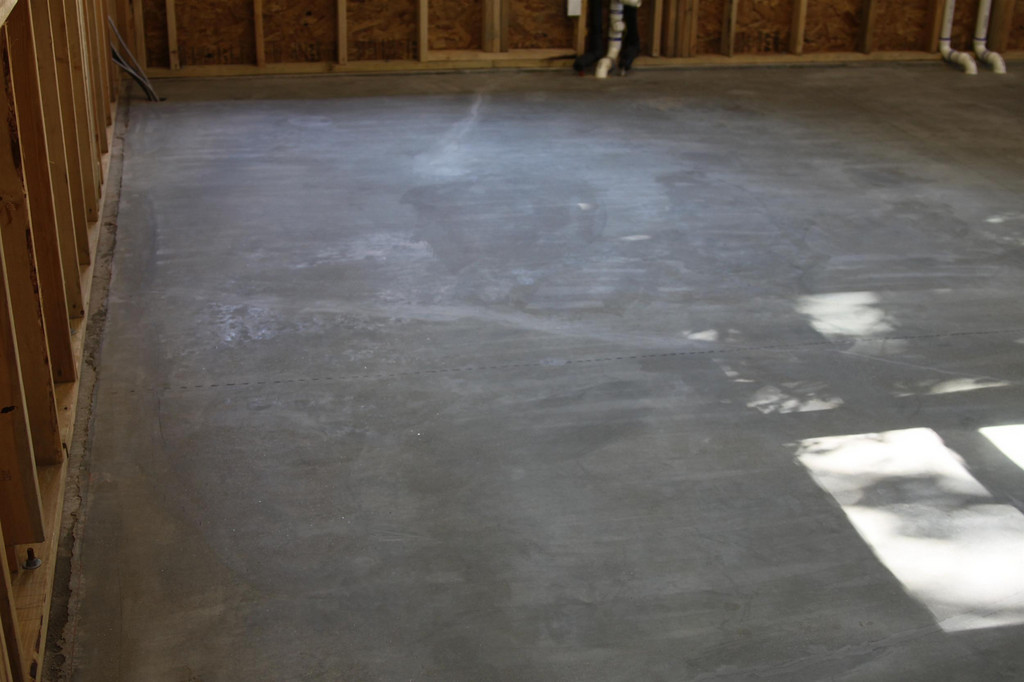
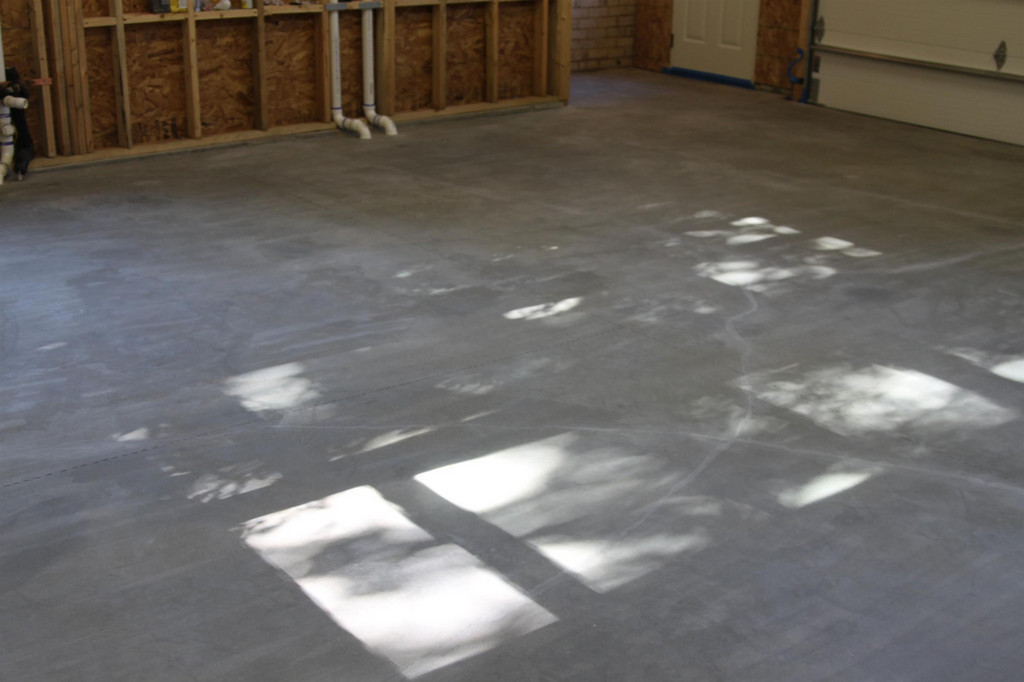
Blow floor clean, sweep for good measure:
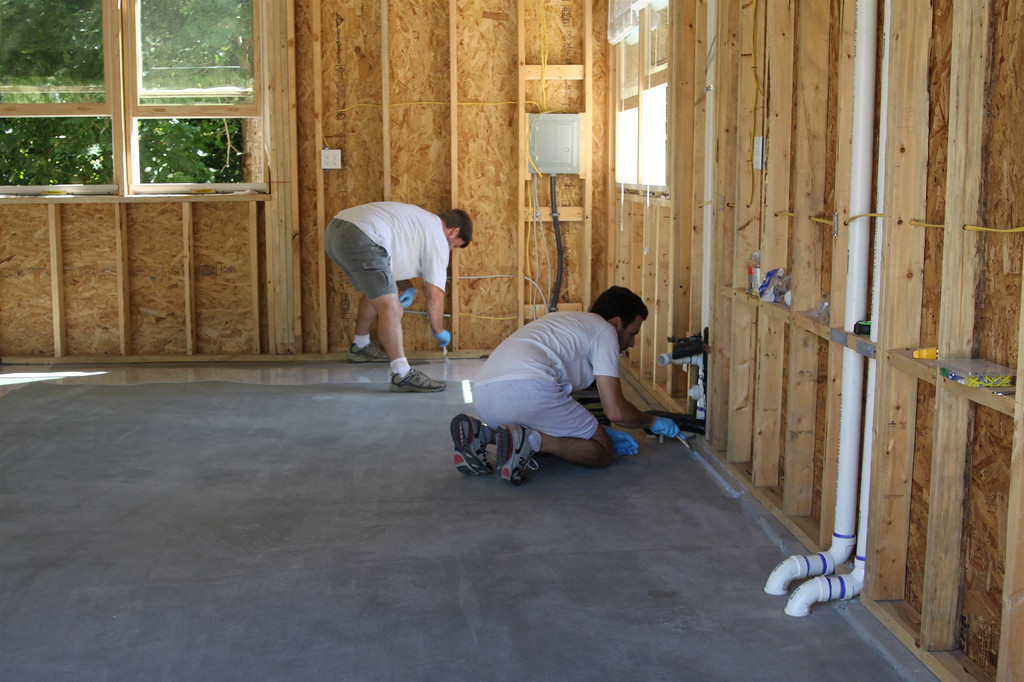
Etch per Epoxy-Coat instructions. This process took around from 5-6 hours:
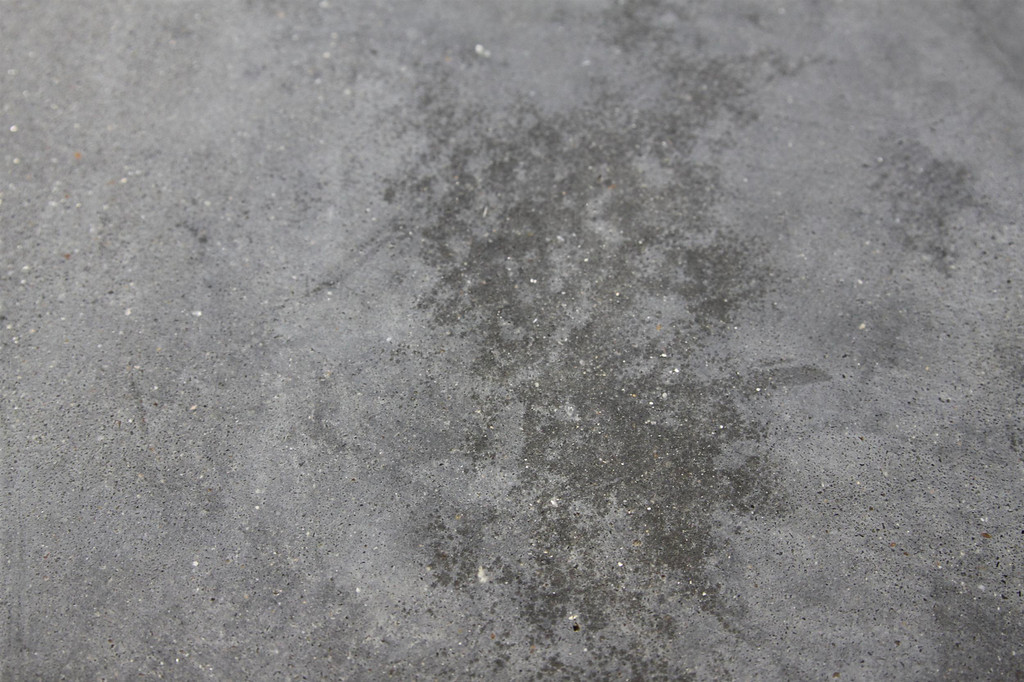
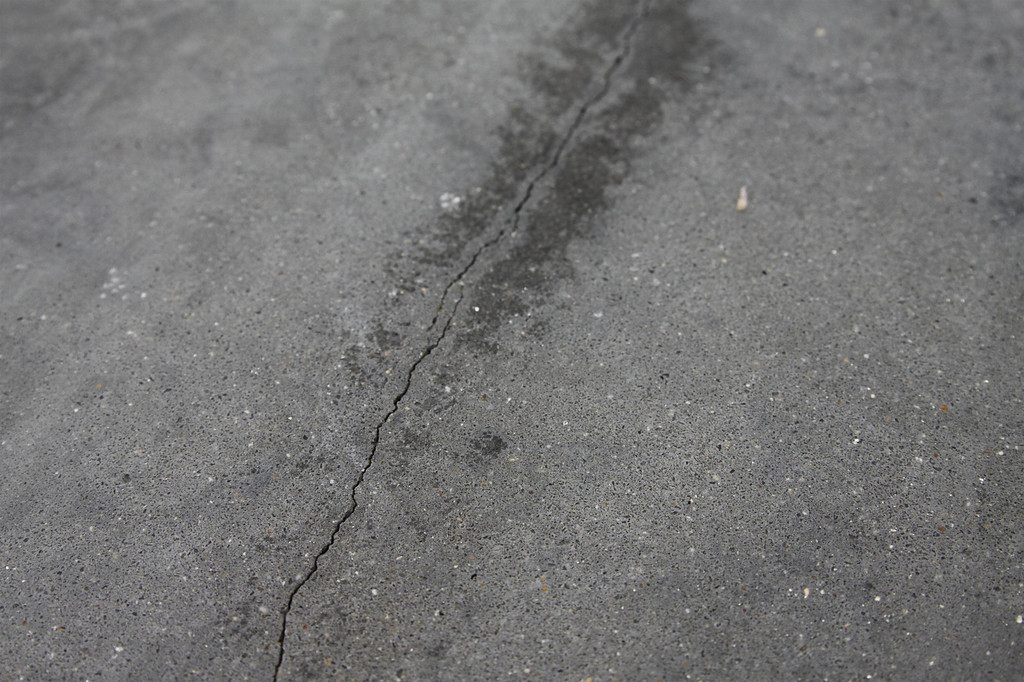
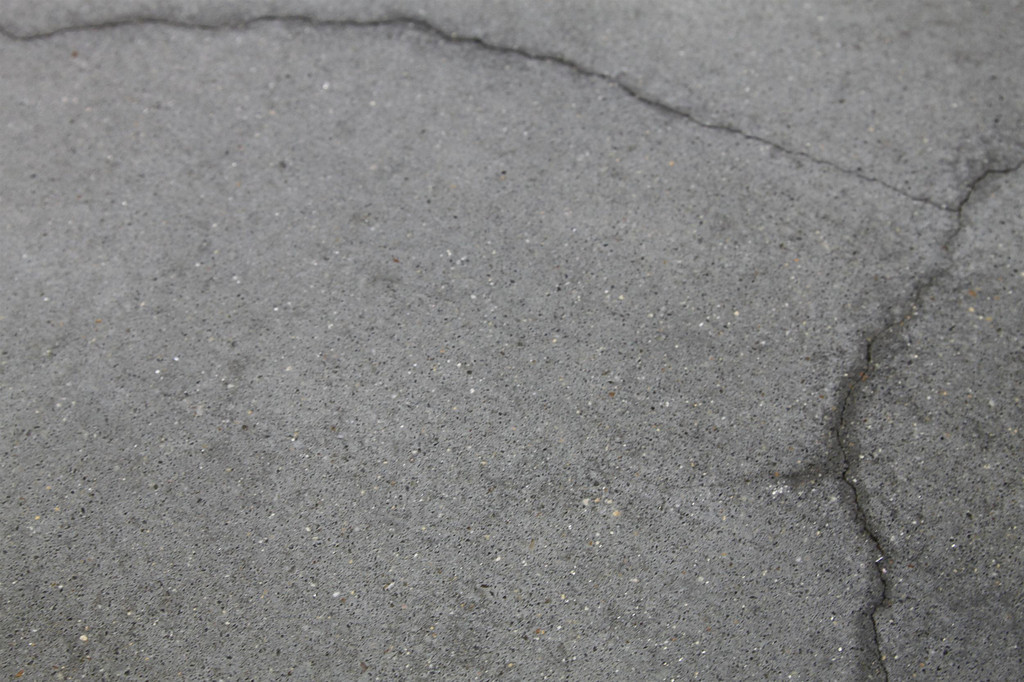
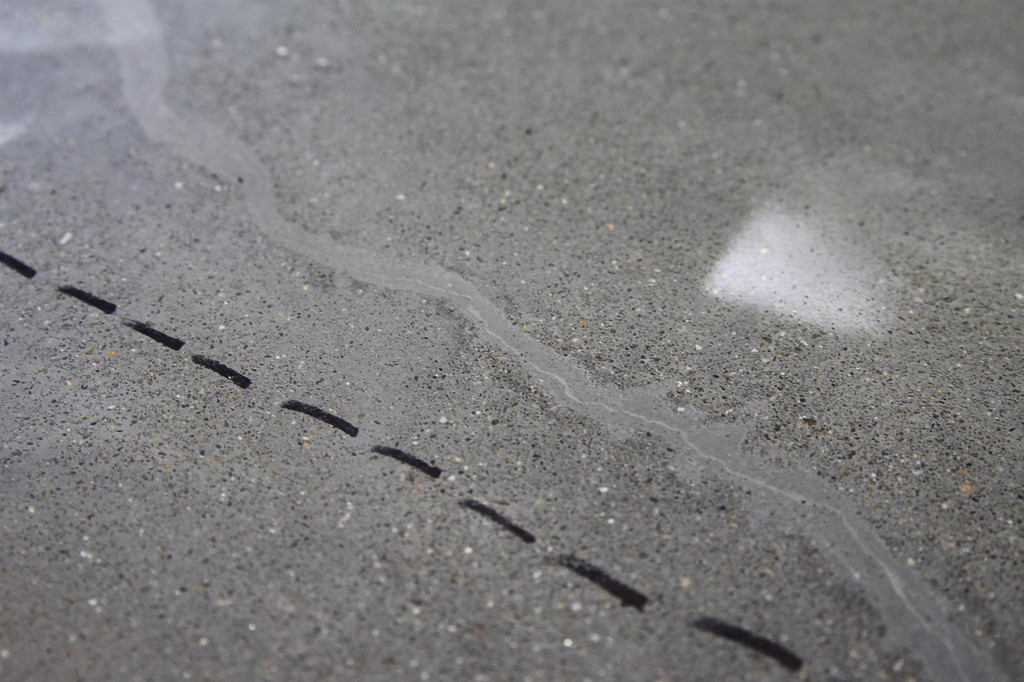
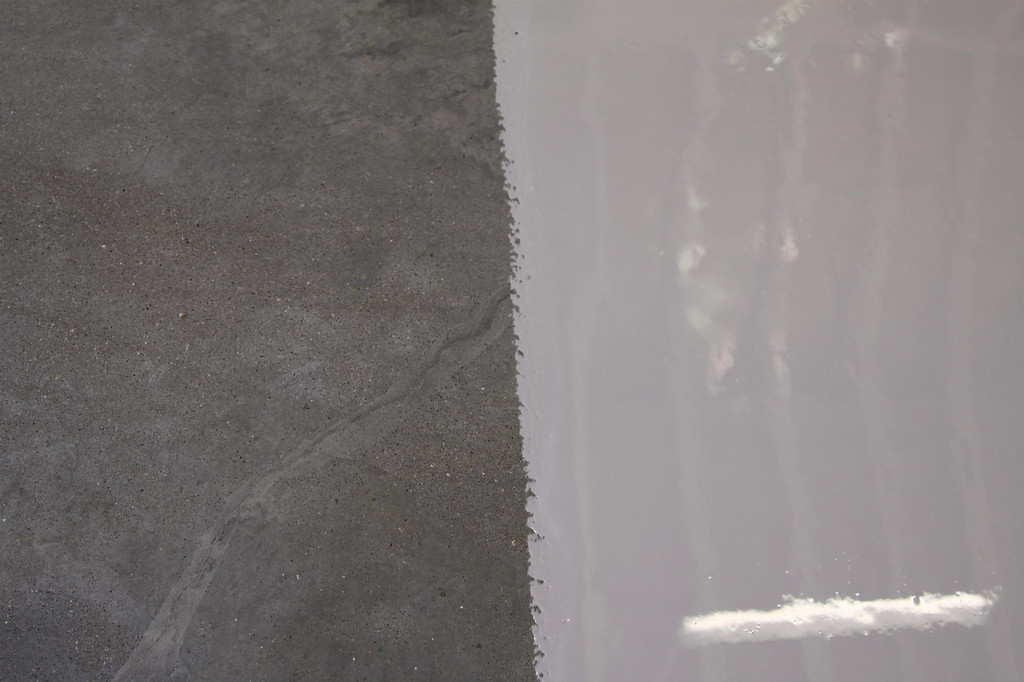
After being fully satisfied with the etch job across the entire floor, I rinsed twice, pressure washed once, and let it dry thoroughly. Next up was using a paintable (non silicone) caulk to fill the hairline cracks and any holes or imperfections I found. This process probably took around 3 hours or so:
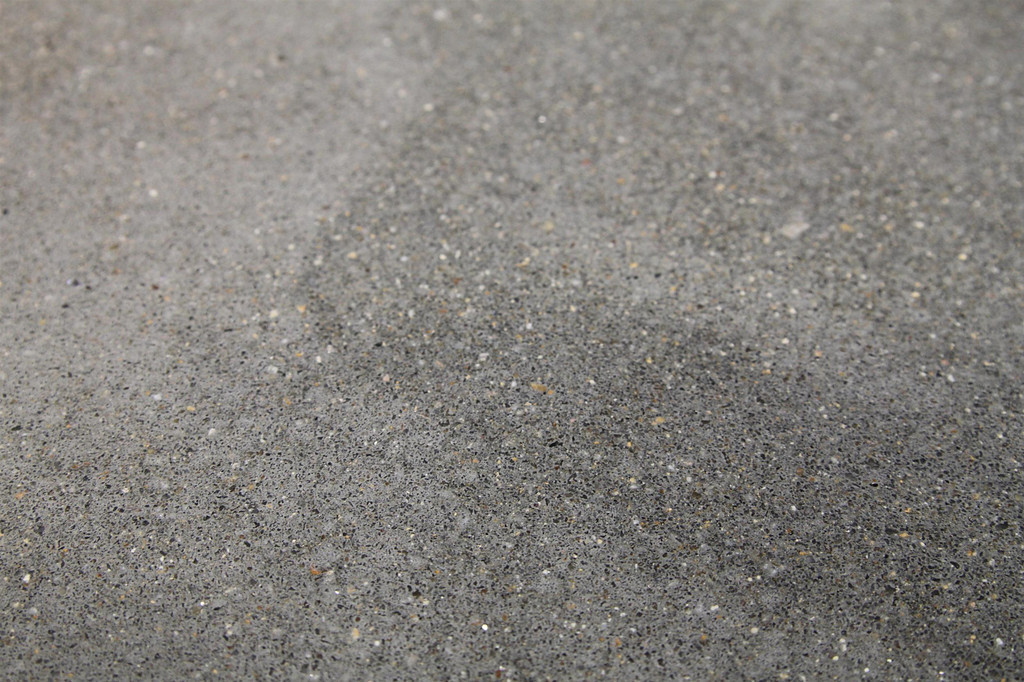
The following day, after the caulk had dried but before application of the epoxy itself, I sanded all caulked areas with 120 grit sandpaper to remove any excess and keep the surface rough and ready. Then I did a final sweep and clean. This took around 1 hour.
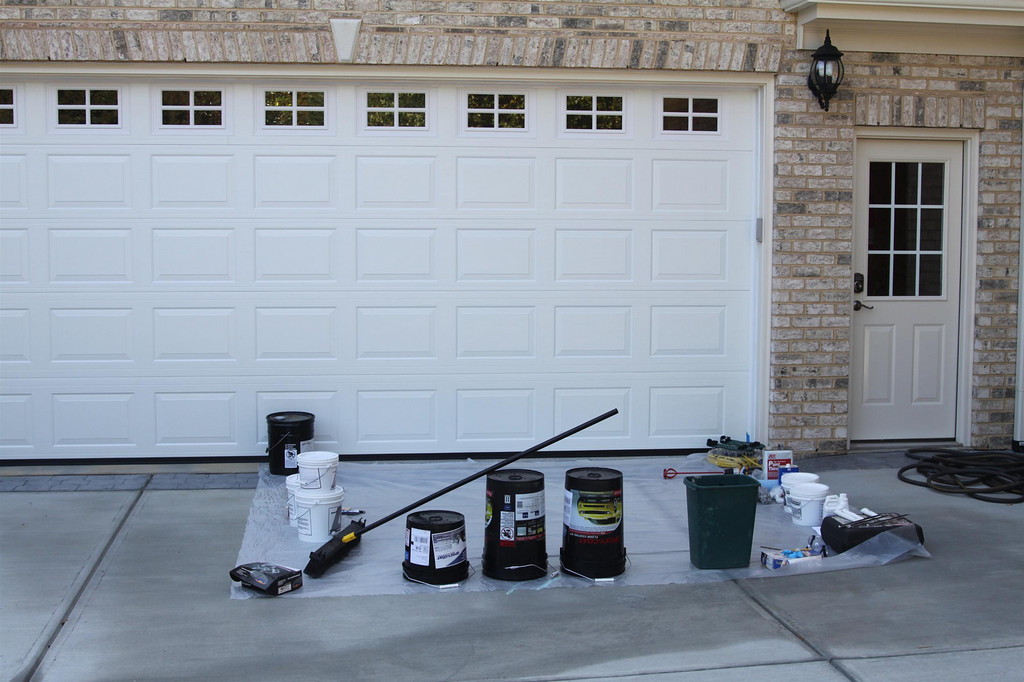
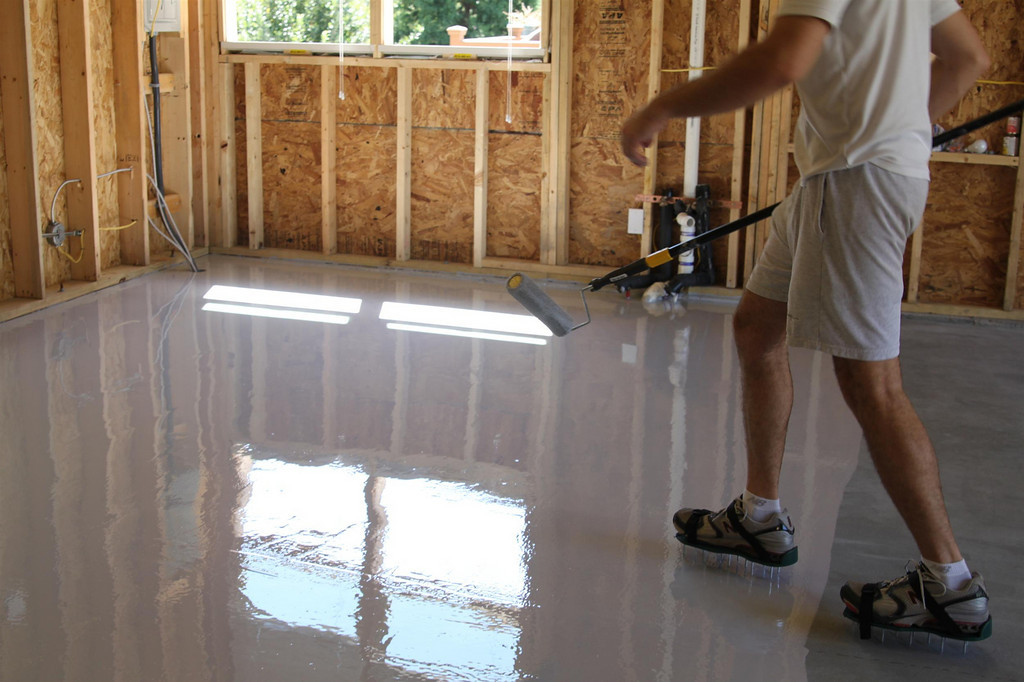
Lay out all materials for the job and check temp before starting. Divide entire area into 5 roughly equal sized sections and apply a "double batch" of epoxy to each section (roughly 120 square feet per section, the double batch was to cover 20 mils of thickness):
Apply epoxy, flakes, and non-slip additive following Epoxy-coat instructions. This took about 6 hours total.
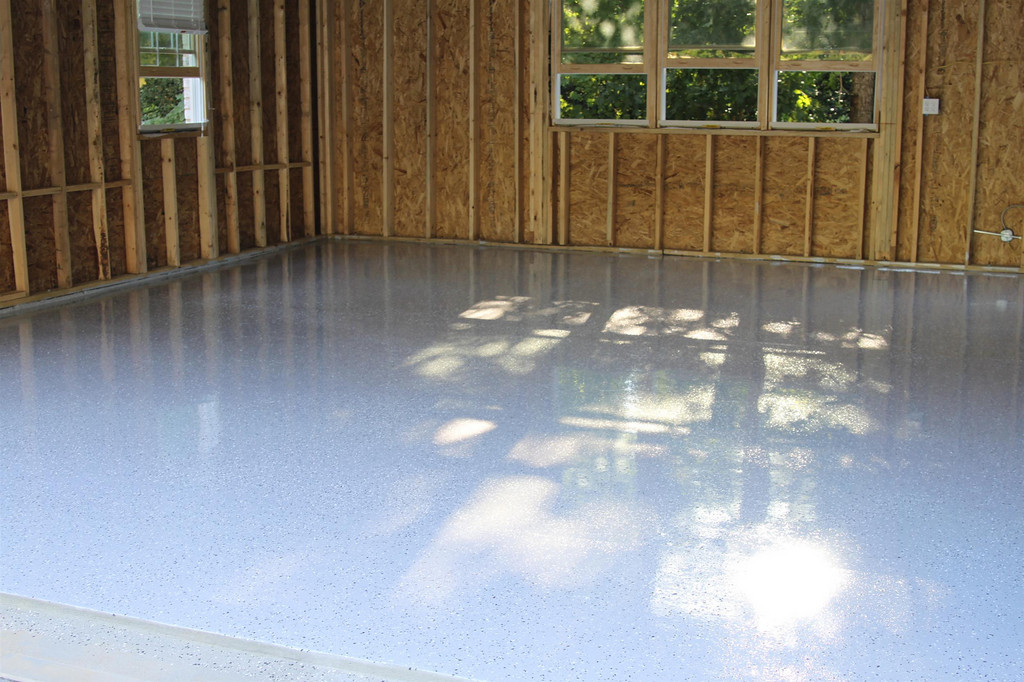
Finished job.
Here are things I found out or learned the hard way:
Their prep solution spread too quickly using a sprinkling can I bought at Home Depot - the sprayer shown in their video might be better, but even at a higher dosage per square foot, it didn't etch enough in many areas. I had to supplement with over 2 more gallons of 31% muriatic acid mixed about 50:50 with hot water to finish the etching properly. Part of my trouble here may be because my concrete was a 5000 psi mix rather than a standard garage or driveway's 3000 psi mix. I'll do the same coating in my existing attached garage sometime in the future and can update at that time if it is different.
Dividing up the job into sections is helpful, but their "10 minutes between sections" suggestion is a little optimistic for someone who's never done this before or if it is a bit warm outside. I had a helper and we worked as fast as we could, and after trying to do 2 sections together as shown in the video, we realized it cured too quickly to get the second backroll completed properly, so at that point we began doing a section at a time.
You can see roller marks and areas where sections meet. Part of this is probably due to my extra thick coating, but I figured it would settle out a bit better than it did. Also, trying to flake most of the section you just backrolled can be challenging - we weren't sure where to stop flaking and how long the "old" section would sit and cure before we would be able to get around to the new section that would border it, and therefore we flaked the entire section and ended up going back over the border areas with a new coat of epoxy and flakes again later. This caused some imperfections in how those border areas turned out.
You can see some bubbling, but I'm not sure from what. It says if you have this to blow dry, but we didn't try that because it seemed as if they were closing themselves up. Only after it cured the next day did I notice that many of the bubbles "exploded" overnight and looked much worse than initially. They are not bad, mind you, but they make the floor "not smooth" in some areas.
The non-slip additive is very, very sharp. Be careful with it. I sliced a finger open simply rubbing my hand over the newly cured surface the day after it was done. If you have young children, make sure they wear shoes and be careful of falling - you can probably get scratched up pretty good! It does definitely work as a non-slip though.
This stuff is THICK. I want to do my other (primary) garage with it but will probably drop back to the standard 10 mil thickness in that area instead. I love how it feels and looks, but wish I didn't have the bubbles, overlapping areas, and one section that looks like it rolled out differently than the rest.[/list]
The bottom line is that I love it despite my installation errors with section overlap. The product seems to live up to its reputation, but the installation is not quite as easy as the video seems to imply, at least it wasn't for me. I spent a lot of time reading instructions, watching their video, and asking questions before I got started so I'd know what to do, and I felt like I had a good handle on the required steps, but the end result is not quite as good as I had hoped for. On the flip side, for the money I spent, the results are quite good and I feel confident that it will protect my floor for many years. For next time, I'll ask more questions to find out how I can avoid seeing the roller edges and overlap between sections and hopefully I can do a more perfect job next time.
Everyone who has seen it so far has been more impressed than I expected, so I guess to them it looks amazing. I, of course, can still see the imperfections, but it does fit the bill for a heavy use work surface, and now I can finish my compressor lines and buy a lift to get some work done on the cars.
I hope you find this helpful. Please ask any questions - I'm by no means an expert, but I know more now than I did last Friday!
I have just under $800 into the materials for a double thick coat. Figure about $500 or so for a single 10mil coat (still much thicker than the big box store stuff you will find at a lower quality coverage). Then around 20-25 hours of my own labor over the course of a single weekend (Friday night, half of Saturday, and lots of Sunday).
Figure around $2000-3000 for a pro to do the job for you from what I've seen.
On a 1/4" crack, I'd ask the epoxy manufacturer, but I can't see caulk being much of a problem for that size. This particular epoxy states that it can be used to fill cracks also, so maybe you don't need anything special at all. I'd send them a photo of what you want to fill and ask for their advice for the best results.
need more info contact
Brian
http://www.pfyc.com
EXAMPLE
a shop floor coating or epoxy that is designed to hold a max of 5-8 lbs per square foot, (as some are rated) is going to self destruct in days under hard use so ask detailed questions about durability and any warranty for wear, or life span, and get the warranty in writing
some spray on like paint, most form a moisture barrier, most are chemical resistant to some extent, some products,take far more complex installation procedures , and surface preparation, so ask questions, and be very sure what the cost per square foot is, how difficult the surface preparation requirements are and verify exactly what your getting, its potential life expectancy, what type of abuse it can sustain and any WRITTEN GUARANTEES or professional installation options you might have as options to doing the install yourself.
If you simply store your car in your garage that will require a far less durable surface than some garage, that routinely rolls steel wheel engine stands with engines mounted on them around the shop and supports cars on jack stands on the shops floor surface
a great deal of the rust issue most of us have can be reduced by proper planing,
tools should ideally be stored in a near moisture free area.
with good ventilation and no big temp changes that tend to allow condensation,
to form on tools or components in storage.
if your planing a shop, mandate the contractor takes the time to place, both a multiple plastic layer moisture barrier under the concrete floor of your shop
, and spray a strong residual insecticide for termites under the concrete slab,
before its poured., this will help a great deal,
if you bought a building that has no moisture barrier under the poured slab, you should consider the better epoxy based floor coatings
and in either case roof vent fans and ceiling fans that keep the air moving reduce the chances of parts and tools rusting.
most of us have some type of tool chest and if you have the tools long enough,
your sure to have issues with surface rust forming on those tools,
if the area you store the tools in does not dry and well ventilated.
now most of us will have noticed the better quality tool trays have a felt or plastic pad on the drawer floor
,if you spray the pools with a mist of WD40 occasionally,
the lower surface tends to retain the residue and constant use of the tools,
and occasional preventive misting with the WD40 will greatly reduce the rust formation issues.
obviously if your tool chest does not have a lower drawer pad, (ideally thick felt of similar oil retaining material,)
you might want to carefully measure and install some floor in each drawer,
so that lower surface will retain some rust preventative oil the tools are stored on.
http://www.dayattherange.com/?page_id=3667
http://www.thisoldhouse.com/toh/how-to/ ... 54,00.html
http://www.concrete-floor-coatings.com/
http://www.quikretecoatings.com/epoxyGa ... orCoat.jsp
http://www.garagecoatings.com/
http://www.rustoleum.com/Product.asp?fr ... d=56&SBL=1
http://www.deltachemicals.com/concrete- ... ealers.htm
http://www.garagesealers.com/
http://www.armorcladepoxy.com/?gclid=CK ... nAodSgjF5Q
http://www.musclegloss.com/shoppingcart ... Commercial
http://www.lsepoxies.com/
http://www.rd.com/how-to-apply-epoxy-fl ... 17770.html
http://www.superfloorcoat.com/?gclid=CJ ... nAodryeteg
BTW if youve got experience, with these shop floor coatings, either GOOD or BAD please post your experiences and the brands involved so that others cam benefit from your results
THESE GUYS POSTED A NICE DETAILED THREAD ON INSTALLING A THICK DURABLE SHOP FLOOR
http://www.pfyc.com/c/C6/2005-2011+C6+C ... l?a_aid=dc
After what seemed to me like endless amounts of reading online, and narrowing my choices down to Wolverine and Epoxy-Coat (two top brands of epoxy that others had good experiences with), I decided to go with Epoxy-Coat based mostly on cost and ease of application. I didn't think that spending double would get me a floor that would be twice as good, so that's what I decided. I had a fresh 40-50 day old slab of concrete with no expansion joints, minor hairline cracks, never been touched by tires or any chemicals. Total of about 600 square feet.
This is the story of my journey from prep to finish and what I learned along the way. My floor didn't turn out as perfect as I had expected, but perhaps that's my fault for being an amateur or possibly for doing a double thickness. I'll explain below with photos.
I ordered a total of two and a half kits (so that I could do a double thick application of 20 mils per their recommendation) and on one Friday night several weeks ago I began my prep process. Here are the steps I followed in general:
Remove contents (I didn't have much in there, since I knew I'd be doing this before "moving in" so to speak). This includes removal of the sink.
Blow floor clean, sweep for good measure:
Etch per Epoxy-Coat instructions. This process took around from 5-6 hours:
After being fully satisfied with the etch job across the entire floor, I rinsed twice, pressure washed once, and let it dry thoroughly. Next up was using a paintable (non silicone) caulk to fill the hairline cracks and any holes or imperfections I found. This process probably took around 3 hours or so:
The following day, after the caulk had dried but before application of the epoxy itself, I sanded all caulked areas with 120 grit sandpaper to remove any excess and keep the surface rough and ready. Then I did a final sweep and clean. This took around 1 hour.
Lay out all materials for the job and check temp before starting. Divide entire area into 5 roughly equal sized sections and apply a "double batch" of epoxy to each section (roughly 120 square feet per section, the double batch was to cover 20 mils of thickness):
Apply epoxy, flakes, and non-slip additive following Epoxy-coat instructions. This took about 6 hours total.
Finished job.
Here are things I found out or learned the hard way:
Their prep solution spread too quickly using a sprinkling can I bought at Home Depot - the sprayer shown in their video might be better, but even at a higher dosage per square foot, it didn't etch enough in many areas. I had to supplement with over 2 more gallons of 31% muriatic acid mixed about 50:50 with hot water to finish the etching properly. Part of my trouble here may be because my concrete was a 5000 psi mix rather than a standard garage or driveway's 3000 psi mix. I'll do the same coating in my existing attached garage sometime in the future and can update at that time if it is different.
Dividing up the job into sections is helpful, but their "10 minutes between sections" suggestion is a little optimistic for someone who's never done this before or if it is a bit warm outside. I had a helper and we worked as fast as we could, and after trying to do 2 sections together as shown in the video, we realized it cured too quickly to get the second backroll completed properly, so at that point we began doing a section at a time.
You can see roller marks and areas where sections meet. Part of this is probably due to my extra thick coating, but I figured it would settle out a bit better than it did. Also, trying to flake most of the section you just backrolled can be challenging - we weren't sure where to stop flaking and how long the "old" section would sit and cure before we would be able to get around to the new section that would border it, and therefore we flaked the entire section and ended up going back over the border areas with a new coat of epoxy and flakes again later. This caused some imperfections in how those border areas turned out.
You can see some bubbling, but I'm not sure from what. It says if you have this to blow dry, but we didn't try that because it seemed as if they were closing themselves up. Only after it cured the next day did I notice that many of the bubbles "exploded" overnight and looked much worse than initially. They are not bad, mind you, but they make the floor "not smooth" in some areas.
The non-slip additive is very, very sharp. Be careful with it. I sliced a finger open simply rubbing my hand over the newly cured surface the day after it was done. If you have young children, make sure they wear shoes and be careful of falling - you can probably get scratched up pretty good! It does definitely work as a non-slip though.
This stuff is THICK. I want to do my other (primary) garage with it but will probably drop back to the standard 10 mil thickness in that area instead. I love how it feels and looks, but wish I didn't have the bubbles, overlapping areas, and one section that looks like it rolled out differently than the rest.[/list]
The bottom line is that I love it despite my installation errors with section overlap. The product seems to live up to its reputation, but the installation is not quite as easy as the video seems to imply, at least it wasn't for me. I spent a lot of time reading instructions, watching their video, and asking questions before I got started so I'd know what to do, and I felt like I had a good handle on the required steps, but the end result is not quite as good as I had hoped for. On the flip side, for the money I spent, the results are quite good and I feel confident that it will protect my floor for many years. For next time, I'll ask more questions to find out how I can avoid seeing the roller edges and overlap between sections and hopefully I can do a more perfect job next time.
Everyone who has seen it so far has been more impressed than I expected, so I guess to them it looks amazing. I, of course, can still see the imperfections, but it does fit the bill for a heavy use work surface, and now I can finish my compressor lines and buy a lift to get some work done on the cars.
I hope you find this helpful. Please ask any questions - I'm by no means an expert, but I know more now than I did last Friday!
I have just under $800 into the materials for a double thick coat. Figure about $500 or so for a single 10mil coat (still much thicker than the big box store stuff you will find at a lower quality coverage). Then around 20-25 hours of my own labor over the course of a single weekend (Friday night, half of Saturday, and lots of Sunday).
Figure around $2000-3000 for a pro to do the job for you from what I've seen.
On a 1/4" crack, I'd ask the epoxy manufacturer, but I can't see caulk being much of a problem for that size. This particular epoxy states that it can be used to fill cracks also, so maybe you don't need anything special at all. I'd send them a photo of what you want to fill and ask for their advice for the best results.
need more info contact
Brian
http://www.pfyc.com
Last edited by a moderator: