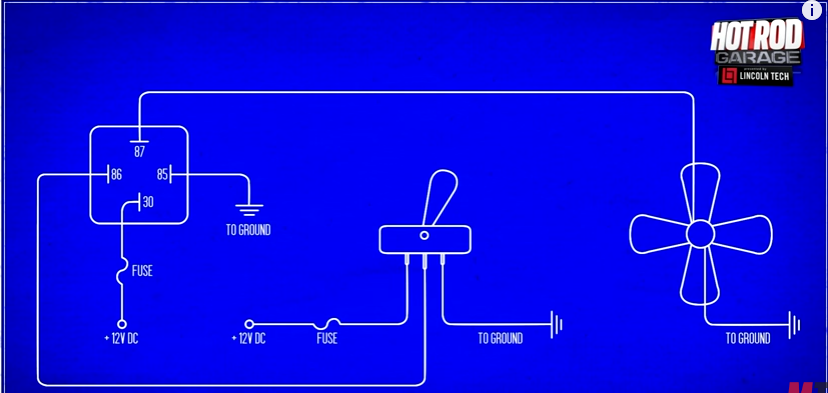
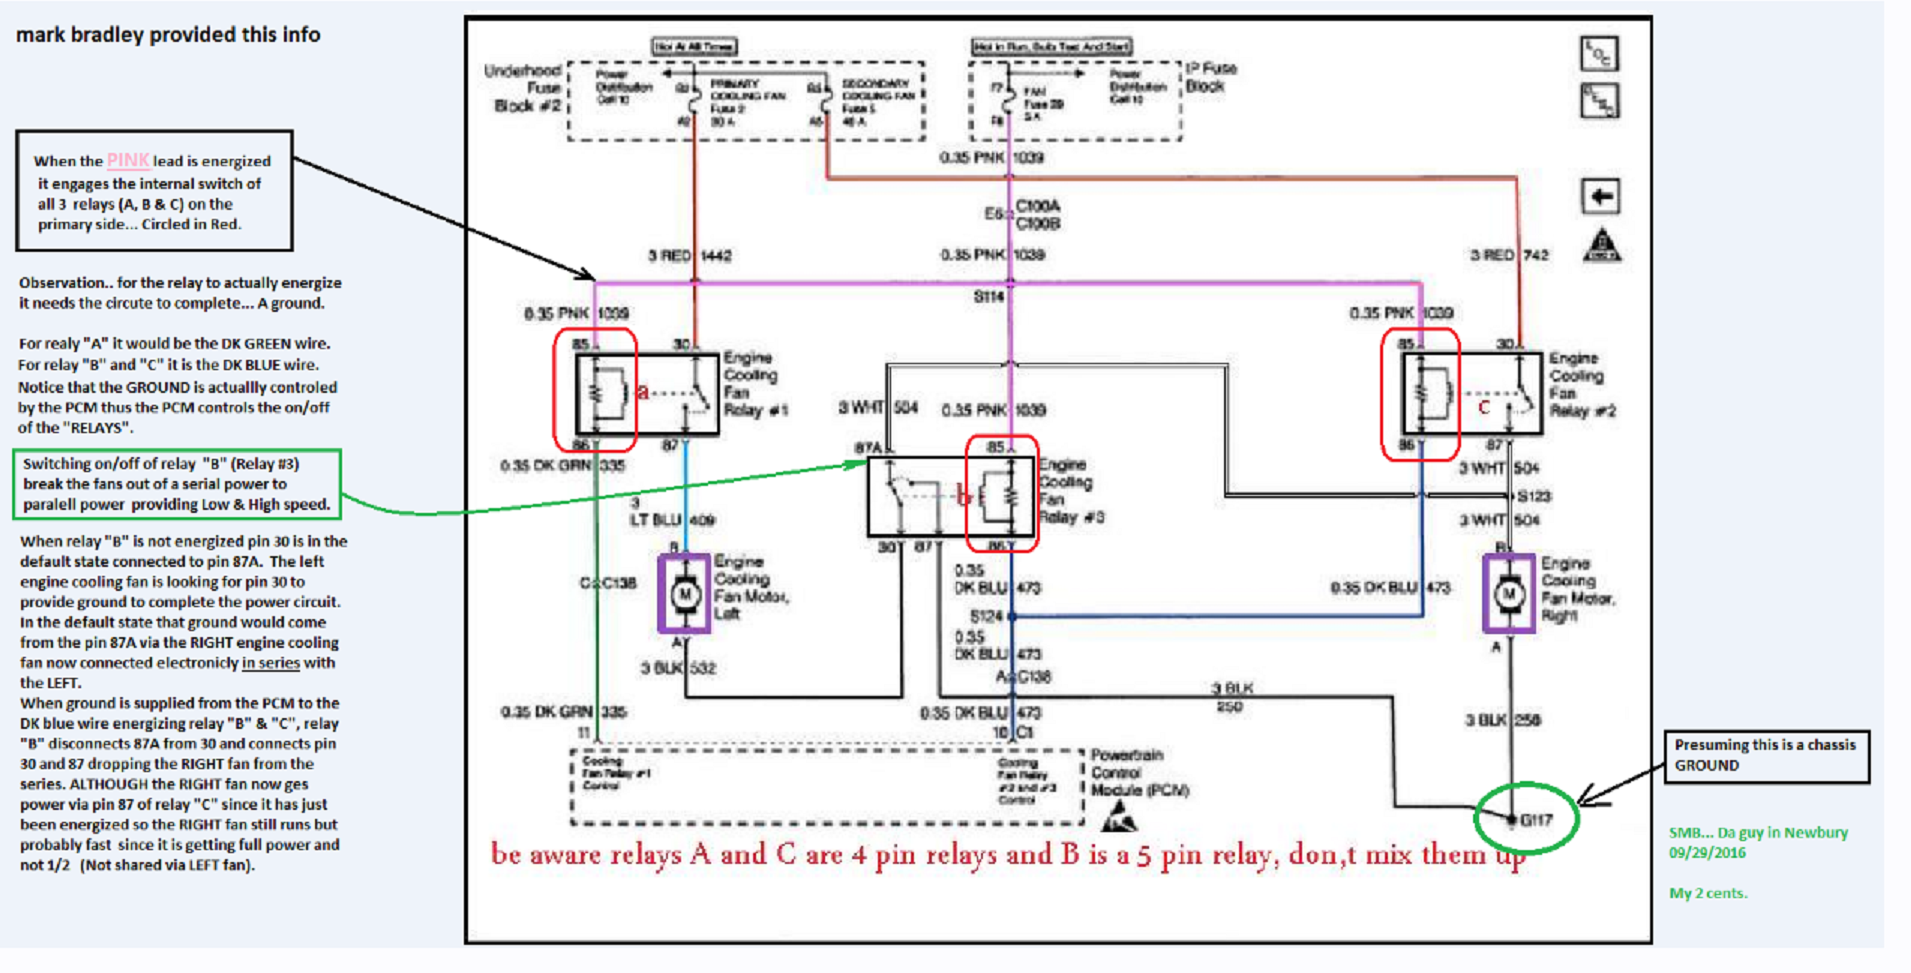
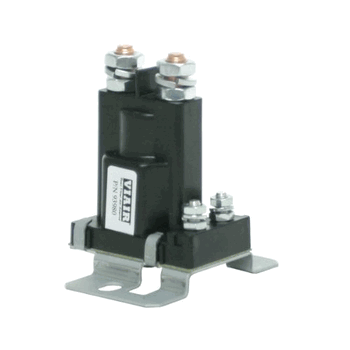
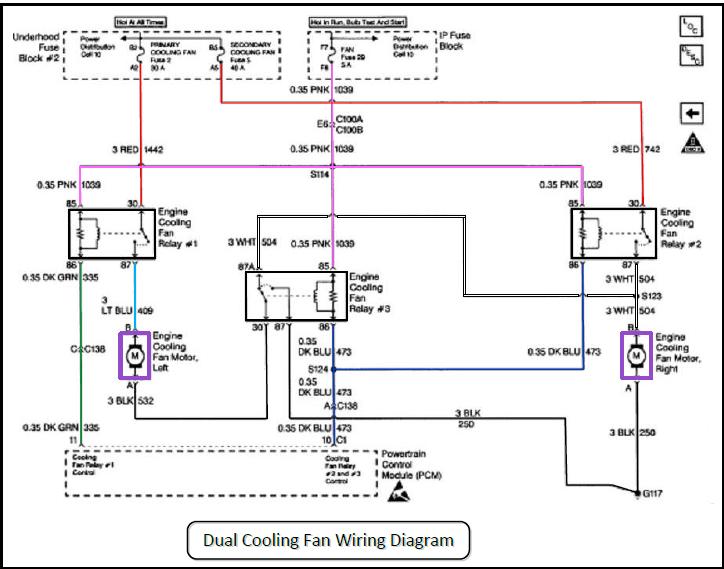
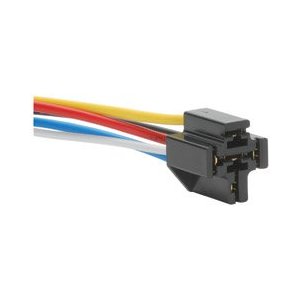
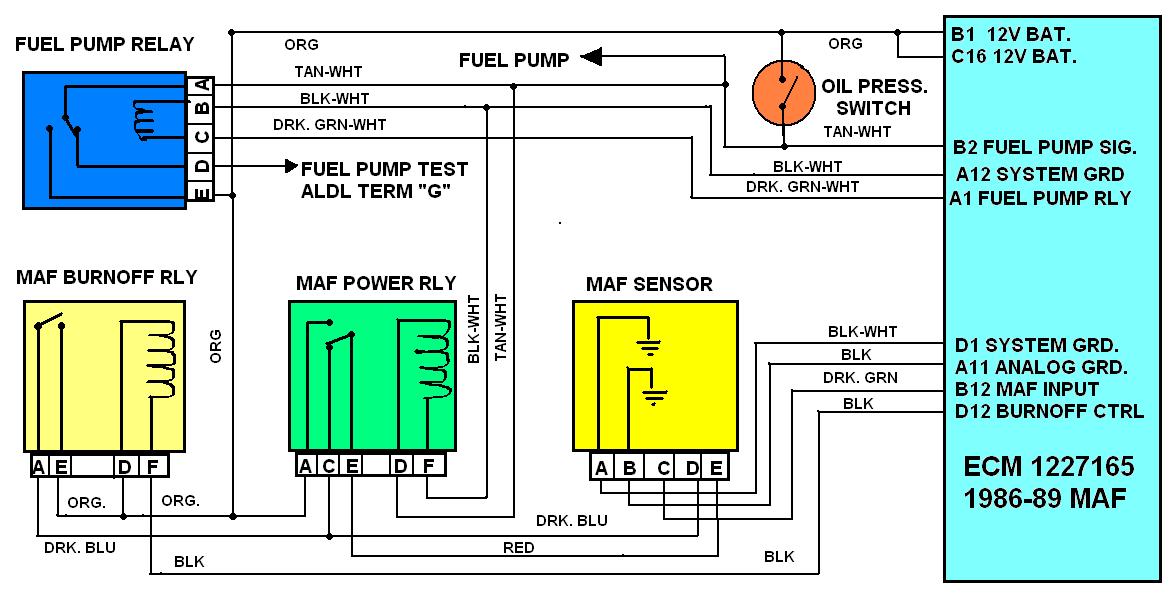
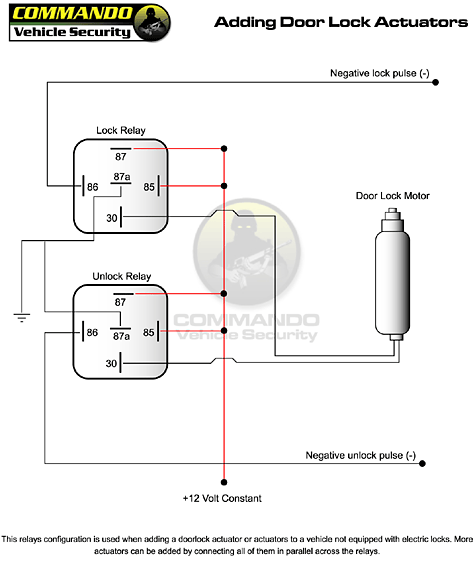
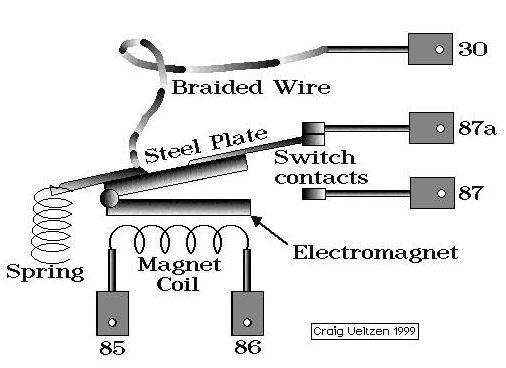
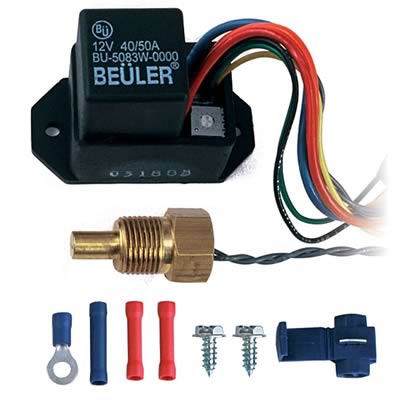
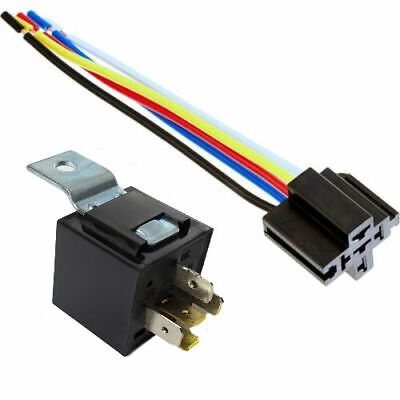
A relay is nothing more than a device that uses a low-current signal to operate a high-current circuit, he solenoid on your starter is a type of relay that uses the low-current signal from your starter switch to operate the high-current circuit between the battery and the starter motor. High-current circuits create heat, enough heat to melt plastic components and weld contacts together, we don't want that kind of heat behind the dash so we use low-current switches and relay's to operate the high-current circuits that abound on a automobile. From the horn to the headlights to the wipers to the blower motor, all these circuits and more require relays to operate them otherwise we would need to run heavy gauge wiring throughout the vehicle and this would only add weight to an already overweight object, not to mention oversized and bulky switches to handle the current flow.
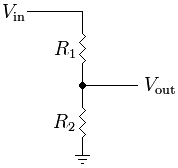
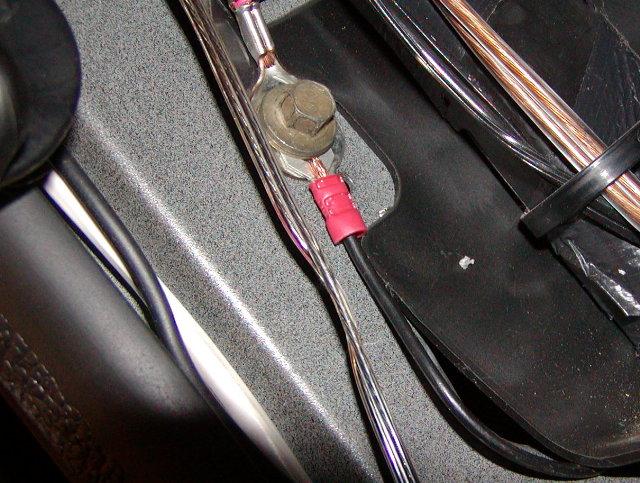
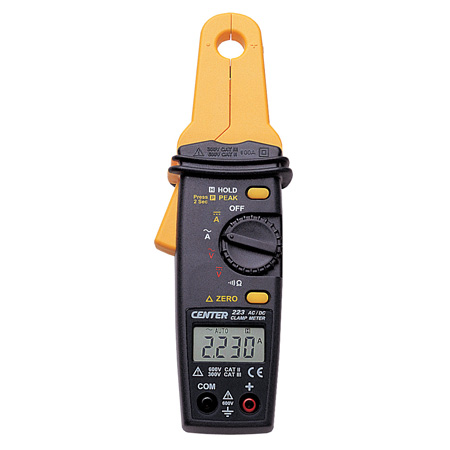
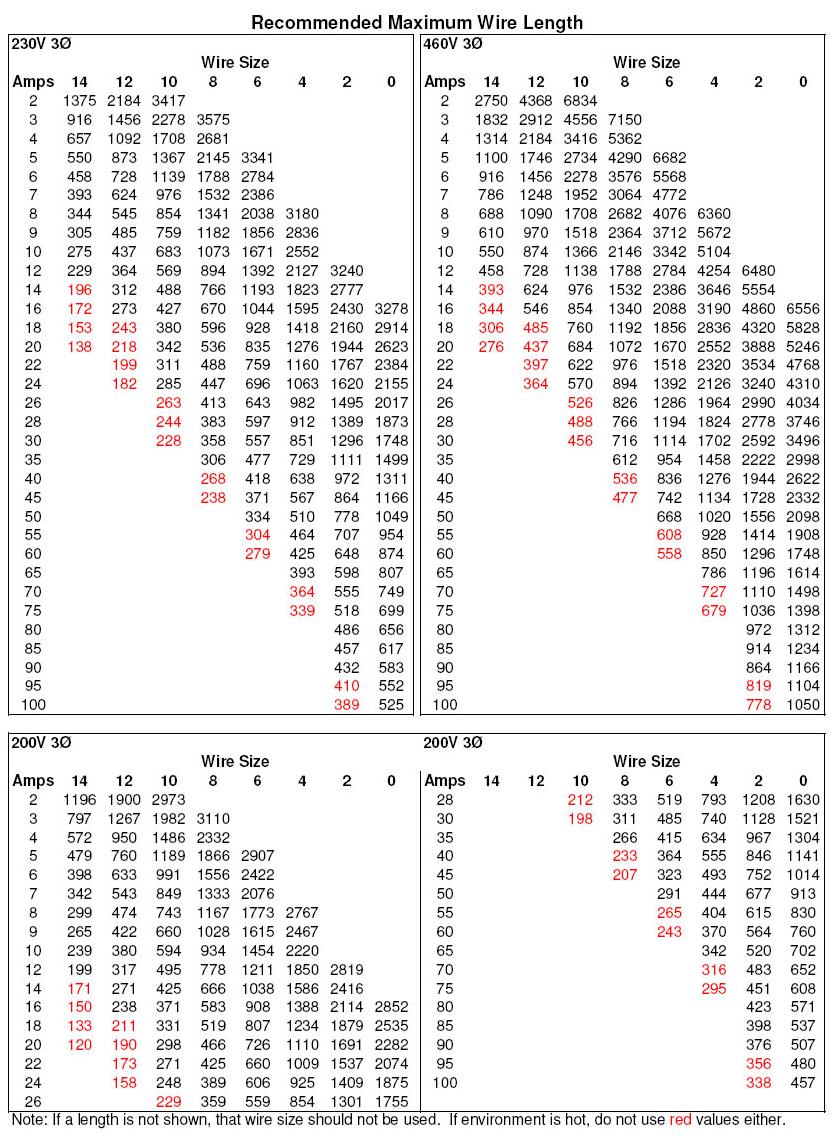
A lot of older vehicles and their components suffer from Voltage drop, voltage drop occurs when the circuit can't transmit the source voltage to the load, if we follow Ohm's law we disover that if a circuit has constant resistance value and we reduce the Input voltage that the current increases proportionally, current equals heat and that heat destroys component/s and sometimes the circuit itself. The problem lies in the dashboard itself as most of the circuits to operate the various functions have to travel through the printed circuit traces and other connections, every connection in a circuit is a potential area for a voltage drop. You can measure voltage drop by using a voltmeter at the source and then measuring voltage at the load, you may be surprised to find that the headligts are only getting 10VDC but there appear to be 12Volt at the switch, this indicates a 2Volt voltage drop between the switch and the headlights themselves.
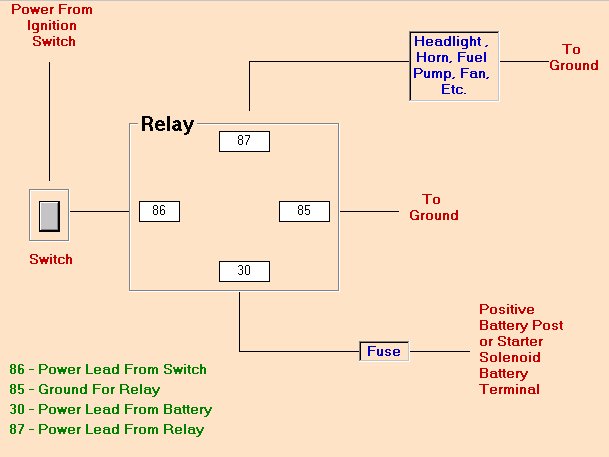
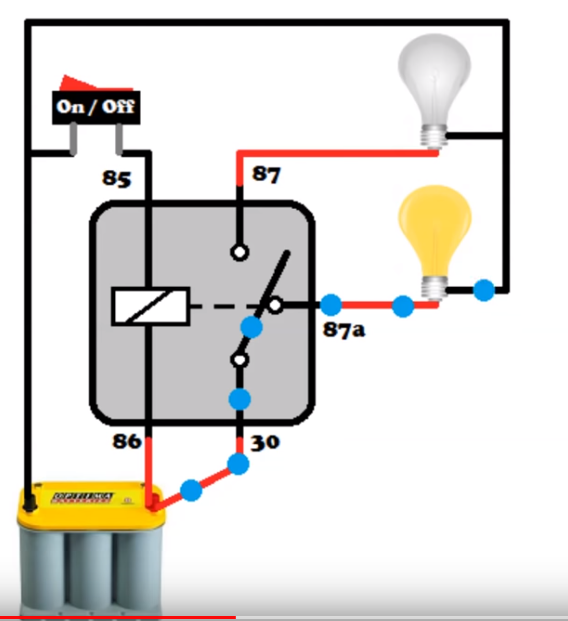
To cure the Voltage drop and get full power to the circuit all we need to do is use the signal wire from the switch which normally ran directly to the headlight/s through the dashboard wiring and connect 9t to the signal terminal on a suitable relay, then connect the headlight circuit to the switched output of the relay terminal, then run a heavy gauge wire to supply power to the high-current input terminal of the relay. Now, when we flip the headlight switch all we are doing is activating the high-current switch aka relay and allowing it to transfer it to transfer all available voltage from the source to the load thus eliminating the potentil for a electrical fire in the process by minimizing current flow through the switch itself and it's nominal wiring.
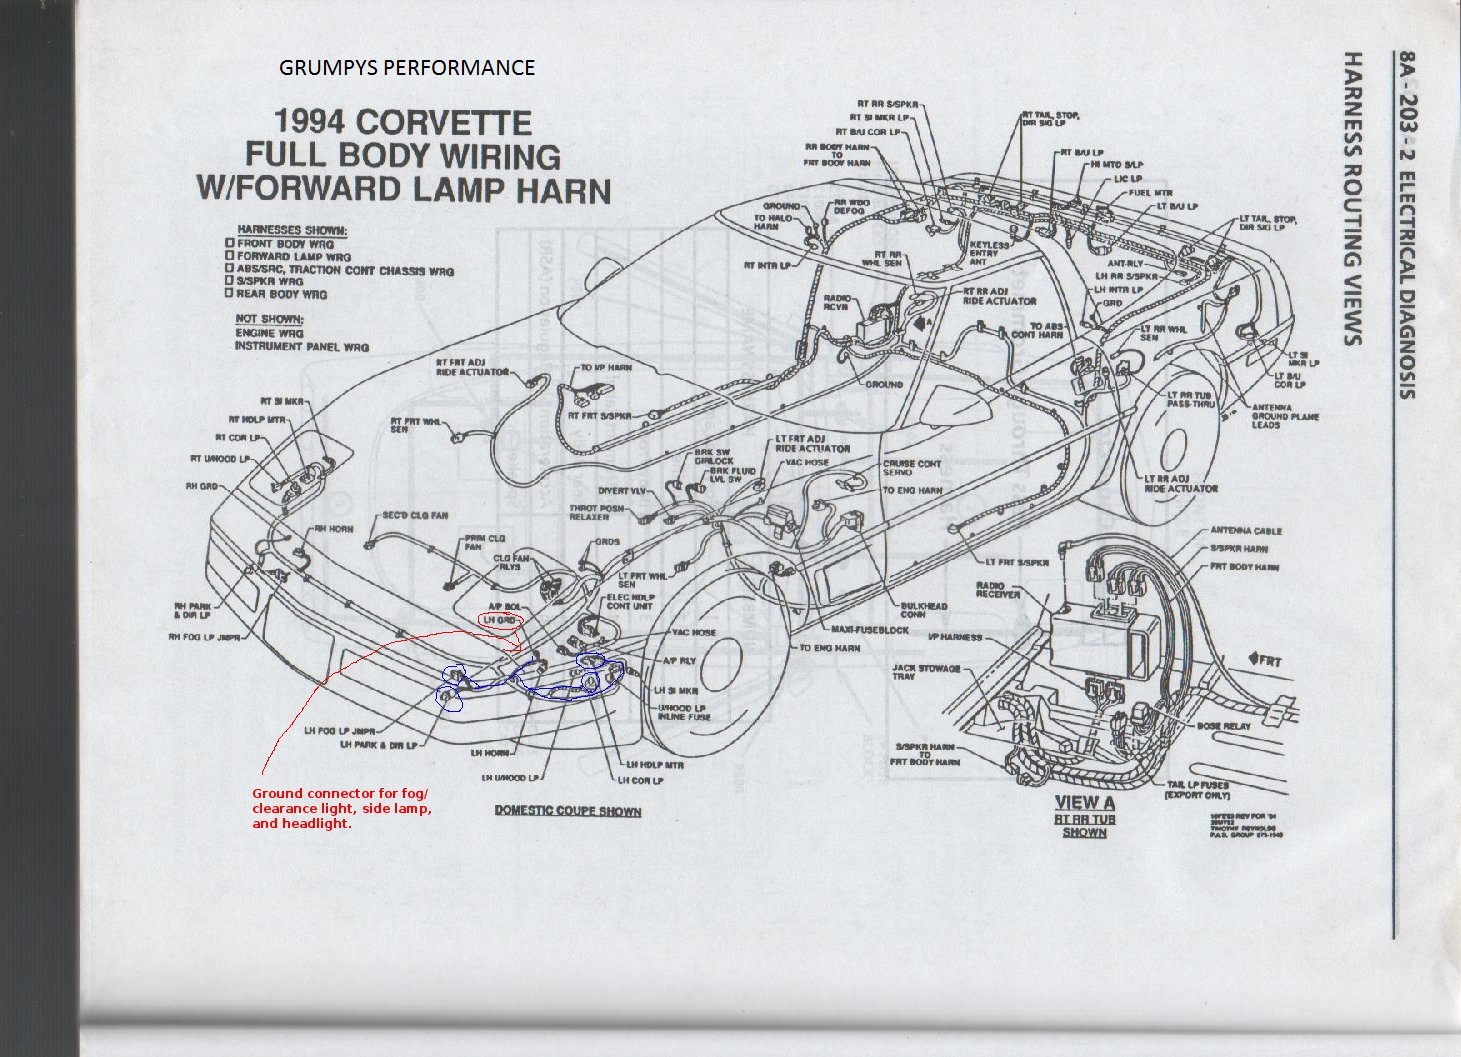
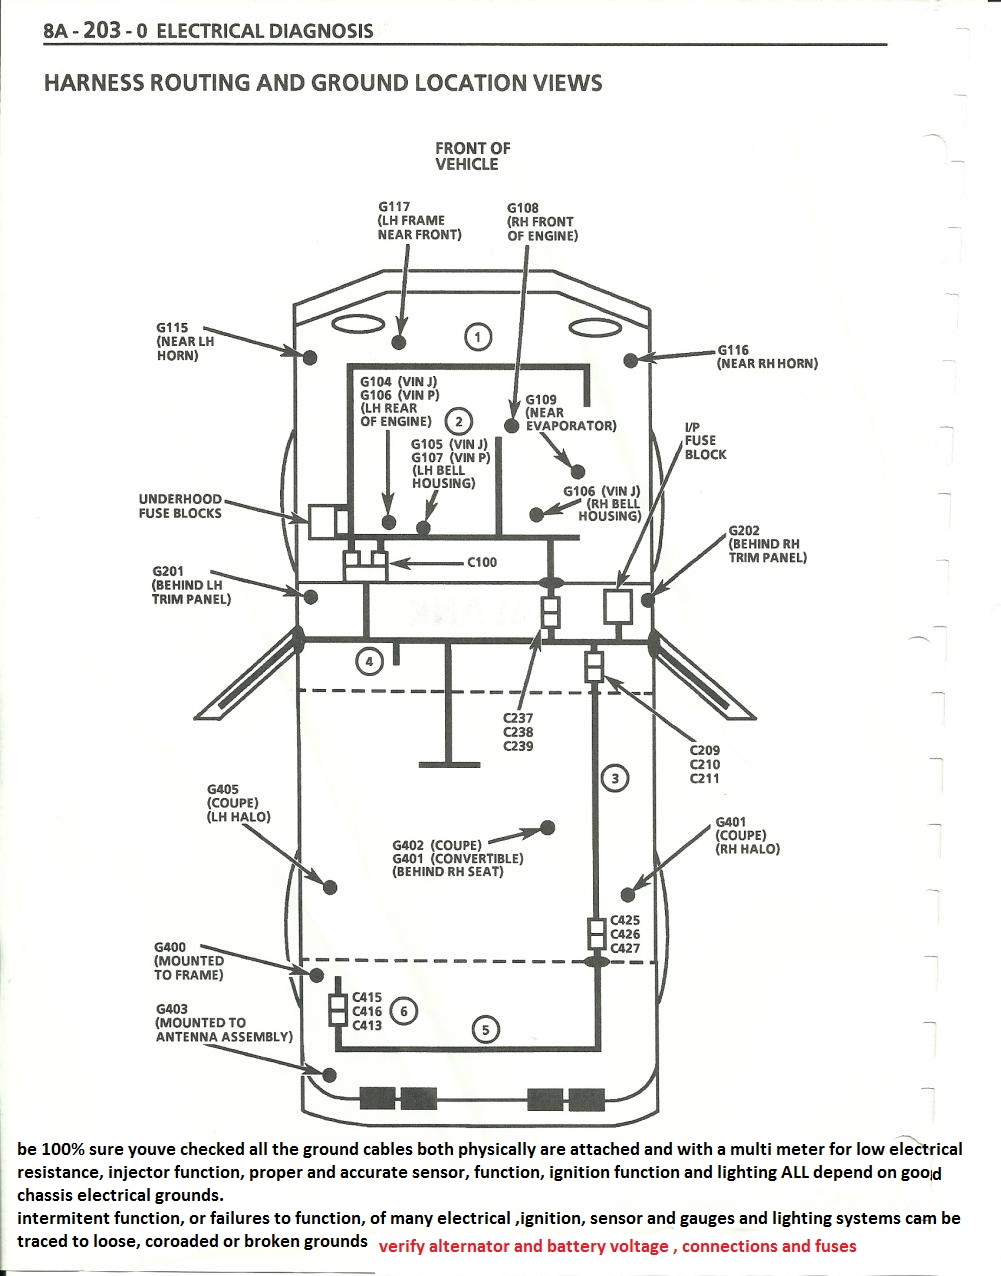
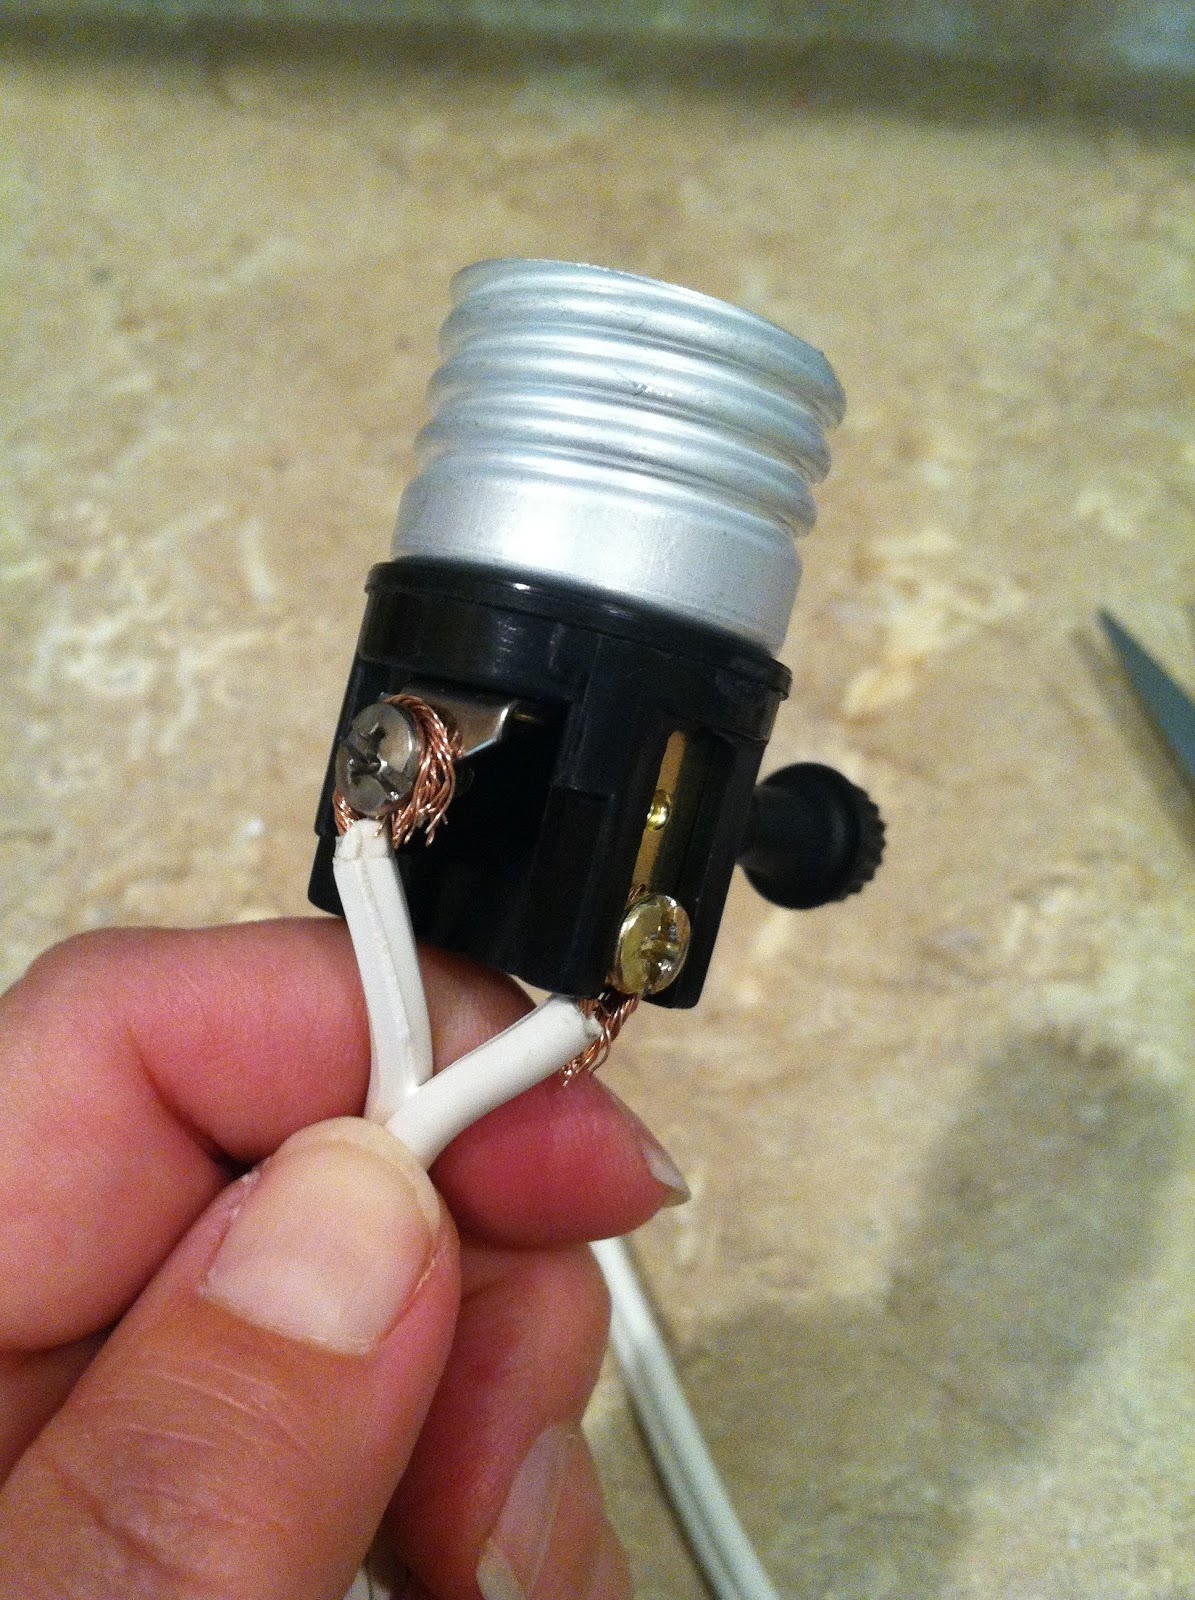
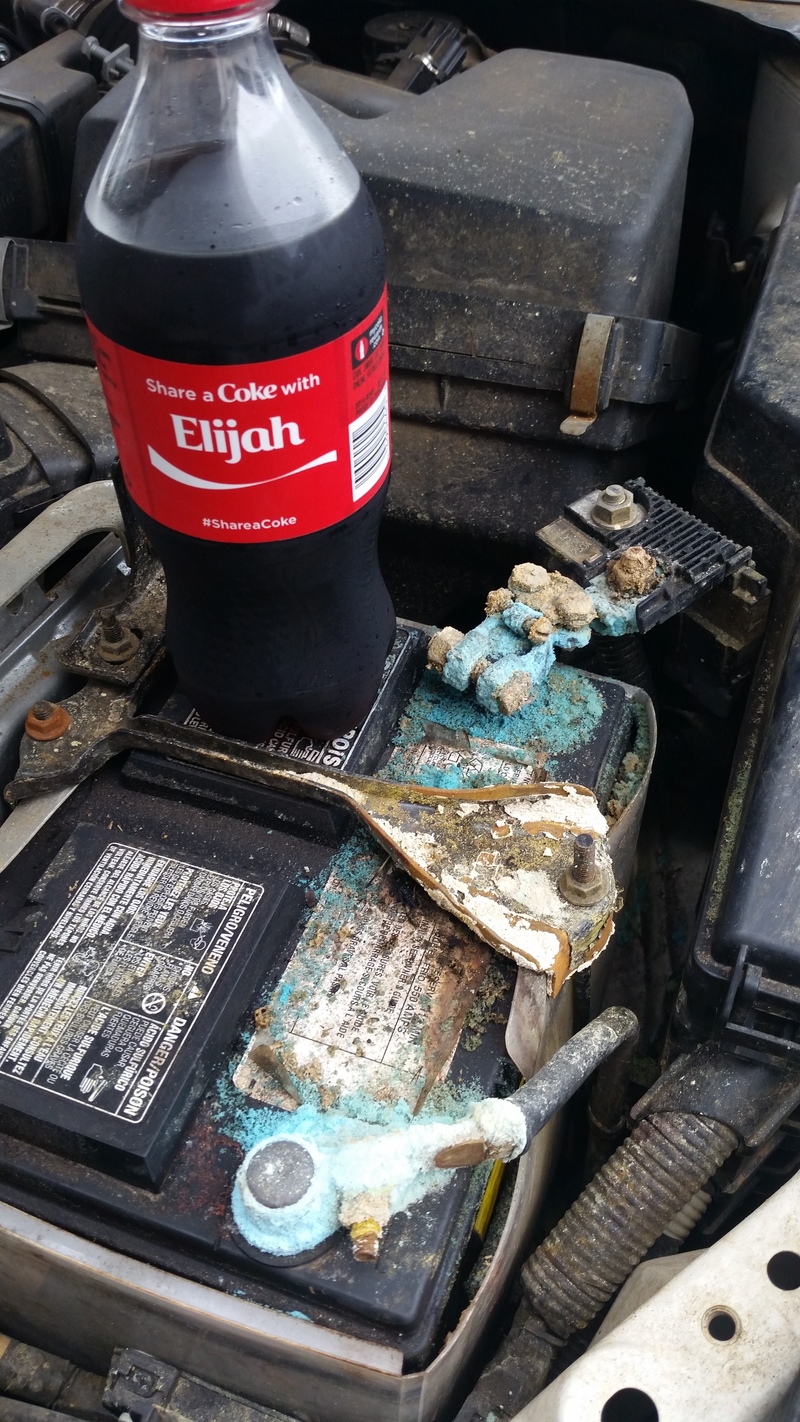
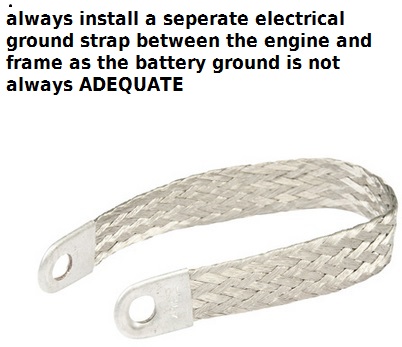
Current flows from Positive to Negative through the battery but flows from Negative to Positive through the circuit, so current leaves the battery on the Negative side, travels through the circuit and back to the Positive terminal. Lot's of inexperienced tech's fail to realize the importance of the ground circuit and focus on the positive side when the ground circuit is equally as important as current flow starts there, a bad ground can also cause a voltage drop and is usually the reason for a component such as the headlights, horn or wipers failing to operate correctly, we can miminize the chance of a bad ground by making sure all connections are clean and making solid metal to metal contact. Also be sure ther is a suitable body ground connecting the chassis to the frame since the frame sits on rubber mounts, the main ground on most GM products is usually bolted to the painted alternator bracket and the painted bracket is bolted to the painted cylinder head and/or block, simply relocating the main ground to a spot on the block can alleviate most if not all of the voltage drop in that circuit, bolting the cable to the head is nice but the head is resting on a non-conductive gasket and electrically connected to the block with head-bolts and since the head-bolt holes are not blind they extend into the water jacket thus making the possibilty of the rust between the bolt and the block itself more likely
Every conductive material has a specific resistance, some conductors have more specific resistance than others and vice versa, the key is to minimize resistance through a circuit so current flows uninhibited by paint, rust or other types of corrosion, sometimes i don't know when to quit but hopefully you have a better understanding and are now armed with the knowledge to correct these factory imperfections operate your vehicle with peace of mind and less chance of electrical fire/s.
http://www.helminc.com/helm
http://www.factoryrepairmanuals.com...ice-manual-2-volume-set-original-shop-repair/
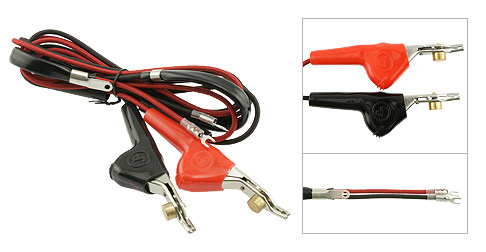
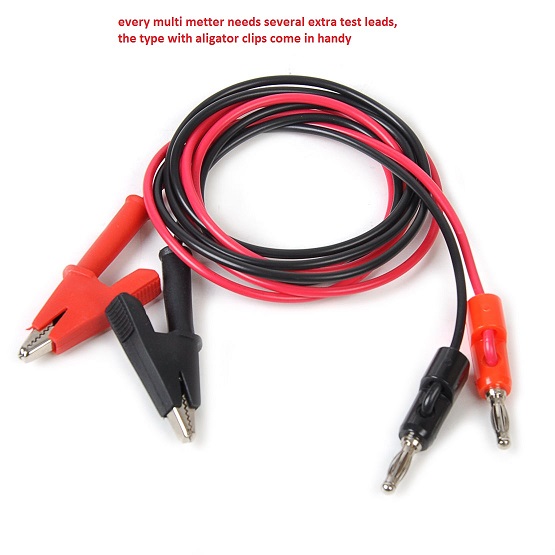
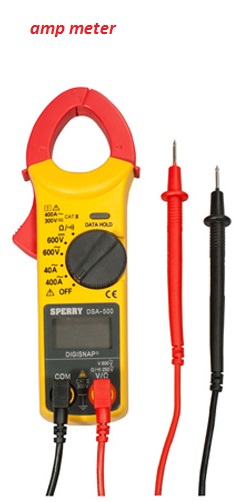
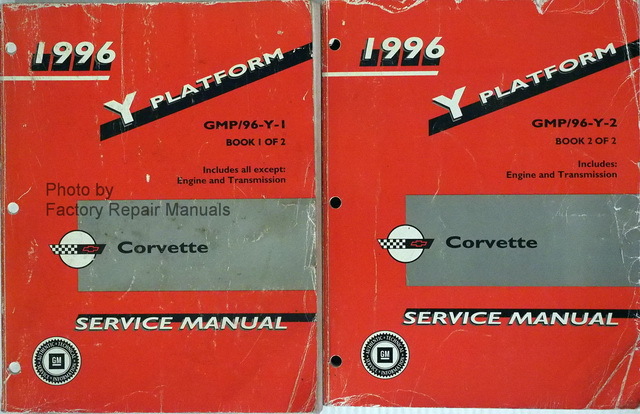
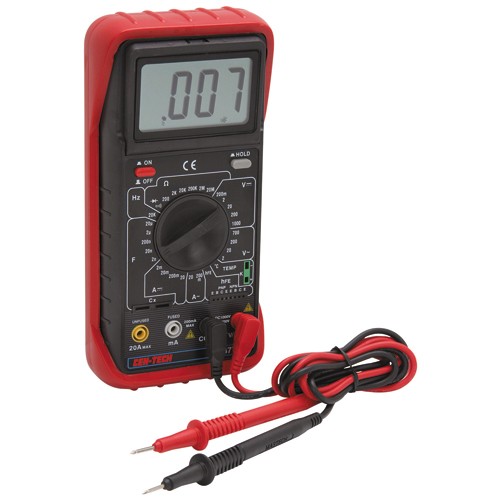
your working at a huge dis-advantage if you don,t have a factory shop manual for your specific year car, and basic tools like a multi-meter, and vacuum /pressure gauge
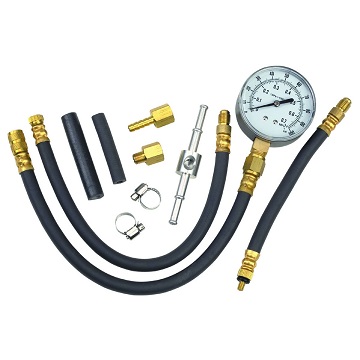
http://www.harborfreight.com/fuel-injection-pump-tester-92699.html
 http://garage.grumpysperformance.co...urrent-flow-grounds-and-more.3504/#post-54625
http://garage.grumpysperformance.co...hooting-tip-for-electronics.11317/#post-51557
https://www.the12volt.com/relays/relaydiagrams.asp (read)
http://www.harborfreight.com/5-in-1-dig ... 98674.html

viewtopic.php?f=50&t=3110&p=12074&hilit=multi+meter#p12074
http://garage.grumpysperformance.com/index.php?threads/chasing-a-crazy-electrical-glitch.986/
http://www.oreillyauto.com/site/c/detai ... &ppt=C0335
http://www.nelcoproducts.com/heat-shrin ... MgodIj8AzQ
http://www.alliedelec.com/search/produc ... U=70113992
http://www.harborfreight.com/42-piece-m ... 67598.html
http://www.harborfreight.com/120-piece- ... 67530.html
http://www.harborfreight.com/127-piece- ... 67524.html
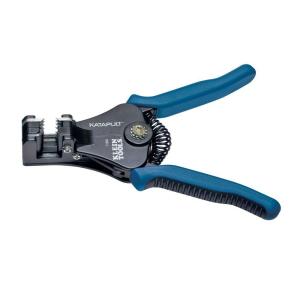
http://www.homedepot.com/s/wire+stripper?NCNI-5
http://www.homedepot.com/p/Ideal-Stripm ... 819657-_-N
http://www.alliedelec.com/search/produc ... U=70222843
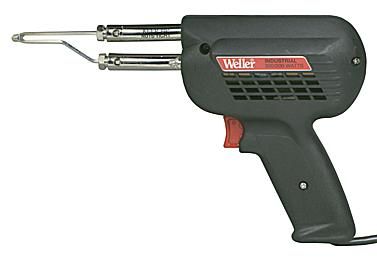
http://www.sears.com/craftsman-professional-dual-heat-soldering-gun/p-00927320000P

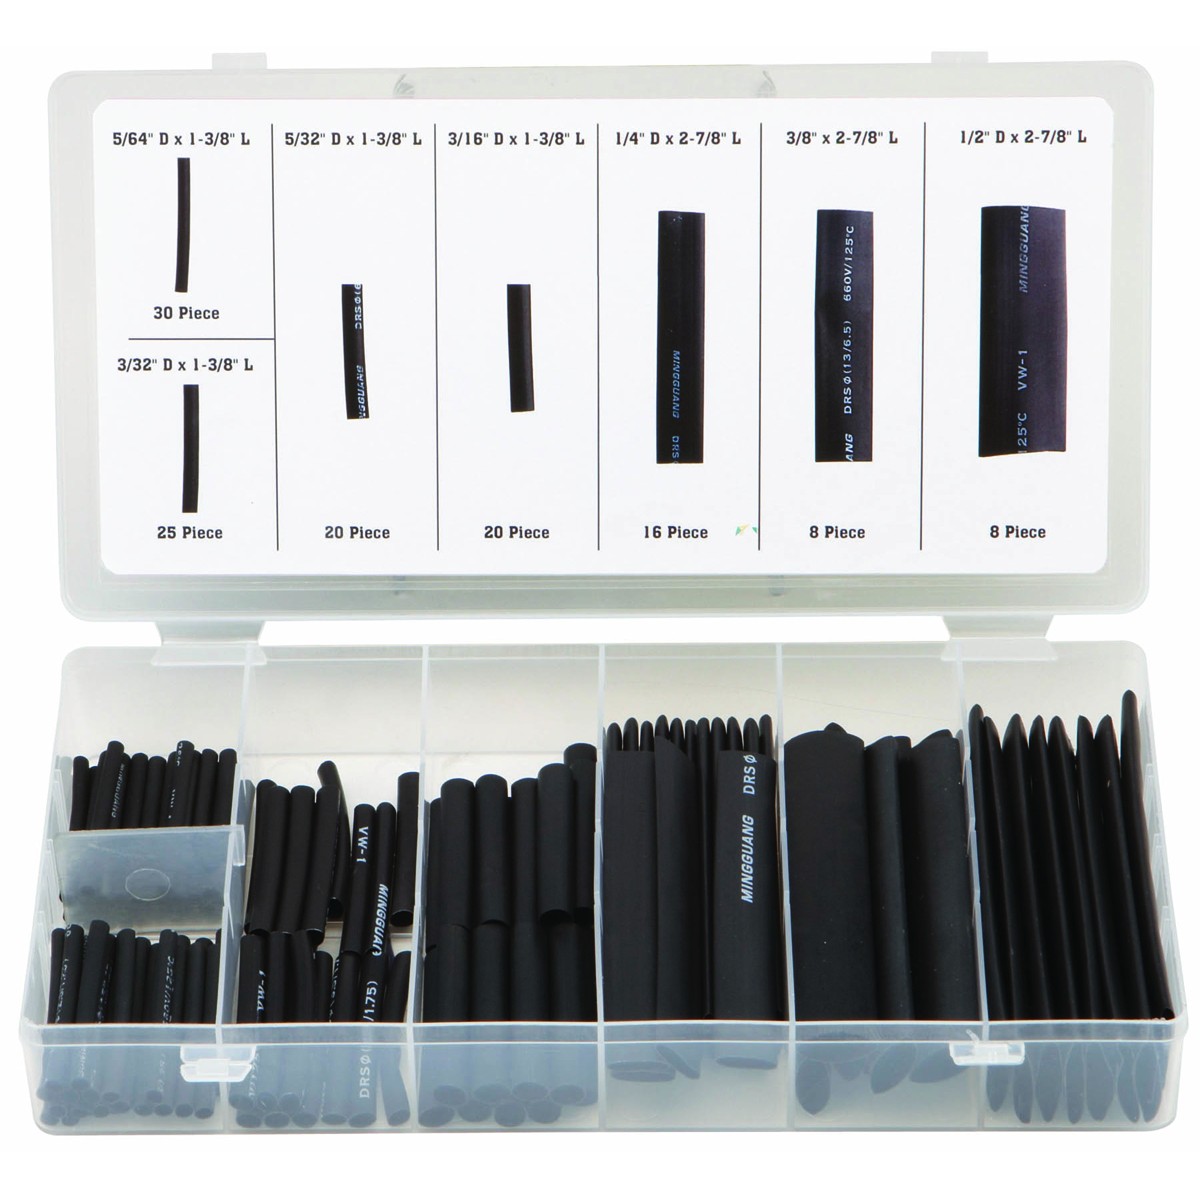
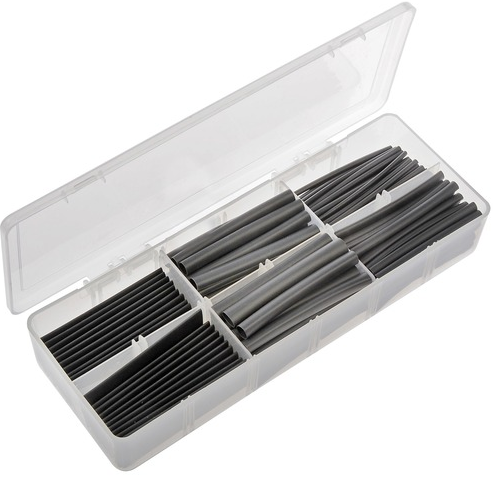
I can,t believe the number of times I use this insulation rubber shrink tube sections ,to make electrical splice repairs so it makes a great deal of sense to buy in the larger package sizes as you get 5-7 times as much tube for less than 3 of the smaller blister packs contain
A lot of older vehicles and their components suffer from Voltage drop, voltage drop occurs when the circuit can't transmit the source voltage to the load, if we follow Ohm's law we disover that if a circuit has constant resistance value and we reduce the Input voltage that the current increases proportionally, current equals heat and that heat destroys component/s and sometimes the circuit itself. The problem lies in the dashboard itself as most of the circuits to operate the various functions have to travel through the printed circuit traces and other connections, every connection in a circuit is a potential area for a voltage drop. You can measure voltage drop by using a voltmeter at the source and then measuring voltage at the load, you may be surprised to find that the headligts are only getting 10VDC but there appear to be 12Volt at the switch, this indicates a 2Volt voltage drop between the switch and the headlights themselves.
To cure the Voltage drop and get full power to the circuit all we need to do is use the signal wire from the switch which normally ran directly to the headlight/s through the dashboard wiring and connect 9t to the signal terminal on a suitable relay, then connect the headlight circuit to the switched output of the relay terminal, then run a heavy gauge wire to supply power to the high-current input terminal of the relay. Now, when we flip the headlight switch all we are doing is activating the high-current switch aka relay and allowing it to transfer it to transfer all available voltage from the source to the load thus eliminating the potentil for a electrical fire in the process by minimizing current flow through the switch itself and it's nominal wiring.
Current flows from Positive to Negative through the battery but flows from Negative to Positive through the circuit, so current leaves the battery on the Negative side, travels through the circuit and back to the Positive terminal. Lot's of inexperienced tech's fail to realize the importance of the ground circuit and focus on the positive side when the ground circuit is equally as important as current flow starts there, a bad ground can also cause a voltage drop and is usually the reason for a component such as the headlights, horn or wipers failing to operate correctly, we can miminize the chance of a bad ground by making sure all connections are clean and making solid metal to metal contact. Also be sure ther is a suitable body ground connecting the chassis to the frame since the frame sits on rubber mounts, the main ground on most GM products is usually bolted to the painted alternator bracket and the painted bracket is bolted to the painted cylinder head and/or block, simply relocating the main ground to a spot on the block can alleviate most if not all of the voltage drop in that circuit, bolting the cable to the head is nice but the head is resting on a non-conductive gasket and electrically connected to the block with head-bolts and since the head-bolt holes are not blind they extend into the water jacket thus making the possibilty of the rust between the bolt and the block itself more likely
Every conductive material has a specific resistance, some conductors have more specific resistance than others and vice versa, the key is to minimize resistance through a circuit so current flows uninhibited by paint, rust or other types of corrosion, sometimes i don't know when to quit but hopefully you have a better understanding and are now armed with the knowledge to correct these factory imperfections operate your vehicle with peace of mind and less chance of electrical fire/s.
http://www.helminc.com/helm
http://www.factoryrepairmanuals.com...ice-manual-2-volume-set-original-shop-repair/
your working at a huge dis-advantage if you don,t have a factory shop manual for your specific year car, and basic tools like a multi-meter, and vacuum /pressure gauge
http://www.harborfreight.com/fuel-injection-pump-tester-92699.html
http://garage.grumpysperformance.co...hooting-tip-for-electronics.11317/#post-51557
https://www.the12volt.com/relays/relaydiagrams.asp (read)
http://www.harborfreight.com/5-in-1-dig ... 98674.html
viewtopic.php?f=50&t=3110&p=12074&hilit=multi+meter#p12074
http://garage.grumpysperformance.com/index.php?threads/chasing-a-crazy-electrical-glitch.986/
http://www.oreillyauto.com/site/c/detai ... &ppt=C0335
http://www.nelcoproducts.com/heat-shrin ... MgodIj8AzQ
http://www.alliedelec.com/search/produc ... U=70113992
http://www.harborfreight.com/42-piece-m ... 67598.html
http://www.harborfreight.com/120-piece- ... 67530.html
http://www.harborfreight.com/127-piece- ... 67524.html
http://www.homedepot.com/s/wire+stripper?NCNI-5
http://www.homedepot.com/p/Ideal-Stripm ... 819657-_-N
http://www.alliedelec.com/search/produc ... U=70222843
http://www.sears.com/craftsman-professional-dual-heat-soldering-gun/p-00927320000P
I can,t believe the number of times I use this insulation rubber shrink tube sections ,to make electrical splice repairs so it makes a great deal of sense to buy in the larger package sizes as you get 5-7 times as much tube for less than 3 of the smaller blister packs contain
Last edited by a moderator:


 .
.