http://www.mortec.com/journal.htm
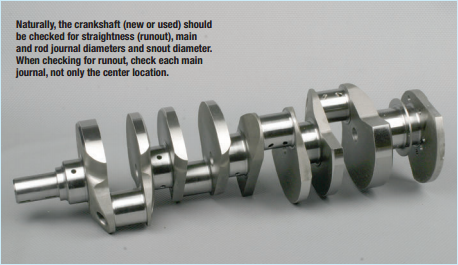
Gen.I, "Medium Journal", includes "Vortec" 305 and 350 thru '98
262...Mains-2.45"-Rods-2.10"
267...Mains-2.45"-Rods-2.10"
302...Mains-2.45"-Rods-2.10"
305...Mains-2.45"-Rods-2.10"
307...Mains-2.45"-Rods-2.10"
327...Mains-2.45"-Rods-2.10"
350...Mains-2.45"-Rods-2.10"
Common assembly clearances
you'll
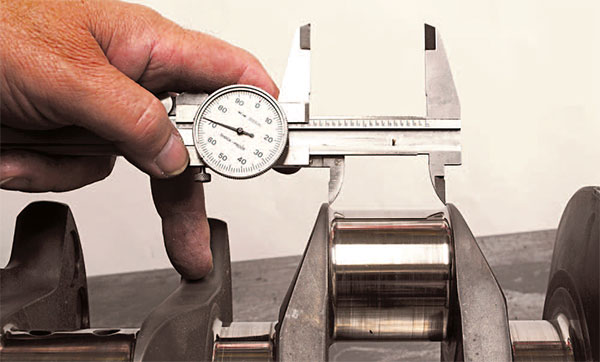
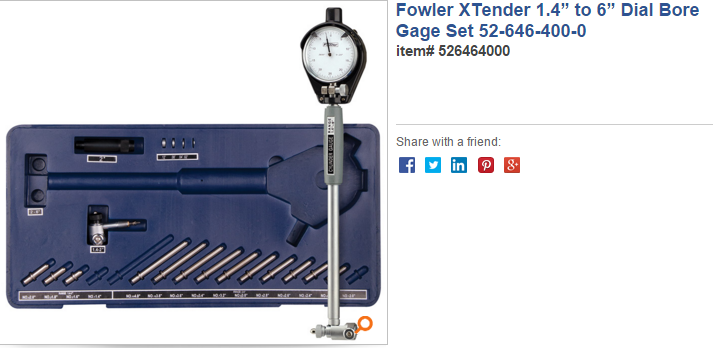
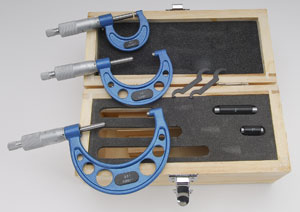
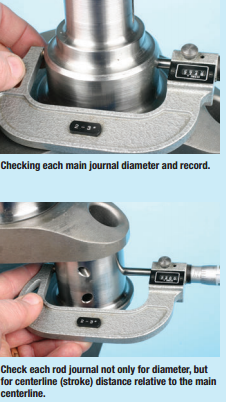
need accurate precision measuring tools
http://garage.grumpysperformance.com/index.php?threads/precision-measuring-tools.1390/
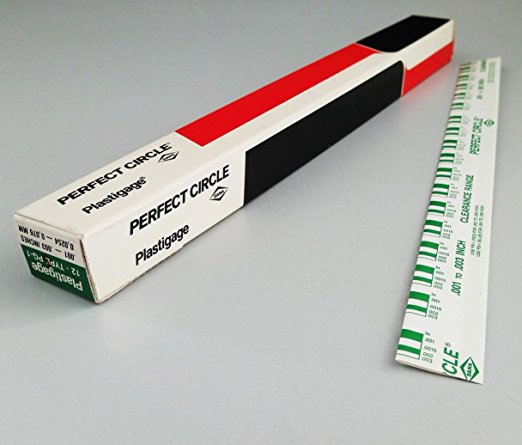
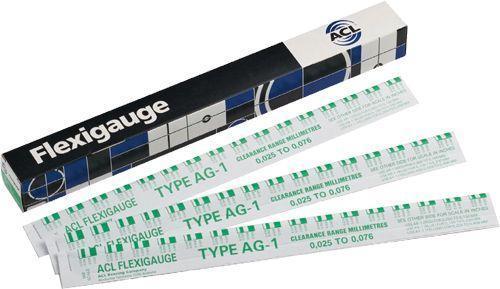
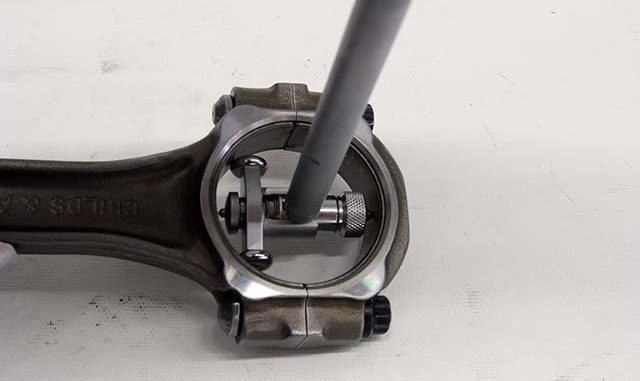
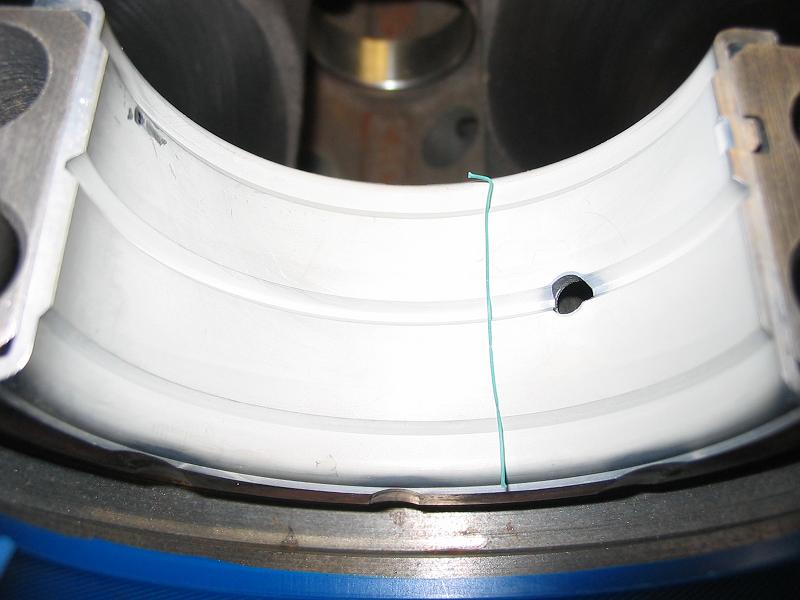
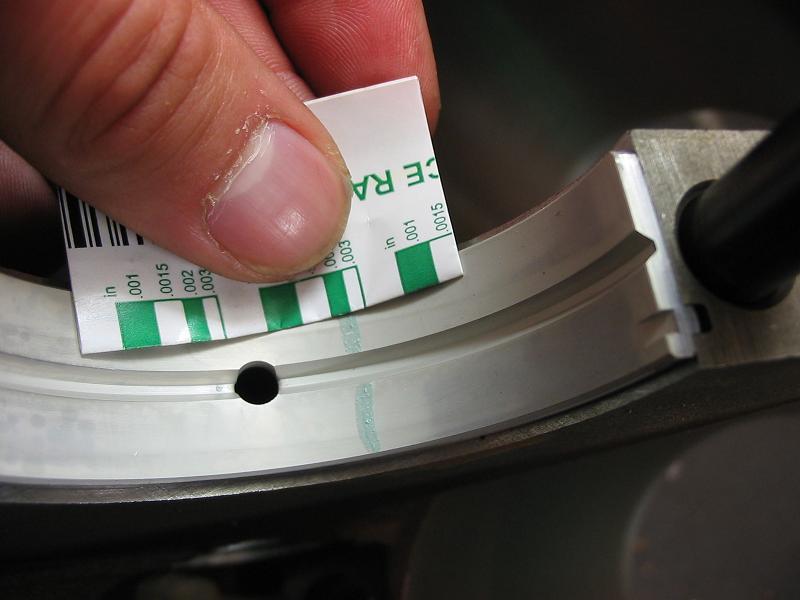
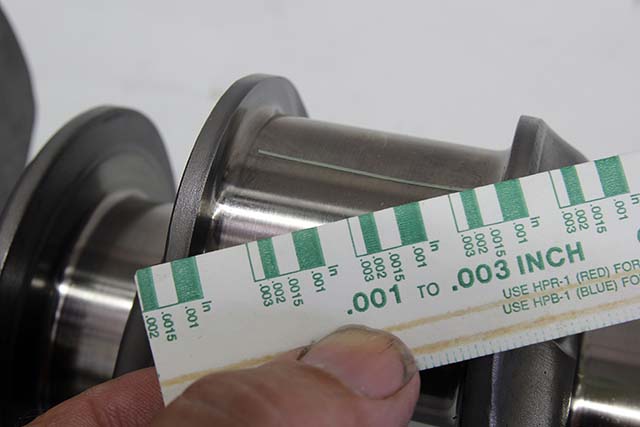
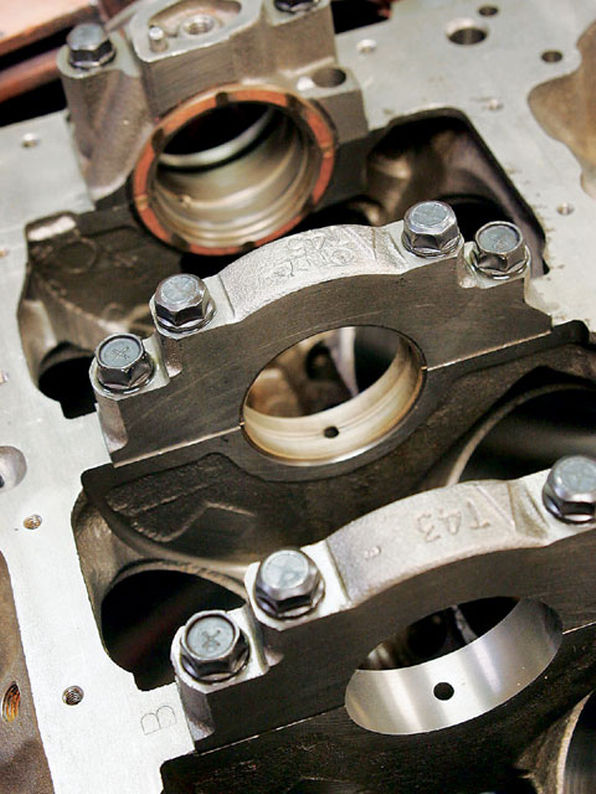
if your certain the bearing clearances measurements are correct, with the plasti-gauge used to verify, once the short block assembly is assembled.
(and ID certainly take the measurement on bearing clearances,
on all the main journals then rotate the crank about 120 degrees and do it again ,twice too be sure,)
verify with plasti gauge you should be good to go,
if those bearing clearances fall into the ranges stated below.
CHECKING TRUST BEARING CLEARANCE
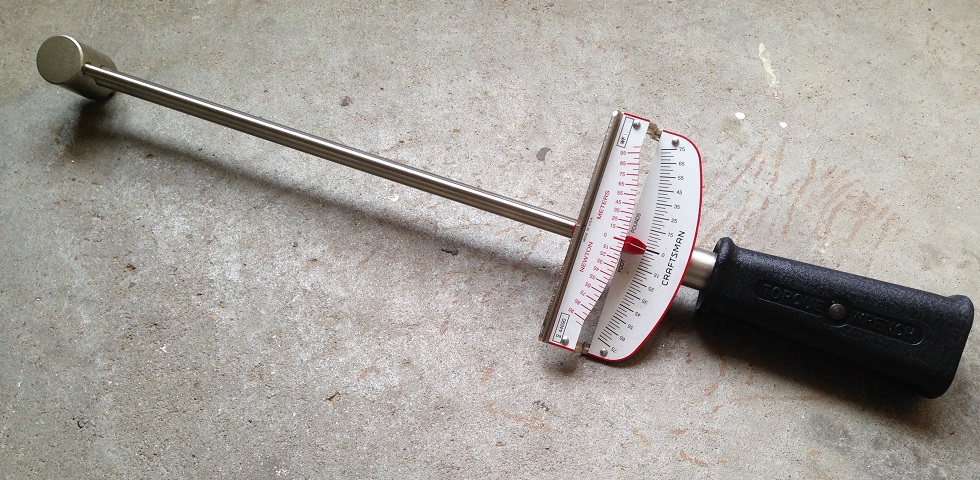
THIS BEAM STYLE TORQUE WRENCH IS THE TYPE TORQUE WRENCH YOU WANT TO CHECK ROTATIONAL RESISTANCE
yes it always helps too double check bearing clearances and take the time too verify oil passages are clean,
and bearing oil feed holes properly line up with the oil feed passages and verify,
those clearances, and not just simply assume, they are correct
, and assemble and re-verify those clearances.
Question: Can plastic gauge read correctly if used on a crank already oiled or with assembly lube?? I am wanting to confirm the work done by my machine shop but I do not want to tear it down and dry it off, just see if they did the clearances correctly. I figure to check one or two main caps...
garage.grumpysperformance.com
related info.
http://garage.grumpysperformance.com/index.php?threads/bearing-clearances.2726/page-2#post-75256
http://garage.grumpysperformance.com/index.php?threads/bearings-and-oil-flow.150/#post-68205
http://garage.grumpysperformance.co...ed-holes-in-bearings-shells.10750/#post-64733
http://garage.grumpysperformance.com/index.php?threads/precision-measuring-tools.1390/
I’m looking for the best quality precision tools on a limited budget (i.e. I don't want to pay $300 for one mic). I plan on building the occasional small- & big-block Chevy (more than one, less than 1000). Names that come up on the limited results I’ve found on the web include Starrett...
garage.grumpysperformance.com
https://www.carshopinc.com/product_info.php/products_id/49347/SPG1-12
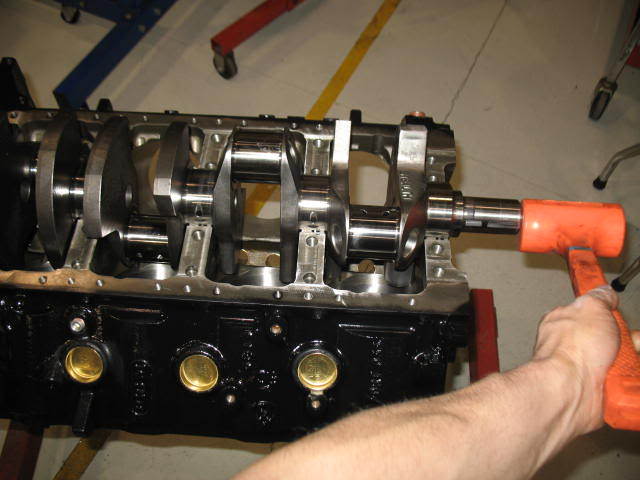
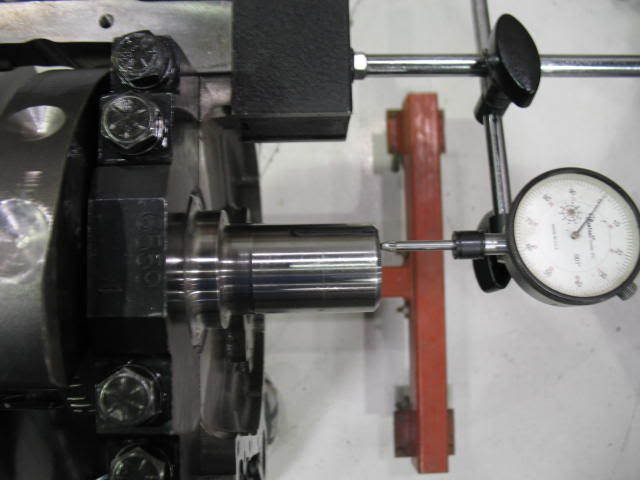
ID SUGGEST YOU KNOCK THE CRANK FRONT TO BACK IN BOTH DIRECTIONS WITH A PLASTIC DEAD BLOW HAMMER SEVERAL TIMES TOO SEAT THE THRUST BEARING BEFORE MEASURING CLEARANCE WITH A DIAL INDICATOR ON THE CRANK SNOUT! (IDEALLY .007-.010)
you can increase thrust bearing clearance, a couple thousands if required, by polishing the thrust bearing to crank surface on a sheet of wet, fine grit, sand paper ,on a sheet of glass, with 1000 grit wet/dry sand paper in a figure 8 pattern obviously clean the bearing carefully befor re-installing it!
ALWAYS PAY ATTENTION TO THE PICTURES AND LINKS AND SUB LINKS
NOTICE NO CONNECTING RODS ON THE CRANK WHILE VERIFYING THRUST BEARING CLEARANCES
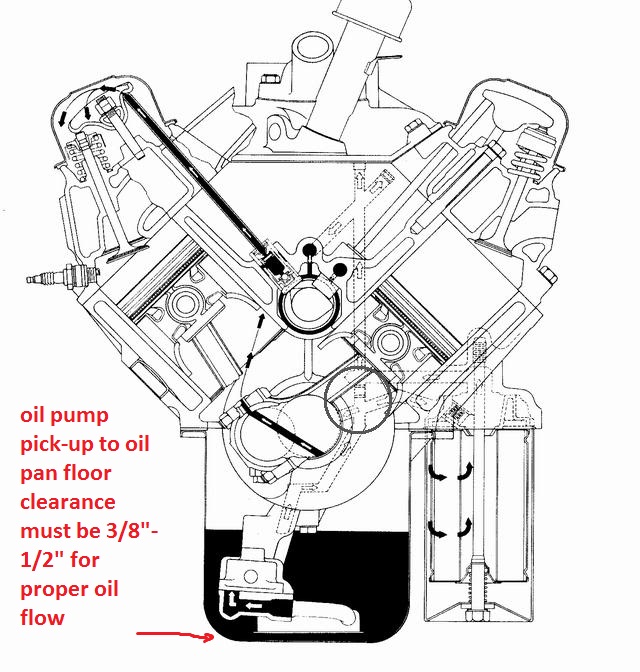
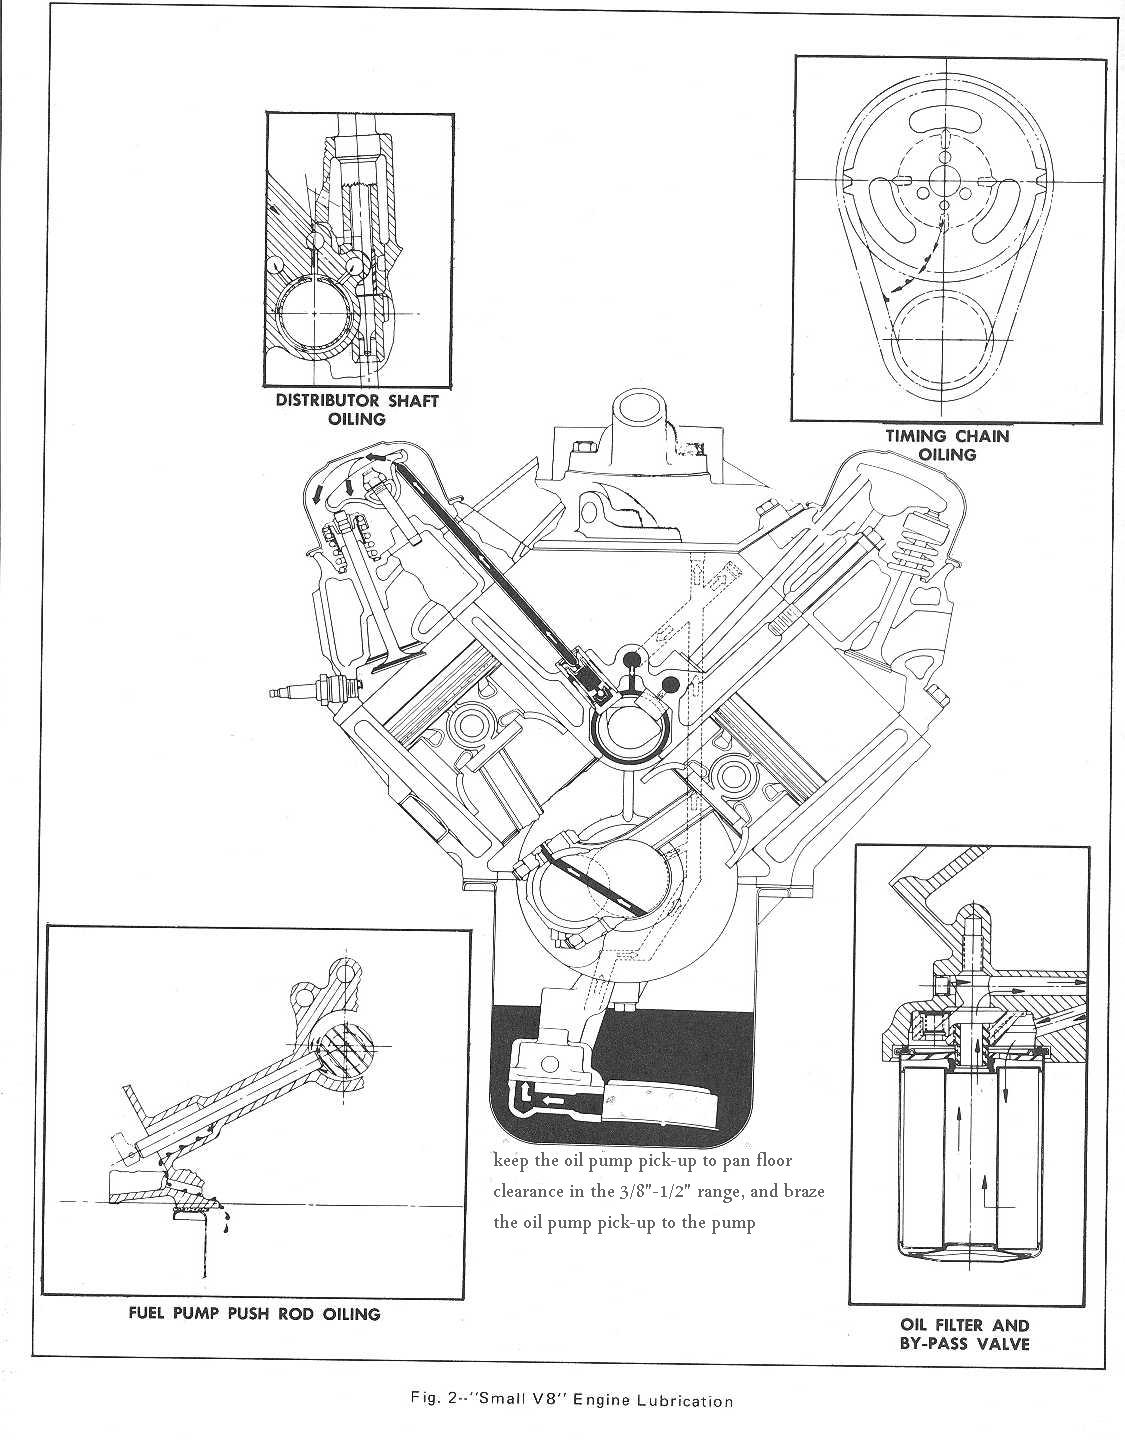
yes Ive seen several cases where guys failed to install the oil pump pick-up at the proper minimum 3/8"-to-1/2" off the oil pan floor clearance,
the result is the pump is starved for oil intake flow.
yes Im fully aware most people don,t bother to read the links and sub-links
UNTIL they have expensive parts fail.
but for the few people on the web site that might prefer spending less time and cash replacing expensive failed parts,
and financing the machine shop owners vacations and paying his mortgage... I post them anyway
http://garage.grumpysperformance.co...m-sure-your-convinced-its-the-oil-pump.11085/
http://garage.grumpysperformance.co...m-oil-pump-installed-now-no-oil-pressure.525/
http://garage.grumpysperformance.com/index.php?threads/bbc-oil-pump-in-a-sbc.2598/
http://www.harborfreight.com/4-lb-neon-orange-dead-blow-hammer-69004.html
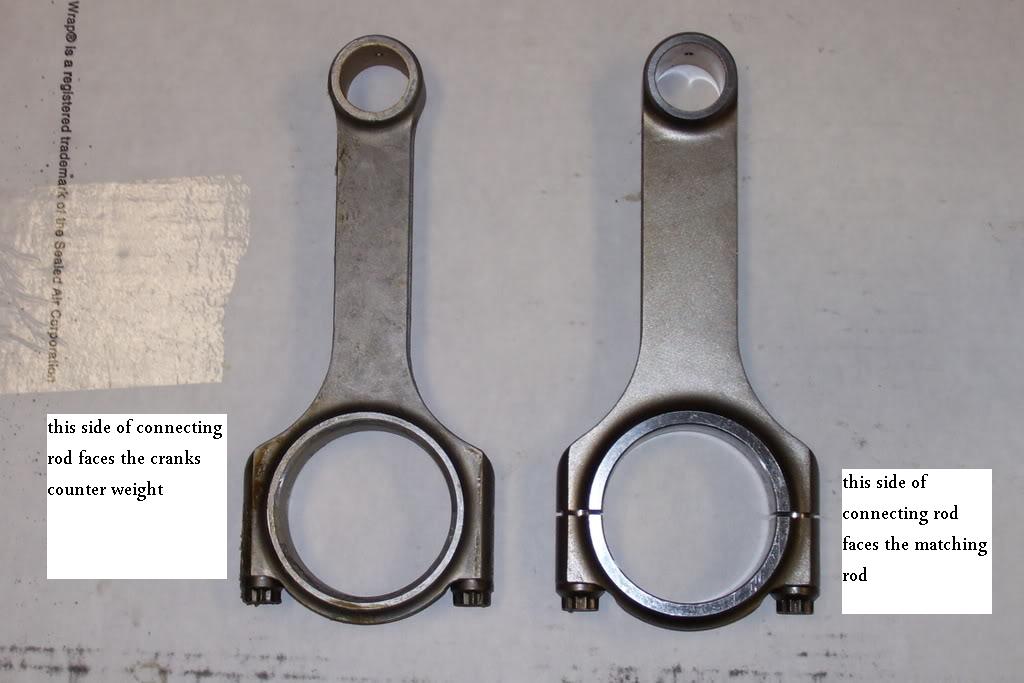
every engine builder needs a plastic dead blow hammer, After torquing the main caps in place and before installing connecting rods you'll need to drive the crank back and forward in the main bearing saddles a few times fore and aft, to properly seat the thrust bearing before taking clearance measurements, and only then proceed to the rod & piston install, rotational resistance checks and checking rod side clearance during assembly.
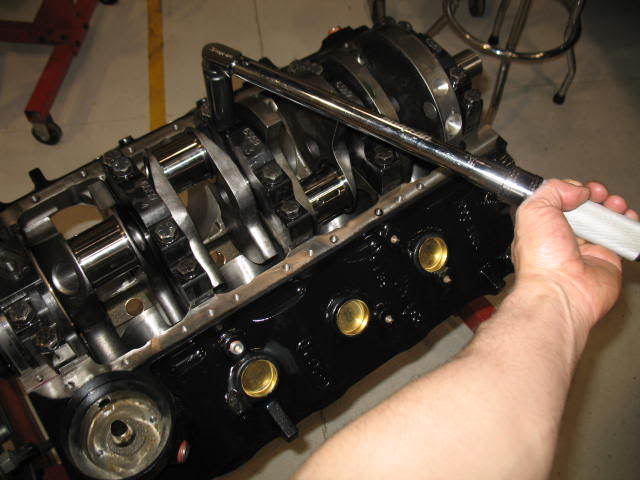
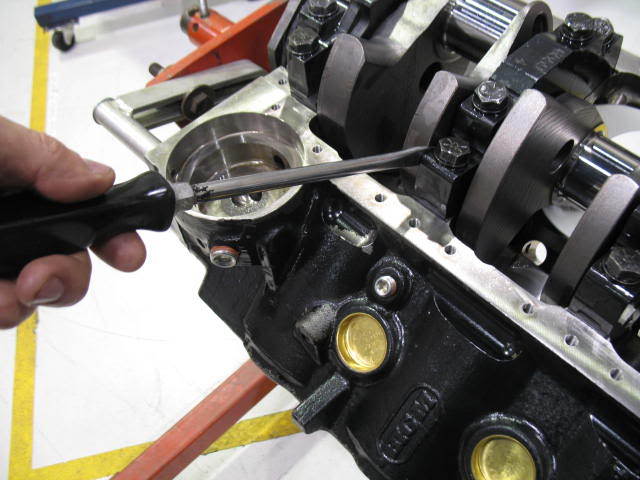
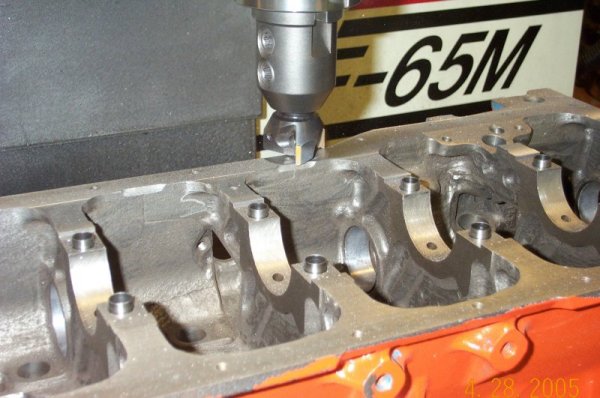
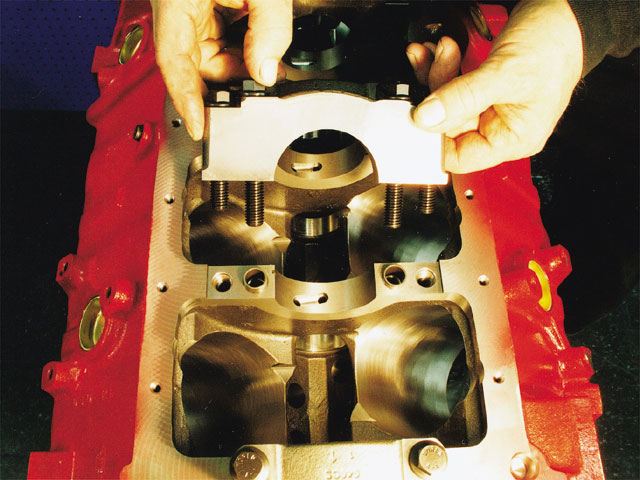
keep in mind both the main caps base and the area in the block must be machine precisely parallel , and there is a slight interference fit into a slight recess in the block on most engines to help prevent the caps moving once tightened into place by the main cap bolts or main cap studs. on some performance engines its fairly common for a hollow sleeve,s inserted 1/2 its short length, into the block and 1/2 its length into a shallow recess into the main caps, too fit into matching recesses around the main cap studs , this locates and prevents lateral movement of the main caps
Directions for crankshaft grinding and polishing
Crankshaft journal surfaces should be ground and polished to a surface finish of 15 micro inches roughness average Ra or better. Journals on highly loaded crankshafts such as diesel engines or high performance racing engines require a finish of 10 micro inches Ra or better.
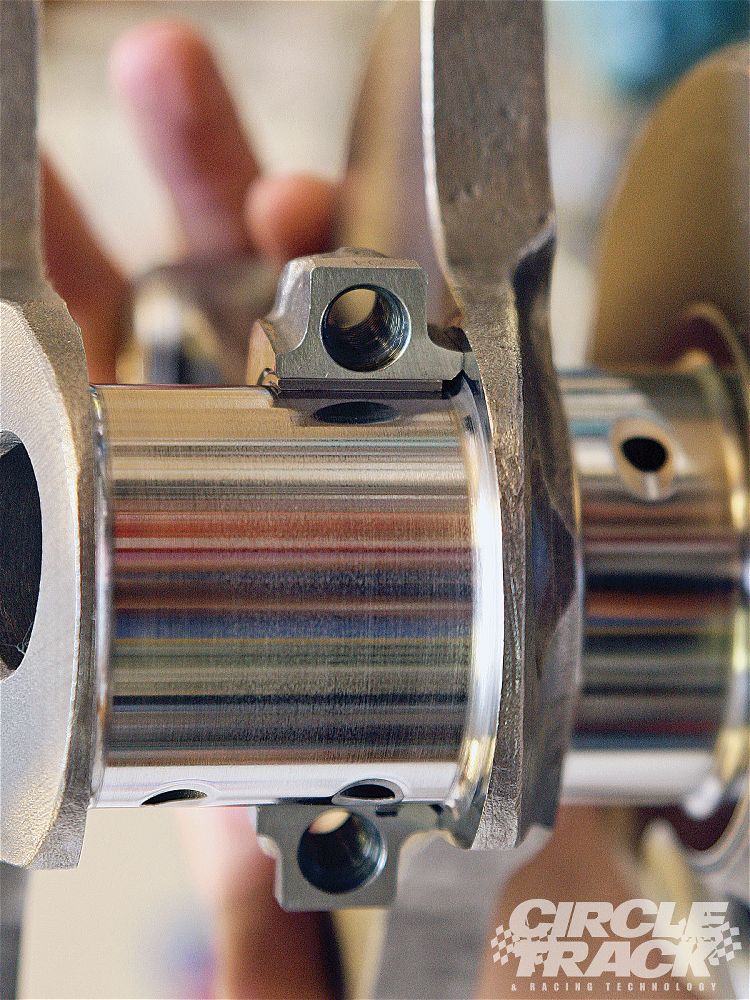
The above is a simple straight forward specification which can be measured with special equipment. However, there is more to generating a ground and polished surface than just meeting the roughness specification. To prevent rapid, premature wear of the crankshaft bearings and to aid in the formation of an oil film, journal surfaces must be ground opposite to engine rotation and polished in the direction of rotation. This recommendation and examination of the following illustrations will help make the recommendation more clear.
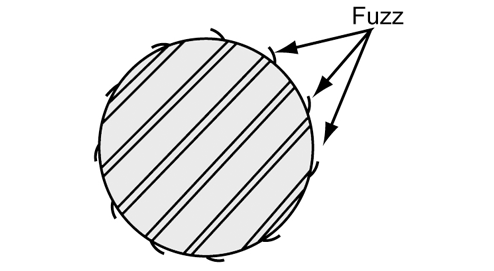
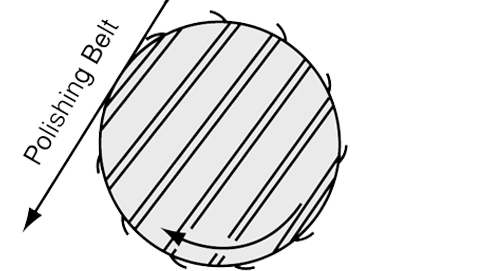
Metal removal tends to raise burrs. This is true of nearly all metal removal processes. Different processes create different types of burrs. Grinding and polishing produces burrs that are so small that we can't see or feel them but they are there and can damage bearings if the shaft surface is not generated in the proper way. Rather than "burrs", let's call what results from grinding and polishing "microscopic fuzz." This better describes what is left by these processes. This microscopic fuzz has a grain or lay to it like the hair on a dog's back. Figure 1 is an illustration depicting the lay of this fuzz on a journal. (Note: All figures are viewed from nose end of crankshaft.)
The direction in which a grinding wheel or polishing belt passes over the journal surface will determine the lay of the micro fuzz.
In order to remove this fuzz from the surface, each successive operation should pass over the journal in the opposite direction so that the fuzz will be bent over backward and removed. Polishing in the same direction as grinding would not effectively remove this fuzz because it would merely lay down and then spring up again. Polishing must, therefore, be done opposite to grinding in order to improve the surface.
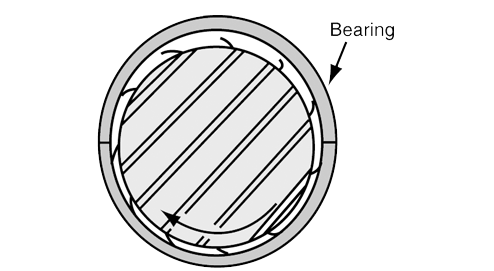
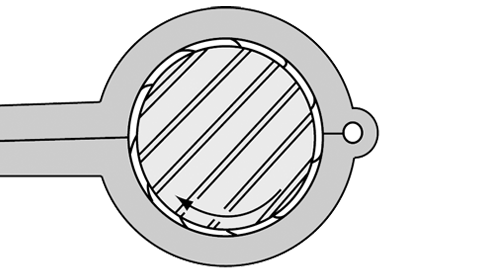
In order to arrive at how a shaft should be ground and polished, we must first determine the desired end result and then work backwards to establish how to achieve it. Figure 2 depicts a shaft turning in a bearing viewed from the front of a normal clockwise rotating engine. The desired condition is a journal with any fuzz left by the polishing operation oriented so it will lay down as the shaft passes over the bearing (Figure 2).
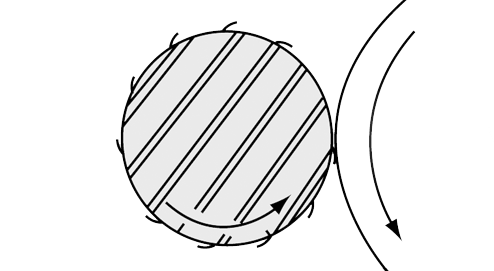
The analogy to the shaft passing over the bearing is like petting a dog from head to tail. A shaft polished in the opposite direction produces abrasion to the bearing which would be like petting a dog from tail to head. To generate a surface lay like that shown in Figure 2, the polishing belt must pass over the shaft surface as shown in Figure 3.
The direction of shaft rotation during polishing is not critical if a motorized belt type polisher is used because the belt runs much faster than the shaft. If a nutcracker-type polisher is used, then proper shaft rotation must be observed (Figure 4). Stock removal during polishing must not exceed .0002" on the diameter.
Having determined the desired surface lay from polishing, we must next establish the proper direction for grinding to produce a surface lay opposite to that resulting from polishing. Figure 5 shows the grinding wheel and shaft directions of rotation and surface lay for grinding when viewed from the front or nose end of the crankshaft. This orientation will be achieved by chucking the flywheel flange at the left side of the grinder (in the headstock). Achieving the best possible surface finish during grinding will reduce the stock removal necessary during polishing.
The surface lay generated by grinding would cause abrasion to the bearing surfaces if left unpolished. By polishing in the direction shown in either Figure 3 or 4, the surface lay is reversed by the polishing operation removing fuzz created by grinding and leaving a surface lay which will not abrade the bearing surface.
Nodular cast iron shafts are particularly difficult to grind and polish because of the structure of the iron. Nodular iron gets its name from the nodular form of the graphite in this material. Grinding opens graphite nodules located at the surface of the journal leaving ragged edges which will damage a bearing. Polishing in the proper direction will remove the ragged edges from these open nodules.
All of the above is based on normal clockwise engine rotation when viewed from the front of the engine. For crankshafts which rotate counterclockwise, such as some marine engines, the crankshaft should be chucked at its opposite end during grinding and polishing. This is the same as viewing the crank from the flanged end rather than the nose end in the accompanying figures.
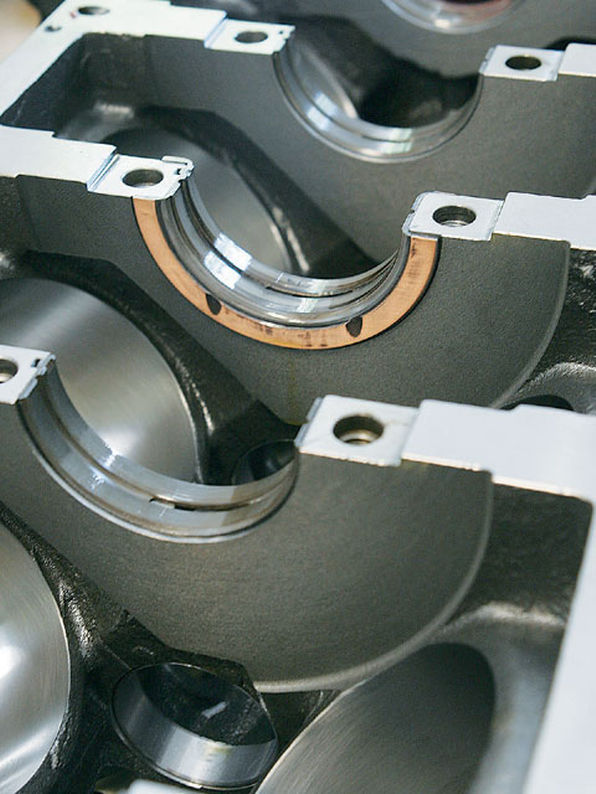
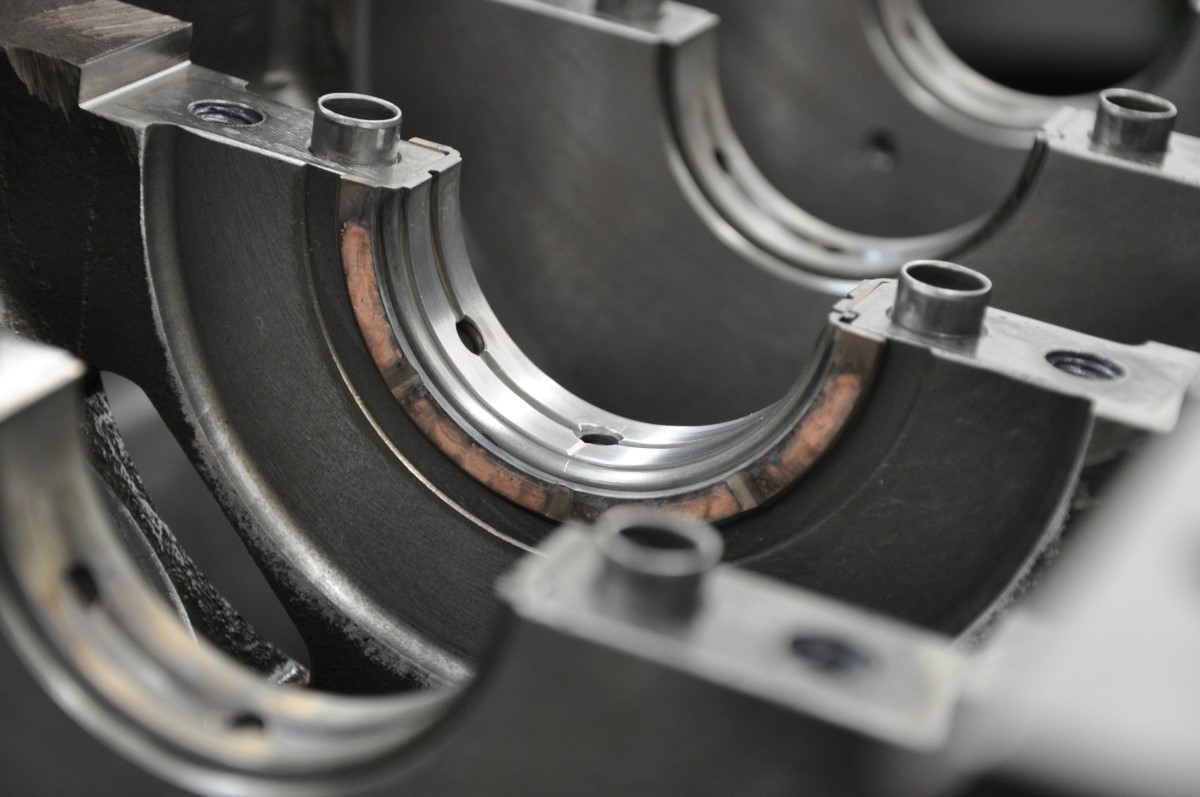
Unlike many engine bearings available today, Clevite engine bearings utilize a superior Clevite TriMetal™ material design. Stamped "Clevite®," this design incorporates the strength of a copper-lead alloy layer on a steel back and finally, a precision electroplated white metal "babbitt" third layer. TriMetal™ is an ideal bearing design producing good to excellent characteristics when judged for conformability, embedability, slipperiness and fatigue resistance.
We constantly monitor the function and operation of our full line of bearings, staying in touch with any changes or developments that new engines may require. And that translates into bearings that are better for your engine. If you're looking for the engine bearings that set the standards, specify Clevite®. Because you won't settle for second best.
http://garage.grumpysperformance.com/index.php?threads/thrust-bearing-wear.619/
http://garage.grumpysperformance.co...gine-project-dart-shp.3814/page-23#post-21571
http://garage.grumpysperformance.co...hrust-bearing-failure-info-related-info.1138/
http://garage.grumpysperformance.com/index.php?threads/causes-of-bearing-failure.2727/#post-13056
http://garage.grumpysperformance.com/index.php?threads/bearing-clearances.2726/#post-7077
http://garage.grumpysperformance.com/index.php?threads/bearing-clearances.2726/#post-26599
http://garage.grumpysperformance.com/index.php?threads/repair-or-replace-350-crank.14181/
http://garage.grumpysperformance.com/index.php?threads/rotating-assembly-bearings.9527/
http://garage.grumpysperformance.co...g-up-oil-feed-holes-in-bearings-shells.10750/
http://garage.grumpysperformance.com/index.php?threads/oil-system-mods-that-help.2187/
http://garage.grumpysperformance.com/index.php?threads/analyzing-piston-damage.16432/
http://garage.grumpysperformance.co...ank-durring-short-blk-assembly.852/#post-1534
http://garage.grumpysperformance.com/index.php?threads/crankshaft-journal-surface-finnish.2728/
they make bearing sets that are either .001 under and over sized as one option
heres what Ive used for decades
.
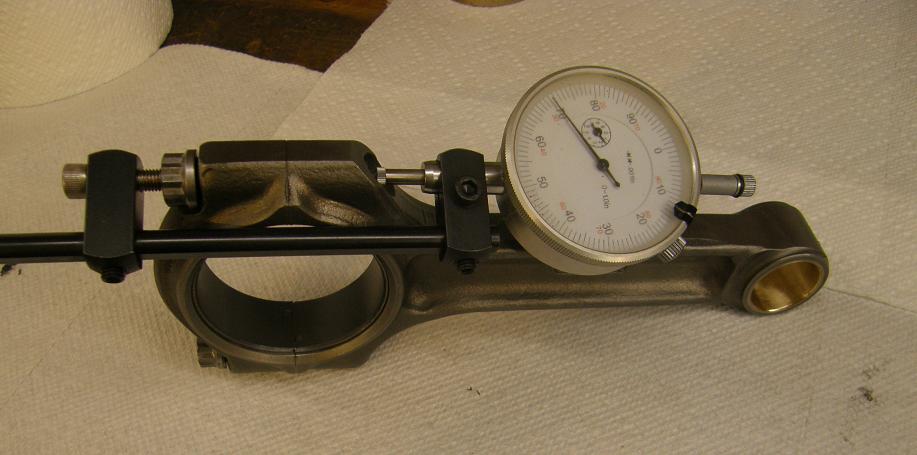
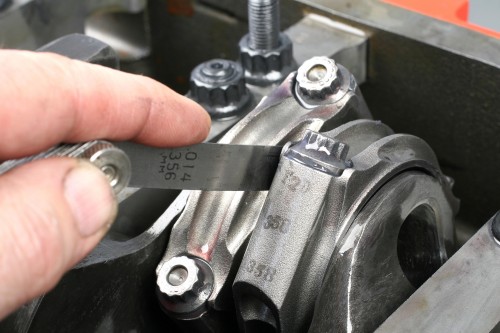
Rod bearings 0.002 - 0.025" , side clearance 0.010 - 0.020"
Main bearings 0.002 - 0.003" for most engines
( 0.020-0.025 bearing clearance on small blocks,
.025-.027 bearing clearance is about ideal, on big blocks )
, 0.005 - 0.007 crankshaft end play
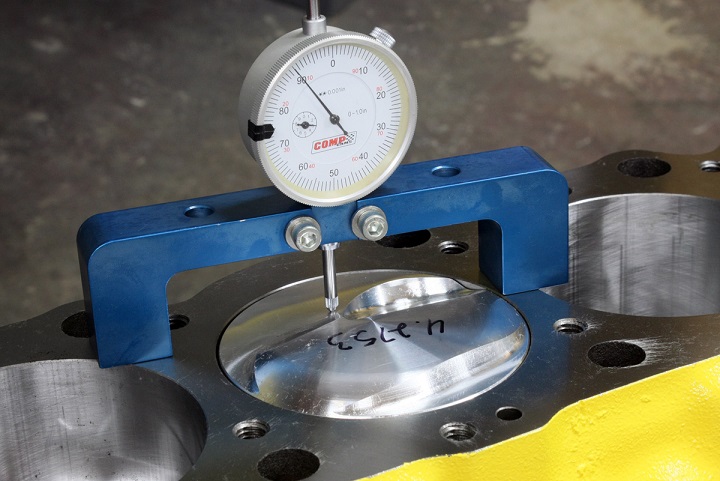
Piston to head clearance 0.038 MINIMUM including gasket
(.038-.042 quench is what you want with steel rods)(steel rods),
0.060" MINIMUM quench aluminum rods
Valve to piston clearance MINIMUM 0.100" exhaust , 0.080" intake NO VALVE FLOAT
Recommended: 0.080 intake, 0.100 Exhaust (steel rods) 0.100 intake, 0.120 Exhaust aluminum rods
TORQUE SPECS CAN BE FOUND HERE IN THIS LINK
http://garage.grumpysperformance.com/index.php?threads/torque-specs-calculator-links-etc.1222/
http://garage.grumpysperformance.com/index.php?threads/bearing-clearances.2726/
If the bearing clearances are a 1/4-1/2 thousandth (.ooo25 -.0005) or tiny bit more, more on the tighter side, you could manually polish the crank journals with a strip of 1500 grit wet/dry sand paper on a leather belt and easily get an extra .00005
(surface wet with wd 40) but of course the local crank polishing service machine shop would do it more precisely and generally will cost under $100, to do that
why not talk to a trusted local machine shop and ask their opinion and for suggestions
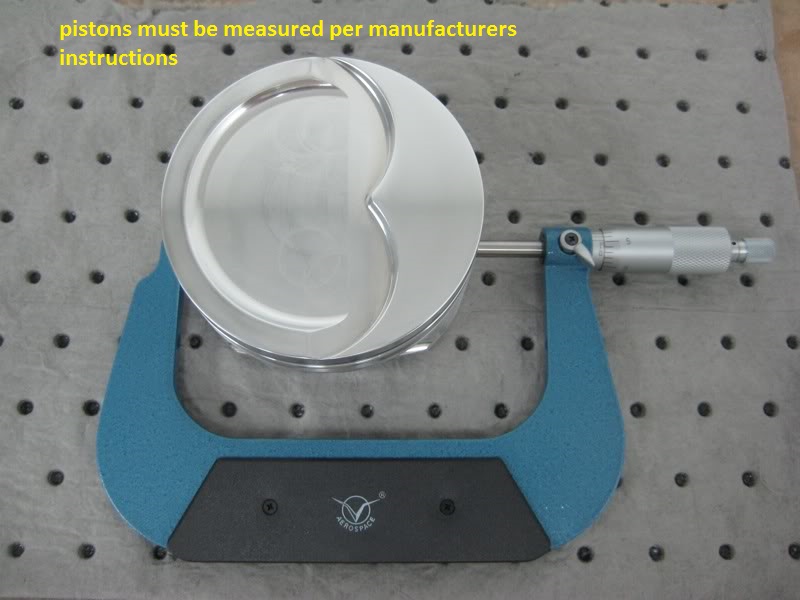
(ALWAYS consult your piston manufacturer for recommended clearances. Many pistons require a tighter bore)
Piston to bore 0.0055 - 0.0065" ( measured at centerline of wrist pin, perpendicular to pin)
Piston ring gap MINIMUM end clearances Top 0.022"
2nd 0.016"
Oil 0.016"
Wrist pin 0.0006 - 0.0008" in piston, 0.0008 - 0.0010" in rod for full floating pin (End play 0.0 - 0.005"
Rod bearings 0.002 - 0.025" ,
side clearance ...... 0.010 - 0.020"
Main bearings 0.002 - 0.003" ,
crankshaft end play...... 0.005 - 0.007
Piston to head clearance 0.035 MINIMUM including gasket (steel rods), 0.060" MINIMUM aluminum rods
Valve to piston clearance MINIMUM 0.020" exhaust , 0.010" intake NO VALVE FLOAT
Recommended: 0.080 intake, 0.100 Exhaust (steel rods) 0.100 intake, 0.120 Exhaust aluminum rods
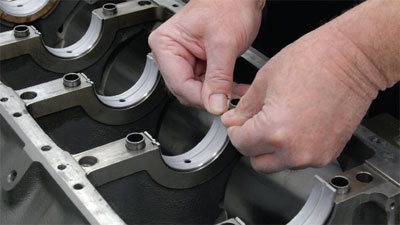
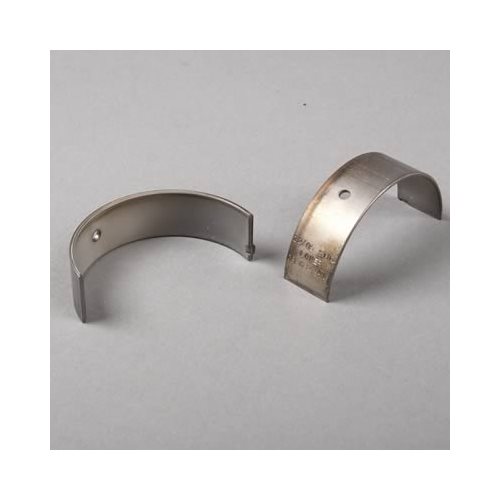
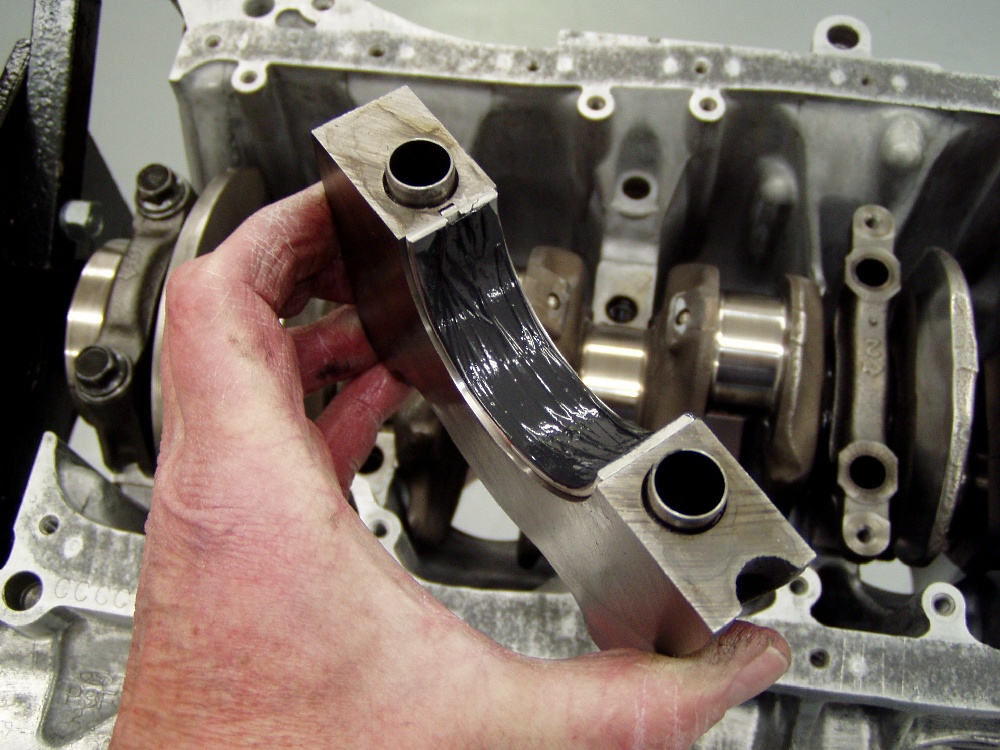
obviously youll want to check clearances with plasti gauge once the bearings are available also (READ THE LINKS) and use assembly lube on the bearing surfaces during assembly, you can clean them out of the box with a lint free cloth and a bit of diesel fuel then install them, check clearances , and use assembly lube before final assembly but it looks like youll have clearance in the correct range if you get the correct bearings
VERIFYING CLEARANCES GREATLY REDUCES WEAR AND DURABILITY ISSUES
http://www.engineprofessional.com/TB/EPQ410_10-18.pdf
http://www.tooltopia.com/fowler-72-646-300.aspx
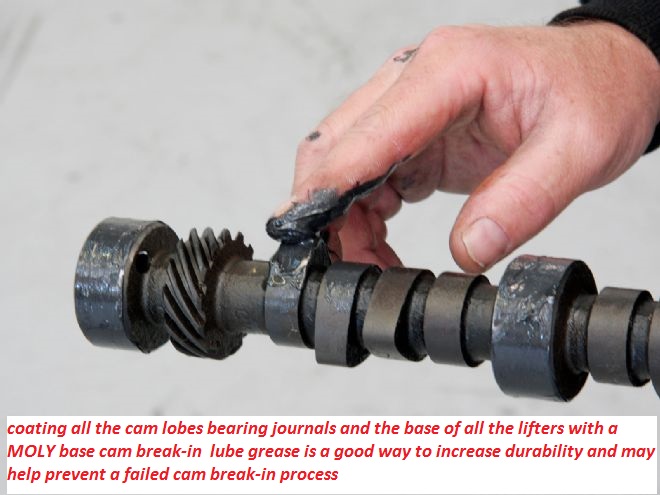
The Moly platelets that make up the protective layers on your engine surfaces slide across one another very easily. Instead of metal rubbing against metal, you have Moly platelets moving across one another protecting and lubricating the metal engine parts.
MOLY adds a great deal of lubrication to sliding metal surfaces , as it embeds in the micro fissures in the metallic surface's
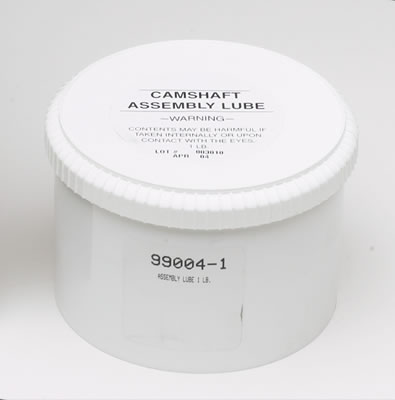
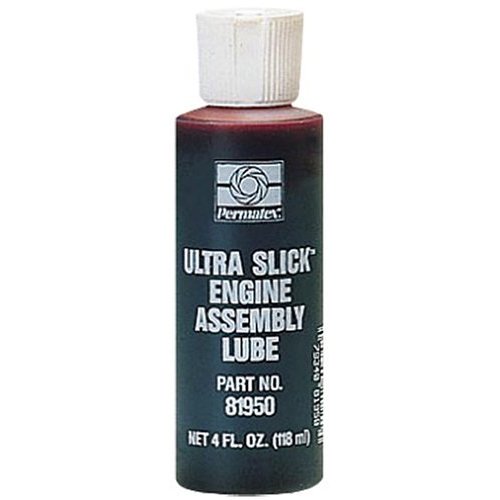
use plenty of moly based assembly lube
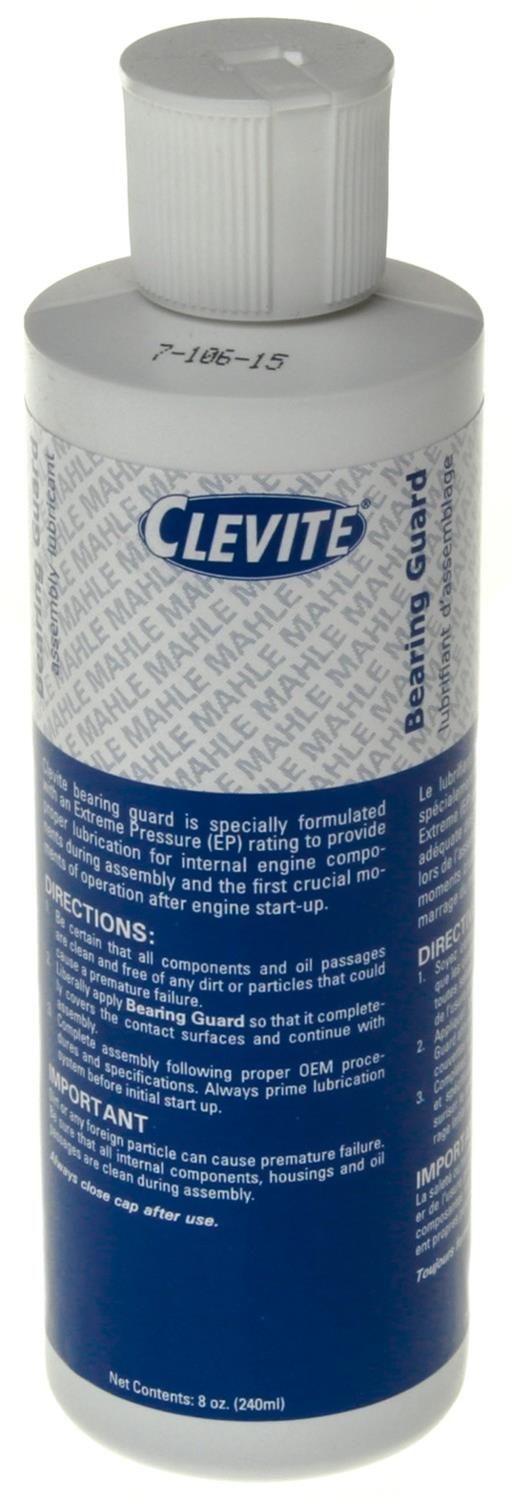
Free Shipping - Clevite Assembly Lube with qualifying orders of $109. Shop Assembly Lubricant at Summit Racing.

www.summitracing.com
Find Parts and Accessories moly assembly lube KEYWORD and get Free Shipping on Orders Over $109 at Summit Racing!

www.summitracing.com
Bearings and oil flow, some of the most important processes in engine assembly are related to getting the bearing clearances and oil flow and pressure rates set up to provide the correct oil flow rates and pressure for cooling and preventing direct surface to surface contact on the rotating...
garage.grumpysperformance.com
heres a short list REMEMBER the object or goal in building and maintaining the lubrication system is too maintain a 100% dependable pressurized cooling flow of lubricant to the bearings, rockers ,valves etc. your most important tool, is your ability to think about how things are supposed to...
garage.grumpysperformance.com
heres an old post "Any source for the magnets Grumpy? what do you use? " http://www.kjmagnetics.com/proddetail.a ... SH&cat=167 magnets are ceramic and glass hard, don,t try to drill or grind them, as they can shatter or http://www.magnet4sale.com/samarium-cobalt-discs/ proper magnets trap...
garage.grumpysperformance.com
"OK GRUMPYVETTE< I have dumb question? What is a windage tray and whats it for?" windage trays don,t provide a huge boost in horse power, the purpose is mostly in providing much improved oil control, thus they can, if properly designed provide a much more consistent oil supply, and enhanced...
garage.grumpysperformance.com
Bearings and oil flow, some of the most important processes in engine assembly are related to getting the bearing clearances and oil flow and pressure rates set up to provide the correct oil flow rates and pressure for cooling and preventing direct surface to surface contact on the rotating...
garage.grumpysperformance.com
I just got an e-mail asking what to do if you find that the blocks oil feed passage holes don,t line up exactly right with the holes in the oil feed holes in bearings shells? http://garage.grumpysperformance.com/index.php?threads/viscosity-centistoke.15612/ paint, marker etc. tends to...
garage.grumpysperformance.com
its fairly common practice for race engines to install a course mesh screen over the oil return holes in the block to limit the travel of fragmented valve train components, should something rather nasty occur and bits and pieces of fragmented valve train find their way into the lifter gallery...
garage.grumpysperformance.com
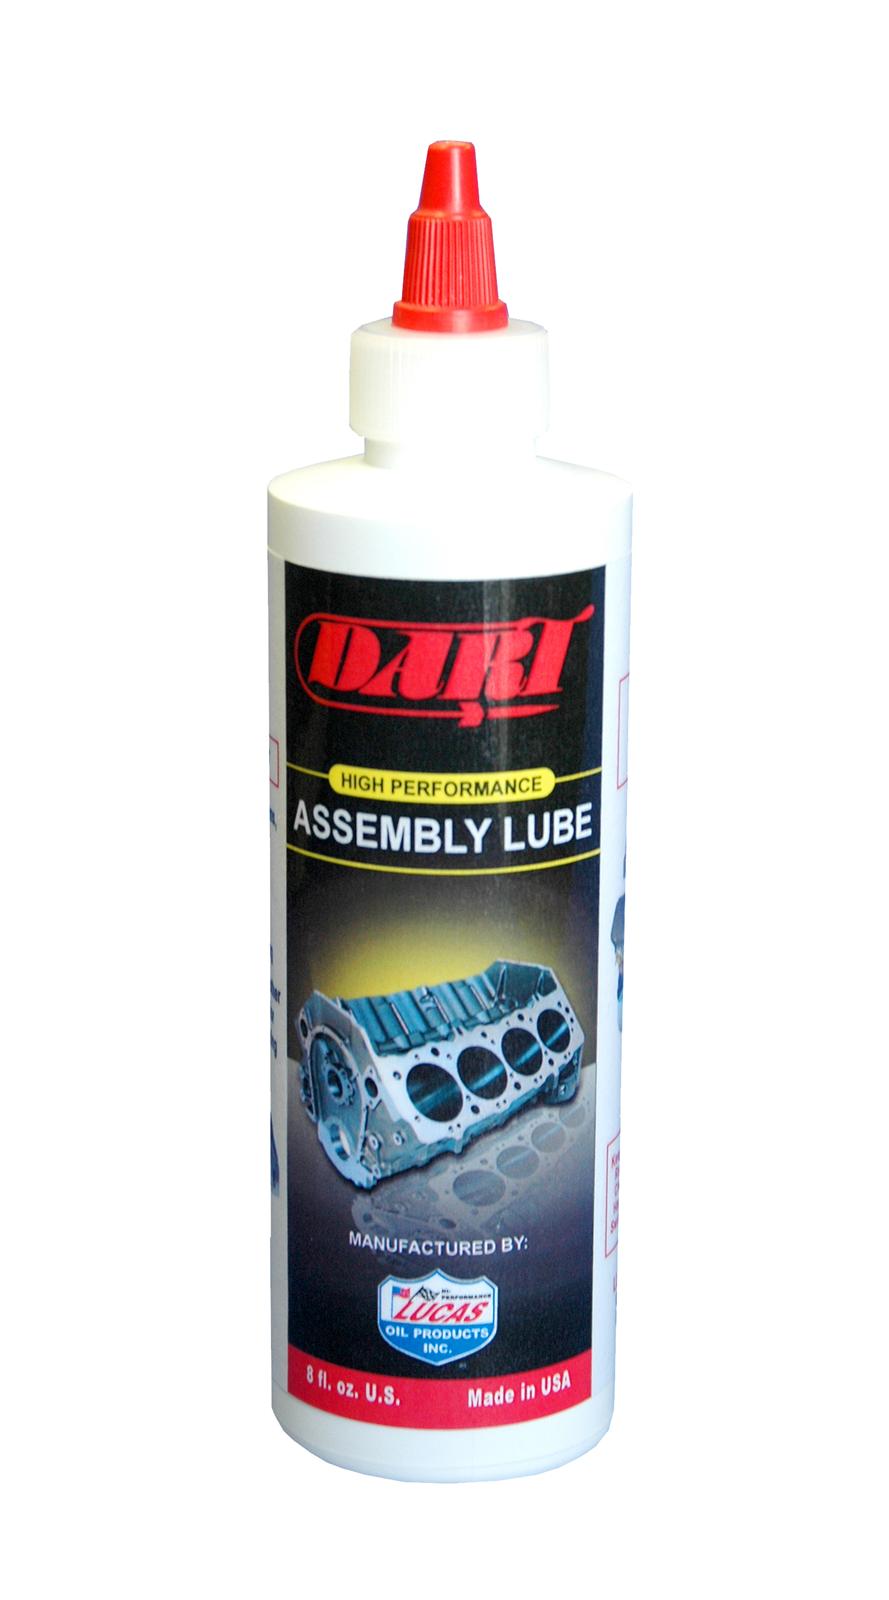
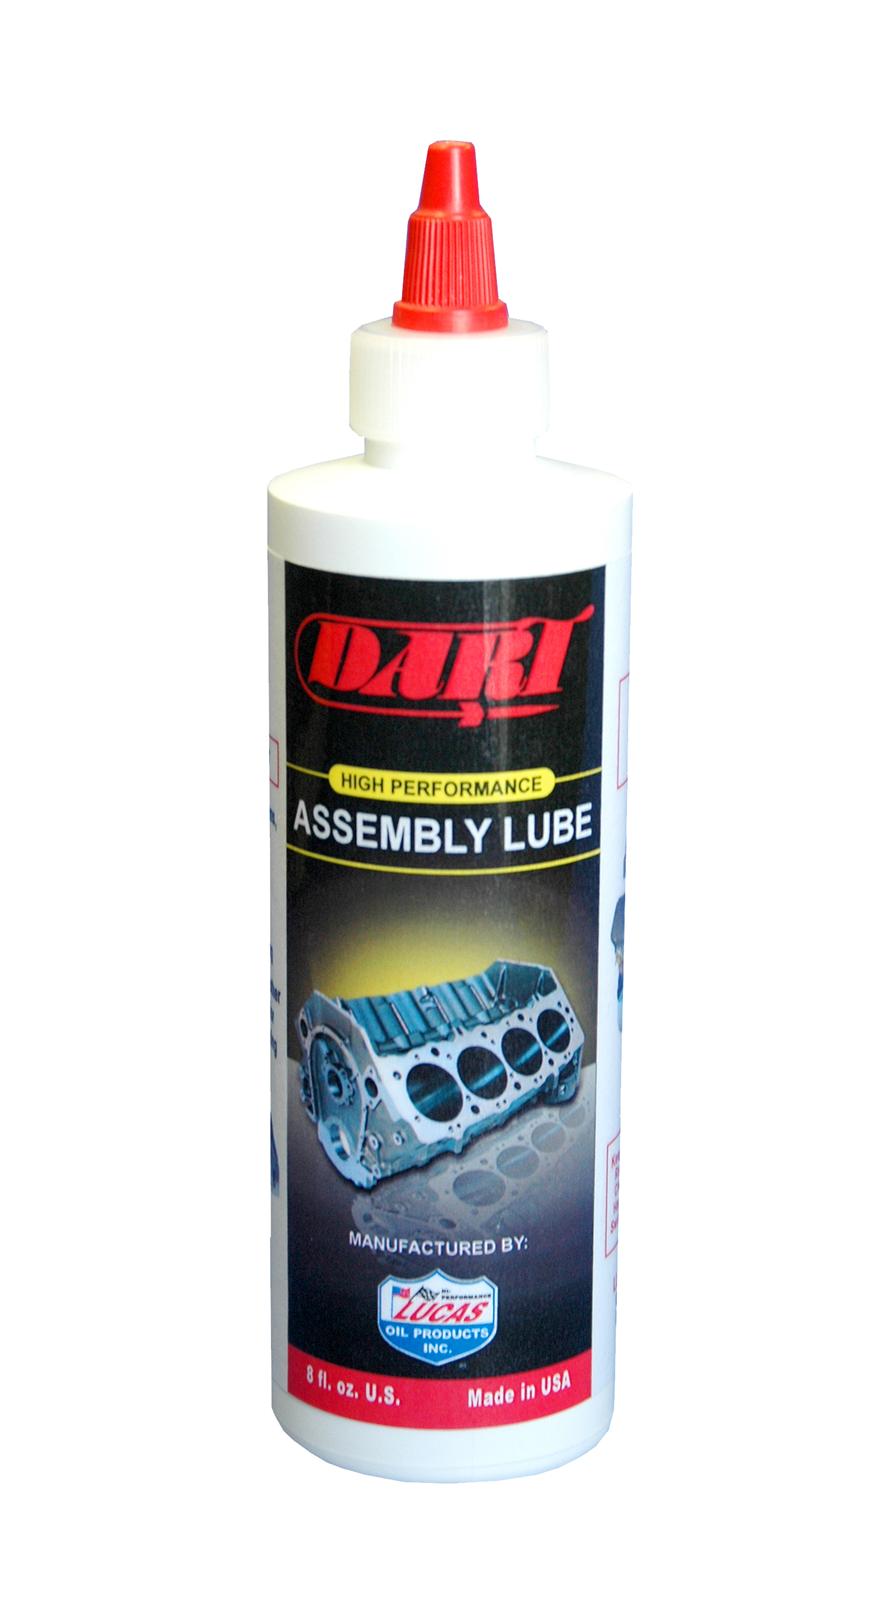
Free Shipping - Dart Assembly Lube with qualifying orders of $109. Shop Assembly Lubricant at Summit Racing.

www.summitracing.com
Free Shipping - Isky RevLube with qualifying orders of $109. Shop Assembly Lubricant at Summit Racing.

www.summitracing.com
Free Shipping - Manley Moly Lube with qualifying orders of $109. Shop Assembly Lubricant at Summit Racing.

www.summitracing.com
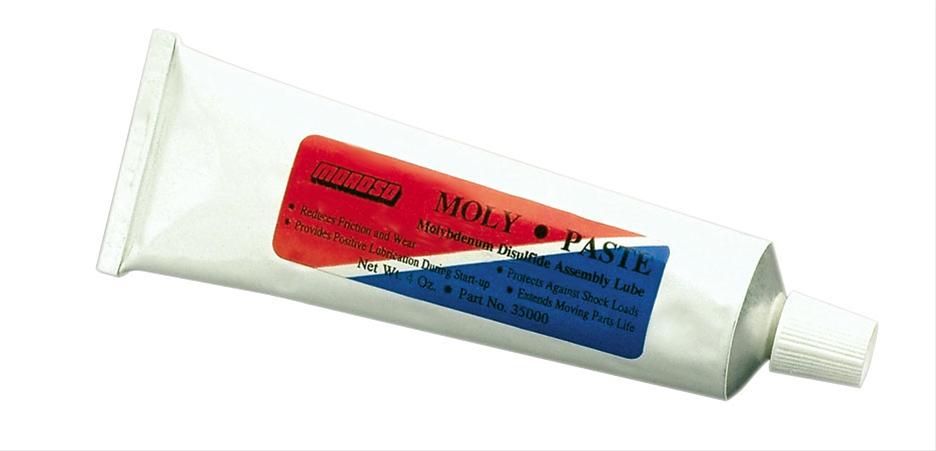
Free Shipping - Moroso Moly Paste Assembly Lubes with qualifying orders of $109. Shop Assembly Lubricant at Summit Racing.

www.summitracing.com
This coating effectively fills in the microscopic pores that cover the surface of all engine parts, making them smoother. This feature is important in providing an effective seal on the combustion chamber. By filling in the craters and pores Moly improves this seal allowing for more efficient combustion and engine performance.
This overlapping coating of Moly also gives protection against loading (perpendicular) forces. These forces occur on the bearings, and lifters. The high pressures that occur between these moving parts tend to squeeze normal lubricants out.
reading these threads, and sub linked info, will provide a great deal of additional info, youll want later
http://www.stealth316.com/misc/clevite- ... ooving.pdf
http://stealth316.com/misc/clevite-77-r ... arings.pdf
http://kingbearings.com/files/Engine_Be ... erials.pdf
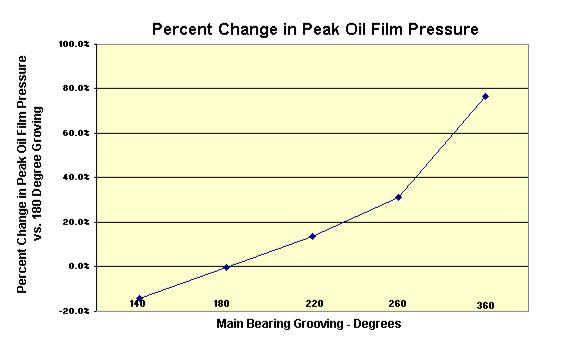
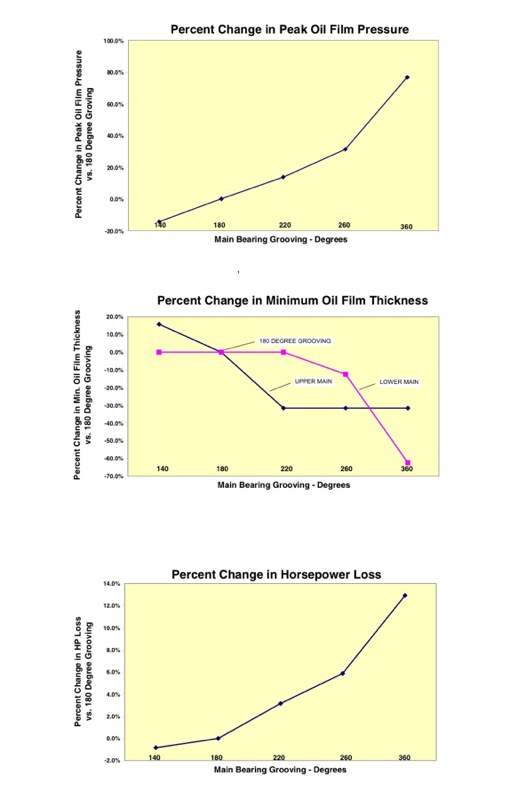
you might keep in mind bearing manufacturers are in business to sell bearings and if a small but consistent segment insists on buying and paying for 270 and 360 degree bearings the manufacturers will supply that demand to make a profit, they will also post tech bulletins explaining why a 180- degree oil feed groove in only the upper bearing shell provides a more durable bearing that carries more load capacity
heres a quote from a bearing manufacturer
extending the main bearing groove much past 180 degrees increases friction, reduces load capacity costing hp, read the link
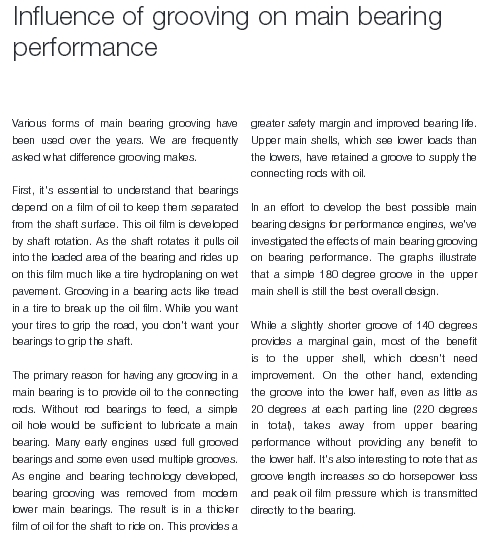
"Influence of Grooving on Main Bearing Performance
Various forms of main bearing grooving have been used over the years. We are
frequently asked what difference grooving makes.
First, it’s essential to understand that bearings depend on a film of oil to keep them
separated from the shaft surface. This oil film is developed by shaft rotation. As the shaft
rotates it pulls oil into the loaded area of the bearing and rides up on this film much like a
tire hydroplaning on wet pavement. Grooving in a bearing acts like tread in a tire to break
up the oil film. While you want your tires to grip the road, you don’t want your bearings
to grip the shaft.
The primary reason for having any grooving in a main bearing is to provide oil to the
connecting rods. Without rod bearings to feed, a simple oil hole would be sufficient to
lubricate a main bearing. Many early engines used full grooved bearings and some even
used multiple grooves. As engine and bearing technology developed, bearing grooving
was removed from modern lower main bearings. The result is in a thicker film of oil for
the shaft to ride on. This provides a greater safety margin and improved bearing life.
Upper main shells, which see lower loads than the lowers, have retained a groove to
supply the connecting rods with oil.
In an effort to develop the best possible main bearing designs for High Performance
engines, we’ve investigated the effects of main bearing grooving on bearing performance.
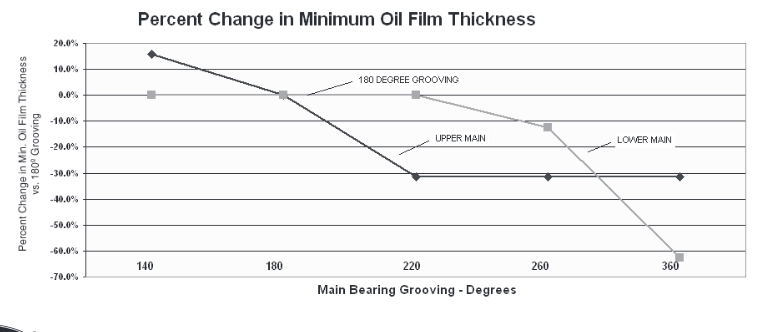
The graphs on the next page illustrate that a simple 180° groove in the upper main shell is
still the best overall design.
While a slightly shorter groove of 140° provides a marginal gain, most of the benefit is to
the upper shell, which doesn’t need improvement. On the other hand, extending the
groove into the lower half, even as little as 20° at each parting line (220° in total), takes
away from upper bearing performance without providing any benefit to the lower half.
It’s also interesting to note that as groove length increases so do Horsepower Loss and
Peak Oil Film Pressure which is transmitted directly to the bearing."
http://garage.grumpysperformance.co...-bearing-trashed-in-1-2-hour.5141/#post-71921
http://garage.grumpysperformance.com/index.php?threads/thrust-bearing-wear.619/#post-37676
http://garage.grumpysperformance.co...ed-holes-in-bearings-shells.10750/#post-64733
http://garage.grumpysperformance.com/index.php?threads/precision-measuring-tools.1390/#post-52466

