OLD POST's COVERS THAT INFO
http://garage.grumpysperformance.com/index.php?threads/sbc-head-gasket-choice.11070/#post-79067
http://garage.grumpysperformance.com/index.php?threads/head-gasket-related.1859/#post-50617
http://garage.grumpysperformance.com/index.php?threads/head-gasket.10085/#post-39429
http://garage.grumpysperformance.co...ad-gasket-for-aluminum-heads.4403/#post-26317
http://garage.grumpysperformance.co...asket-bore-size-vs-bore-size.2681/#post-11603
I can,t believe the stuff I see at times..in the car mags that are SUPPOSED to be articles composed by guys who know what they are doing!!!!!!!
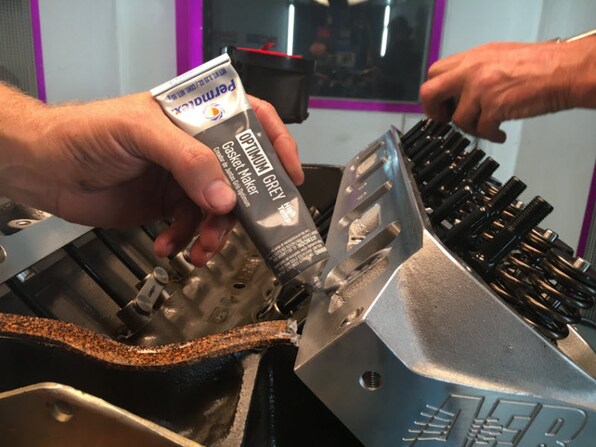
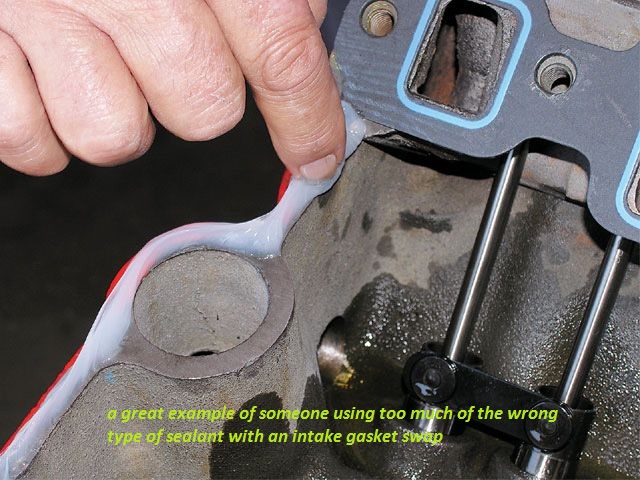
I picked up a copy of one of the more comon, chevy based magazines and theres PICTURES of a guy dipping head bolts in yellow weather strip adhesive to be used as a thread sealant on the bolt threads (its not designed to come in direct contact with oil and/or high heat coolant),and its not going to give the correct tq readings either, and on the next page the guys gooping, GOBS of clear silicone like youll use to seal aquariums or bathroom fixtures 1/4 thick on/around the intake manifold ports, NEITHER SEALANT is DESIGNED FOR or is LIKELY to perform correctly IN EITHER APPLICATION, and WHERE does this guy think all that excess silicone will go once the intakes torqued down????
theres only two high probabilitys, it will flow into the port where it will eventually harden and get sucked into the cylinders or it may hang there causing a restriction in the port, or if it flows down, it gets into the lifter gallery where its eventually going to get into the oil pump pick up screen, restricting or blocking oil flow
i would not let these guys fix a flat tire let alone work on MY ENGINES all I can do is shake my head and wonder who if ANYONE screens these articles
always use the manufacturers suggested installation instructions, as some applications or gasket types REQUIRE different lubes or sealants but heres a rough guide
head bolts #5, dip clean dry thread in
http://www.devcon.com/devconfamilyproduct.cfm?familyid=386&catid=69
then insert and tq heads in place
head gaskets #3
main bolts #2
rod bolts #2
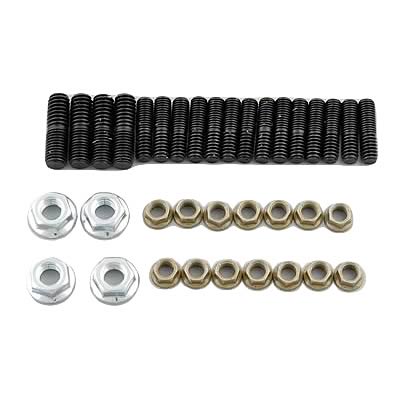
oil pump stud and nut #4
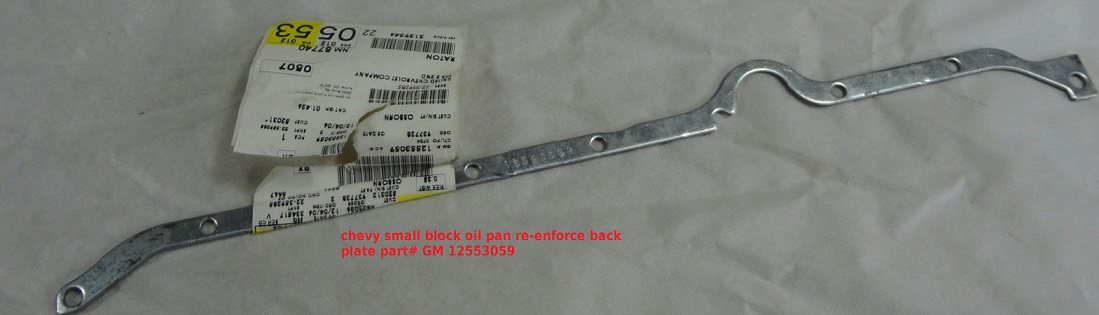
oil pan bolts #5
oil pan gasket #6
cam spocket bolts #4
timing cover gasket #6
timing cover bolts #1
intake bolts #1
sensor threads #5
intake gasket #6
thermostat housing bolts #5
thermostat housing gasket (also do you really need it) usually yes #6
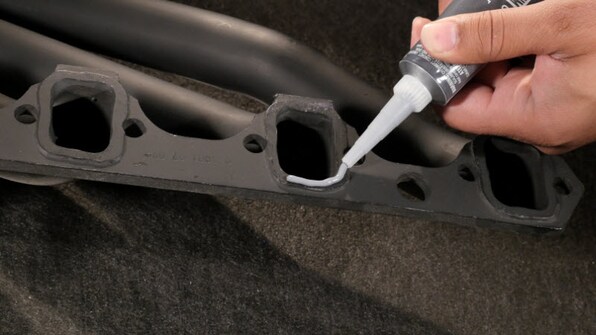
Exhaust manifold/header bolts #1
Exhaust manifold/header gaskets #3
Water pump bolts #5
water pump gaskets #6
fuel pump #6
crank/damper bolt #1
Torque converter bolts #4
flywheel/flexplate bolts #4
bellhousing bolts #2
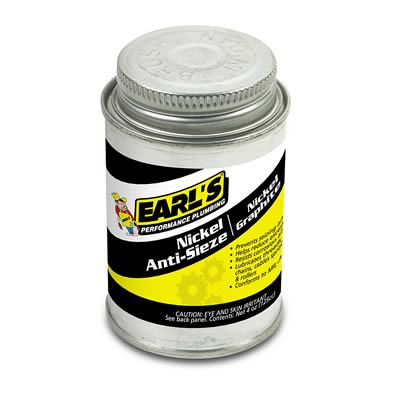
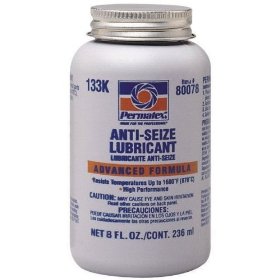
1 antiseize
2 oil or ARP thread lube
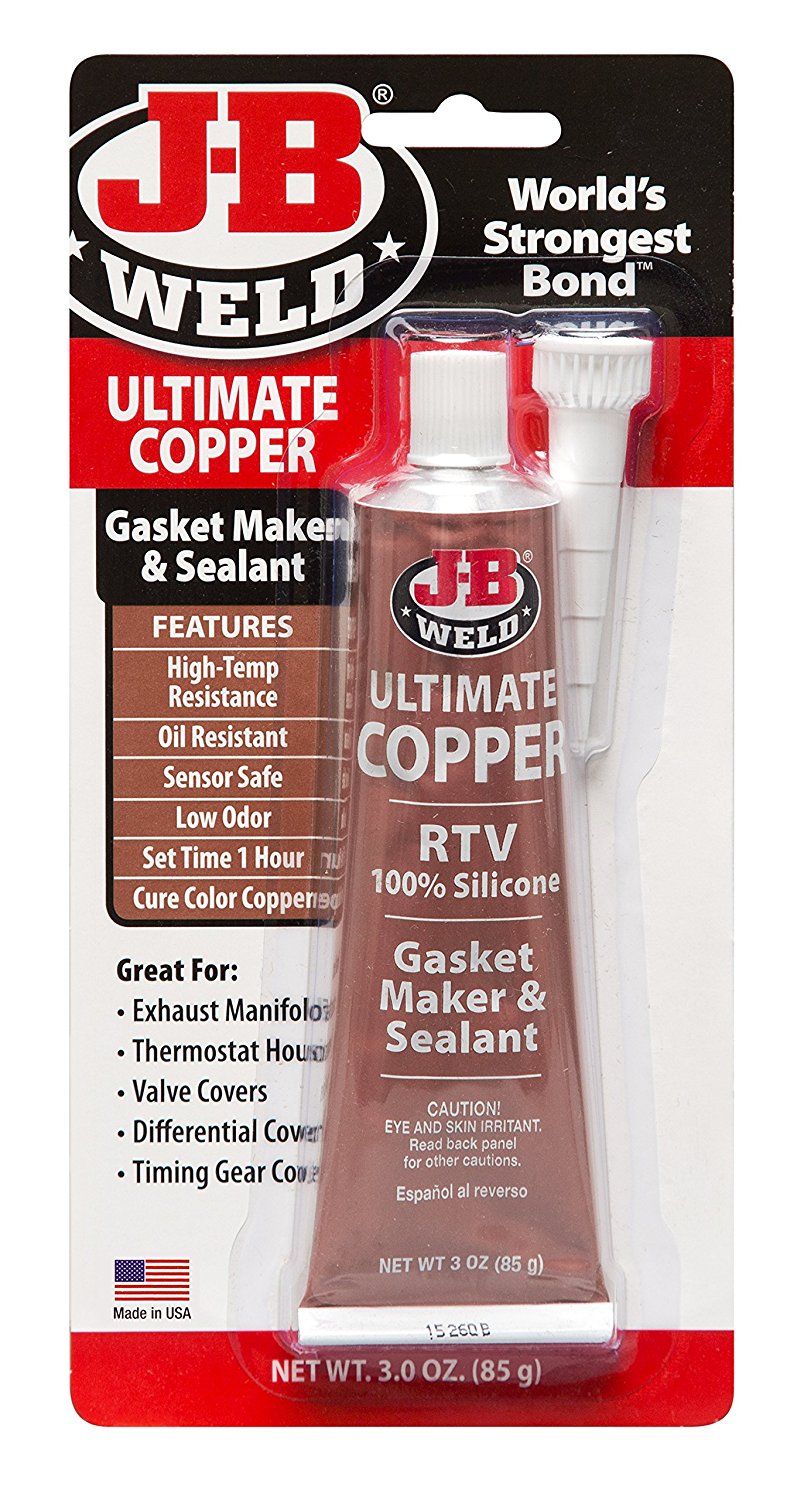
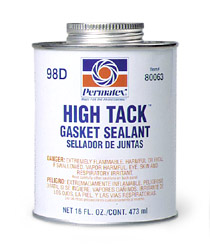
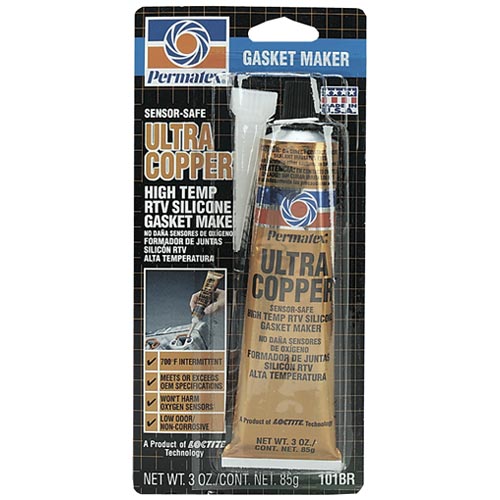
3 copper coat spray gasket sealer or apply dry in some cases (see manufactures suggestions)

Ive always installed head gaskets while damp on both sides with this
http://www.smallparts.com/Copper-Ounce- ... B00030BFKQ
or
http://www.vhtpaint.com/coppergasketcement.html
4 loctite (red or blue depends on application ,read the lables)
5 http://www.devcon.com/devconfamilyproduct.cfm?familyid=386&catid=69
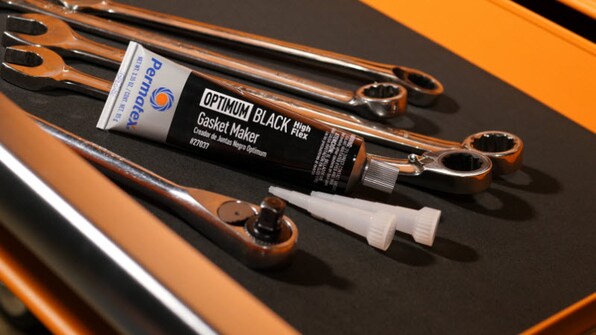
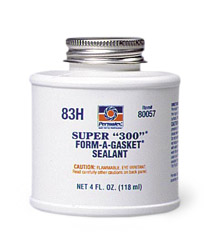
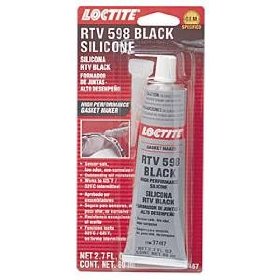
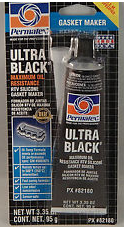
youll want to use the BLACK RTV oil proof sealant, pictured below on the upper surface of the oil pan gasket
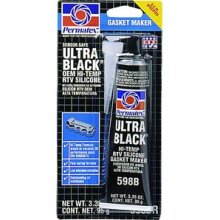
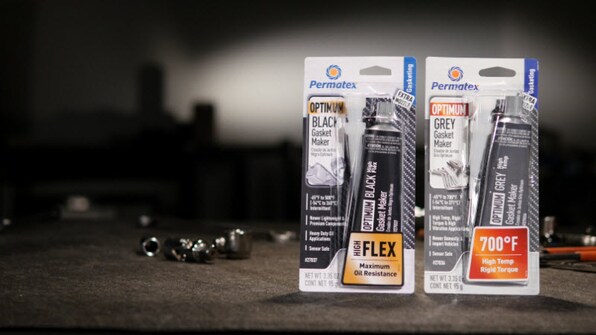
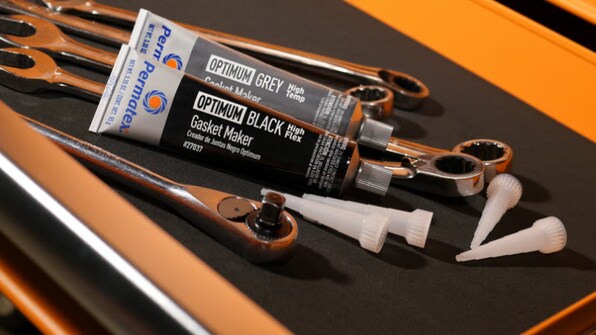
6 black high temp RTV
use the correct stuff for the application, AND READ & FOLLOW THE DIRRECTIONS it prevents PROBLEMS
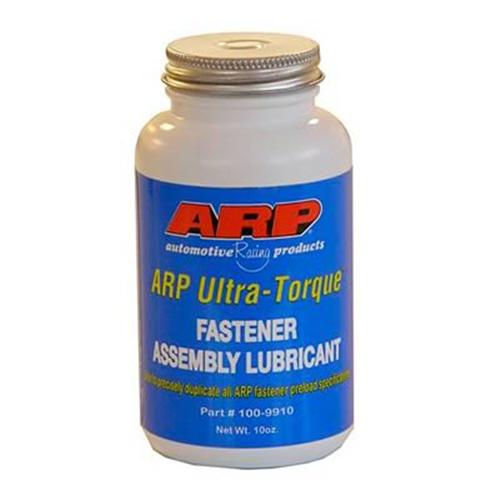
In any application where your tightening a nut on a stud , such as on the outer threaded ends of main cap studs or head bolt studs, youll want to use a lube on the threads that gives consistent torque reading from your torque wrench indicating the correct bolt or stud TENSION, oil and MOLY assembly lube and various thread sealants do not always do that,the end in the blocks course threads have thread sealant, the fine threads on the outer end require a totally different lubricant
VALVE COVERS GASKETS
a few things you should know
viewtopic.php?f=44&t=700&p=973&hilit=sealant+silicone#p973
Ive had the best luck with the extra thick synthetic /cork composite mix gaskets
http://store.summitracing.com/partdetai ... toview=sku
[1] synthetic oil desolves that yellow 3m weatherstrip gasket adhesive than many guys use over a few months time so you cant use it to glue valve cover gaskets
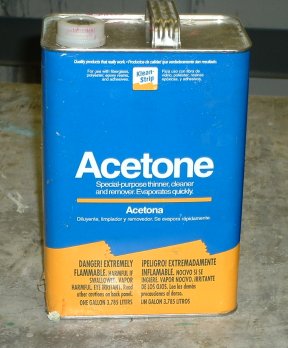
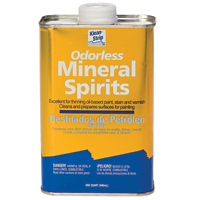
[2]you must use a o2 safe gasket cement like the BLACK RTV silicone cement and you must clean and degrease the cover with acetone or a similar solvent before glueing on the gasket to get the best retention
[3]you need to allow at least a few hours to over night,depends mostly on temp. for that black silicone gasket cement to set up before installing the valve covers, and placeing them gasket side down on a table with a sheet of wax paper under them and a 20lb weight on top of each valve cover while the cement sets up is the best way to insure the gaskets stay correctly aligned on the valve covers perimeter
[4]a light coat of (PAM) cooking spray on the lower gasket surface keeps them from sticking to the cylinder heads after installation
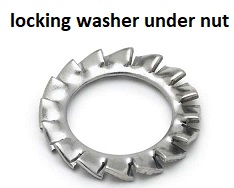
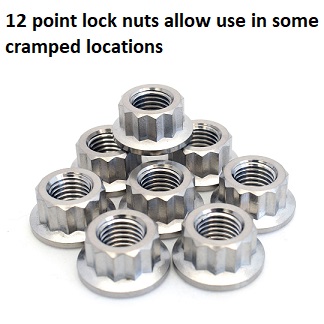
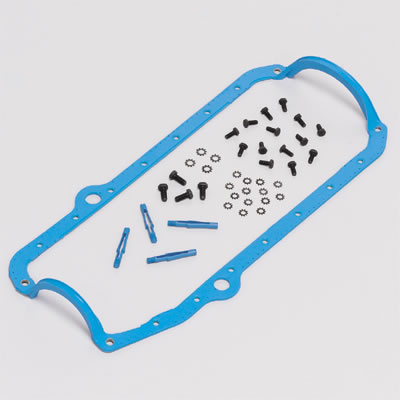
[5] these gasket retaining rings add a great deal to the valve covers ability to firmly hold the gasket WITHOUT bending SHEET METAL VALVE COVERS OR CRACKING CAST ALUMINUM VALVE COVERS AND ARE WELL WORTH THE MINIMAL COST
[6]doing it correctly the first time saves time and money
head gaskets #3
main bolts #2
rod bolts #2
oil pump stud and nut #4
oil pan bolts #5
oil pan gasket #6
cam sprocket bolts #4
timing cover gasket #6
timing cover bolts #1
intake bolts #1
intake gasket #6
thermostat housing bolts #5
thermostat housing gasket (also do you really need it) usually yes #6
Exhaust manifold/header bolts #1
Exhaust manifold/header gaskets #3
Water pump bolts #5
water pump gaskets #6
fuel pump #6
crank/damper bolt #1
Torque converter bolts #4
flywheel/flexplate bolts #4
bellhousing bolts #2
head bolts #5
rocker stud threads into heads #5
FUEL INE ADAPTERS, and AN#8 connection threads #7
sealant to use, use the number matched to application,
1 antiseize
2 oil or ARP thread lube
3 copper coat spray gasket sealer or apply dry in some cases (see manufactures suggestions)

4 loctite (red or blue depends on application ,read the labels)
5 http://www.devcon.com/devconfamilyproduct.cfm?familyid=386&catid=69
this works as a head bolt and rocker stud thread sealant, and sensor threads
don't forget the rear surface of the rear seal to block and main cap needs to be sealed, oil tight


both of these work great at sealing head bolt threads, and freeze plugs etc.
6 black high temp RTV
use the correct stuff for the application, AND READ & FOLLOW THE DIRECTIONS it prevents PROBLEMS
(7)ANY SCREW THREAD, on a FUEL LINE ADAPTER THREAD, this is one of the few sealants fuel won,t degrade
a few things you should know
http://www.valvedirectory.com/valve_04122006.html
Ive had the best luck with the extra thick synthetic /cork composite mix gaskets, for valve covers, the fully synthetic one piece oil pan gaskets, and perma-seal, and felpro brand on many of the other gaskets, SCE makes real nice pure copper head gaskets but that's naturally not for all applications
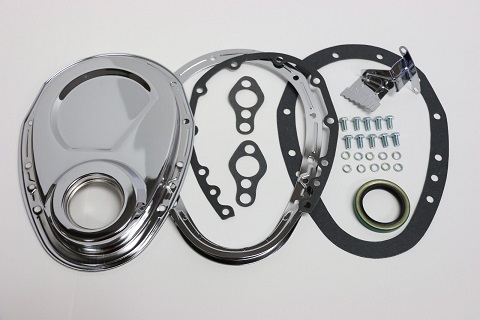
https://www.ebay.com/itm/SB-Chevy-Chrome-2-Piece-Timing-Chain-Cover-Kit-305-350-383-400-SBC-Small-Block/182207265086?_trkparms=aid=222007&algo=SIM.MBE&ao=2&asc=20160323102634&meid=e98d4d94da3247ebb33d536b5f57e5af&pid=100623&rk=2&rkt=6&mehot=pp&sd=131878980531&itm=182207265086&_trksid=p2047675.c100623.m-1
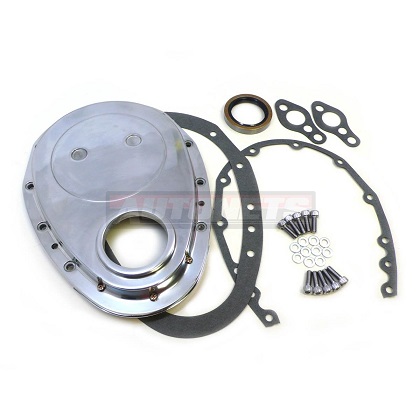
https://www.ebay.com/itm/Small-Block-Chevy-Polish-Aluminum-2-piece-Timing-Chain-Cover-283-305-327-350-SBC/351018052794?_trkparms=aid=222007&algo=SIM.MBE&ao=2&asc=20160323102634&meid=e98d4d94da3247ebb33d536b5f57e5af&pid=100623&rk=4&rkt=6&mehot=pp&sd=131878980531&itm=351018052794&_trksid=p2047675.c100623.m-1
http://www.jegs.com/webapp/wcs/stores/s ... 2_25118_-1
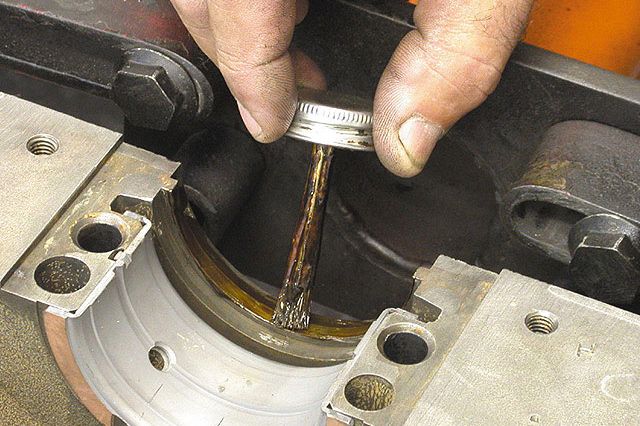
many guys have coolant leaks from studs and head bolts,you don,t need that P.I.T.A.IF your going to use ARP main cap studs THE TORQUE SETTINGS ARE DIFFERENT than the original BOLTS, the STUDS ARE STRONGER, BUT,you might also consider that main studs generally install after cleaning the threads in the block with a tap,blowing them dry with high pressure air, coating the studs course threads with the thread sealant and fine threads end with the ARP thread lube, when you screw them into the block the full thread depth, by hand, or with an allen hex key,then get backed out one quarter turn, the main caps or heads are installed and the nuts torqued in stages to seat and hold the main caps,or heads, now LOOK at those STUDS, the end in the block,has threads that are SAE COURSE thread, the end your torquing the nut on is SAE FINE THREAD with a much different PITCH that requires less tq to give the same clamp loads.
the bolts or threads leak IF the coolant flows up thru the threads, the path the coolant takes is exactly the same in either case, studs/bolts only LEAK when they are IMPROPERLY installed, a clean degreased thread in the block and on the stud or bolt you use then, installing either after dipping the thread section in the correct sealant, and letting the sealant start to dry on the threads for a few minutes, before installing them, prevents leaks, how the torque is applied to clamp the head has little effect.
Ive used BOTH studs and bolts on many engine builds and its proper procedure, and working with cleaned threads in both the block and fastener and use of the correct sealant on those threads not the studs or bolts that mater here.
the thread sealant stays liquid until exposed to the air, you need to allow the sealant on the threads a minute of air exposure to start to thicken before installing them,so the sealant forms a barrier to coolant flow in the threads.
guys! Ive YET to have a single stud or bolt leak!
its simple! run a tap thru the threads, test screw the clean/dry stud by hand to verify no clearance or binding then ,clean them and dry the threads on the block and studs,before you start the assembly, and just dip the total threaded surface on the lower studs course thread end of the stud that screws into the block into the correct sealant. spin it in your fingers slowly as you move the stud to the hole in the block to keep from dripping sealant on the deck,
thread it into the block full depth , back it out a 1/2 turn and let it set up for a few minutes before assembling the head gaskets and heads,but assemble the heads while the sealants still fresh/liquid, torque too spec and let the engine set for a few hours (preferably over night)
http://www.devcon.com/products/products.cfm?familyID=386
the stuff works far more relieably than most thread pastes or thread sealants, it cleans ,off fingers with a scotchbrite pad and gas or alcohol,....provided you have not let it set up on your skin very long, once its started too dry ...good luck
YES it works on BOLTS ALSO
Head Gasket Roughness (ra)
I've installed my heads now, getting ready for when the headers come back. I noticed the surface finish of the aluminum heads, they seemed to be very rough. But what is rough, how do you quantify roughness ??? Try telling your buddy what you mean when you say "it was very rough". The most...
garage.grumpysperformance.com
http://garage.grumpysperformance.com/index.php?threads/sbc-head-gasket-choice.11070/#post-79067
http://garage.grumpysperformance.com/index.php?threads/head-gasket-related.1859/#post-50617
http://garage.grumpysperformance.com/index.php?threads/head-gasket.10085/#post-39429
http://garage.grumpysperformance.co...ad-gasket-for-aluminum-heads.4403/#post-26317
http://garage.grumpysperformance.co...asket-bore-size-vs-bore-size.2681/#post-11603
I picked up a copy of one of the more comon, chevy based magazines and theres PICTURES of a guy dipping head bolts in yellow weather strip adhesive to be used as a thread sealant on the bolt threads (its not designed to come in direct contact with oil and/or high heat coolant),and its not going to give the correct tq readings either, and on the next page the guys gooping, GOBS of clear silicone like youll use to seal aquariums or bathroom fixtures 1/4 thick on/around the intake manifold ports, NEITHER SEALANT is DESIGNED FOR or is LIKELY to perform correctly IN EITHER APPLICATION, and WHERE does this guy think all that excess silicone will go once the intakes torqued down????
theres only two high probabilitys, it will flow into the port where it will eventually harden and get sucked into the cylinders or it may hang there causing a restriction in the port, or if it flows down, it gets into the lifter gallery where its eventually going to get into the oil pump pick up screen, restricting or blocking oil flow
i would not let these guys fix a flat tire let alone work on MY ENGINES all I can do is shake my head and wonder who if ANYONE screens these articles
always use the manufacturers suggested installation instructions, as some applications or gasket types REQUIRE different lubes or sealants but heres a rough guide
head bolts #5, dip clean dry thread in
http://www.devcon.com/devconfamilyproduct.cfm?familyid=386&catid=69
then insert and tq heads in place
head gaskets #3
main bolts #2
rod bolts #2
oil pump stud and nut #4
oil pan bolts #5
oil pan gasket #6
cam spocket bolts #4
timing cover gasket #6
timing cover bolts #1
intake bolts #1
sensor threads #5
intake gasket #6
thermostat housing bolts #5
thermostat housing gasket (also do you really need it) usually yes #6
Exhaust manifold/header bolts #1
Exhaust manifold/header gaskets #3
Water pump bolts #5
water pump gaskets #6
fuel pump #6
crank/damper bolt #1
Torque converter bolts #4
flywheel/flexplate bolts #4
bellhousing bolts #2
1 antiseize
2 oil or ARP thread lube
3 copper coat spray gasket sealer or apply dry in some cases (see manufactures suggestions)
Ive always installed head gaskets while damp on both sides with this
http://www.smallparts.com/Copper-Ounce- ... B00030BFKQ
or
http://www.vhtpaint.com/coppergasketcement.html
4 loctite (red or blue depends on application ,read the lables)
5 http://www.devcon.com/devconfamilyproduct.cfm?familyid=386&catid=69
youll want to use the BLACK RTV oil proof sealant, pictured below on the upper surface of the oil pan gasket
6 black high temp RTV
use the correct stuff for the application, AND READ & FOLLOW THE DIRRECTIONS it prevents PROBLEMS
In any application where your tightening a nut on a stud , such as on the outer threaded ends of main cap studs or head bolt studs, youll want to use a lube on the threads that gives consistent torque reading from your torque wrench indicating the correct bolt or stud TENSION, oil and MOLY assembly lube and various thread sealants do not always do that,the end in the blocks course threads have thread sealant, the fine threads on the outer end require a totally different lubricant
VALVE COVERS GASKETS
a few things you should know
viewtopic.php?f=44&t=700&p=973&hilit=sealant+silicone#p973
Ive had the best luck with the extra thick synthetic /cork composite mix gaskets
http://store.summitracing.com/partdetai ... toview=sku
[1] synthetic oil desolves that yellow 3m weatherstrip gasket adhesive than many guys use over a few months time so you cant use it to glue valve cover gaskets
[2]you must use a o2 safe gasket cement like the BLACK RTV silicone cement and you must clean and degrease the cover with acetone or a similar solvent before glueing on the gasket to get the best retention
[3]you need to allow at least a few hours to over night,depends mostly on temp. for that black silicone gasket cement to set up before installing the valve covers, and placeing them gasket side down on a table with a sheet of wax paper under them and a 20lb weight on top of each valve cover while the cement sets up is the best way to insure the gaskets stay correctly aligned on the valve covers perimeter
[4]a light coat of (PAM) cooking spray on the lower gasket surface keeps them from sticking to the cylinder heads after installation
[5] these gasket retaining rings add a great deal to the valve covers ability to firmly hold the gasket WITHOUT bending SHEET METAL VALVE COVERS OR CRACKING CAST ALUMINUM VALVE COVERS AND ARE WELL WORTH THE MINIMAL COST
[6]doing it correctly the first time saves time and money
head gaskets #3
main bolts #2
rod bolts #2
oil pump stud and nut #4
oil pan bolts #5
oil pan gasket #6
cam sprocket bolts #4
timing cover gasket #6
timing cover bolts #1
intake bolts #1
intake gasket #6
thermostat housing bolts #5
thermostat housing gasket (also do you really need it) usually yes #6
Exhaust manifold/header bolts #1
Exhaust manifold/header gaskets #3
Water pump bolts #5
water pump gaskets #6
fuel pump #6
crank/damper bolt #1
Torque converter bolts #4
flywheel/flexplate bolts #4
bellhousing bolts #2
head bolts #5
rocker stud threads into heads #5
FUEL INE ADAPTERS, and AN#8 connection threads #7
sealant to use, use the number matched to application,
1 antiseize
2 oil or ARP thread lube
3 copper coat spray gasket sealer or apply dry in some cases (see manufactures suggestions)
4 loctite (red or blue depends on application ,read the labels)
5 http://www.devcon.com/devconfamilyproduct.cfm?familyid=386&catid=69
this works as a head bolt and rocker stud thread sealant, and sensor threads
don't forget the rear surface of the rear seal to block and main cap needs to be sealed, oil tight
both of these work great at sealing head bolt threads, and freeze plugs etc.
6 black high temp RTV
use the correct stuff for the application, AND READ & FOLLOW THE DIRECTIONS it prevents PROBLEMS
(7)ANY SCREW THREAD, on a FUEL LINE ADAPTER THREAD, this is one of the few sealants fuel won,t degrade
a few things you should know
http://www.valvedirectory.com/valve_04122006.html
Ive had the best luck with the extra thick synthetic /cork composite mix gaskets, for valve covers, the fully synthetic one piece oil pan gaskets, and perma-seal, and felpro brand on many of the other gaskets, SCE makes real nice pure copper head gaskets but that's naturally not for all applications
https://www.ebay.com/itm/SB-Chevy-Chrome-2-Piece-Timing-Chain-Cover-Kit-305-350-383-400-SBC-Small-Block/182207265086?_trkparms=aid=222007&algo=SIM.MBE&ao=2&asc=20160323102634&meid=e98d4d94da3247ebb33d536b5f57e5af&pid=100623&rk=2&rkt=6&mehot=pp&sd=131878980531&itm=182207265086&_trksid=p2047675.c100623.m-1
https://www.ebay.com/itm/Small-Block-Chevy-Polish-Aluminum-2-piece-Timing-Chain-Cover-283-305-327-350-SBC/351018052794?_trkparms=aid=222007&algo=SIM.MBE&ao=2&asc=20160323102634&meid=e98d4d94da3247ebb33d536b5f57e5af&pid=100623&rk=4&rkt=6&mehot=pp&sd=131878980531&itm=351018052794&_trksid=p2047675.c100623.m-1
I'm forced to point out that proper installation and use of the proper sealants effects results, if you use the typical yellow 3m weather strip adhesive I see lots of guys use its sure to leak over time.Stay away from 2 piece steel covers - they leak.
http://www.jegs.com/webapp/wcs/stores/s ... 2_25118_-1
many guys have coolant leaks from studs and head bolts,you don,t need that P.I.T.A.IF your going to use ARP main cap studs THE TORQUE SETTINGS ARE DIFFERENT than the original BOLTS, the STUDS ARE STRONGER, BUT,you might also consider that main studs generally install after cleaning the threads in the block with a tap,blowing them dry with high pressure air, coating the studs course threads with the thread sealant and fine threads end with the ARP thread lube, when you screw them into the block the full thread depth, by hand, or with an allen hex key,then get backed out one quarter turn, the main caps or heads are installed and the nuts torqued in stages to seat and hold the main caps,or heads, now LOOK at those STUDS, the end in the block,has threads that are SAE COURSE thread, the end your torquing the nut on is SAE FINE THREAD with a much different PITCH that requires less tq to give the same clamp loads.
the bolts or threads leak IF the coolant flows up thru the threads, the path the coolant takes is exactly the same in either case, studs/bolts only LEAK when they are IMPROPERLY installed, a clean degreased thread in the block and on the stud or bolt you use then, installing either after dipping the thread section in the correct sealant, and letting the sealant start to dry on the threads for a few minutes, before installing them, prevents leaks, how the torque is applied to clamp the head has little effect.
Ive used BOTH studs and bolts on many engine builds and its proper procedure, and working with cleaned threads in both the block and fastener and use of the correct sealant on those threads not the studs or bolts that mater here.
the thread sealant stays liquid until exposed to the air, you need to allow the sealant on the threads a minute of air exposure to start to thicken before installing them,so the sealant forms a barrier to coolant flow in the threads.
guys! Ive YET to have a single stud or bolt leak!
its simple! run a tap thru the threads, test screw the clean/dry stud by hand to verify no clearance or binding then ,clean them and dry the threads on the block and studs,before you start the assembly, and just dip the total threaded surface on the lower studs course thread end of the stud that screws into the block into the correct sealant. spin it in your fingers slowly as you move the stud to the hole in the block to keep from dripping sealant on the deck,
thread it into the block full depth , back it out a 1/2 turn and let it set up for a few minutes before assembling the head gaskets and heads,but assemble the heads while the sealants still fresh/liquid, torque too spec and let the engine set for a few hours (preferably over night)
http://www.devcon.com/products/products.cfm?familyID=386
the stuff works far more relieably than most thread pastes or thread sealants, it cleans ,off fingers with a scotchbrite pad and gas or alcohol,....provided you have not let it set up on your skin very long, once its started too dry ...good luck
YES it works on BOLTS ALSO
Last edited by a moderator: