Drivetrain Installation Completed ......
Truly a trip down the rabbit hole, but I"m glad it's done and everything looks good.
Headers are still off, waiting on new gaskets. I'm using Remflex 2036 round port graphite gaskets - I really like them. They are extra thick and seal very well. Unfortunately, they are a bit brittle so removing the headers caused some breaking of the gaskets. Not cheap, but hopefully this time the headers will be on for a long time.
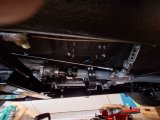
Here's the money shot - everything is bolted up, crossmember back in place.
I also made sure that the engine mounts are positioned so that there's some weight on the transmission mount, but not too much, meaning that there's not too much weight bearing down on the transmission bellhousing, nor too little so that the transmission tailshaft is pulled down at the rear mount. Sort of a balancing act.
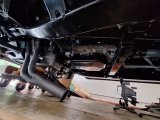
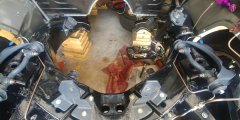
I was playing around with the phone camera, sort of a fisheye view.
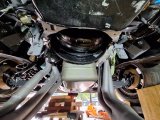
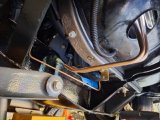
Driveshaft is positioned correctly now, plenty of clearance for rear axle movement, as well as clearance to handbrake assembly/cables.
I'll now go back and look at driveline angles.
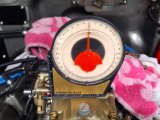
Shows about a degree lean on the engine, but I realized the car is also slightly leaning by that amount.
Needs a bit of air in the tires after sitting for so long.
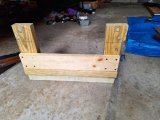
I wanted to give a bit more detail on my temporary engine support setup in case anybody else deals with a midmount plate or similar setup. This lets me support and adjust the engine without having to use a hoist. Figuring the loads, this is well able to support the engine - I didn't even see any deflection.
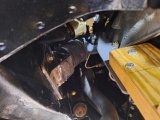
This is the wooden base support. It rests on a scissor jack.
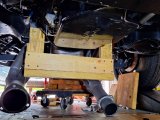
Here's the support bolted onto the vertical brackets, engine mounts in place and scissor jack removed. It's just hanging there.
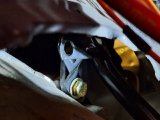
This is the driver side vertical bracket that will remain in place, doesn't interfere with exhaust.
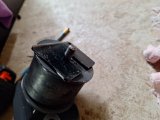
Looking at the engine mount and vertical support bracket from the front of the car.
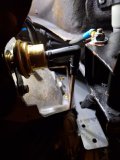
That's the tube for the relocated oil pressure sender.
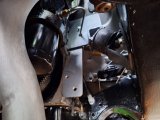
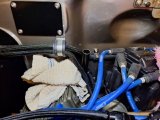
This is the passenger side vertical bracket that will remain in place.
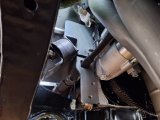
Looking at the engine mount and vertical support bracket from the front of the car.
That's the starter cable going through the bracket.
There's a little bit of trimming that will be needed on the dust shield that attaches below the bellhousing, very easy.
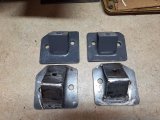
I suppose that (I don't plan to!) the engine mount plate and the vertical support bracket could be made from a single piece of plate.
Incidentally, I used .25 plate for these plates/brackets and engine mounts - very strong.
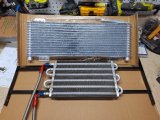
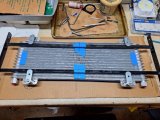
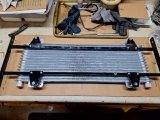
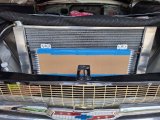
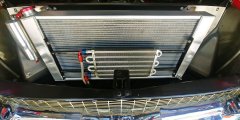
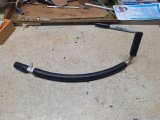
So now it's on to the transmission cooler and cooler lines, the vacuum line for the modulator and installation of the shifter cable.
If you look on the other thread, the console area gauges, wiring, and shifter are all done.

