81 Malibu "Uncaged" Performance Therapy project

NOT A TA

reliable source of info
pt_winnerswhats_hot9image.jpg


Some of you have been watching my build thread on The 14 Car 70 Firebird. I thought you guys might like to see this one too as it progresses. This cars been on hold for a while but I'll be getting back on this build so I thought I'd slowly copy & paste it onto this forum from another forum I'd started a thread on before I joined here. And so here it is! Keep in mind that the posts started several years ago and I'll let you guys know when I get the thread posted here up to it's current state. Then I'll update as I finish the project.

_______________________________________________________________________________________________________________________________

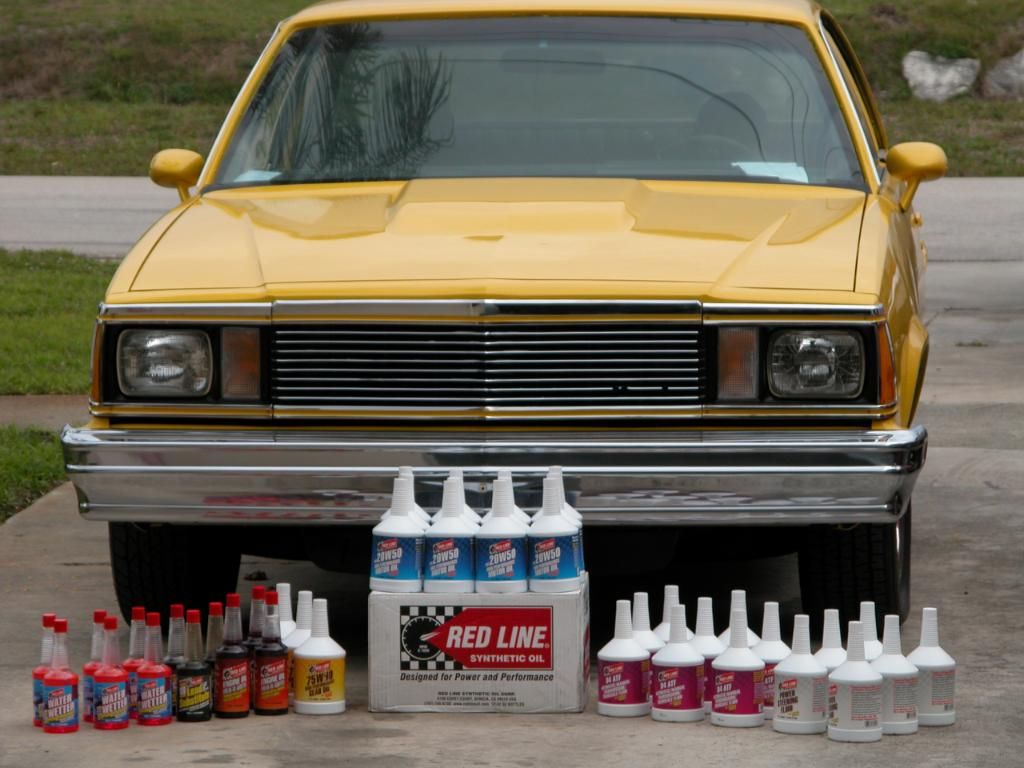
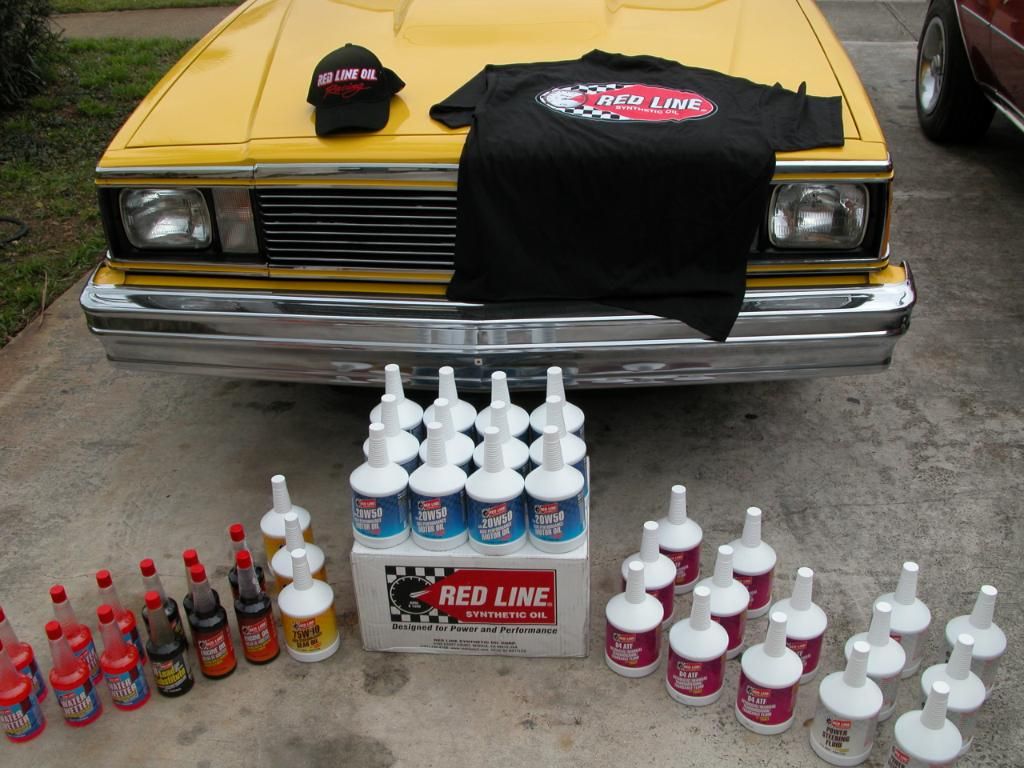
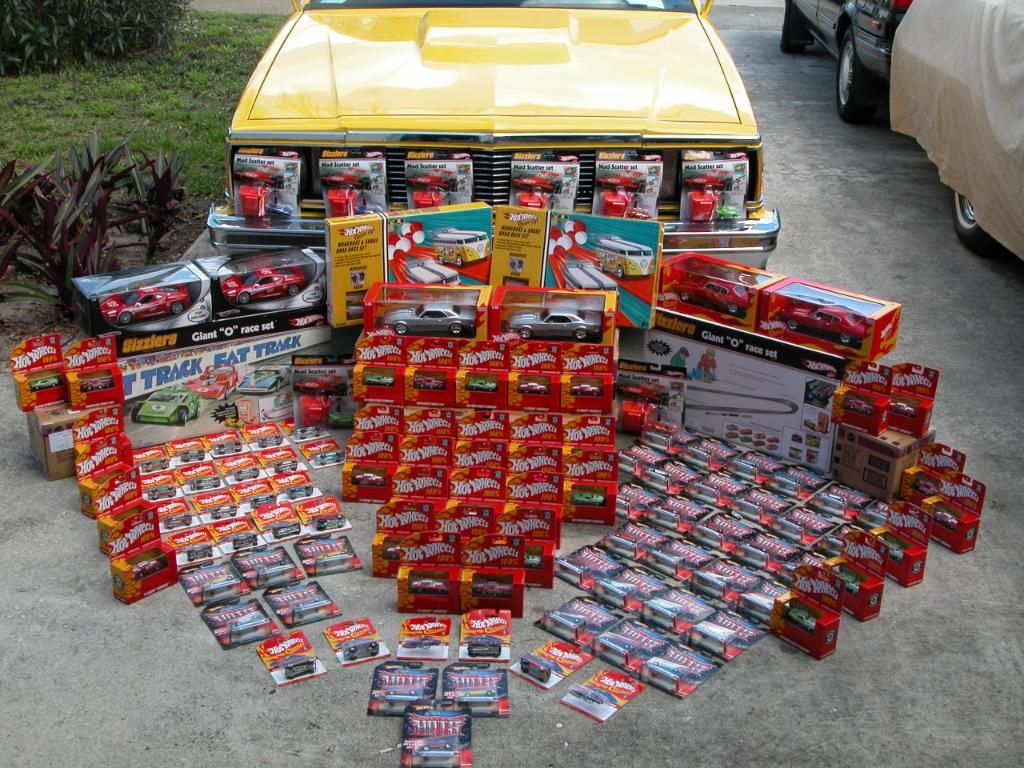
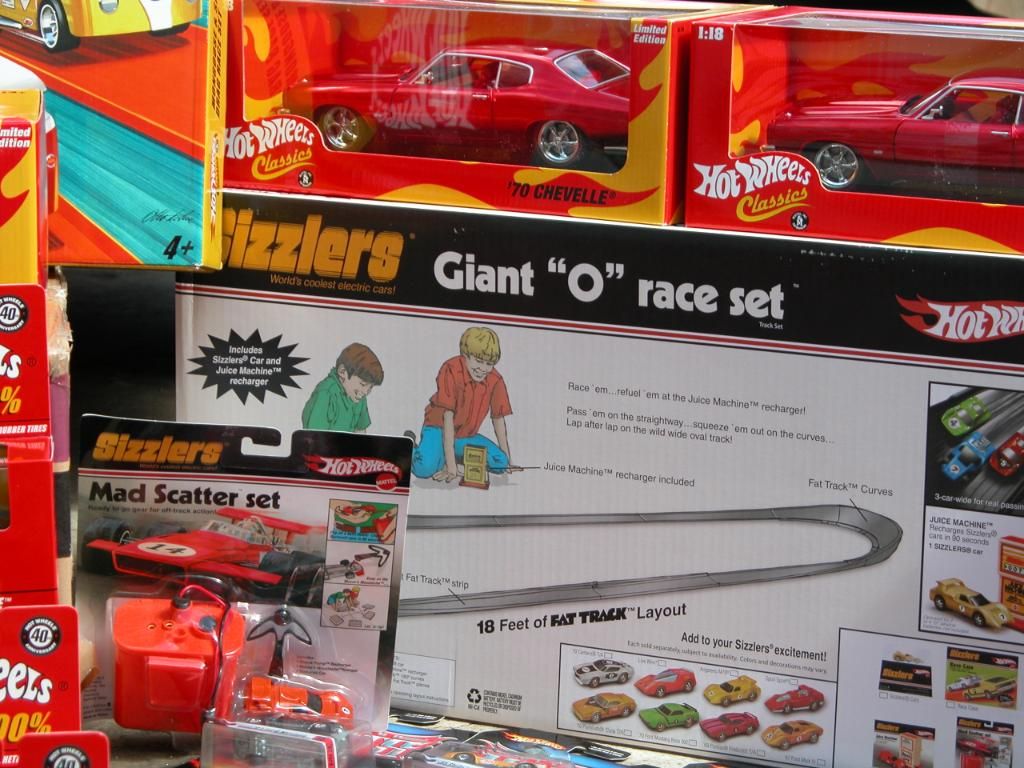
I won a contest called, "The Performance Therapy Online Photo Contest" http://www.performancetherapycontest.com/ organized by John Hotchkis. The winning photograph of me in my Firebird was taken by my bud John Hendrick at the famous Sebring Road Race track. As the Grand prize winner of the contest I am recieving products from Hotchkis Sport Suspension, Baer Brakes, Flowmaster, MSD, Rushforth Wheels, Yokohama tires, Lifeline Fire Systems, Redline synthetic oils, and Hot Wheels.

Since my Firebird already has a Hotchkis suspension, MSD ignition, and sidepipes (which I like) I'm going to use some of the prizes to give my Malibu some much needed Performance Therapy. During the 15 years or so since I paid a whopping $300.00 for the bu I've used it on and off as a DD and slowly fixed it up a little at a time until about 9 years ago when I decided to repaint it again. It hasn't been driven much since then mostly due to an idiot keeping it for a couple years which some of you may have read about already here. http://www.pro-touring.com/forum/showthread.php?t=63796 And after that I moved far away which was a huge nightmare and at one point I was so fed up I didn't even look at the bu for a whole year.

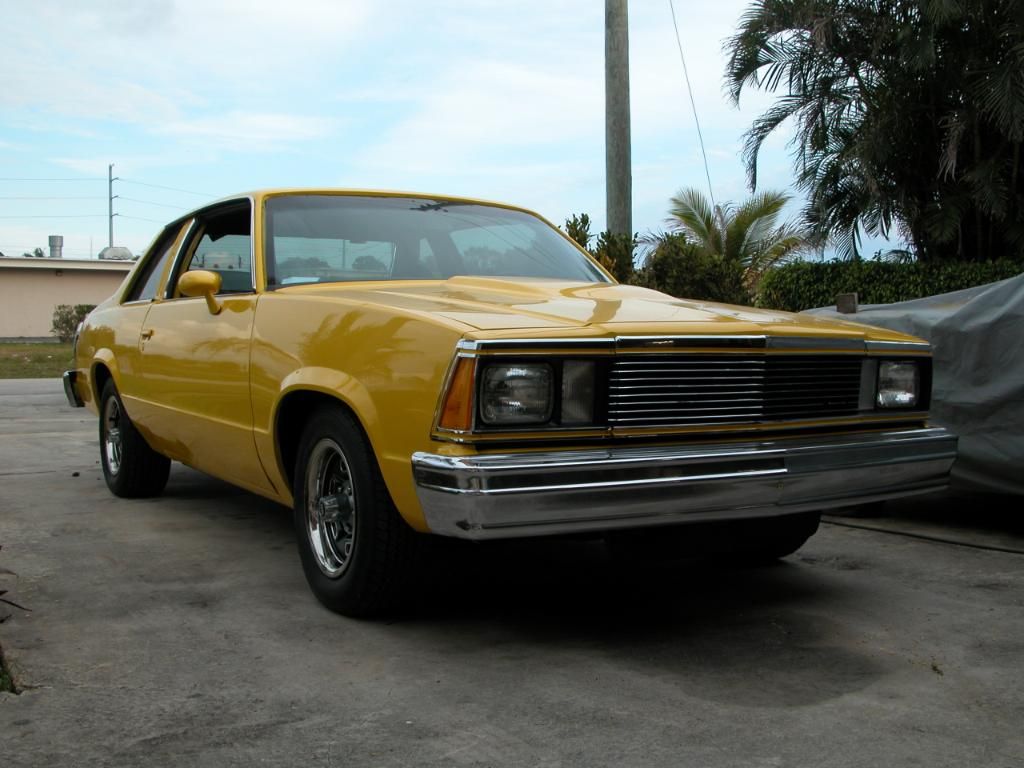
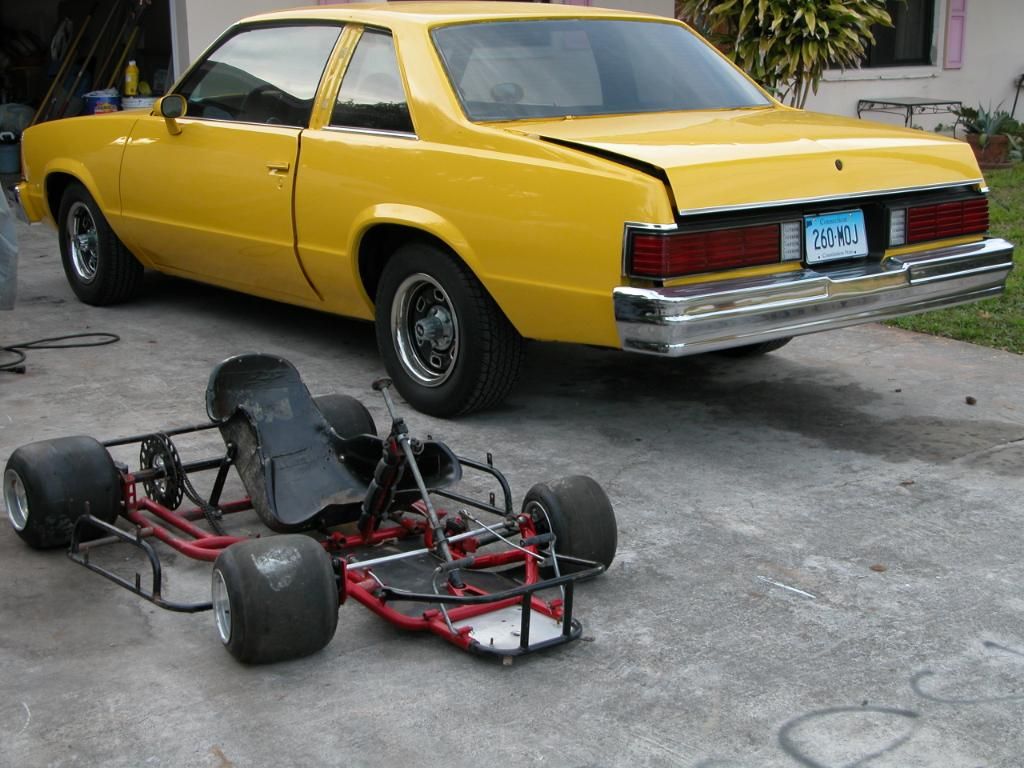
With 70,000 miles on the car currently, it still has the original unmolested 229 V6 auto combo and all stock suspension except for a rear swaybar I got off of a parts car. So this is going to be an awesome upgrade I wouldn't have been able to do otherwise. I've just about finished reassembling the exterior of the car and just need to put a new Landau vinyl top (I like them) back on.

The Plan:
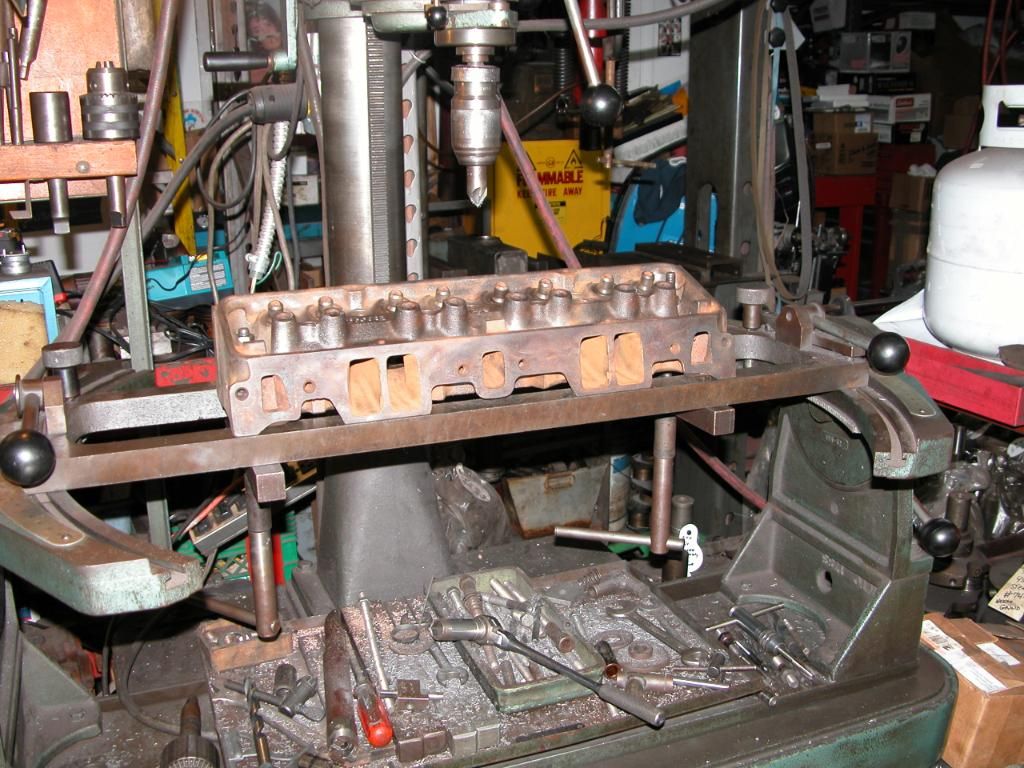
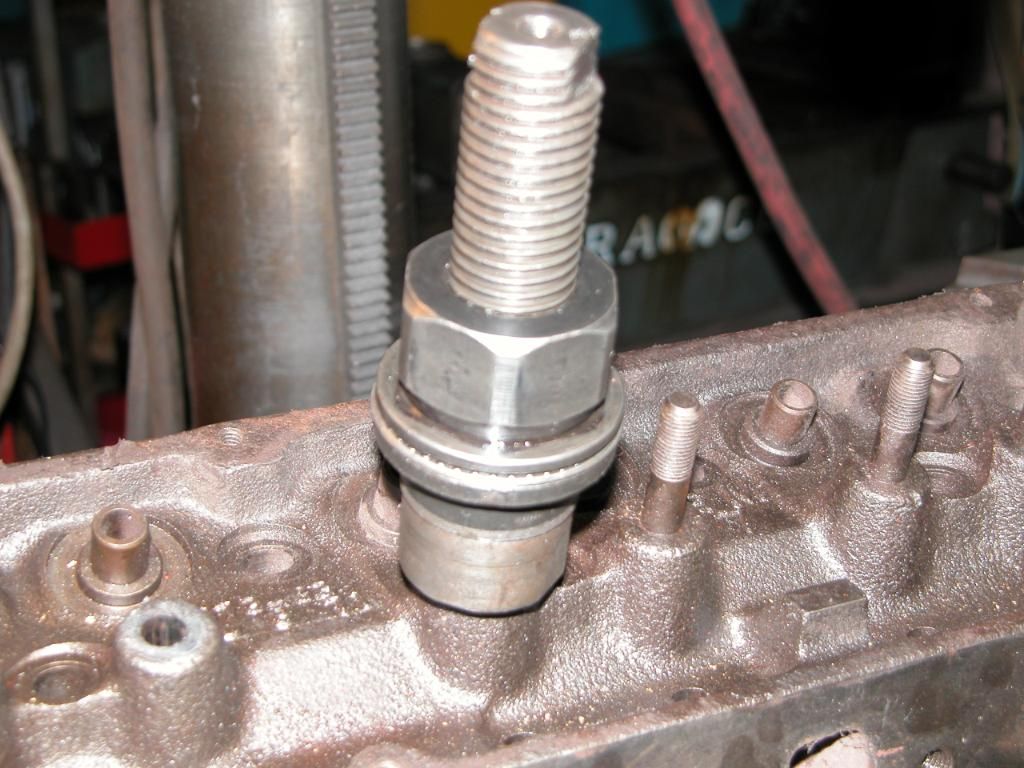
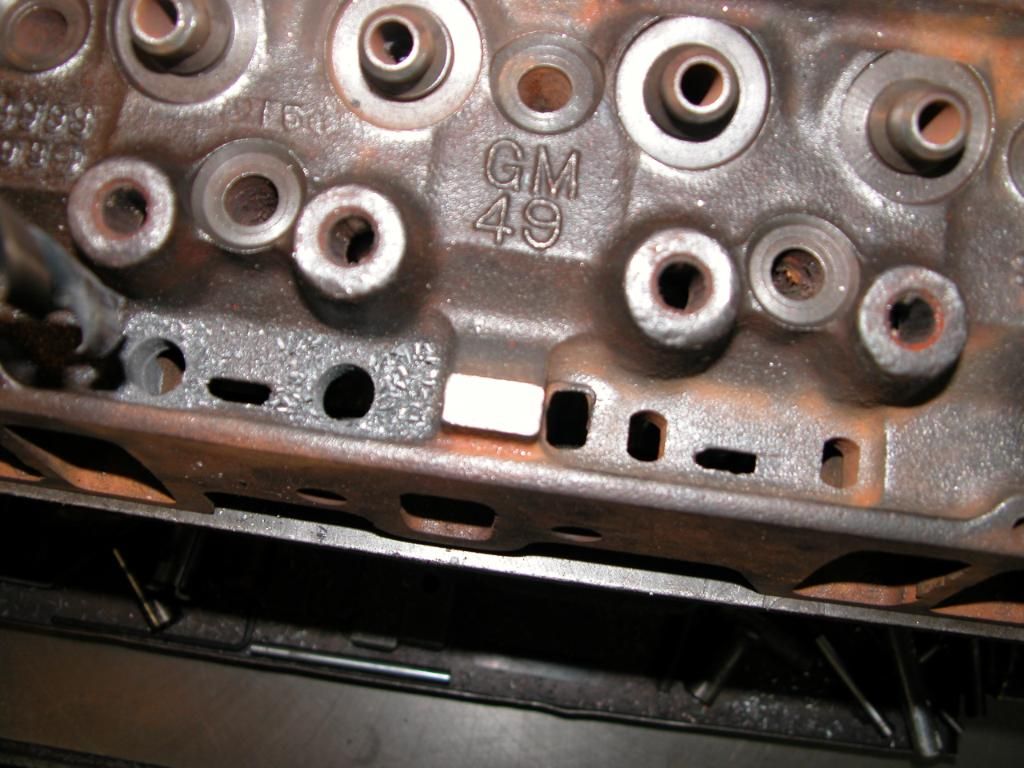
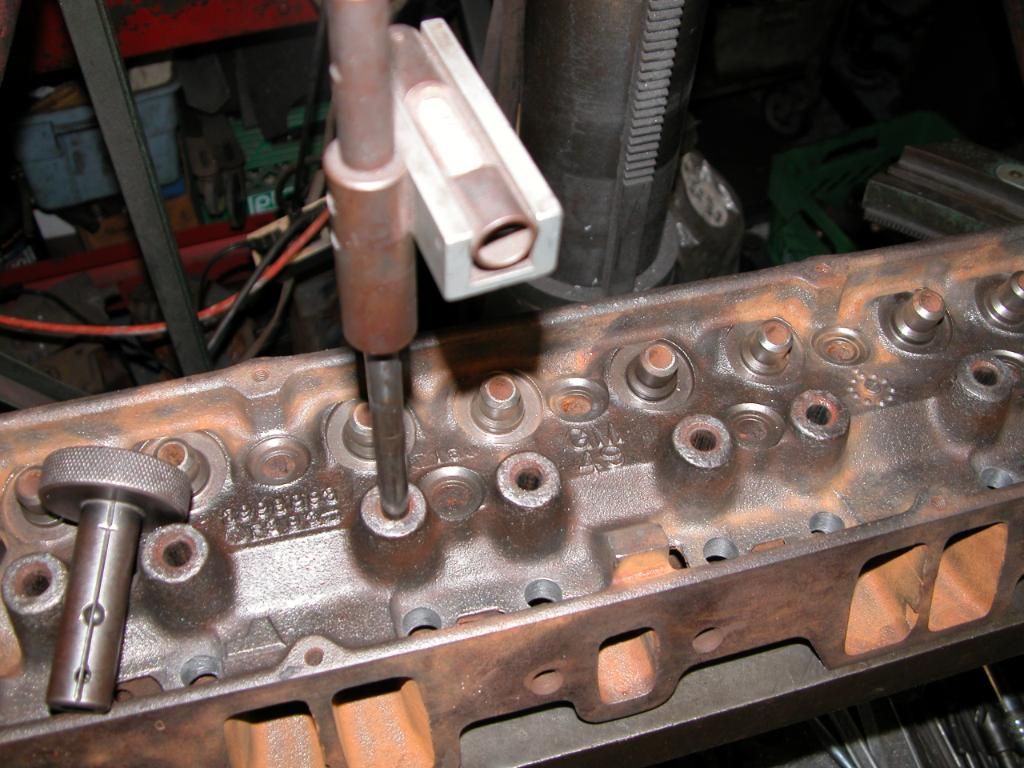
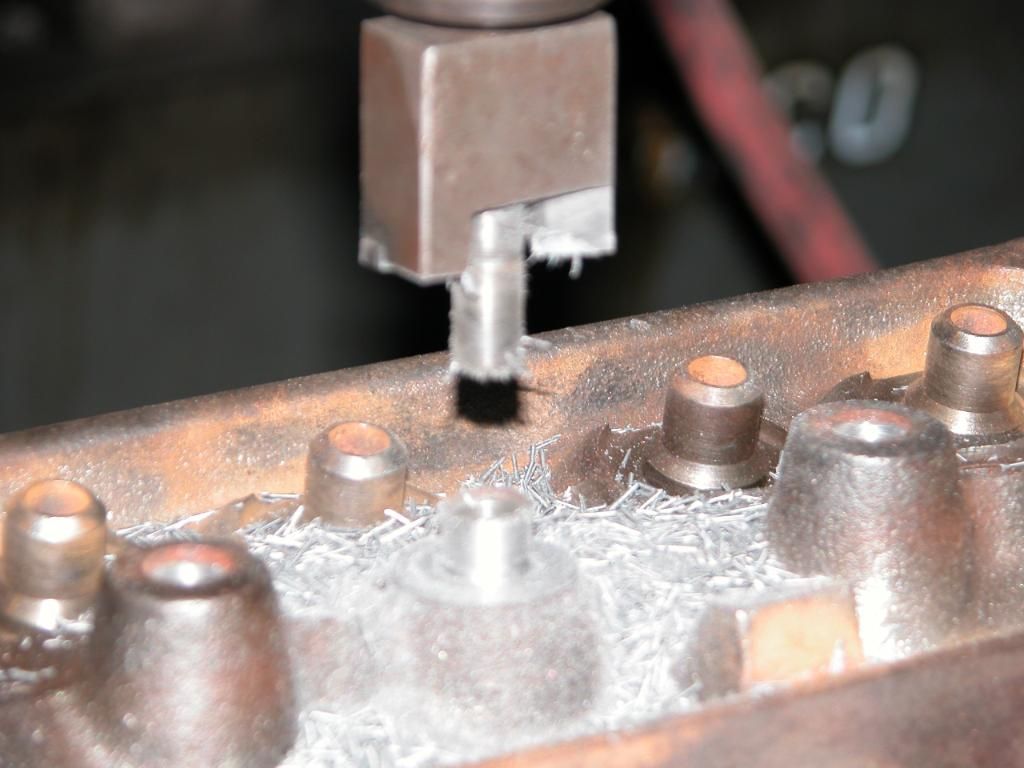
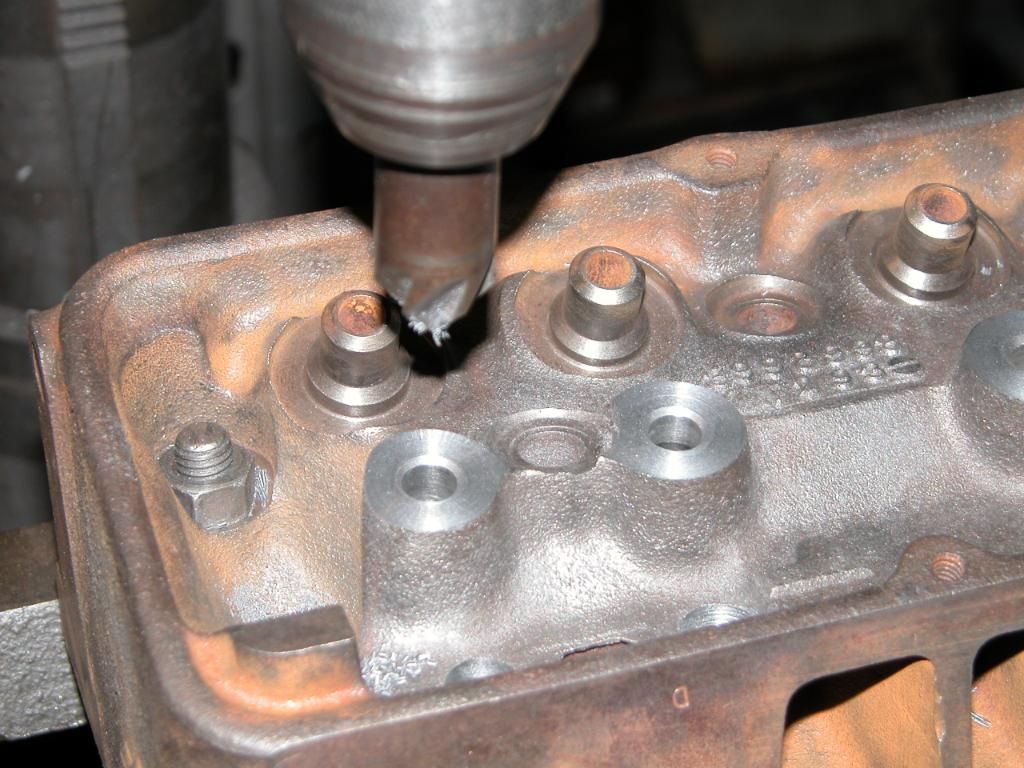
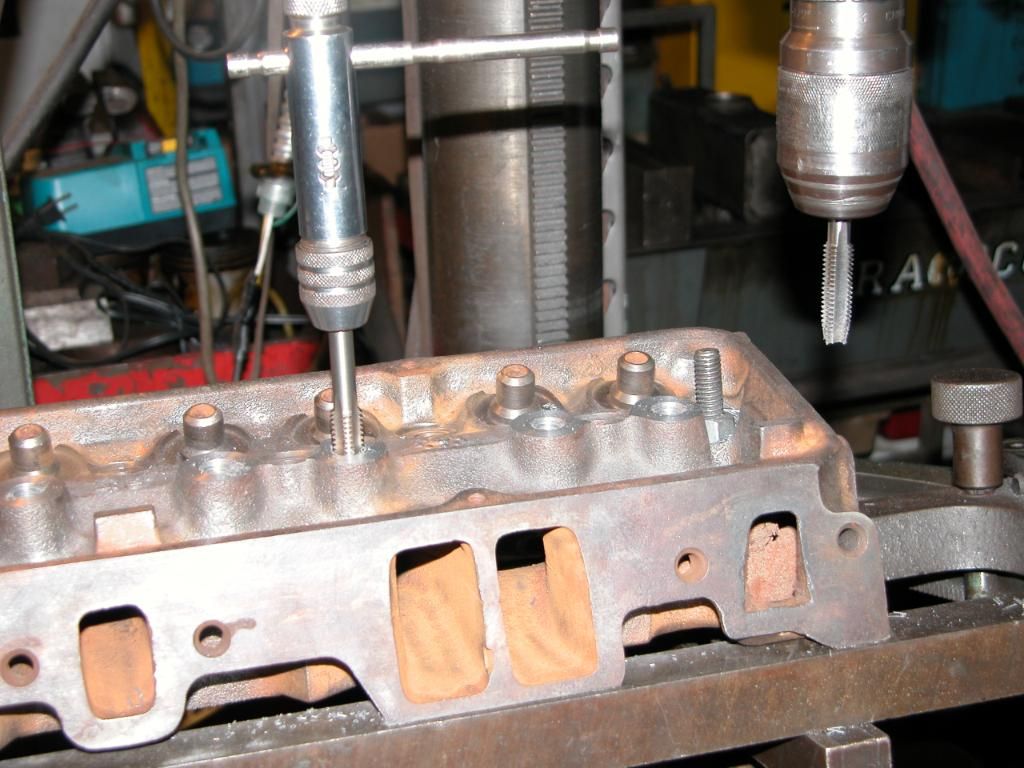
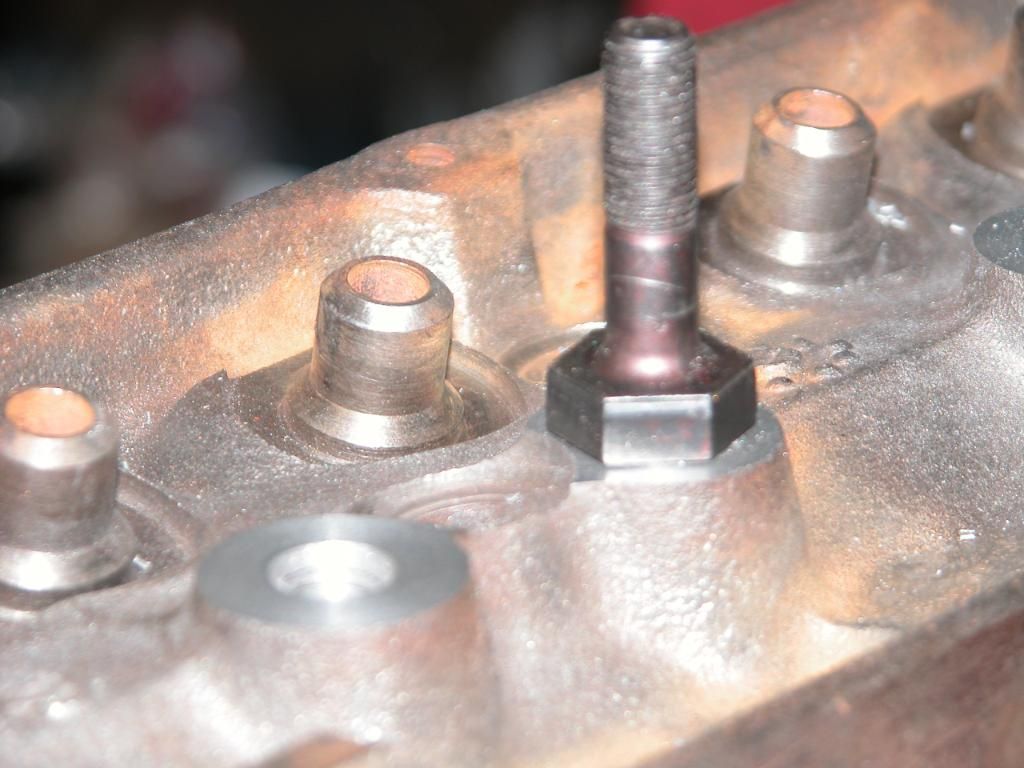
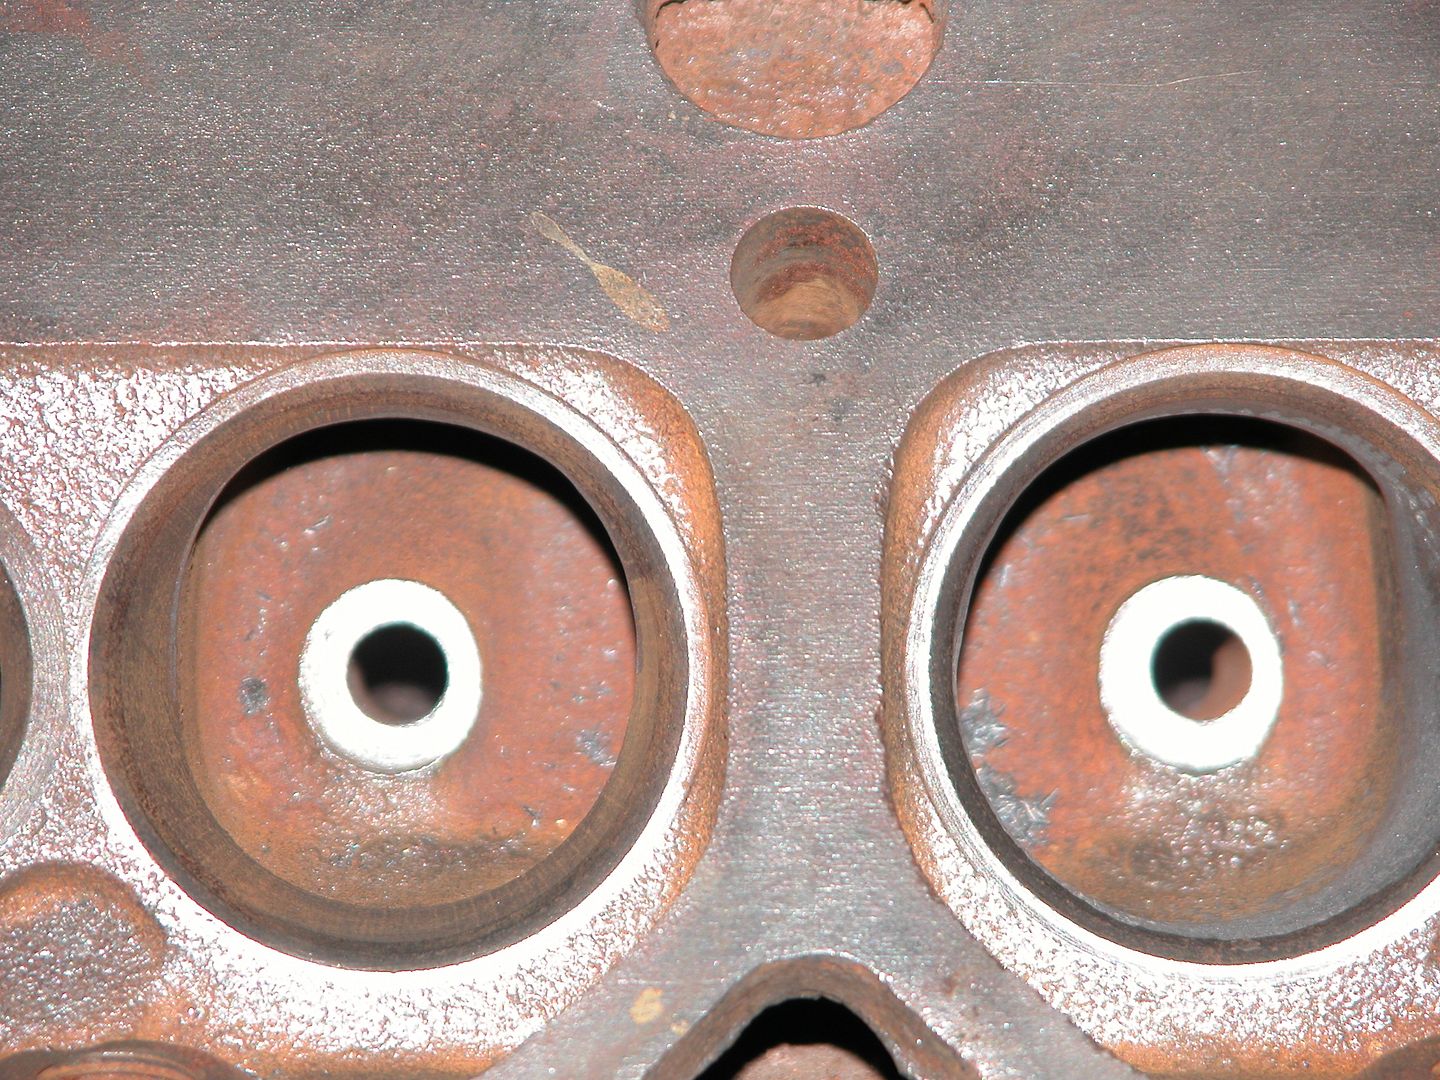
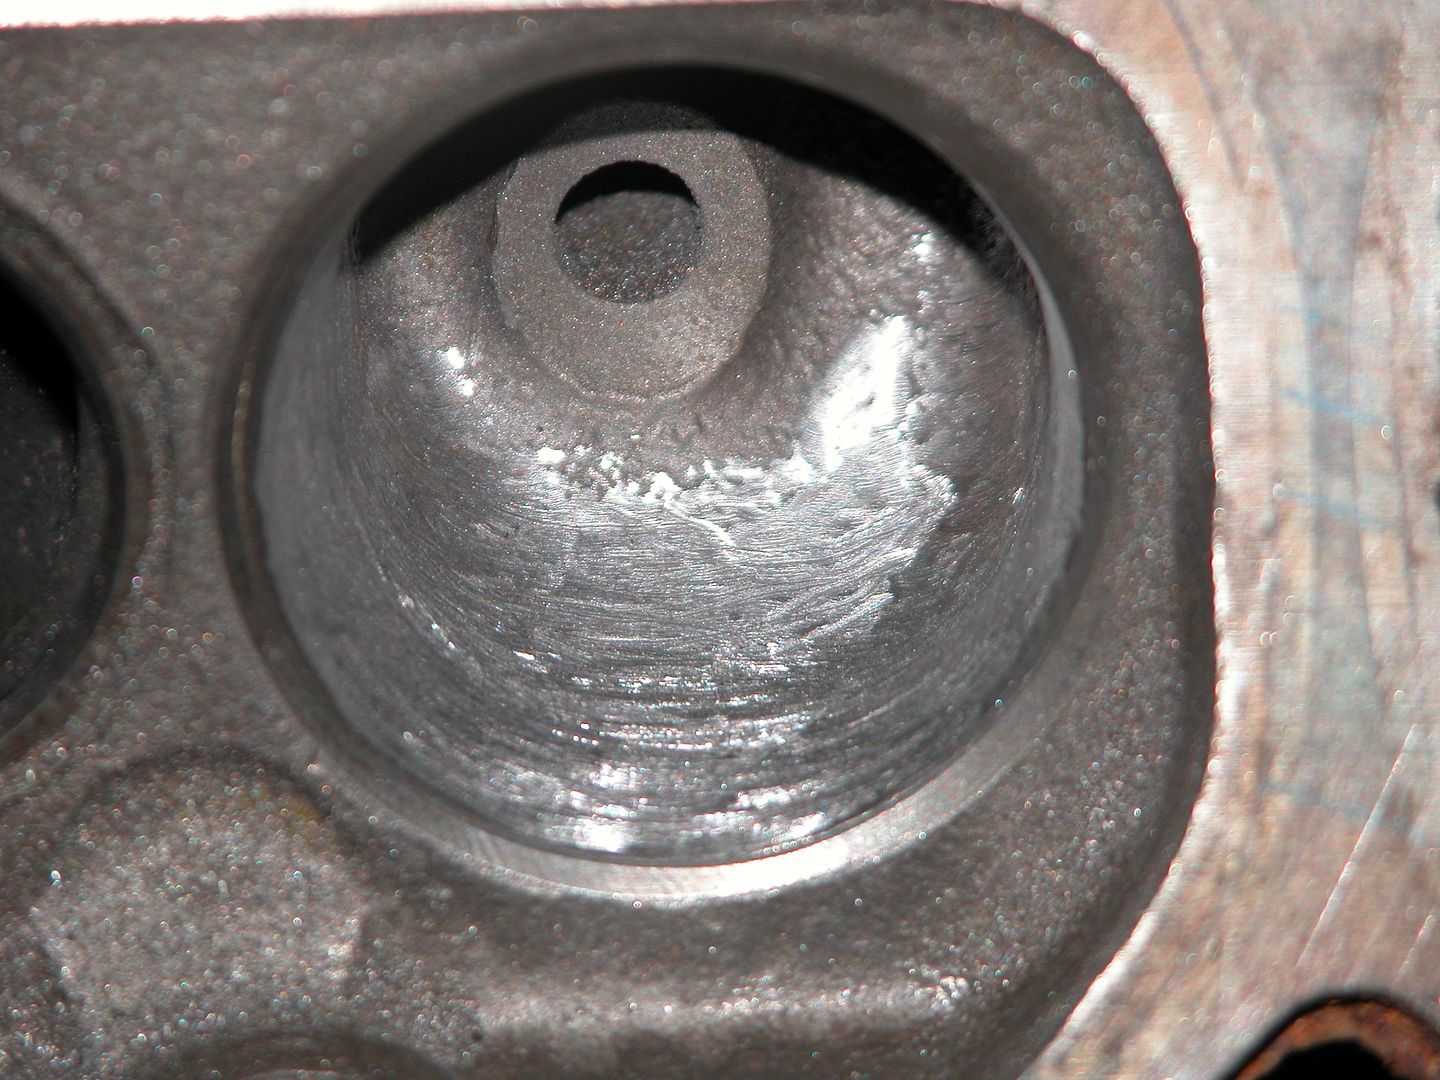
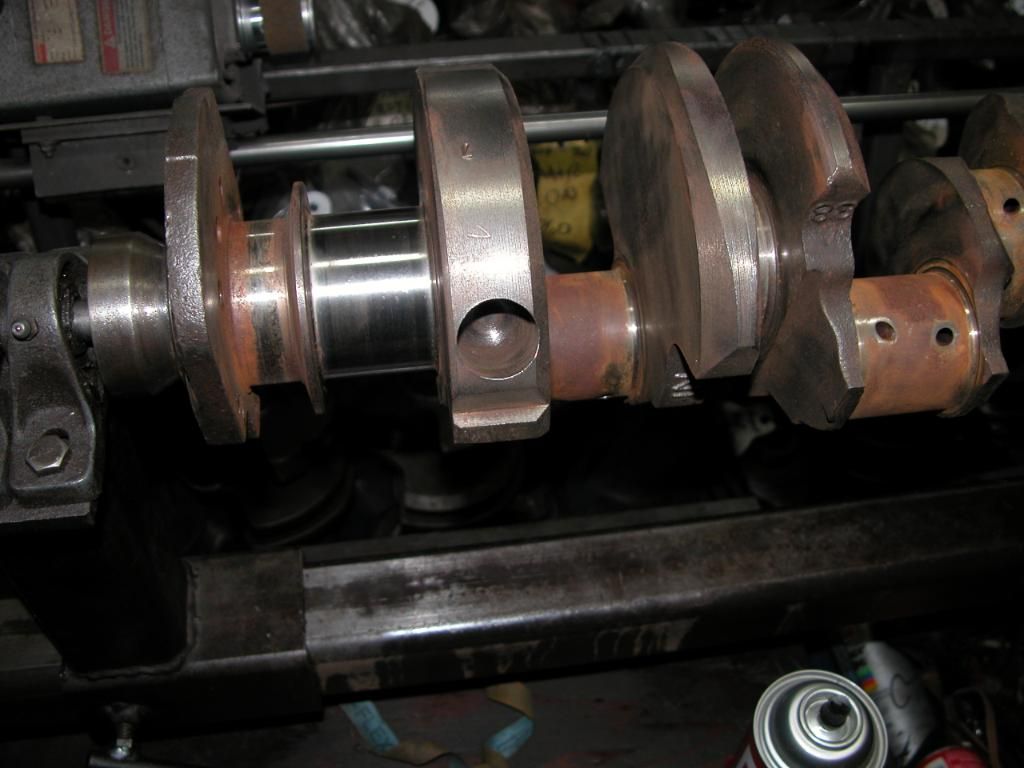
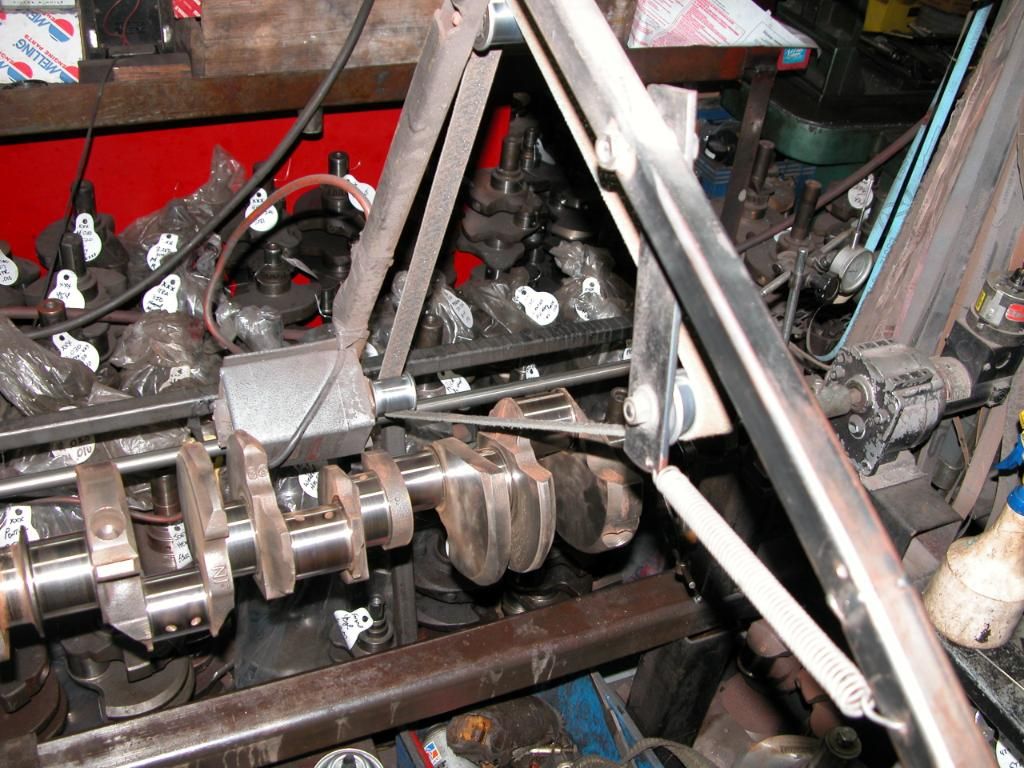
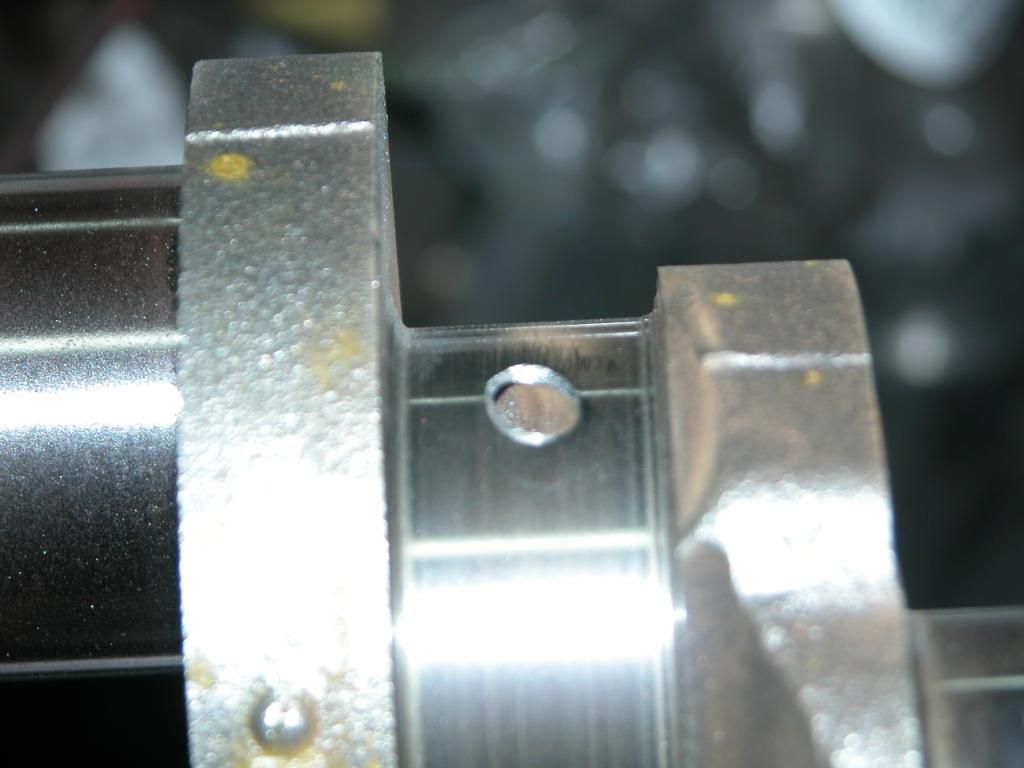
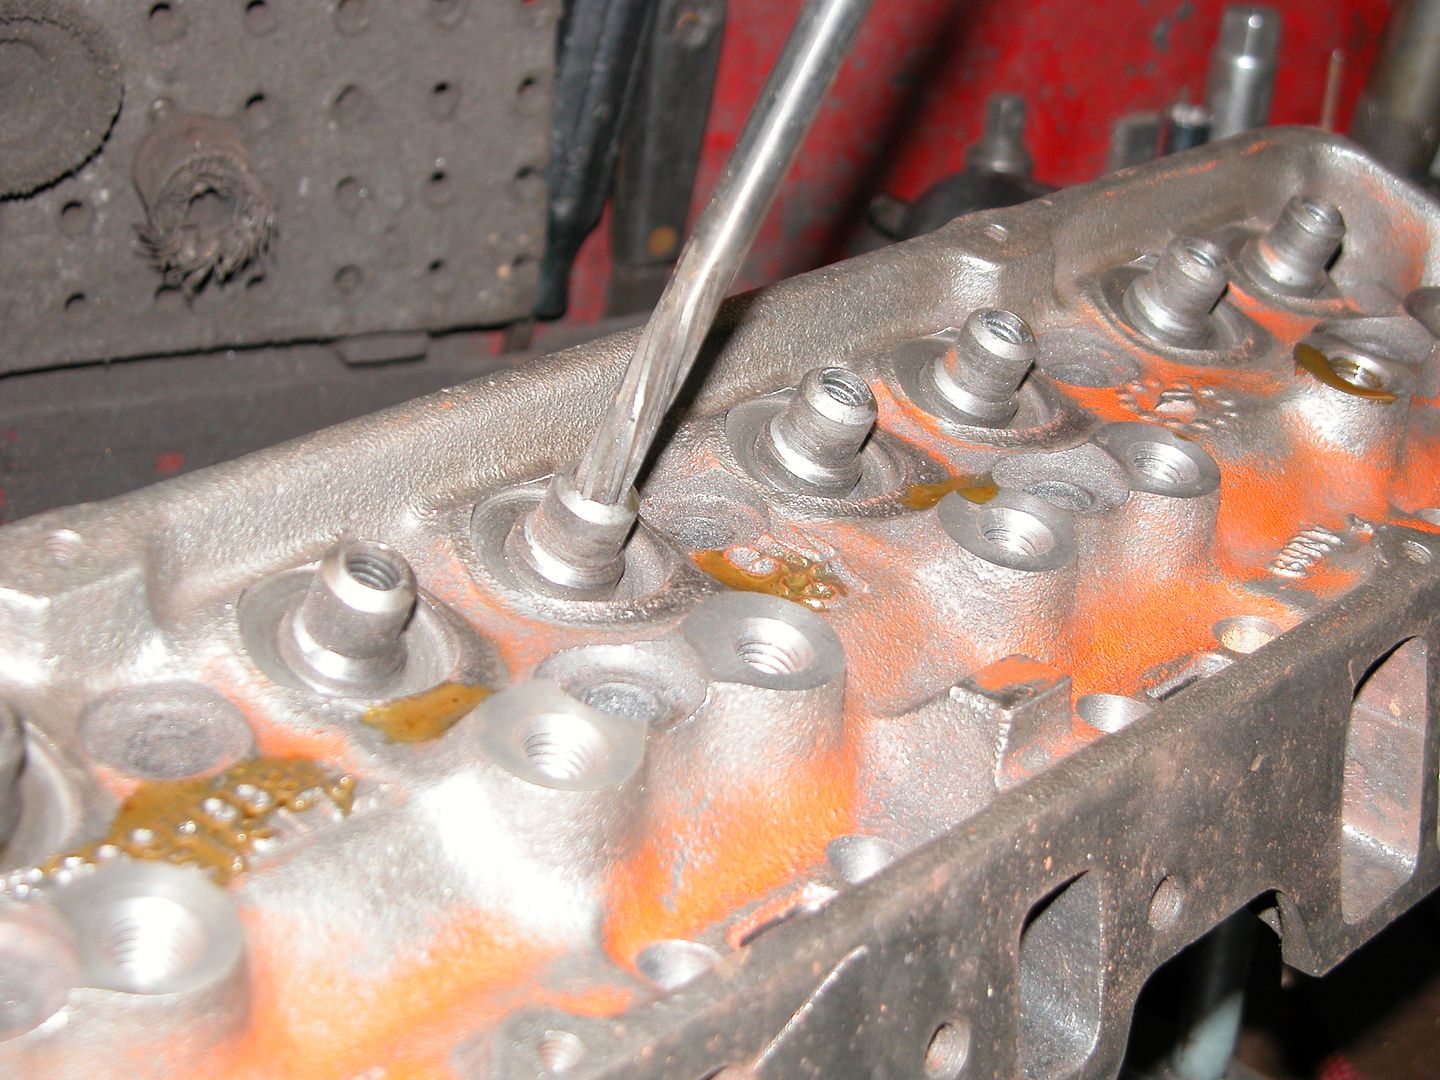
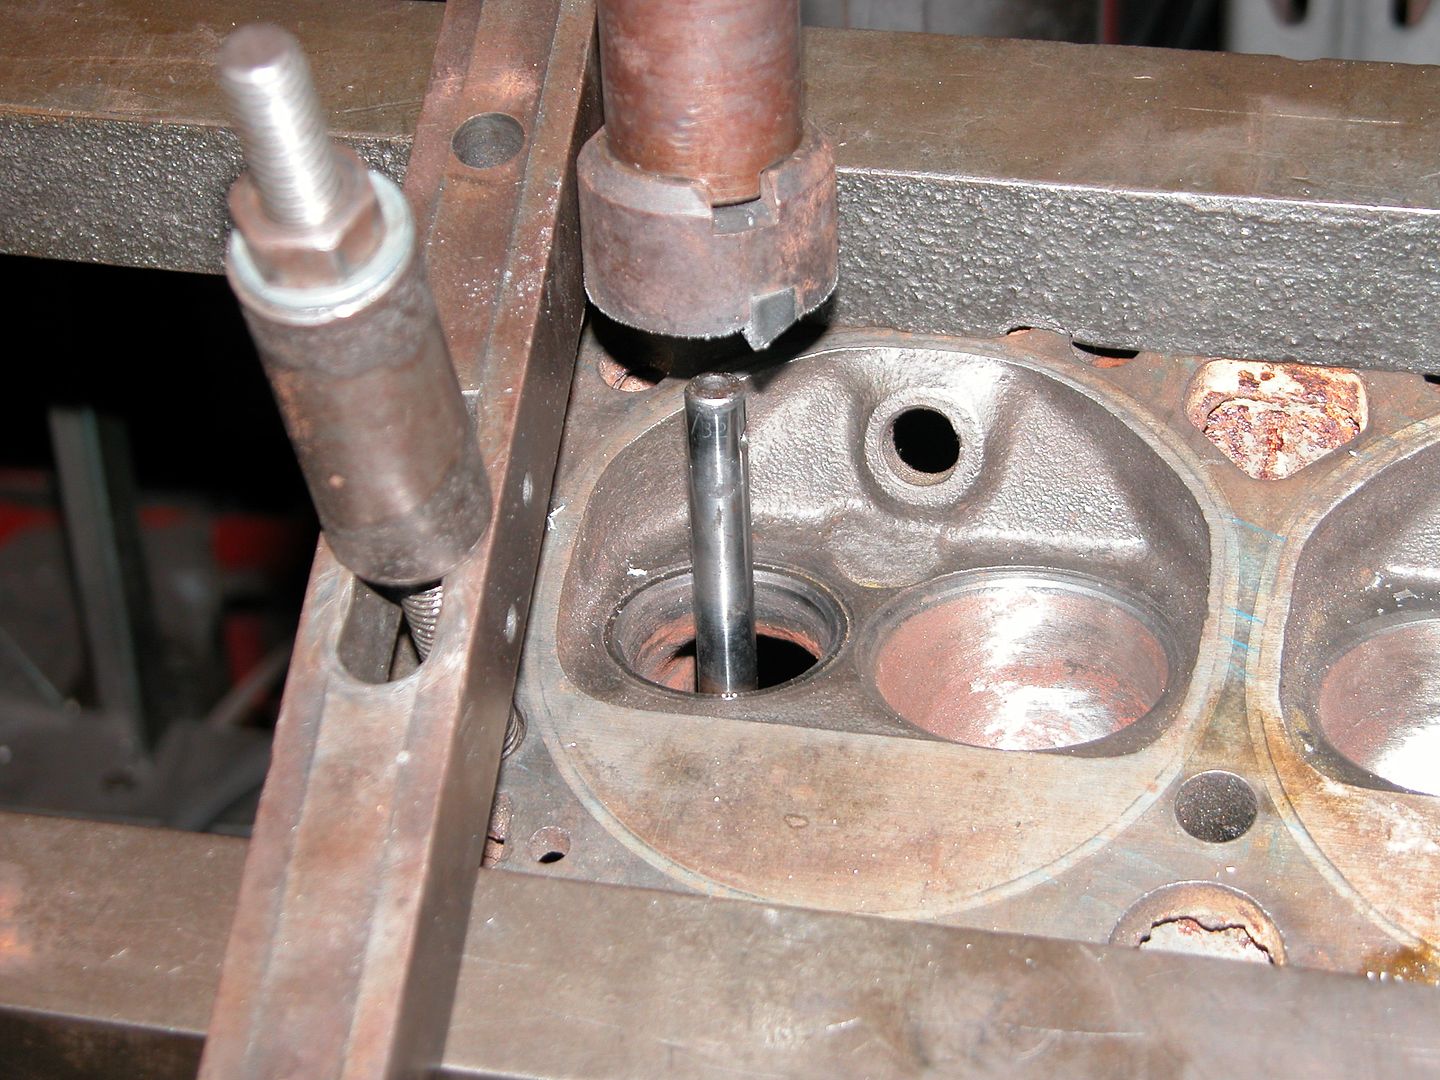
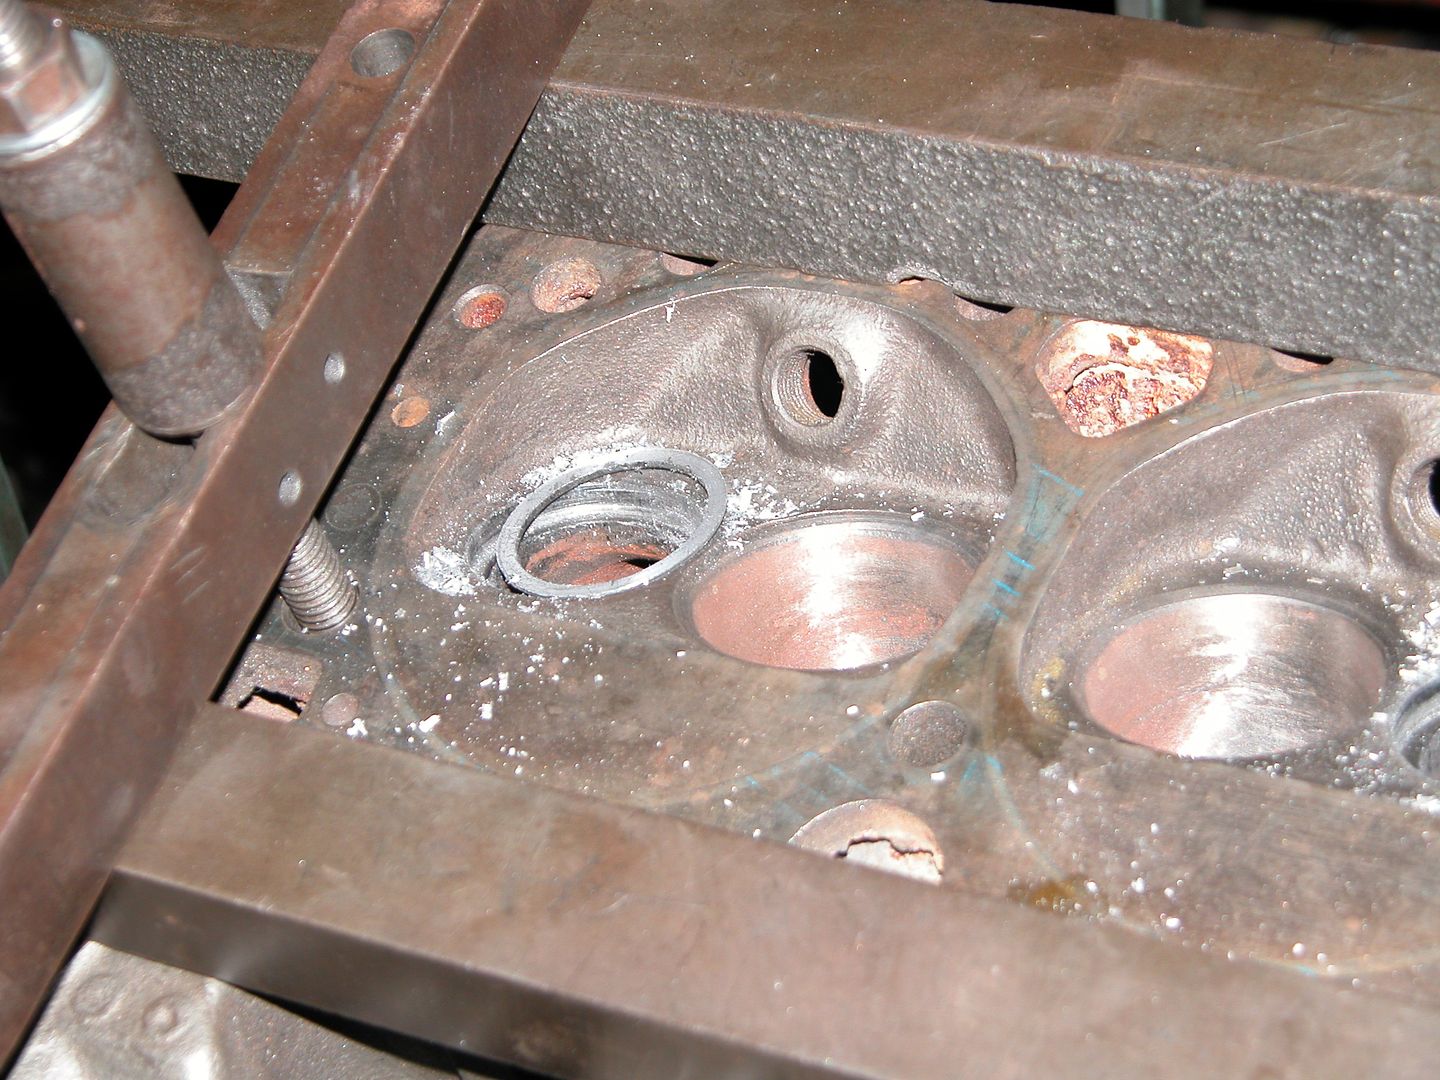
I've got a '70 350 4 bolt engine from a C-20 that was rebuilt by my brother almost 30 years ago but never fired. According to the note on the engine it was magnafluxed and decked, bored .030, has a 3 angle valve job, double roller timing chain, ported head, and a ported intake referred to as an "inverted high rise" which I never heard of. That is all I know (or will know) about it.

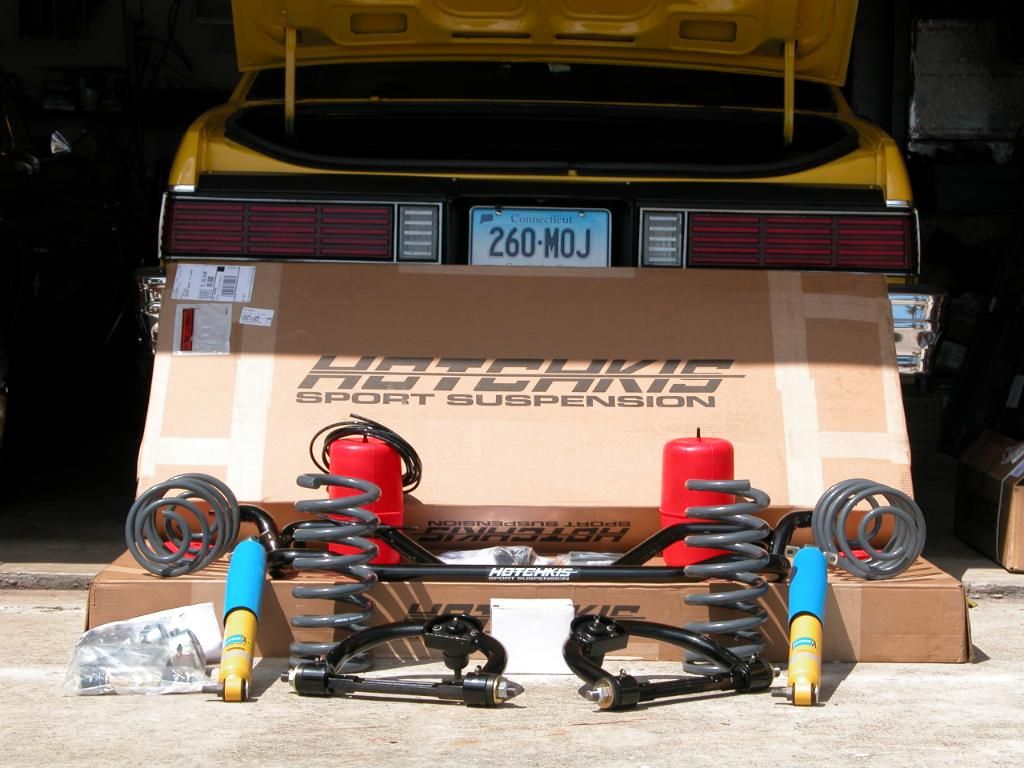
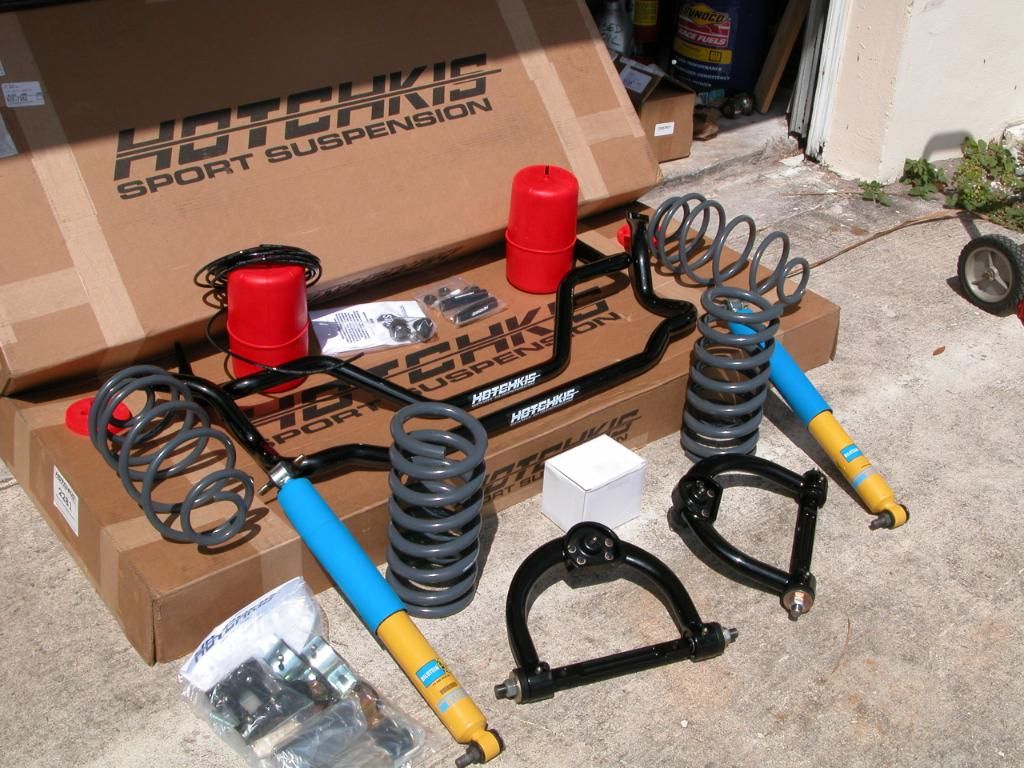
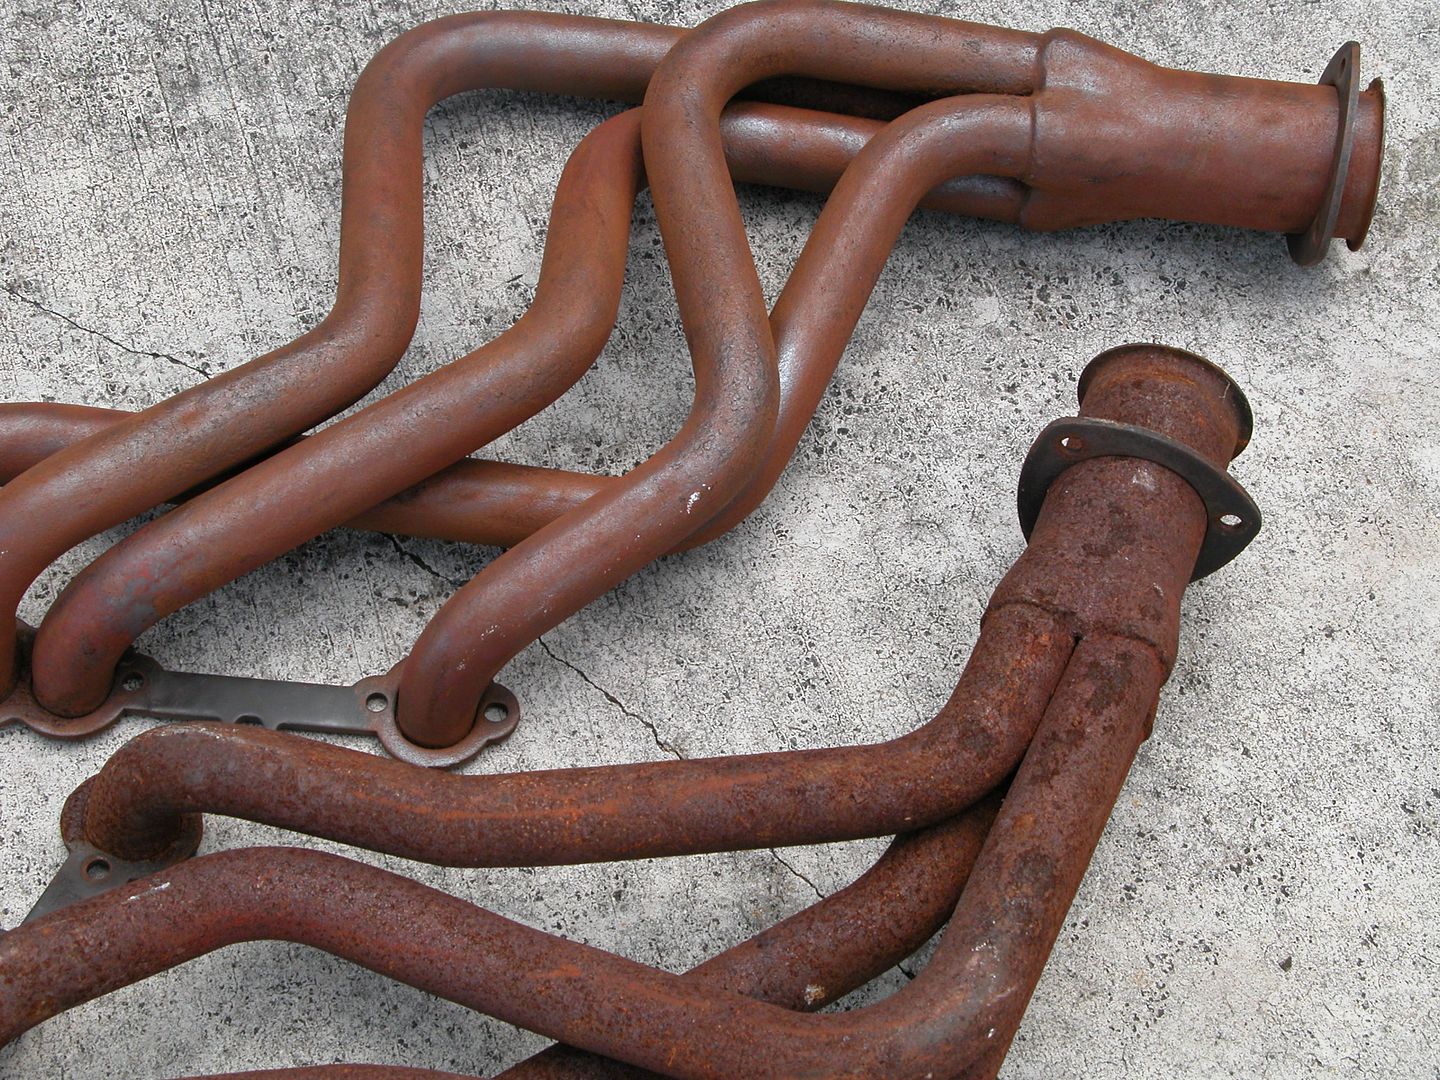
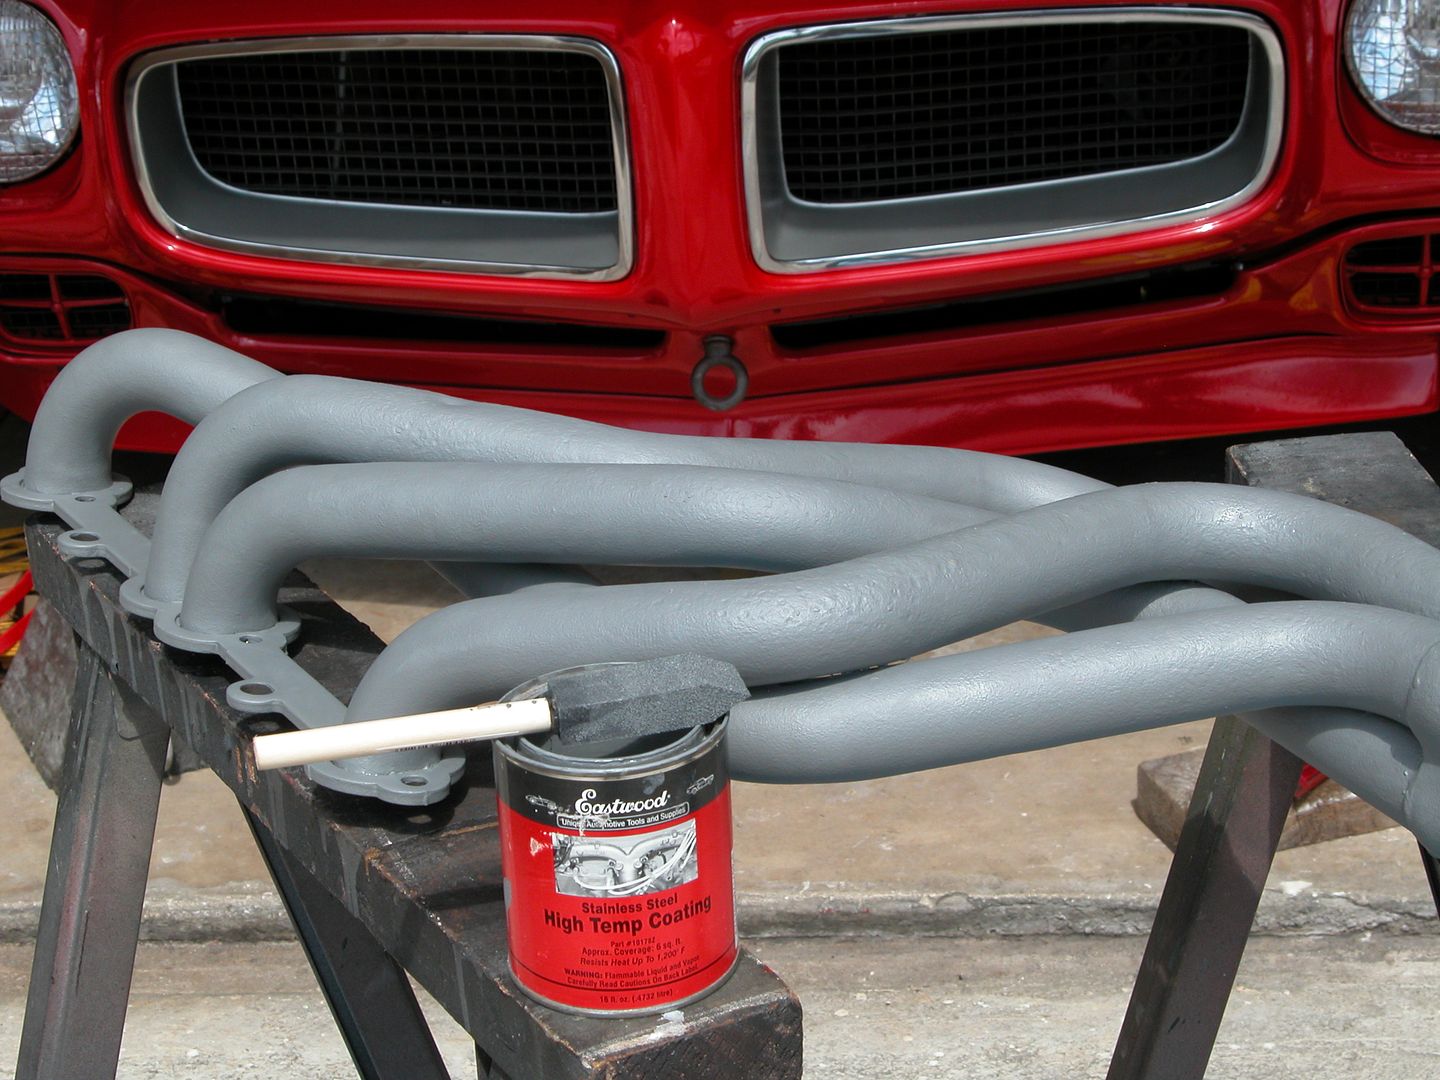
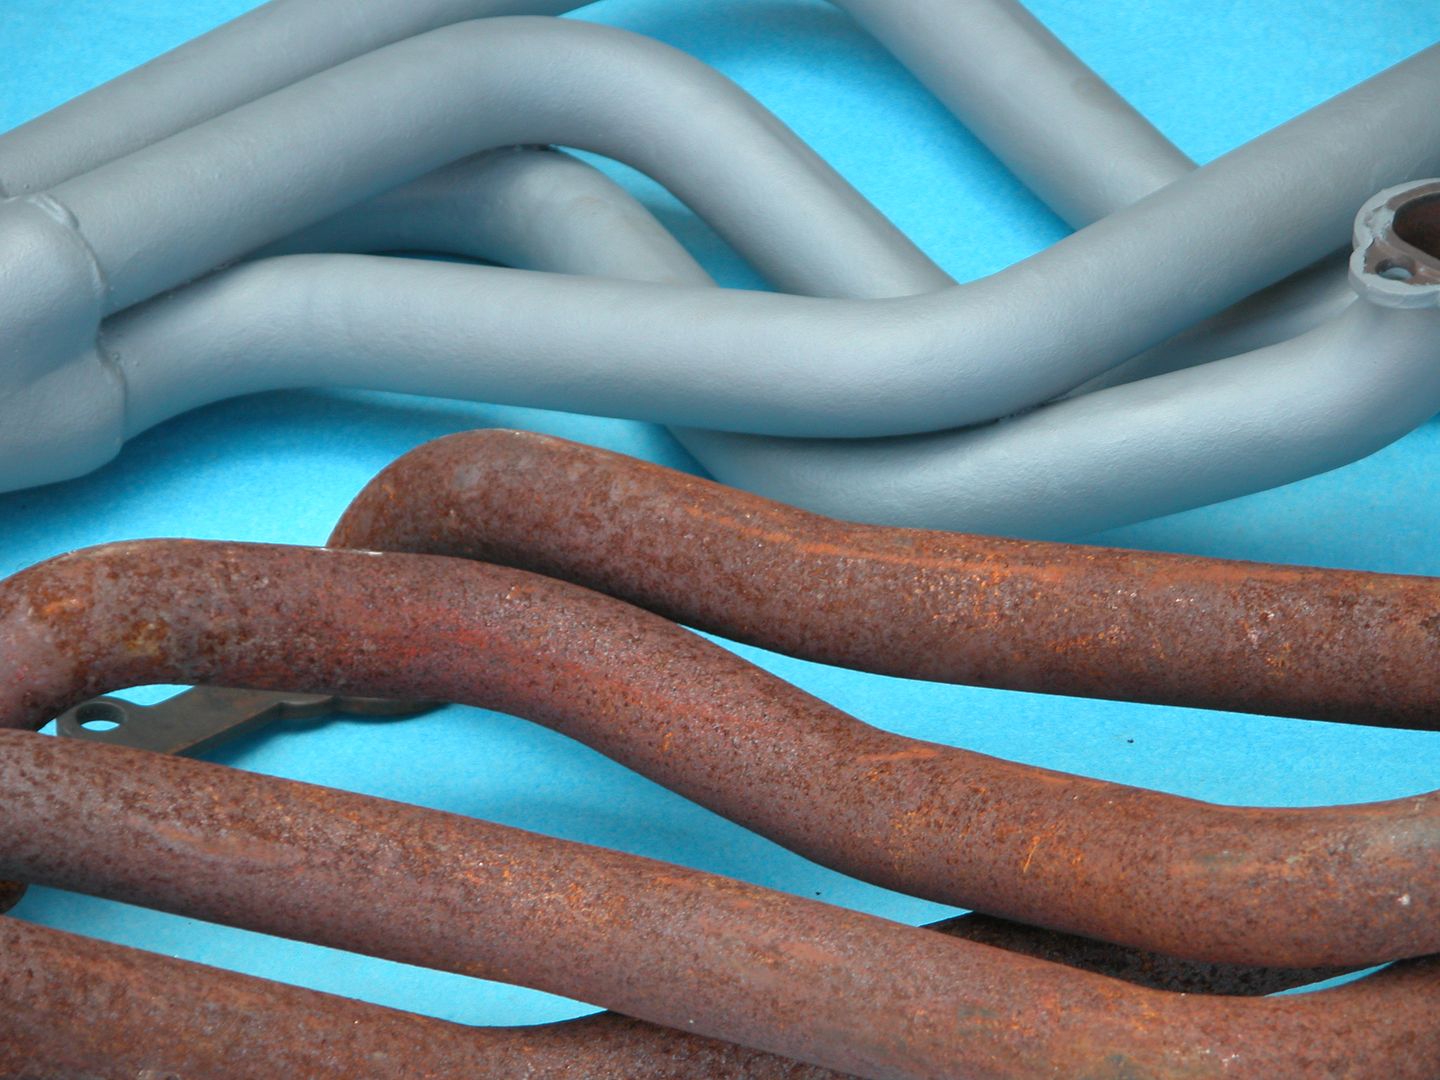
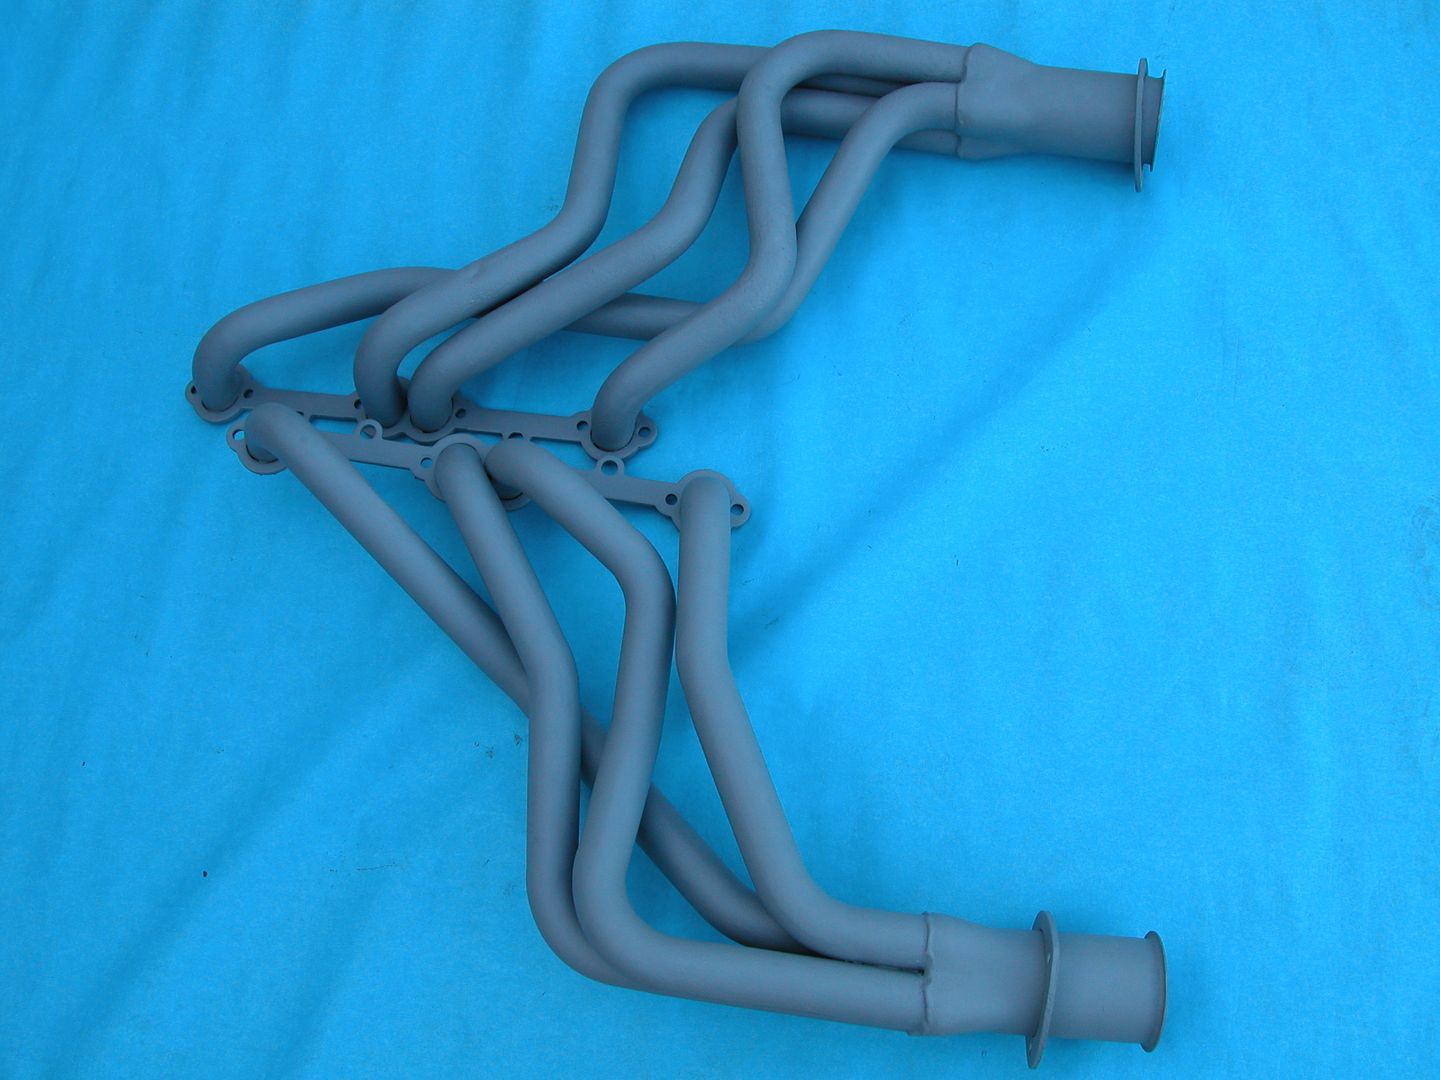
I'll be installing that engine with the stock trans and rear by using the MSD prize to set up the ignition, the Flowmaster prize for the exhaust (the new stainless system coming out in a couple weeks), and the Hotchkis prize will cover the suspension and steering. Should turn out pretty cool!

Ideally I'd pull the engine apart and give it the once over with new assembly lube etc. before installing but thats not going to happen. This has to be done on an extremely limited budget and pretty quickly. I've got a few carbs hanging around and I'm hoping I can make one of them work. As it is I think I'll need to upgrade the radiator? and find a V8 fan shroud plus probably a few other odds and ends along the way. This is a grassroots type effort, no media blasting, powder coating or any other costly unnecessary expenses can be done at this time. If a hose or belt can be reused it will be. Anything that comes off that can be sold to help offset expenses will be. The engine compartment will get the infamous "Krylon Touch" to give it a neat clean appearance.

I started receiving the Hotchkis products today so I figured I'd start this thread and let everyone follow along and I'll update while I progress. Here's the list of Hotchkis stuff I'll be using. And I know I need to switch spindles to use the kit.

TVS kit with Extreme swaybars
Steering rebuild kit
Ball joint kit
Tubular upper A arms
Bilstein shocks
Air bag kit

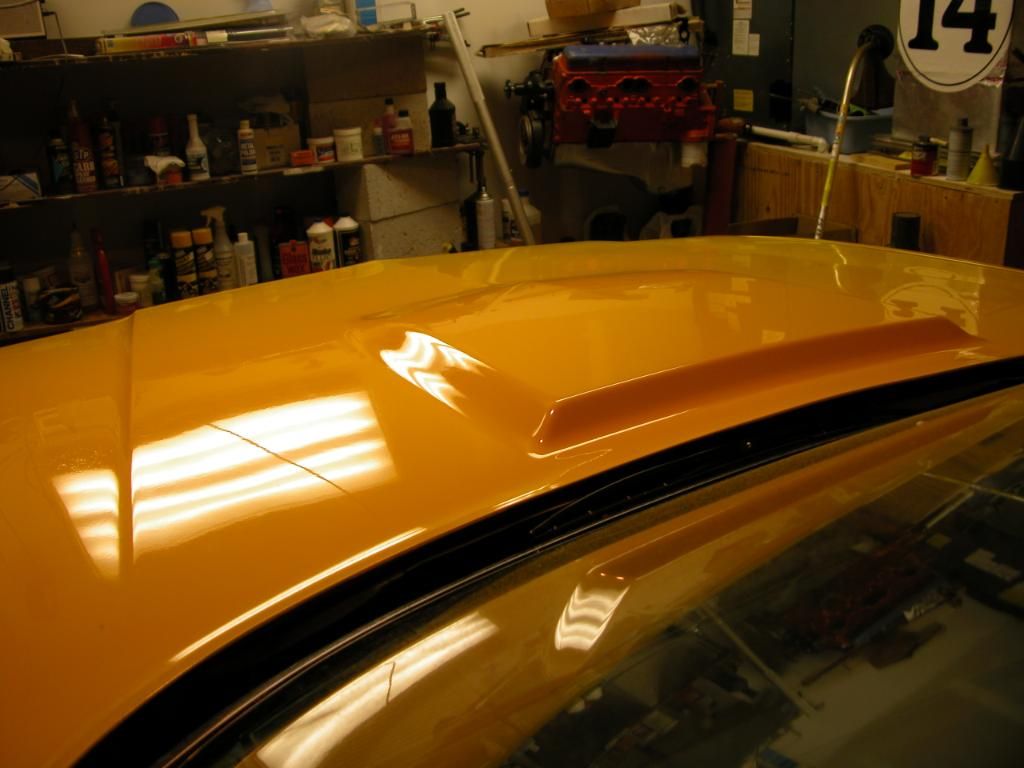
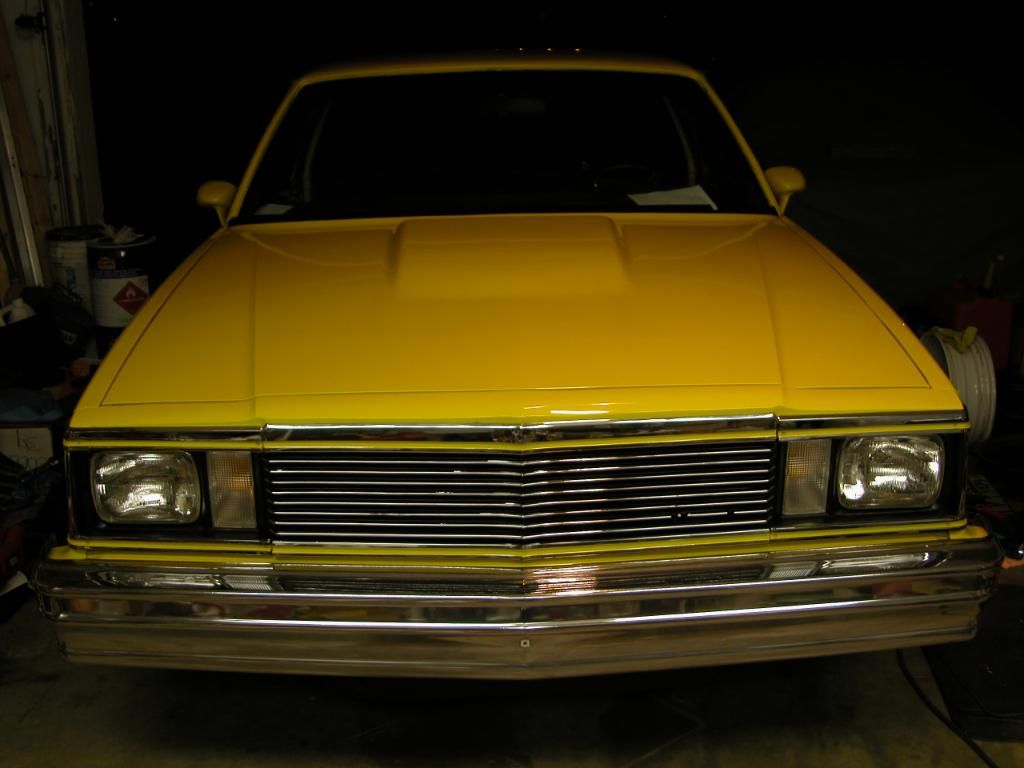
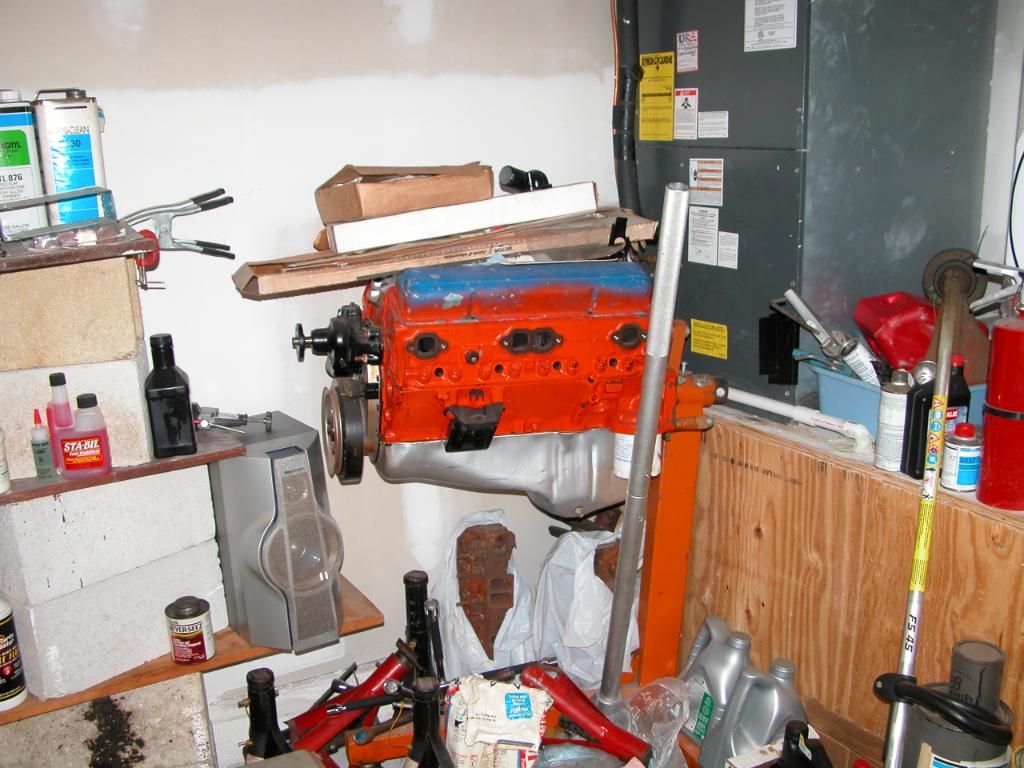
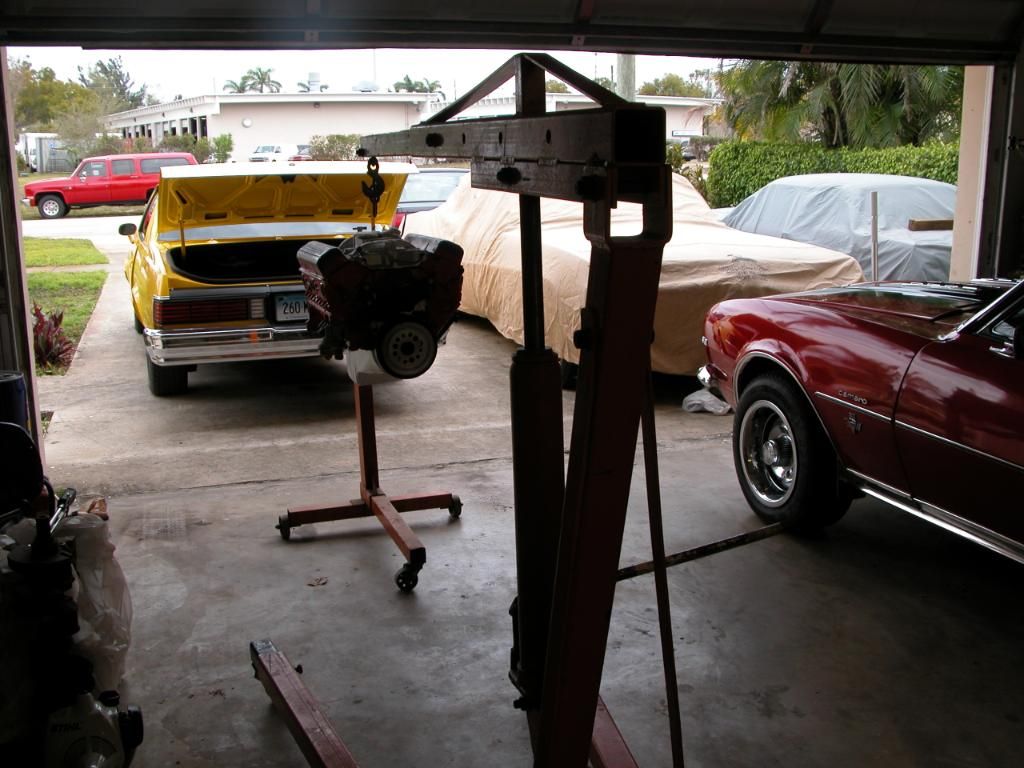
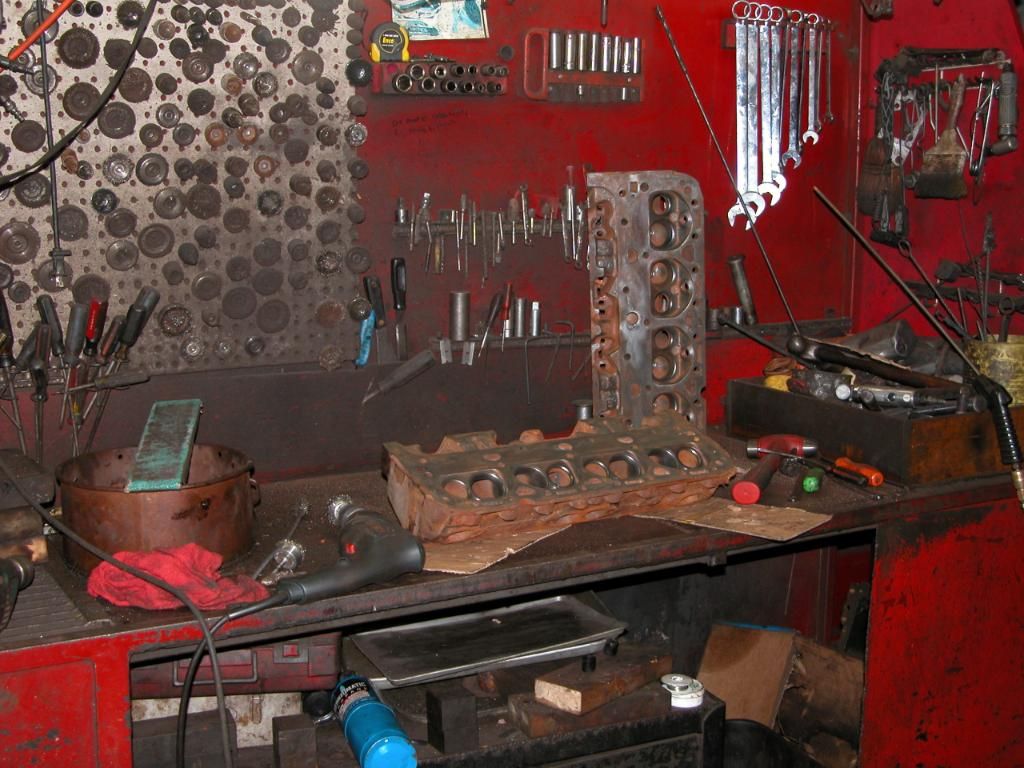
Here's a few pics of the car. The dormant mouse that will be installed can be seen on an engine stand in the corner in the 1st pic.

81Malibu022.jpg


81Malibu107.jpg
 
A forum member Dan dubbed the Malibu "Uncaged" since the rollbar had to be removed. So thats where the name came from.

After coming up with a plan to awaken the dormant mouse thats been sitting on an engine stand for almost 30 years I discussed it with my buds Stewart and Dan at "The Machine Shop" in Delray Beach near my house. They thought I was crazy and that I should just bring the engine over to the shop and tear it apart, clean out all the gummed up prelube, check over everything in the engine, then lube everything up again. I know it's the right thing to do but I can't spend anything on it. They assured me that they had extra gaskets etc. kicking around I could use to put it back together if I needed any. That was a very nice offer on their part knowing I have no money to spend. (I'll help them out with stuff at the shop so I don't feel like a user.) So I guess thats the route I'll take. It'll be a little more work that takes time and effort but it will reduce the chances of me harming the engine on start up or having to yank the engine back out. I'll get the engine over to the shop this week and maybe have time to take it apart.

One of the prizes from the Performance Therapy contest was a selection of Redline fluids. So I'd asked for assembly lube along with the rest of the fluids I'll need for this car. Hopefully the Redline products will show up this week.
 
This will be a fun project although probably a little frustrating at some points due to the budget for this car but it'll be kinda like it was back when I was building cars in high school (although the Malibu wasn't even built when I was in high school! LOL).

Here's a familiar sight in many garages. An old school engine put together for a project that was abandoned sits in a corner. This one had been assembled at roughly the same time the Malibu was sold as new!!! Luckily for this engine it may get a chance to breathe again (pending inspection). Today I got things out of the way to make room in the garage to do the swap, took a few pics, and dug out the engine hoist.

81Malibu121.jpg


81Malibu119.jpg


81Malibu120.jpg
 
cheapthrillz;638693 said:
Awesome news John! I didn't know if you were going to use your winnings on The 14 car or not....

Uncaged should be ahead of the game as a budget build. Decided on what systems you are going to run from your winnings or do you have a choice?

The 14 Car already has a MSD ignition system and Hotchkis suspension. I have a couple other cars that always seem to take a backseat to the Firebird and so this was a perfect opportunity to do something with one those cars. I've been working on the Malibu the past couple months buffing out the new paint, cutting out the rollbar, and reassembling it. After talking to John Hotchkis for a while one day about what car(s) to use the prizes on I decided to use the Hotchkis, MSD, and Flowmaster products on the Malibu as one project. The other project is to use the Rushforths, Baers, and Yokohamas on The 14 Car.

As for choices, I ask for what I would like and have a use for and receive whatever the companies feel like sending. LOL I've spoken with reps from each company and asked for their product recommendations based on my use of each car. As an example when I spoke with the guys at Baer about brakes for The 14 Car I told them I'm not a show guy. Cross drilled, slotted, zinc washed etc. is stuff I don't really care about. What I need is brakes that I can use for track days that will provide the best performance and last the longest. Performance and maintenance becomes more important if you frequent the track regularly. We'll see what they send.

As I mentioned earlier one of the prizes from the Performance Therapy contest was a gift pack from REDLINE Synthetic Oil. I received a shipment from REDLINE yesterday with engine oil, transmission fluid, power steering fluid, engine break in additive, water wetter, lead substitute, and rear end gear oil as well as a T-shirt, hat and stickers! So I'm set for fluids for the new engine and also got some things I use in other cars like lead substitute. The product packaging looked really nice so I decided to set a up little display in front of the car and take some pics. Thanks REDLINE!

81Malibu123.jpg


81Malibu126.jpg
 
twosaturns;639009 said:
I'm sure you are aware, don't use the redline oil for break in of the old/new engine.
real cool win for you! I'll be paying attention to how this goes together, I had a 4th gen 'bu back in the day that I never got to build the way I liked, so this is cool.

Yes I'm aware, but thanks for reminding me to elaborate on the issue a bit for the young folks or those new to the hobby watching this thread. Even though this isn't some big power engine combination it is still important to "break in" the engine correctly.

It's recommended that most rebuilt engines are broken in using traditional petroleum based oils with an additive containing ZDPP (Zinc dialkyldithiophosphate). Chemical engineers who know much more about these things than we do say it's important and thats good enough for me! There are lots of opinions about the specifics involved in "break in" concerning engine speeds, length of time, oil weights etc. but the basics are similar. Redlines recommended "break in" procedure from the frequently asked questions page of their website is pasted below.


Q: Can I break-in my engine on Red Line motor oil?

For performance engines, we recommend using conventional 10w30 motor oil to ensure proper piston ring seating. We recommend using this oil in combination with our Engine Oil Break In Additive, which features the antiwear chemicals necessary to protect valve train components like camshafts, rollers, and tappets. Though most conventional oils are missing the important anti-wear components that you find in Red Line's synthetic motor oils, the conventional oil is not as slick as Red Line and will allow the piston rings to seat more quickly. If you allow 1500 to 2000 miles in a street engine or 20 to 30 minutes on the dyno at low rpm, the rings will have had sufficient time to seat and the high initial break-in wear will have occurred. For new road cars, always follow the manufacturer recommendations and initial oil change recommendations for break-in.
 
first64;639135 said:
Not much is needed, you'll need V8 mounts and brackets(clamshells), radiator hoses for a V8 car. I really can't think of anything else, maybe check the fuel line diameter and maybe the front springs if the front sags too much.

You will need to change out the radiator to support the 350, they still carry them at the parts store. For almost the same cost you can get a aluminum universal one from Griffen (4 row IIRC)

first64: Thanks for the info. I'll have to scrounge around to see what I can find. Front springs along with all of the suspension will be new Hotchkis stuff as part of the prizes from the Performance Therapy contest.
Tig: It's a flat Kart but the fiberglass body isn't on it. It's for sale. Could be yours!
___________________________________________________________

The morning after the last post my home was burglarized and among the missing items was my computer so needless to say my Malibu project "Uncaged" had to take a backseat temporarily. They got about about $3,000.00 worth of stuff and I don't have regular insurance because of the last burglarly (long story) so it's been difficult getting online and getting camera issues straightened out.

Anyway, I got the engine out to bring over to the machine shop and after taking a closer look at it found it's not a fresh (older) rebuild. So we went straight to plan B! I've had a 350 4 bolt block, crank, rods, and some .040 over forged pistons I've been saying I'd get to sometime (also dragging around the country! LOL) Well now's the time! I donated the complete engine and a couple sets of heads to the machine shop. Can't believe I dragged that engine around the country for years and never looked in the exhaust ports or spark plug holes till now!

So I'm going to work part time at the shop along with the donated parts in exchange for machining and instruction on bulding the engine. I'm pretty psyched actually, because although I've been a car guy my whole life I've never assembled a whole automobile engine!

The top pic below is when I was getting ready to transport the engine and realized it wasn't "fresh". I should have pulled the rags, got my glasses, and looked inside the engine 4-5 years ago! And no, Although it looks like we might, we didn't put it in the trunk! Although, I do admit I did it in the 70's and 80's sometimes! Meanwhile another one of the prizes showed up to brighten the day! So the bottom pic is a huge selection of Hot Wheels products that arrived.

DSCN0007.jpg


DSCN0006.jpg


DSCN0012.jpg
 
The Hotchkis products have been arriving. Just a few more parts and I'll be ready to start the suspension transformation. Worked on the interior today getting it back together. It's a shame the rollbar deal didn't work out and I had to cut it all out. Now I have solid back seats without a bar, not the safest combo. I'll also have to put something in for seatbelts since there isn't a harness bar anymore. I removed the last couple stubs of the rollbar tubing today and started putting the carpet etc. back in. It's been apart so long I had forgotten about the clips that had broken taking it apart. I'll have to chase down some interior trim clips screws and other fasteners this week. Here's the Hotchkis goodies I've recieved so far.

DSCN0003-1.jpg


DSCN0005-1.jpg
 
I worked at the machine shop for a few hours tonight cleaning customers heads after they came out of the washing machine. After I was done with the regular work I gave my '73 993 castings a quick once over with a wire wheel so we could magnaflux them when we did the customers heads.

A couple of the customer heads I was cleaning up were lightweight castings which tend to crack between the middle chambers. Two of the heads had already been repaired in the past by another shop and will be repaired again. The customers heads had easily visable cracks so it made it nice for me to take pics showing how magnafluxing works.

First pic: My workspace. OK new guy, here's a bunch of heads, a drill, and a bunch of wire wheels, scrapers and other various implements to clean heads. Make um pretty! In the pic are my heads, no they haven't been cleaned yet. Just wire wheeled enough for magnafluxing in the chamber areas.

Second pic: Bad news for me. One of my heads has a small crack by an exhaust valve. The pic's out of focus but you can see the line. We'll have to make a decision to pin the crack and install a new valve seat or seek another head or pair of heads. Good thing we checked them before washing and thoroughly cleaning them.

Third pic: For those who never witnessed Magnafluxing this is how its done. Electromagnet is located so the area you want to test is located between the posts. Then some "magic dust" (in my best Cheech impersonation) is puffed ofer the area to be checked and the dust jumps right to the crack. Even if the crack is very small (like the one on my head) it will show right up. The crack in this pic was easily seen by the naked eye but it made for a nice easy pic to display the process. The lightweight head in the pic had been sleeved for the bolt hole previously so thats why theres a circle of magic dust around it. The dust knows it as a crack. This head will be pinned to repair the crack. If the opportunity arizes to get pics of "pinning" sometime I'll get some.

DSCN0002-2.jpg


DSCN0003-2.jpg


DSCN0004-2.jpg
 
Been a while, so I'm going to bring this thread up to date. I've been working several nights a week and one or two days on the weekends at the machine shop. Learning a lot, and it helps them out to have me doing a lot of the "grunt" work.

I've been on hold with the Malibu suspension upgrade due to waiting on parts for another project that has to be done first. However I've been getting things ready to build the new engine for uncaged. I found another 993 head in the shop to use as a replacement for my cracked one and cut them both for screw in studs.

I figured I'd post up a little exercise on how to replace pressed in rocker arm studs with screw in ones that guide plates and hotter cams can be used with. I know there's lots of guys here who know much more than I ever will about this stuff but for the young guys learning and those new to the car hobby this may answer some questions.

The first step is to solidly mount the head to the drill press table so you can work on it without smashing your foot.

81Malibu001-1.jpg


The next step is to remove the pressed in studs. There's an old fashioned tool (pictured) I'll be using, and a newer style (real expensive) power tool I wish I was using. After soaking the studs with penetratring fluid and tapping (banging) the studs with a hammer and brass drift, 2 big wrenches are used on the tool to draw the stud out of the head. Lots of muscles needed!

81Malibu013-1.jpg


Next the holes for oil drainback are drilled out to increase flow. No need for the holes to be perfect so just line them up pretty straight and drill. You can see the holes on the left of the pic below have been drilled and the oval holes on the right are next.

81Malibu003-1.jpg


The next step is to get the stud holes aligned with the drill press. The stud holes need to be aligned with the drill press so the holes will remain straight and the rocker arm studs will all be perpendicular to the original stud bosses. This is done by inserting a straight rod which a level can be attached to into the stud hole then adjusting the work table till the level is correct so the hole in the head for the stud will line up perfectly straight with the drill bits and other cutting tools used in the drill press.

81Malibu005-1.jpg
 
The highest cast stud boss is located by using a straight edge across the top of all of the stud bosses. Then a tool which is set to account for the thickness of the base of the "screw in" stud (the nut part) and the spring seats is used to cut down the casting. The tool automaticly stops cutting at the preset depth. Once the first one is cut the drill press is set so that it will not allow the other bosses to be cut lower even though their original "top" is not as high as the first one is. Follow? This way the guide plates will all be level and the studs will be level. This is much more acurate than the factory setup. Below is the cutting tool used to cut the stud posses down.

81Malibu008-1.jpg


After the bosses have been cut the remaining part used to "guide" the cutting tool must also be removed so a different cutting tool is used to remove the remaining metal till it's flush. There is no preset stops involved in this procedure. It's up to the machine operator to make it perfect. Which of course I did as shown in the photo below. LOL

81Malibu009-1.jpg
 
Once the stud bosses are cut down the hole for the stud is chamfered with a tool in the drill press. This makes it easier to line up the tap which will cut the threads.

81Malibu010-1.jpg


Then a tap with the correct threads to match the screw in studs is used in the drill press to cut most of the threads. After checking the depth of the stud hole we decided to cut the last few threads by hand with a bottoming tap so as not to risk injury to the heads. Both tools are shown in the pic below.

81Malibu011-1.jpg


A screw in stud like the ones that will be installed during final assembly is used to check all the holes and make sure everything is good. Then take this head off the table, get the other one, and start all over!! LOL

81Malibu012-1.jpg
 
I figured you guys would like this build since there's more engine building content than my other car where it's been a lot of body/paint stuff the past few months.

Next up is some mild port work to blend in the bowls. A carbide tipped grinder is used to remove enough metal to get rid of extra material that disturbs flow to the valves under the seat area. In the first pic the intake on the right has been ground while the left is untouched. The second pic shows a closer look before a grinding stone is used to smooth out the rough surface left by the carbide bit and the original factory casting.

EDIT: This is just the beginning of port work. The rest will be shown in later posts.

006-4.jpg


007-4.jpg
 
Since I'm on a "no budget" sort of build up here, I made a deal to clean up a set of BBC headers for someone in exchange for a set of SBC headers that should fit the malibu. Both sets of headers were rusty from neglect but with some elbow grease I think they look pretty good and will work out fine for my application.
Here's "my" headers with one wire wheeled to get the major stuff off. After this pic I took them to the shop and sand blasted them to clean them up some more and get into the nooks and crannies the wire wheel couldn't get. I did one at a time so I could get pics of the full effect some cleaning and paint can have with a before and after pic at the end.

005-3.jpg


Next up was some Eastwood stainless steel high heat paint. Choice of paint was due to it being the only high heat paint I had hanging around and the lack of a budget. Oh ya, I cleaned the insides as well with wire brushes.

014-1.jpg


015.jpg


049.jpg
 
I got started on the crank for the 357 going in the Malibu.

In this pic the crank is set up in a machine that will slowly rotate the crank. I took the pic after I started cleaning one of the bearing surfaces so you could see the difference after a little cleaning. The crank had been left standing with no protective oil on it and started to rust. Totaly my fault, I just forgot about it the past couple years because I was busy with other things and it's humid where I live.

machineshop001.jpg


In this pic the machine with the belt on it is used for cleaning, sanding, and polishing the bearing surfaces. In the pic there's a velcro belt on and I'm using it to clean the rust off the surfaces.

machineshop002.jpg


This pic shows an oiling hole I've chamfered with a grinding stone to provide better oiling to the bearings. Since the oiling holes are on an angle, the hole is opened up a little on the side the oil is coming from to provide that side of the bearing better lubrication. The chamfered edges will be rounded a little more with a very small round file by hand to smooth the sharp edges before more work is done to the crank.

machineshop003.jpg
 
Had to take a couple months off the project to get other stuff done, but I'm back on it! Scrounged around the machine shop and put together a set of Manley valves from miscellaneous leftovers. They are 2.02 intakes and 1.60 exhaust and are the correct length. Some new and some used so I cleaned up the used ones and polished the stems. Then "cut" the valves. Since the 1.6's are bigger than stock the heads will be cut for new valve seats.

Cutting valves themselves involves grinding the correct angle on the face that contacts the seat and then chamfering the top the stem and cutting the tip flat. For this engine 44.5 degrees is the angle of the face where it contacts the seat. Here's a pic of the machine we use. It's an older machine and we rotate the valve by hand to do the seat angle and the bevel on the tip. In the pic the valve is set for making the bevel on the tip which is done dry. The 44.5 angle on the head is made with the grinding stone on the other side of the machine and is done with lube that flows onto it while grinding. Forgot to get a pic of grinding the angle on the valve heads.


Uncaged357001.jpg
 
With a set of valves ready now, it's time to check the valve guides. Shop technique for this is to put a valve through a guide and wiggle it to feel how much play there is. Then put a finger over one end of the guide, insert a valve stem till it hits the finger, then pull the valve out quickly to listen for a pop caused by the suction. After checking all of the ones in my heads we decided the valve guides wouldn't need to be replaced but needed a bit of work to tighten them up a bit. This is done with a "spiraler".

A spiraler cuts a groove into the inside of the guide without removing any metal. By deforming the metal it causes the inside diameter of the guide to be reduced and also allows path for lubrication. After the spiraler is run through the guide a ream which is the correct diameter for the valve being used is then run through the guide. Both tools are run down from the top and drop out the bottom so the head needs to be up on stands.

Pic below is a spiraler bit and a drill with a gear deduction so the work can be done at slow bit speeds. No pressure is used just the weight of the tool is enough. A couple drops of cutting lube are used during spiraling.

Uncaged357003.jpg


In the pic below you can see the grooves cut into the inside the valve guides by the spiraler and the ream being used to make the inside of the guide straight and the correct diameter. No more lube needs to be put in before reaming, whatever's left from spiraling can stay and is fine.

Uncaged357004.jpg
 
The head I found to replace the cracked one already had stock size exhaust seats installed in it at some point so they needed to be removed before cutting both heads for the bigger exhaust seats that will be installed. Seat removal is done with a cutting bit on the drill press. The head is mounted and leveled then the old seat is cut till just a very small amount of it is left which then spins freely and can be removed.

Here's a couple pics showing the cutting bit that gets lined up on the bit guide which is inserted into the valve guide and then the old seat after cutting and removal.

Uncaged357007.jpg


Uncaged357010.jpg
 
Back
Top