My Cam Research for the Experts Eye

think of learning as building a pyramid, each of the thousands of blocks, required to build is you trying to get something done correctly
there's a whole lot more blocks on the first layer of blocks in each lower layer of a pyramid as its built , because your make attempts that
take time and effort but don't always pay off in good results, :facepalm:think of those as paying your dues! those layers are composed mostly of mistakes or screw ups, but you learn not to repeat those, so each upper layer of blocks get smaller as there's less mistakes or screw ups, and more successful attempts, at the peak layers you very seldom make a mistake so theres very few layers or blocks used. simply because you now get it right almost every time :like:
 
Last edited:
"Experience is the best teacher"...
A very true saying.

Talking about brake lines seems like good time to recommend using a tubing straightener. My ocd requires starting with straight tubing, using a bender and fitting all lines neatly.
20210610_204456_resized.jpg

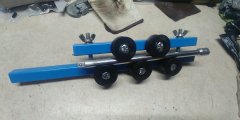
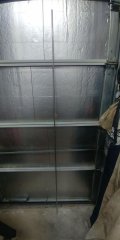
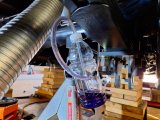
I made my own tubing straightener that works fantastic and doesn't scratch up the tubing. Works on all typical tubing sizes. Easy to make out of 1 in square tubing, some nylon u-shape rollers and some bolts. I stuck an extension in it to show typical routing of tubing.
20210605_105938_resized.jpg

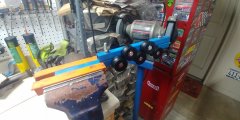
I generally put it in the vise - start with the rollers apart enough to get the tube spaghetti through them, run it back and forth as you also turn the tubing. As the tubing starts to straighten, slightly tighten the rollers together. Repeat till the tube is straight.
20210605_110500_resized.jpg

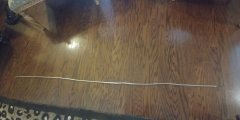
This is before and after of the same piece of coiled 3/8 tubing. No joke.
20211106_142258_resized.jpg

106202114589.jpg

If you don't have one, don't pay silly prices, make one!
 
You have an updated PDF file in your Dropbox folder. Still has the same link.
It is called "My Cam Research for the Experts Eye_Posts_1-722"

For some reason, I had no problems with page 20 this time.
.
 
Between taking care of elderly dad and waiting on transmission frictions I've re-installed all of the brake lines. This includes a mix of re-done lines and all new fittings.
I also do the tighten/loosen, repeat about three times at each fitting to help seat the flare.
So we'll see if I can finally get a leak-free system now.

1000003553.jpg

1000003554.heic.jpg
 
I also do the tighten/loosen, repeat about three times at each fitting to help seat the flare.
I hadn't thought of that. I guess you don't break the connection and clean it???

Torquing head bolts, rod bolts and main bolts it's a good idea to torque them 5 - 7 times so it polishes the thread surfaces and provides a more consistent torque value. Better is using the stretch value.

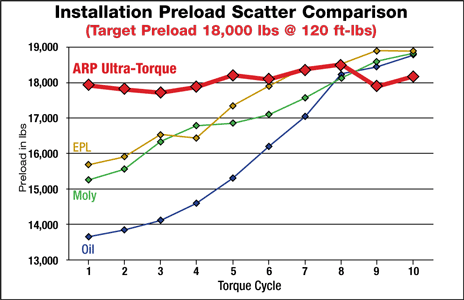
The main factor in determining friction in a threaded fastener is the lubricant used, and therefore influences the torque required for a particular installation. One of the most overlooked aspects of choosing a fastener assembly lubricant is…the lubricant's ability to "control" the normal function of friction inherent in all high performance engine fasteners. As discussed earlier in this section, friction is at its highest point when a new fastener is first tightened. This "friction" inhibits the fasteners ability to achieve the required preload on the first several cycles. In fact, ARP's in-house Research and Development department has proven that new fasteners using motor oil and other commonly used lubricants such as Moly and EPL typically requires 5-7 cycles before final torquing to level out the initial friction and achieve the required preload. Slicker lubricants may reduce the required torque by as much as 20-30% to achieve the desired preload, but compromise in areas of major importance such as preload repeatability, and may yield the fastener prematurely. Typically, the slicker the lubricant, the greater the "preload scatter" or preload error there will be during installation.


PreloadGraph.gif


The bottom line: Preload repeatability and preload consistency from a fastener to fastener perspective, should be the number one consideration when choosing a fastener assembly lubricant. Remember even the best fastener is only as good as its installation. Preload repeatability is the foundation for maintaining round housing bores, and preload consistency ensures the same preload from one fastener to another across a large area, such as the deck surface of a cylinder block. These two fundamentals are the cornerstone of every successful fastener installation and that's why ARP's engineering team set out to develop the "ultimate" fastener lubricant. The result of several years of extensive R&D is a remarkable new assembly lube called ARP Ultra-Torque®. As shown in the graph above, ARP Ultra-Torque® clearly provides the repeatability and preload consistency that no other fastener assembly lubricant on the market can provide today.
.
 
Hi Rick, yes I had followed that info on significant engine fasteners. In doing some research on brake fitting leaks I had come across info from Inline Tube on solving leaks. That was the tight/loose/repeat process.

I felt that the flare shapes were within reason, but why so many leaks even without pedal pressure?
I also found info on how the various adapters and blocks can slowly lose their internal flare shape, especially brass material. Mine were all brass, used for many years.

I did re-do several lines, but it seems that the combination of new adapters/tee blocks and the repeat tight/loose procedure did the trick so far. I'll now bleed the system and see how it holds up under brake pedal pressure.
 
Those leaks are a bit strange, I've never had a leak like you were having.

But good that they seem to be gone. I'm crossing my fingers for the pressure test!
 
A little break today from transmission building ....

I bled out the entire brake system (Dot 5 fluid) and it looks like (so far) all is ok and the car's got brakes :like:
I'll check it over the next few days.

For me, Dot 5 seems a bit trickier to get free of air bubbles. My method is to first use Mityvac to get fluid to all wheels - I always follow the RR-LR-RF-LF sequence. Then I use the old guy brake bleed bottle with slow gentle pedal pushes - this has always worked quite well and I don't need anyone to pump the pedal while I loosen the bleeder.

1000003886.heic.jpg

I'll do a gravity bleed in a few days, hopefully the system will stay leak-free!

Edit - this brake system was cursed I think. A couple days later I found a leak at the flex line banjo fitting at a front caliper! Go figure - all brand new stuff. I swapped out crush washers with no luck, so I got another new brake line, new washers. After several days now I think all leaks are finally fixed. Unbelievable.
 
Last edited:
Floor Shifter ......

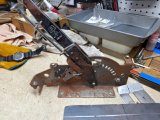
Here's the B&M Z-Gate that I will re-use, but in a different location and within a later center console. Right now I need to be able to control the transmssion.
1000004533.heic.jpg

I sat in the car and found a good spot for the shifter, easily in hand for all shift positions, yet leaving space between the seats for a later storage compartment.
1000004534.heic.jpg

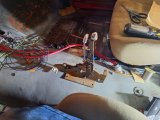
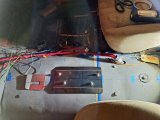
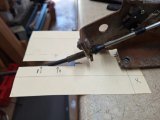
I didn't want to drill through the tunnel, so I decided to make a bottom attachment plate for the shifter. Plate will be welded to the tunnel and the shifter will bolt to the plate, which I think will be a very solid setup. Started with a cardboard template after I found the tunnel centerline.
1000004535.jpg

Set the plate in place ready to be welded. That's a separate cover plate that I had made for the cable entry through the tunnel, but I don't think I need it after all. Probably just a simple grommet will do.
The plate is raised from the tunnel by about 3/8 in and follows the slight slope of the tunnel.
1000004536.jpg

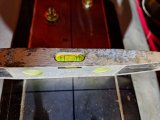
Checking the side-to-side level of the plate.
1000004537.heic.jpg
 
How far did you end up moving the shifter?

Are you shooting for spring of 2025 to drive it ??? ;)
 
Lol, well played sir!
To be honest, I stopped setting deadlines that I never met, easier to just enjoy the journey. But in this case, everything needed to drive the car is almost in place. Getting a working transmission will be a huge step for me. Tuesday is planned for install, then some additional connection work, steering link, cooler lines and its ready to roll.
First test will be up on stands to see if my rebuild was successful.

The shifter is actually further back than it was before. I had a bench seat and a small center gauge console, everything felt crowded up there. Shift knob was almost at the dash, just enough room to get your hand on it, and you had to lean forward.

This setup feels so much better, I just put the shifter where it felt the best. Bucket seats this time, so there's plenty of console space to work with.

In general, the car was nice before, but this go-round I think it's much more refined, better craftsmanship in the details and more functional appearance overall. That's not patting myself on the back, it's from taking an early planning look on what I wanted to accomplish when I started taking things apart.
 
I know this whole thread started as cam selection advice, then turned into engine build advice and then migrated to the overall car.
If it's ok with you, it's ok with me lol.

I wanted to touch on a few things that were needed when I started on the car again. Again, by virtue of getting older and having better tools/skillset I was able to re-do a number of things that I had tried to do in 87-90, but that was the best I could do at that time. Hopefully as we all age and get more experience we will see improvement.

These are only a few of the representative repairs and updates that were made, just to give a flavor of the work done.

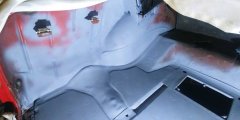
Interior needed repairs all over the place.
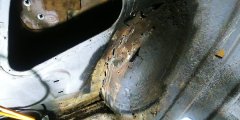
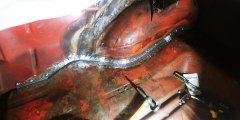
I had a patch panel over this rusted area - this was on both sides.
20200519_134252_resized.jpg

Repaired.
20200522_095658_resized.jpg


20200523_143910_resized.jpg
20200527_150536_resized.jpg

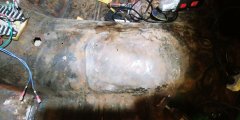
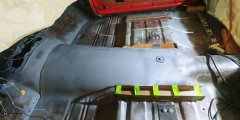
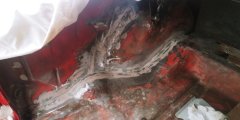
Tunnel had a huge warped area from my early days welding attempts plus big hole for the shifter cable.


20200707_153046_resized.jpg

Repaired.
20201020_132654_resized.jpg

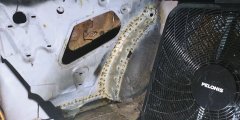
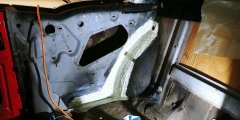
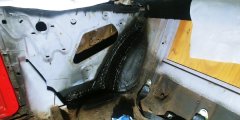
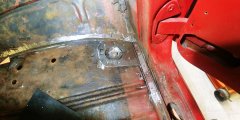
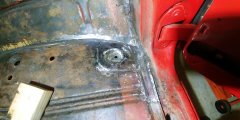
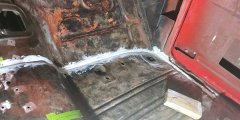
Couple of the interior body mounts were corroded, this was the repair.
20200707_131658_resized.jpg
20200707_152540_resized.jpg

20200712_132404_resized.jpg
 
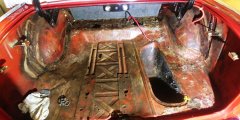
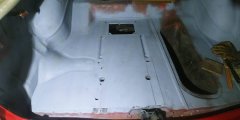
Trunk was a mess, took a couple of months to completely strip it, weld perimeter support bead, add floor plate sections.
It's amazing what carpet can cover up lol.

20200526_164737_resized.jpg

Repaired.
20200529_121929_resized.jpg
20200612_143448_resized.jpg
20200702_110940_resized.jpg
20200702_111010_resized.jpg

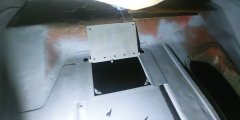
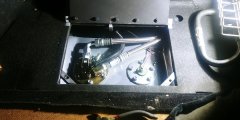
Added access panel for the fuel pump and sender.
20200702_130459_resized.jpg

Here's the benefit of that panel. Trunk was coated in black bedliner.
20230531_114648_HDR_resized.jpg
 
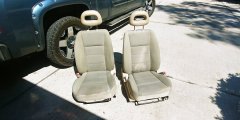
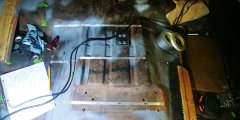
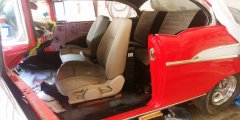
A ton of floor modification went into conversion to bucket seats. I also got about 4 different people to sit in the seats before everything was welded into place to ensure that the ergonomics were right.

I looked at a lot of cars in the wrecking yard before deciding on Saturn Ion seats.
These of course will be re-upholstered so those goofy headrests will be gone.
20201007_134326_HDR_resized.jpg

20201008_115343_HDR_resized.jpg

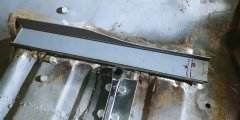
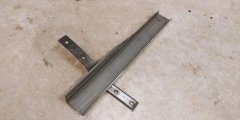
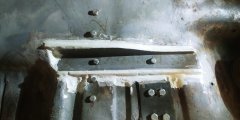
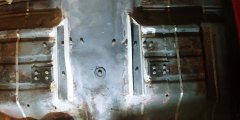
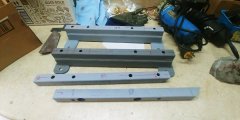
Floor was cut for recessed track supports made from rectangular tubing.
That black plate is a reinforcement plate for the driveshaft safety loop. The track support also bolts into that loop so there is very rigid cross section anchoring the loop.
20201022_152151_resized.jpg
20201022_135026_resized.jpg
20201029_131052_resized.jpg
20201029_131028_resized.jpg

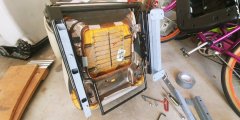
Seat frames needed modification too.
20201112_115353_resized.jpg
20201112_121503_resized.jpg

IMO these cars don't look that great with super high buckets, like the one-piece seats that incorporate the headrest.
These look fine in there, they are only about an inch higher than the stock bench seat.20201007_140505_resized.jpg

Seat belts are going to be a challenge. Yes I can do retractable lap belts, but 3-point shoulder harnesses aren't really feasible for a hardtop that has no B pillar. The anchor point is below shoulder height and an impact can compress the spine. I'm aware that some convertible seats have shoulder harnesses built in, but they are fairly bulky. I'm mulling over a minimal roll bar that would be modified for a shoulder harness. For now, it's getting lap belts.
 
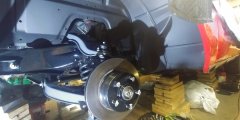
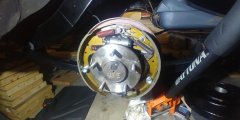
Brakes, suspension and steering have all been re-done.

20210517_115801_resized.jpg
20210929_153032_resized.jpg
20210920_160044_resized.jpg

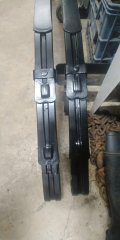
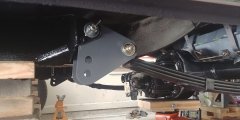
I made my own version of Cal-Tracs, made the front pre-load plates and spring brackets.
Final install of the bars will be later.
20210923_143847_resized.jpg

I disassembled the steering box, replaced ball guides, returned the settings to spec, new seals.
20210804_132054_resized.jpg

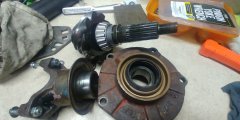
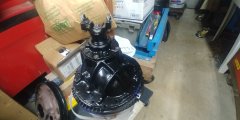
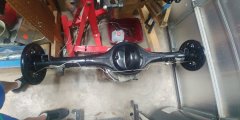
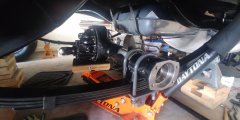
Ford 9 in, 3:70 gears, got new seals, new u-bolts and fresh paint.
Fortunately a pinion spacer was used when it was first assembled, so no crush spacer installation process was needed.
20210824_100731_resized.jpg
20210907_140425_resized.jpg
20210910_162234_resized.jpg

20210923_143829_resized.jpg
 
I do like the roll bar idea, looking into configurations. In the meantime I'll use a lap belt at least.
 
Floor Shifter .......

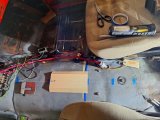
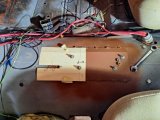
Got the base plate welded into place, then made a template to locate the slot for the shifter cable.
1000004612.heic.jpg

Template was laid out over the welded base plate, using same front shifter bolts for reference.
1000004618.jpg

Finished it up, bolted the shifter into place, which means I can now organize the wiring that goes inside the console.
I'll probably give the base of it a quick paint coat, that surface rust bugs me.....
1000004619.heic.jpg
 
yes one of the most common mistakes people make is to not take the time and effort to make a cardboard pattern and test fit it before starting to cut the metal parts
 
Back
Top