philly said:
Indycars said:
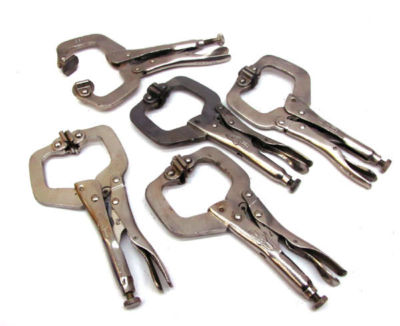
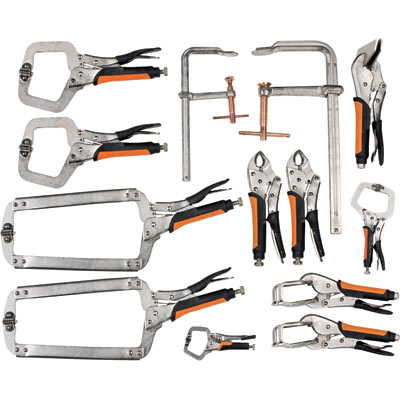
That's a days work just putting all those clamps on!!!!! Hehehe
theres easily 200-300 dollars worth of clamping force in that one photo... seriously johnny i love the way you work because you didnt stack your book collection on there, you really had like two dozen clamps handy for the cause.

There's almost 40 clamps there. Because of the curves of the panel I needed a lot.When using panel bond you want it as thin as possible. The panel bond has a grit in it that will create the correct "gap" so to speak to achieve the best bond when clamped tight.
yes thats rather impressive
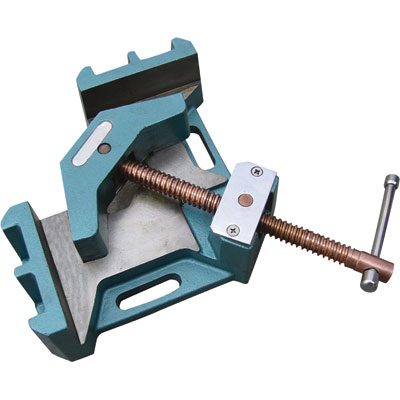
(clamping the work to insure its solid and stable)
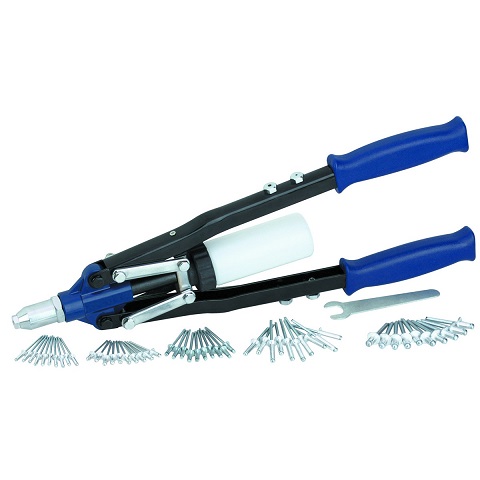
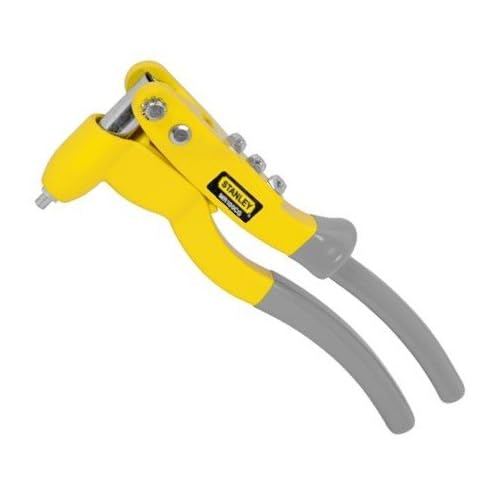
I used to do something similar frequently, when the need arose to hold some panel in place before it was welded and I generally found working around and over and thru clamps at times was at times a P.I.T.A. so while I still do that, and keep a wide selection of clamps,in the shop, when its required, I have also developed the habit of using POP RIVETS & CLECOS at times
I didn't want to use anything that would make holes through the aluminum panel that needed to be filled afterward. Because of the extreme heat changes that panel will see there would be a high likelihood of ghosting (or worse) occurring in the paint later. Pop rivets will be the featured fastener in a couple future posts.