now Ive installed several dozen c4 corvette fuel pumps over the years so the complete lack of instructions coming with the replacement fuel pump is a major P.I.T.A. in my opinion.
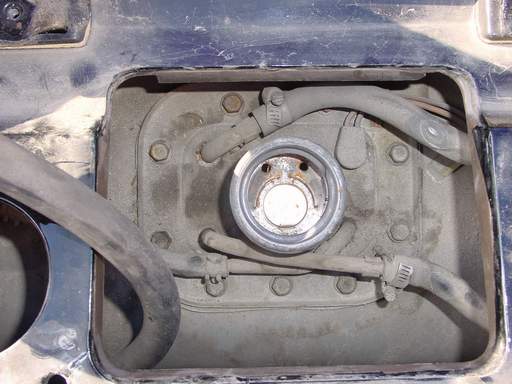
you start by removing the gas filler plate by unscrewing the 4 torx t-15 screws on the gas tank flip top fill cover plate
T-15 Torq Screwdriver
http://www.ebay.com/itm/DeatschWerk...rvette-5-7L-/221684142897?hash=item339d679331
or
http://www.lingenfelter.com/mm5/mer...de=L760070000&Category_Code=C416#.Vj12nberTcd
youll need a 1/4" drive 10mm socket & ratchet with a 12" extension and a 3/8" wide flat blade screw driver and pliers for the fuel line clamps,the basic process is not difficult, consult the shop manual and ideally disconnect the battery cables for safety concerns while working on the fuel system, to remove the bolts and clamps after you work out the rubber spill guard plate
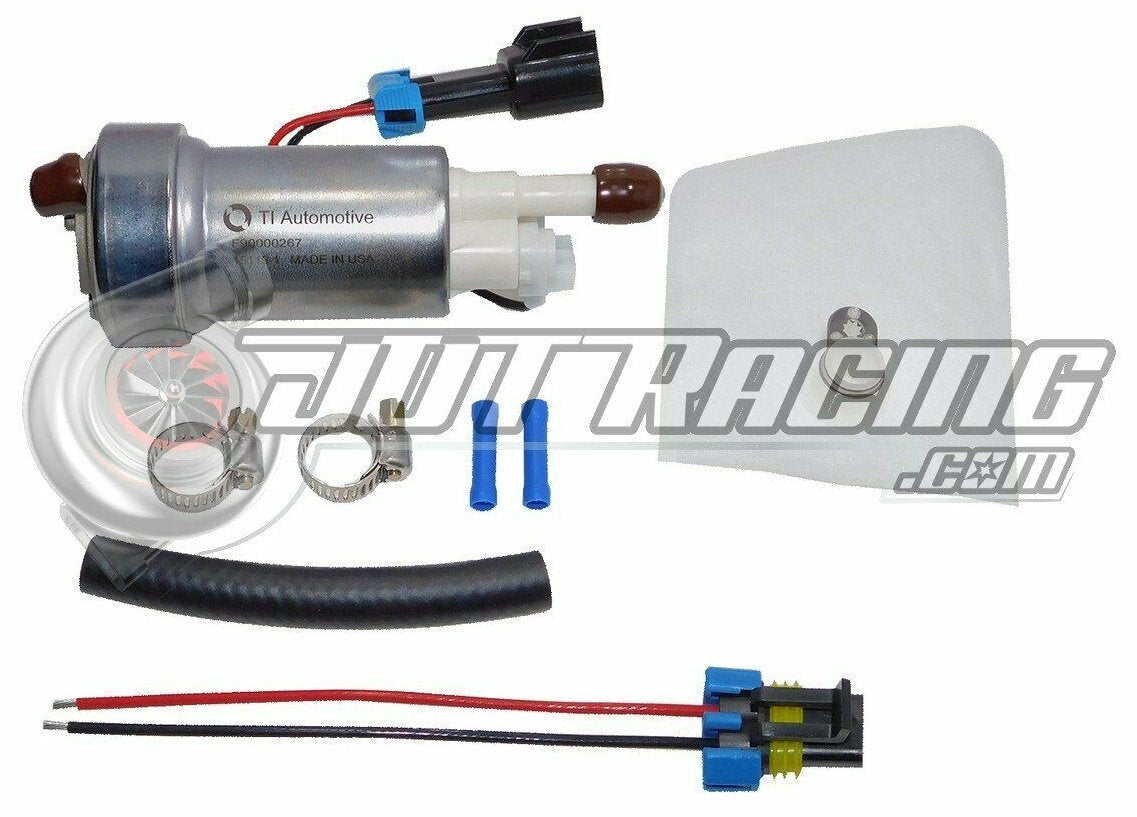
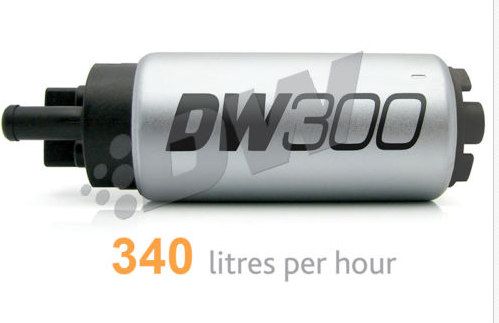
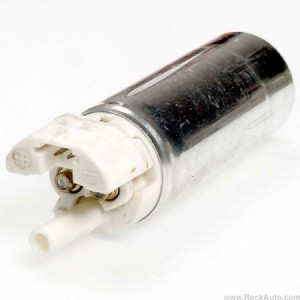
the fuel pump came today, (THIS PUMP I LINKED HERE DIRECTLY BELOW IS WHAT I ORDERED)
http://www.ebay.com/itm/DeatschWerk...rvette-5-7L-/221684142897?hash=item339d679331
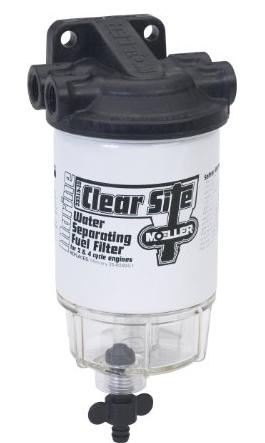
I don,t know how many of you gentlemen have shop welder/generators or other lawn mowers or similar equipment that requires you to buy and transport a bit of fuel for thier use, but Ive noticed that finding a well designed structually strong 5 gallon fuel transport container thats rather leak and...
garage.grumpysperformance.com
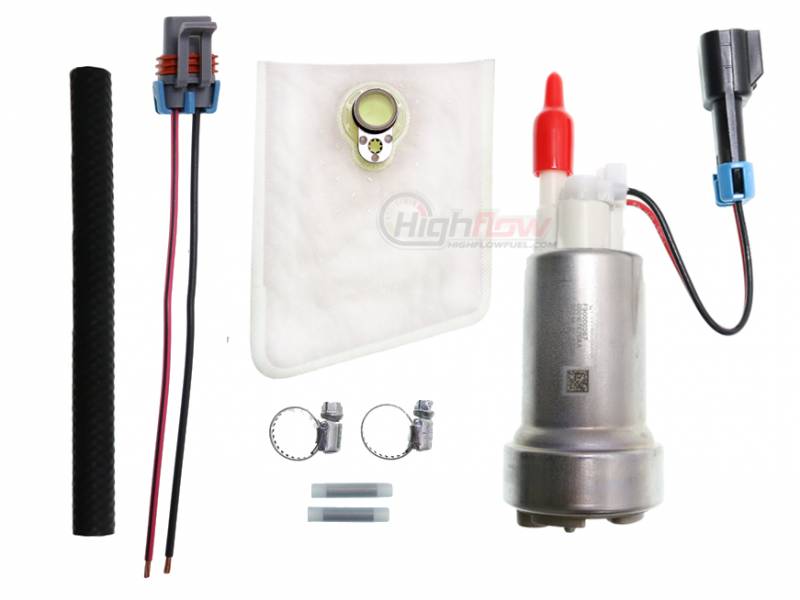
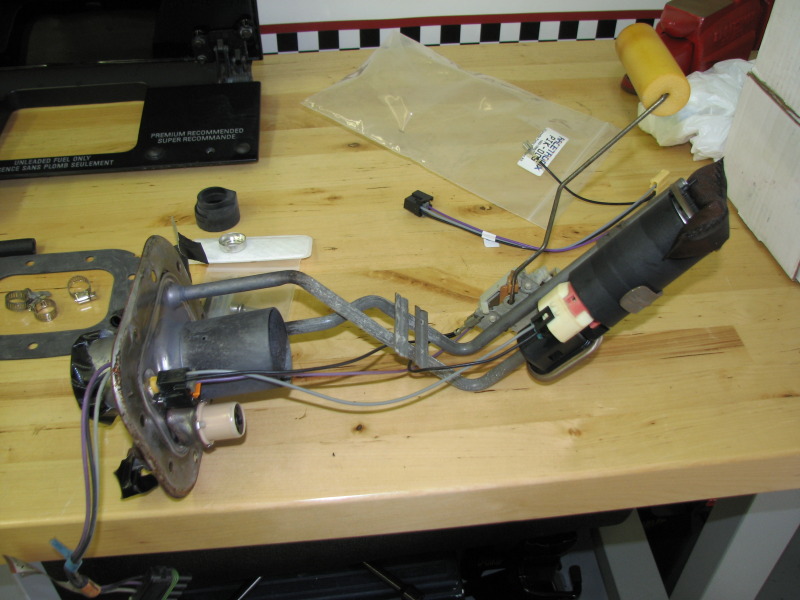
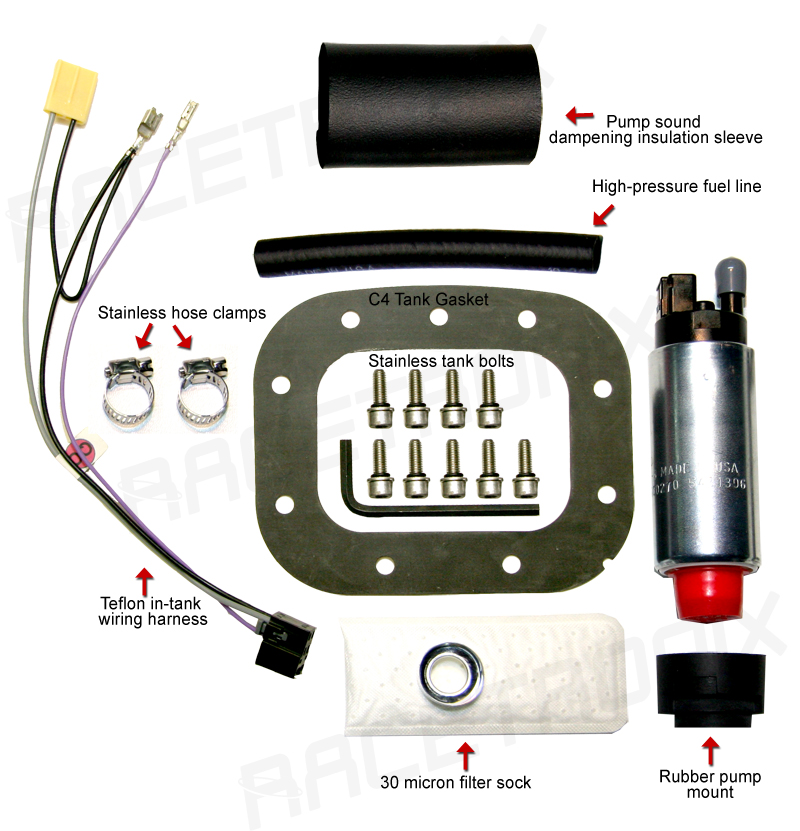
it came with the fuel filter sock. the tank gasket, the mount bolts
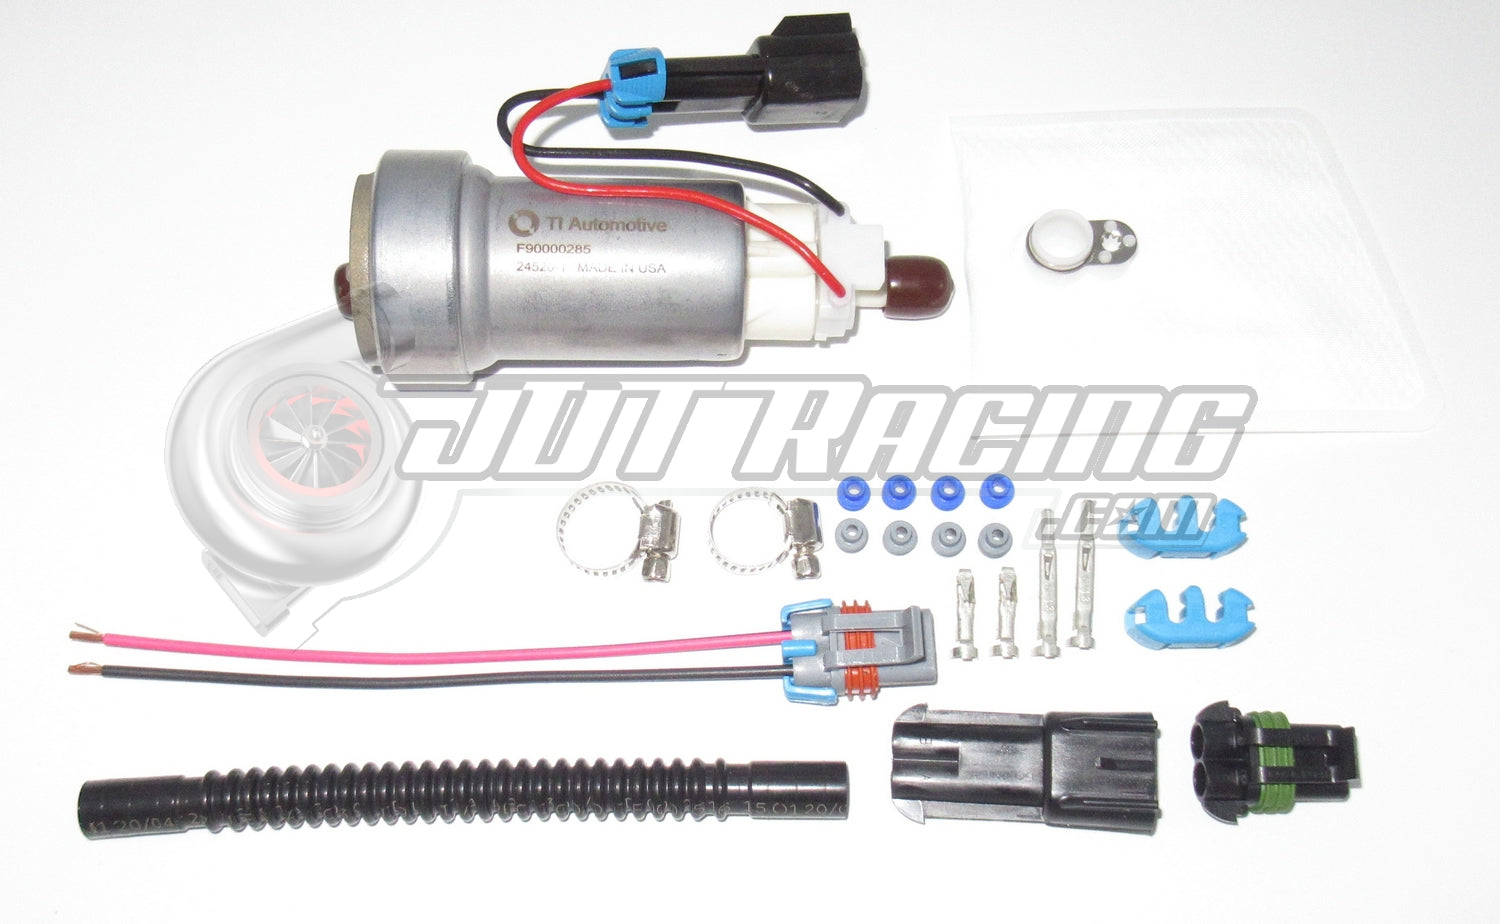
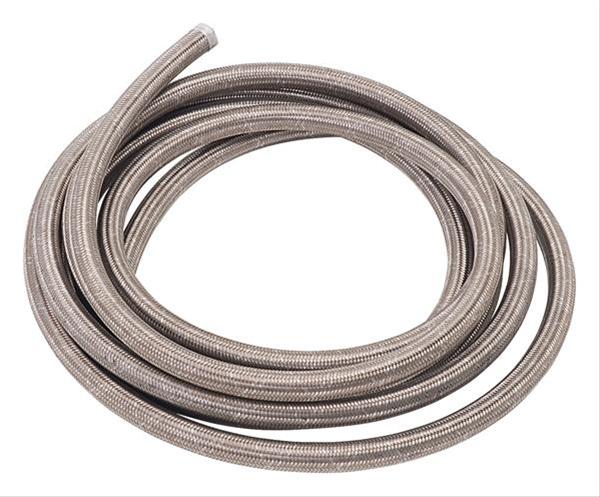
the pump came with gaskets,the filter socks held to the pump with a star crimp on stud locking fastener, the sock needs to be carefully placed and aligned and you really DO need two large cable tye-wraps that were not included, to lock the pump securely in place, and hold the rubber vibration/noise wrap in place plus reduce any tendency of the pump from working its way loose from the filter sock over time due to vibration, but I think most experienced corvette mechanics know the drill by now (that a few seconds spent adding security cable ties, reduces noise and loose connections, and pumps coming loose from filter socks or fuel lines)
http://www.cabletiesplus.com/Produc...Cable-Ties-(175-lb)-(Black)__CP-18-175-B.aspx
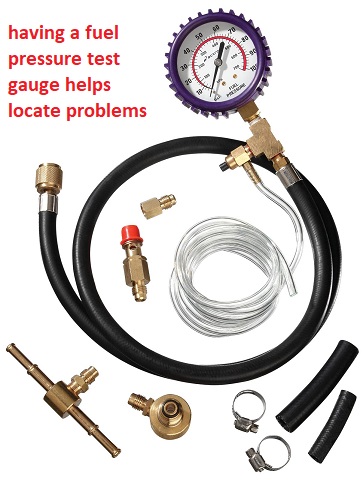
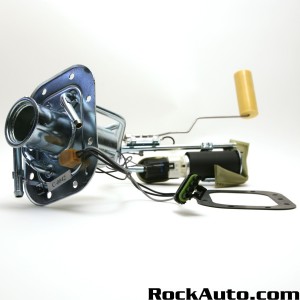
this pictures not an exact replica but a similar kit
and if you have never installed a c4 corvette fuel pump the lack of detailed instructions is going to be a major handi-cap
[/URL]
the only issue I had was the old existing filler neck rubber shroud seal thing I have was old and it ripped due to me being careless during its removal, and the wiring was a P.I.T.A, to remove and reconnect ,connecting it was easy enough but it was a real P.I.T.A. to disconnect without breaking the old brittle plastic connectors but they eventually went on and worked fine.
yes you can order a new splash guard rubber thing from ecklers corvettes or some other source for $25
http://www.mamotorworks.com/Corvette/product/84-93-housingfuel-filler-pip-696670-1
http://www.ecklerscorvette.com/corvette-gas-tank-filler-neck-seal-1984-1996.html
http://www.highflowfuel.com/i-10388...rainers.html?gclid=COabwduFgs0CFZKGaQodbGQCOw
450 LPH EFI FUEL PUMP
step one pull trouble codes
if your corvette won,t start or run, don,t panic its usually easy to locate the problems source, buy a CHEVY SHOP MANUAL FOR YOUR YEAR CORVETTE! RULE#1 never assume a damn thing ISOLATE ,TEST AND VERIFY...
garage.grumpysperformance.com
one of the more frequent complaints I hear about is c-4 corvettes that have difficulty or intermittent start problems. or occasionally I hear about intermittent missing, that needs to be isolated and tracked down to be corrected. READ THE THREAD THRU TO THE END AND BE AWARE THAT THIS THREAD...
garage.grumpysperformance.com
IF youve purchased a vette thats been sitting awhile and it won,t start and run youll need to verify the fuel pump has electricity and its at least running, if it is at that point,drain the fuel tank, replace the fuel filter and fill the tank with fresh high test gas and two cans of fuel...
garage.grumpysperformance.com
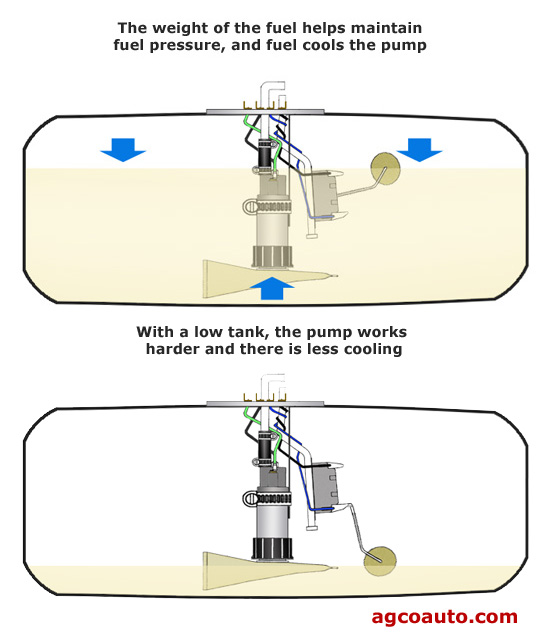
My L98 became increasingly hard to start in the morning. It acted like it was starting in a lean condition. Once I got it going it would run fine for the rest of the day. Putting a fuel pressure gauge on it revealed that it only pumped up to 30 pounds when the key was turned to ignition. It...
garage.grumpysperformance.com
about once or twice a month I get a question that,s basically asking some version, of " WHY is my C4 corvette is running like crap, Failing too start or stalling" Ive often wondered ,how many of you gentlemen refer to these threads when , your faced with some problem or trouble code...
garage.grumpysperformance.com
L98/ TPI Engine Start Sequence
When you start an L-98 engine Corvette, a series of events take place that causes the engine to run. Knowing the sequence will help you troubleshoot no start conditions.
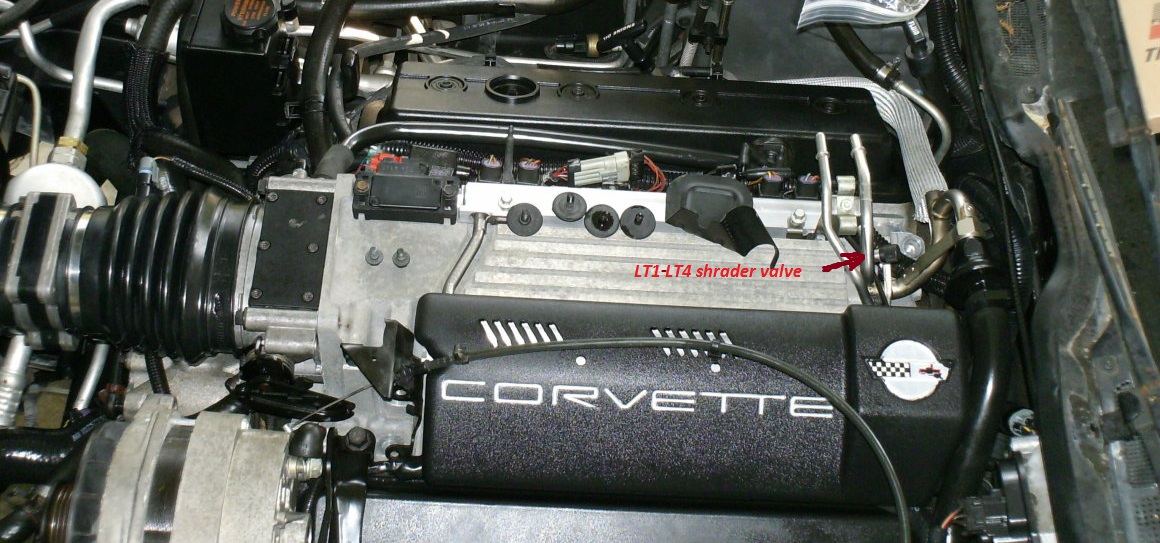
Fuel Rail Pressurization:
When you first turn the key to the “on” position, the fuel pump will run for 2 seconds pressurizing the fuel rails. There is a Shraeder valve on the passenger side fuel rail near the rear of the engine and if you measure the pressure there after the pump runs, you should see between 40-42 pounds of pressure. The reading will go to 38-40 pounds nominal once the engine is running.
Initial Crank Action:
If you then rotate the key to the start position (assuming the anti-theft system has not disabled the starter), the engine will rotate.
Once the oil pressure has reached 4 PSI, the oil pressure switch will close allowing the fuel pump to run. (Note that you should have a black oil pressure switch/sender. It is mounted behind the distributor on the driver’s side and if it is not black, it is suspect due to a run of bad units that stayed in the GM parts pipeline for some time).
The distributor will send a string of pulses to the ECM (Engine Control Module) in response to the engine being rotated by the starter. These pulses continue as long as the engine turns (both starting and running) and if they are not present, the engine will not run.
ECM Reaction:
If the ECM sees oil pressure greater than 4 PSI and the reference pulses from the distributor, it will energize the injector drivers which will begin pulsing the injectors on for 4 ms (milliseconds) periods. (In the L98, all injectors on one side of the engine fire at the same time followed by all injectors on the other side firing at the same time. On the LT-1, the injectors are fired individually at the appropriate time).
The ECM will also pull in the fuel pump relay in effect paralleling it electrically with the oil pressure switch. (If the fuel pump relay fails, you can still normally get the car to start and run unless you can’t make at least 4 PSI oil pressure. This is a “limp home mode” feature put in place to allow for a fuel pump relay failure).
The ECM also monitors the TPS (Throttle Position Sensor mounted on the throttle body assembly) and wants to see .54 volts at this time. If it sees appreciably more than 0.54 volts, it will assume the engine is flooded and the driver has pressed the accelerator to the floor to clear the flooded condition and restrict the fuel flow as a result. (.54 volts during start and at idle from the TPS is very important to both starting and run performance.)
Assuming the ignition module is good (meaning there is a spark of sufficient intensity to ignite the fuel), the engine will “catch”.
Engine "Catches":
When the engine catches, the MAF (Mass Air Flow sensor mounted just ahead of the throttle body) sends a signal to the ECM advising that air is flowing and also just how much air is being pulled through to the intake manifold. The ECM takes note of the amount of air being consumed and adjusts the injector pulse width to around 2.2 ms nominally so as to attain a proper air/fuel mixture to insure combustion. (This is how the 1985 through 1989 L-98 works. For information on the 1990 and 1991 L-98 variant, see the Note below).
The engine should show an initial idle speed of around 900-1100 RPM and then slowly diminish to 600-700 RPM unless the air conditioner is on in which case it will run at around 800 RPM.
If this does not happen, the Idle Air Mixture valve (located on the throttle body) may be misadjusted. Alternatively, there may be a leak in the intake manifold or another vacuum leak may be present. Listen for hissing sounds---there should be none.
ECM Mode:
The engine will now be in Open Loop mode meaning that the ECM is controlling the air/fuel mixture by referencing values stored in memory.
Once the Oxygen sensor (mounted on the exhaust pipe) reaches operating temperature of several hundred degrees, the Manifold Air Temperature (MAT) sensor shows an intake air temperature of more than 140 degrees and the Engine Coolant Temperature (ECT) has reached 160 degrees, the computer will switch to closed loop mode meaning the Oxygen sensor’s output is examined along with the MAT and ECT outputs and the ECM adjusts the injector pulse widths (more “on time” or less “on time”) to constantly strive for a 14.7:1 air/fuel mixture which is the best mixture to hold down pollution.
Note that prolonged idling can force the computer back into open loop mode.
Note: In 1990, the MAF was eliminated from the engine in favor of a speed/density system. This system uses a sensor called the MAP sensor which measures the Manifold Absolute Pressure (hence the name MAP) and compares it with the atmospheric pressure outside the intake manifold. This information, coupled with the Manifold Air Temperature, Engine Coolant Temperature and Engine RPM is used by the ECM to determine the amount of air entering the cylinders. It is a different way of reaching the desired 14.7:1 air-fuel mixture ratio but functionally is like the MAF system in that the ECM uses the feedback to control the "on time" for the injectors.
Corvette used this approach in the 1990 and 1991 L-98 engines and in the 1992 and 1993 LT-1 engines. With the 1994 model C4, they went back to the MAF system. Note that MAF based systems are far more accurate since they measure air flow directly whereas the MAP system infers air flow indirectly. A multitude of things can throw the calculation off and Corvette returned to the MAF system beginning with the 1994 C4 (with a MAP backup). From a troubleshooting standpoint, the MAP operation comes into the sequence the same place that the MAF does.
Summary:
If you have a no start condition or if the L-98 starts and then dies, check the above items in sequence to see if all the events are occurring as required.
A Scan Tool makes this job much easier and is a highly recommended troubleshooting aid for these sorts of problems.
youll find a hour or so reading thru the links and sub links, on this site in the threads, will provide a great wealth of related info and incite into related factors, or the function or testing of sensors, that you may not currently be thinking about, or things that you might not think that are related to your issue that PROBABLY ARE
without testing your simply guessing
http://garage.grumpysperformance.co...ard-starting-tpi-crossfire-or-lt1-vette.1401/
http://garage.grumpysperformance.com/index.php?threads/drop-back-to-basics.12943/#post-67323
http://garage.grumpysperformance.co...hink-logically-don-t-assume.12484/#post-62772
http://garage.grumpysperformance.co...h-flicker-on-dash-and-radio.13593/#post-70202
http://garage.grumpysperformance.com/index.php?threads/no-start.16101/
http://garage.grumpysperformance.co...uble-shooting-flow-chart-info.11536/#post-783
http://garage.grumpysperformance.co...-test-seems-to-be-a-forgotten-art-form.11838/
http://garage.grumpysperformance.com/index.php?threads/carb-tuning-info-and-links.109/
http://garage.grumpysperformance.co...hink-logically-don-t-assume.12484/#post-62772
C4 Sensor Check Information
first check your shop manual for the fuse and fuse able link locations
fuses are located in several locations and fuse-able links near the battery
READ THRU THESE THREADS ALSO
http://garage.grumpysperformance.co...le-shooting-flow-chart-info.11536/#post-71845


![C44-PIK[1].jpg](/proxy.php?image=http%3A%2F%2F%5BURL%5Dhttp%3A%2F%2Fwww.grumpysperformance.com%2FC44-PIK%5B1%5D.jpg&hash=44bd57e79b82a5c9690ee0dcf4f097d2)