Unforgiven Project

The Thrust main bearing cap is final aligned by Whacking the crankshaft forward, back to rear of car, and then forward again.
I use a 5 Lb Vintage Lead Hammer I have.
Hit it hard.

I have the same diamond dust wheel hand crank ring filer.
Bought it from an ebay seller in Nevada.
UFO Racing I think.
 
Well I got home a little after noon today and my wife had stretched out the garden hose and had the powerwasher in place!
I backed the truck up to my trailer and staged the block to be washed.
I had a 5 gallon of hot soapy water, a toilet brush, a hand full of long wire brushes, 3 rolls of paper towels, an air line, and a bottle of marvel mystery oil.
Oh yea... and some WD-40
I was actually having fun!
I was getting into a groove singing an old Eddie Rabbit song.. " ohh I'm scubbing my life away, looking for a sunny day"

IMG_0347.JPG


Then.... This stuff came in QUICK!!!

IMG_0348.JPG


Prolly should have been singing an old Elton John song."Don't let the sun go down on me" !!!

Thought we might be under a tornado watch.
I mean dang... tree's were falling and then we lost power!
Had to start the generator to power the house.
Barn power is on it's own so I was forced to stop working.

I did manage to get the block scrubbed and painted though.
I will upload more pics tomorrow when the power comes back on.

Meanwhile... TWO chevy cars won the Indy race!
If I would have been thinking, I could have drove down to Bell Isle and watched it.
It is only an hour away from me! Sorry Rick! :D
 
be sure you,
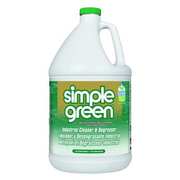
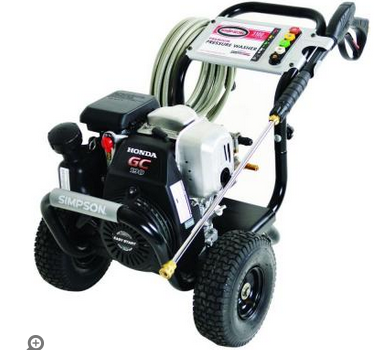
pressure clean the block with a good grease solvent

Z-q1utqcpEx-.JPG


presw.png

http://www.homedepot.com/p/Simpson-Hond ... 177499-_-N

and high pressure water,
rinse and dry the block, clean the internal oil passages with a rifle bore brush,

http://garage.grumpysperformance.com/index.php?threads/block-prep.125/
borebrush.png

borerod.png

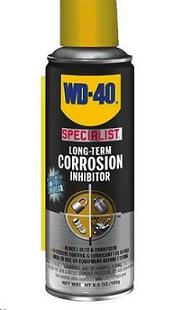
and cover the machined surfaces with a good quality rust preventative
ruust2.jpg


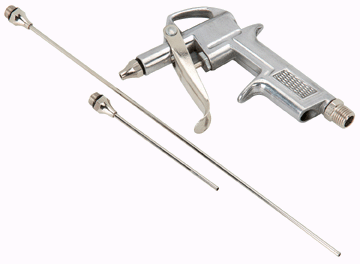
a high pressure air hose and extended nozzle
nozzle.gif


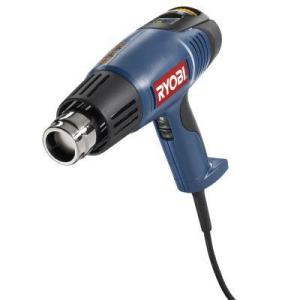
and a heat gun help the process.

616388b5-fcae-44dc-9b19-f9abd1f7a3ce_300.jpg


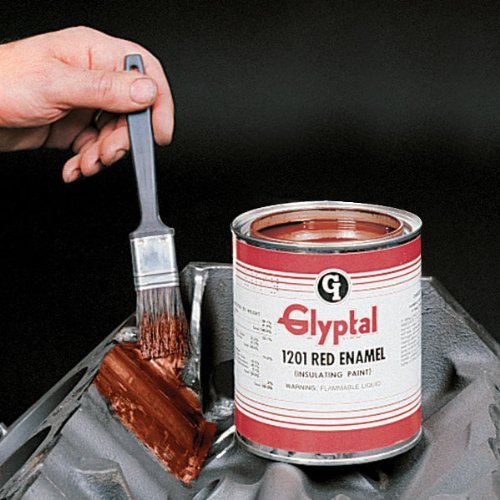
paint the cast surfaces
glyptal.jpg

Ive used it and seen several other people use it , it works fine.
glyptal is used to seal in, micro surfaces and prevent fine metallic dust,
that might be present ,
even after a blocks been cleaned,
from getting into the oil flow circulating back to the oil pump,
if the blocks clean, grease free and dry when its applied ,
and if its left to dry over night it will not come off.
 
Last edited:
I started the official build today!!!!

I spent a good amount of time rescrubbing the block and finished painting it.
I used a dupli color product in red.

IMG_0365.JPG


I then gathered up a few build supplies..thought I would try the Lucas Lube.


IMG_0364.JPG

I then installed the freeze plugs and cam bearings. I am hoping I installed them correctly. With the motor in the uprite position,with the pan in the 6:00 position, this is what I did....
#1 holes are in the 10:00 and 2:00 position
#2-4 holes are in the 2:00 position
#5 hole is in the 12:00 position

IMG_0359.JPG

IMG_0361.JPG

I installed all oil tunnel threaded plugs , front and back except for the plug that gets a .030 hole drilled through it.
I had made this plug a couple months ago and put it in that special place where I would not forget it. Well.... idea did not pan out so well.!
So, I will just make a new one tomorrow.
This block has extra holes I need to plug because it was was designed for a dry sump, and I am using a wet sump system.
I also have to do some research on that Bowtie block cause it has no provision for that blind oil line plug in the back of the block.. I am assuming it is because it
was designed for a dry oil sump, but I need to make darn sure.

IMG_0351.JPG

On the front of the block I installed the center plug and marked it so I could add some insurance as to not block the cam bearing feed hole.
I ground a nice angle that lines up with the hole.

IMG_0352.JPG
 
After I installed the plugs, I took a measurement of how far it sticks out. I am hoping this is enough to clear the timing sprocket.

IMG_0355.JPG IMG_0357.JPG
 
I was a little concerned that even though I opened up the return oil holes in the valley, they may not be large enough.

IMG_0362.JPG

What do you men think.?
 
I also used a set of micrometers and measured that thrust face on the cap and on the block.
They both came out with the same measurement... 1.526

That is good! I will take the cap into work and predrill the cap a drill size smaller than the intended dowel, the reinstall the cap and torqure it into it's proper place , then run the drill through the cap and into the block. I will then
run the reamer through both. Once this is done , I will remove the cap and peen over the top of the cap to prevent the dowel from falling out and into the pan.
 
I think your doing fine so far, and, I love the pictures you posted

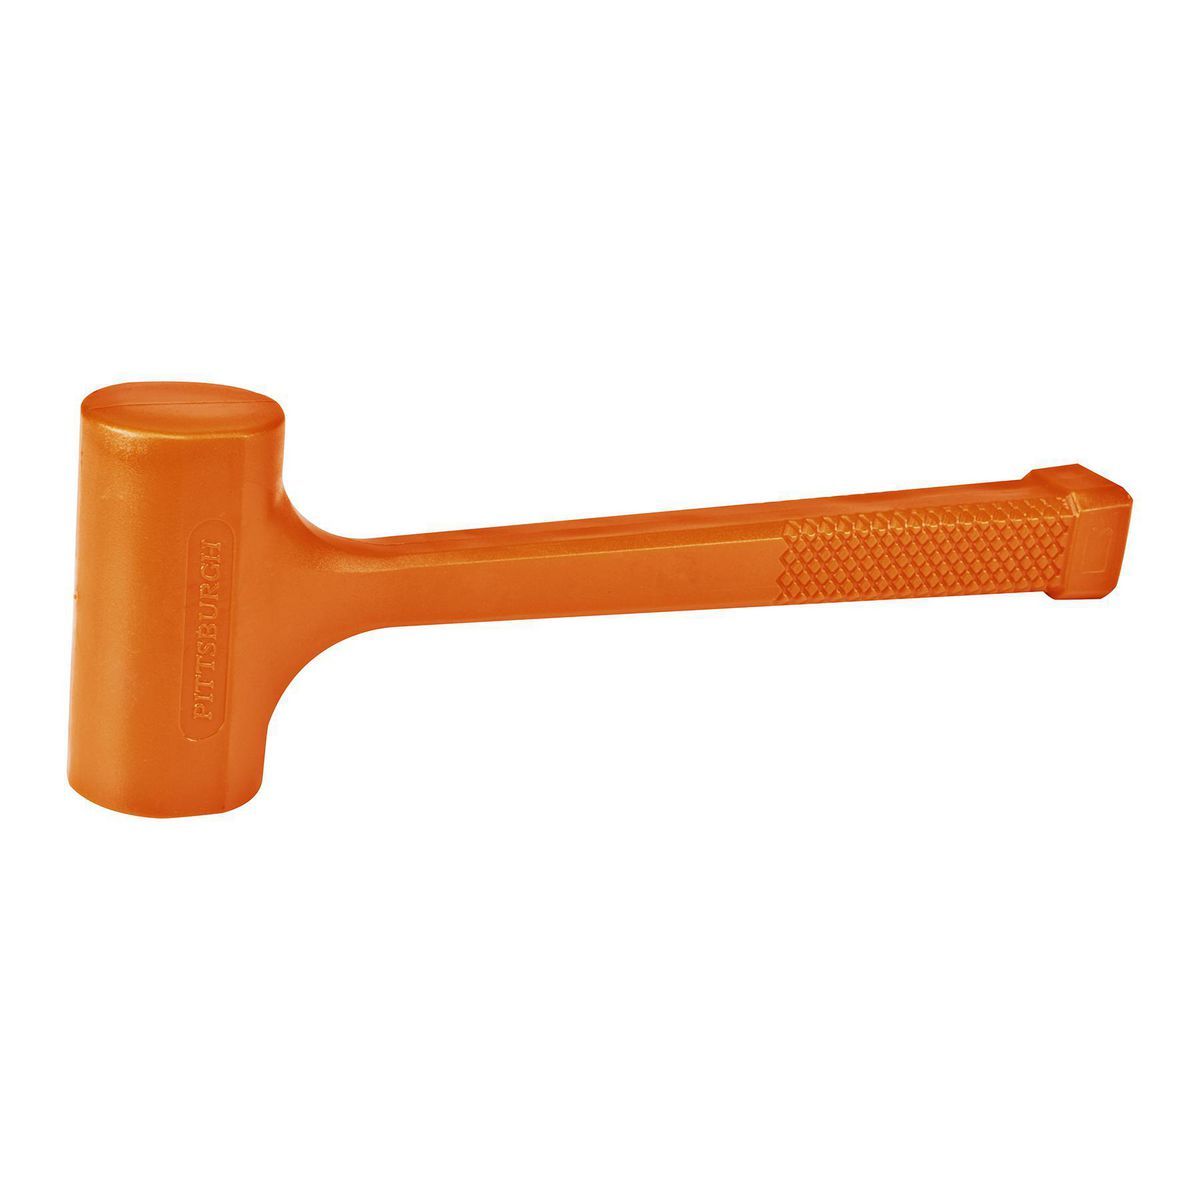
yeah a 2lb dead blow hammer to gently whack or two on both sides and the bottom surface, on the blocks main caps after you've torqued them into place to verify they are firmly seated and a quick recheck on the torque settings is generally a good idea,
this is also a good idea when checking clearance's with plasti -gauge on main bearings)

shopping


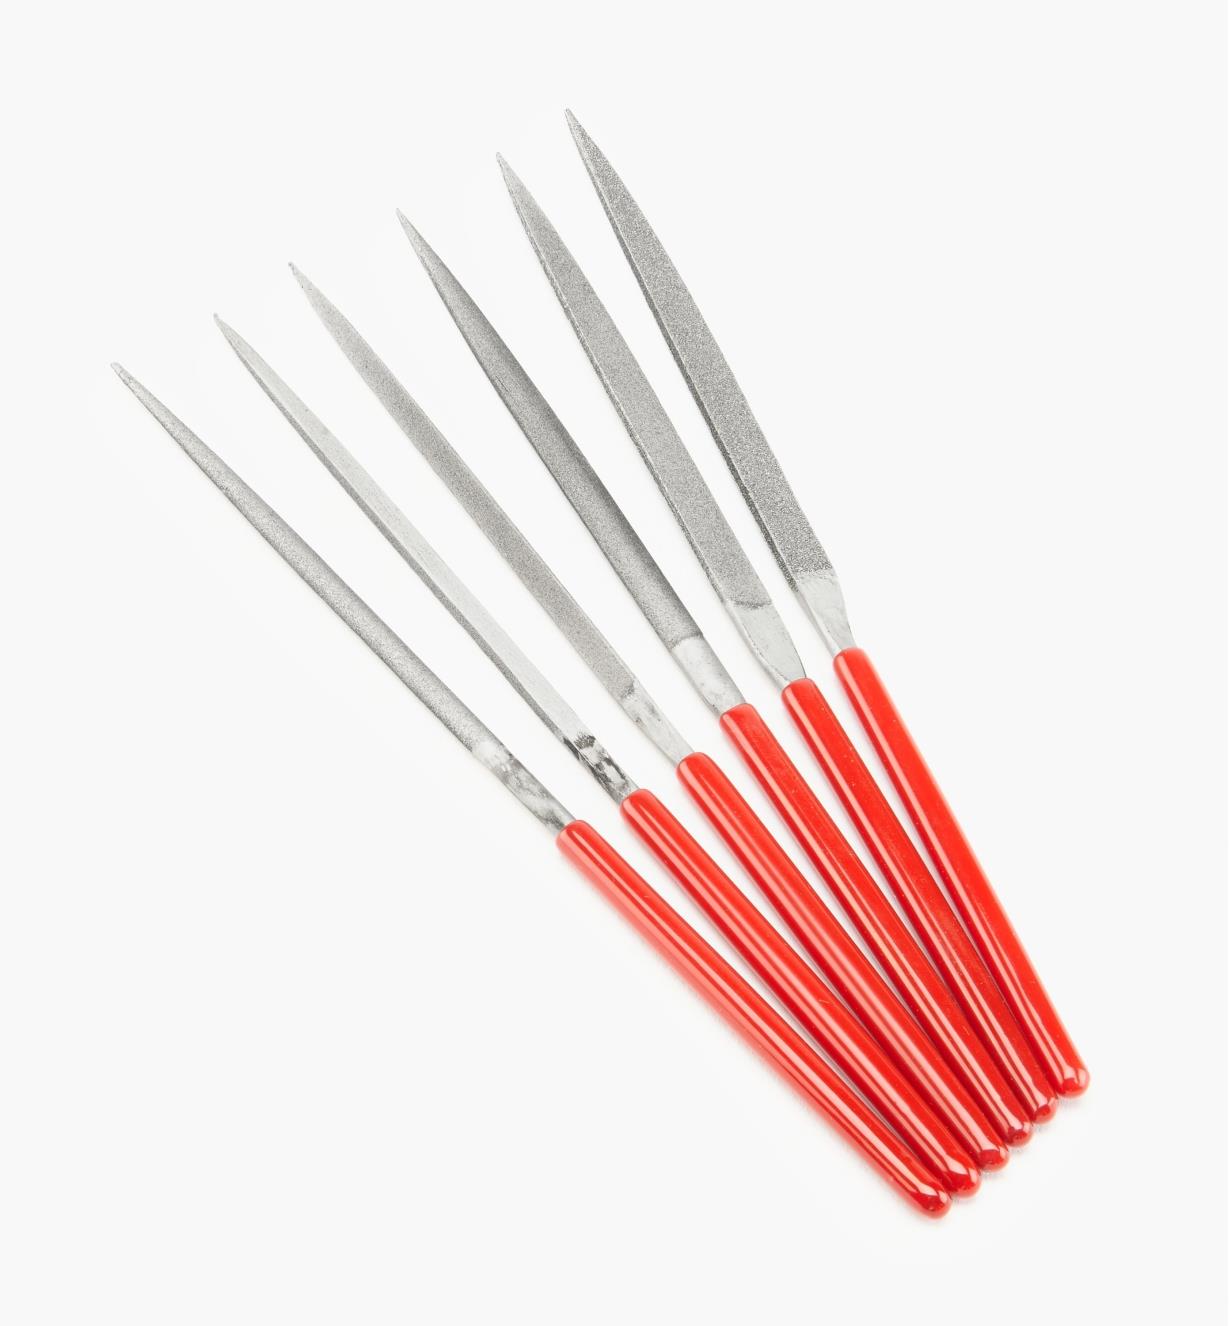
and cutting a shallow , .006 thousands deep)oil groove in a thrust bearing vertical surface to add additional oil flow to the crank/bearing surface to help lube that surface as you depress the clutch with a jewelers file certainly aids increased durability

shopping


70M0244-600x-eze-lap-diamond-needle-files-set-of-6-f-20.jpg
 
Last edited:
Nice detail work on your paint job. I noticed that none of the gasket surfaces and expansion
plugs are painted.

I think your oil drain back holes are fine, there are plenty of them, so no worries.

Did you clean the threads in the block and on the pipe plugs with acetone or thinner and then
put Loctite on them before installing?
 
Great work so far and you have a great block there. I can't see any core shift anywhere.
Don't forget to put a small smear of oil-resistant Permatex along the edges of the rear main cap where it meets the registers in the block.
Potential oil leak there right out the rear and anyone would think that the rear main seal is the cause. Also use sealant on the rearmost oil pan bolts for the same reason.

Make sure you trace how the oil flows to the filter NOW. Does this block use the plug under the rear main cap like a production block has?
Get it right now to avoid problems later!
 
Did you clean the threads in the block and on the pipe plugs with acetone or thinner and then
put Loctite on them before installing?

Yes sir I did.. I used brake cleaner though. I use the blue loc-tite
Thanks you for the compliments.
I do have some over spray on a couple surfaces that I still need to clean. Also there are a few threads that need paint cleaned out.

Make sure you trace how the oil flows to the filter NOW. Does this block use the plug under the rear main cap like a production block has?

Thank you for the compliments!

Well....DO I to feel dumb now! I was looking in the wrong location for that plug location. :oops:
Thank you for pointing that out. :D
This block is a little bit different then an O.E.M. block though. The dry sump set up is really messing with me, as this is the first block I've seen that is designed for it.
I think that's a good call in the rear cap seal. I will be sure to seal that area.
I also have to wait for the crank to be installed so I can line up the rear 2 piece seal adapter, which also needs a thin coat of sealant.
 
I'm sure you already know this, but for others that don't -
oil goes from the oil pump to the OUTSIDE of the filter, flows through the pleats to the center of the filter, and goes back into the block for distribution.
 
Looks Good.

Test fit the New Camshaft into the cam tunnel with new cam bearings.
It must turn roll easy by the top camshaft sprockets with a flick of the wrist.
It should be Ok since this is a new GM racing block.
Often a problem on Chevy and Pontiac V8 blocks raced hard prior.
Block takes a set twists. Can not see.
Camshaft slip test determines if present or not.
 
I have seen it before, but not sure why you should paint inside the motor?
Oil return flow?
Any chance of the paint to flake of and make problems?
glyptal.jpg
 
Just use your 20w50 Vavoline VR1 Racing oil on the camshaft bearings and cam journals to test slip fit and rolling turn test.
Should turn easy or just 1 inch pound break away torque.

It's alot easier to install the cam with the crankshaft not installed and block turned upside down.
 
I have seen it before, but not sure why you should paint inside the motor?
Oil return flow?
Any chance of the paint to flake of and make problems?

Hello Thunderbolt.

I also am scared to paint the inside...
Not sure what the paint really does, but as far as oil goes... The oil rides over a film of oil that sticks to the block.
I like to just smooth the surface, and remove the high spots.
That maybe is what the paint does with out having to grind and sand (which is alot of work).
I will be placing some screen and a couple magnets in there though.
Just been researching on where to buy those magnets.
 
Gotcha Brian.
I will check the cam when I get back in the barn tomorrow.
I have to hit the Gym after work tonite.
 
Back
Top