TBucket Engine Project (Dart SHP)

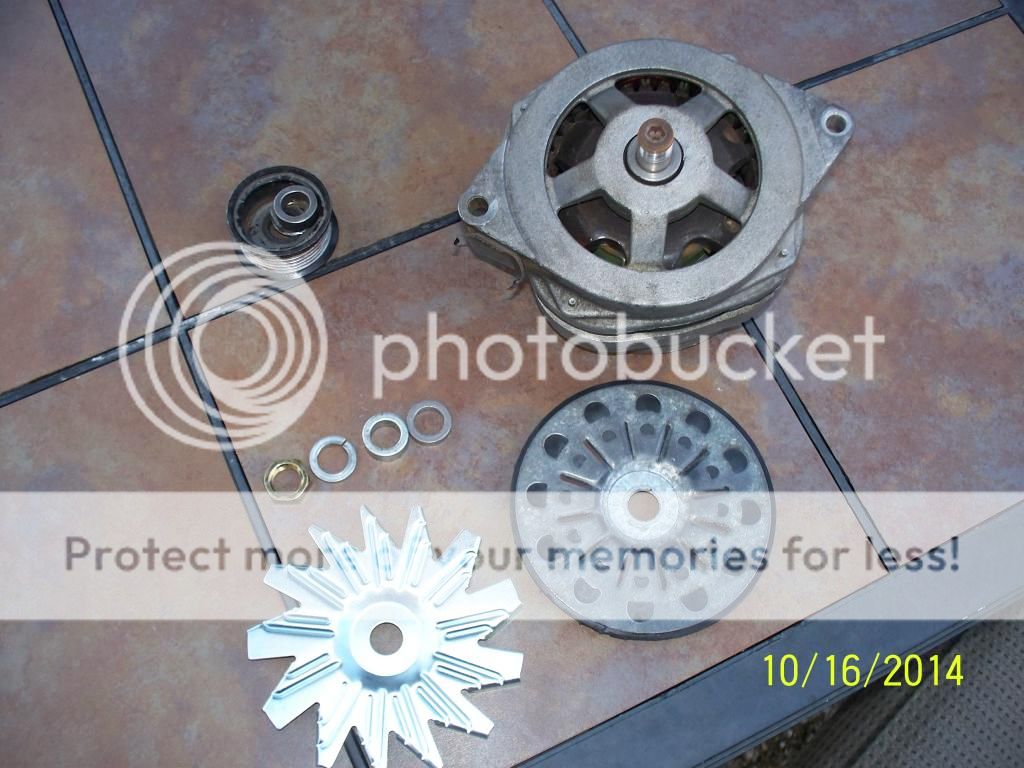
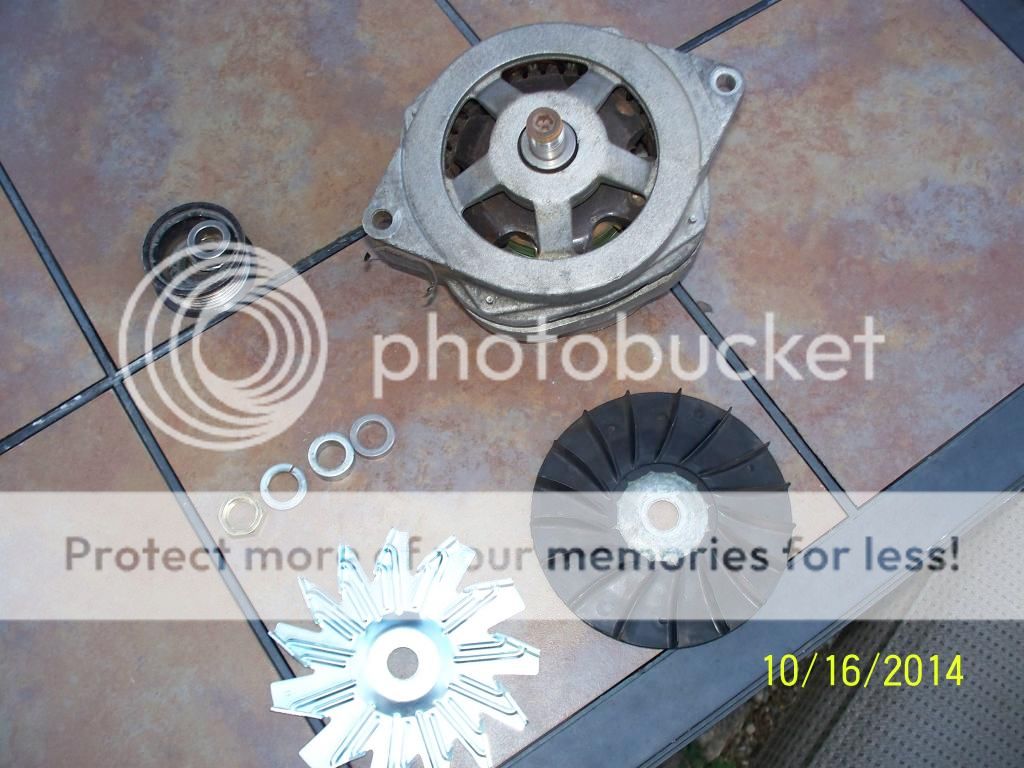
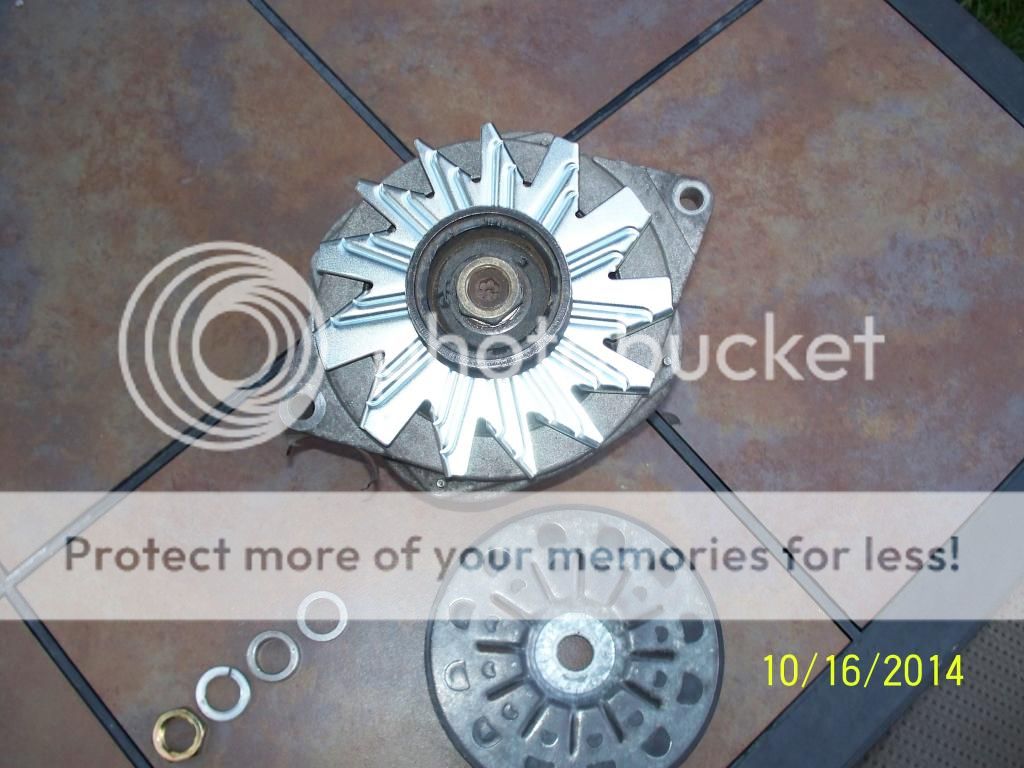
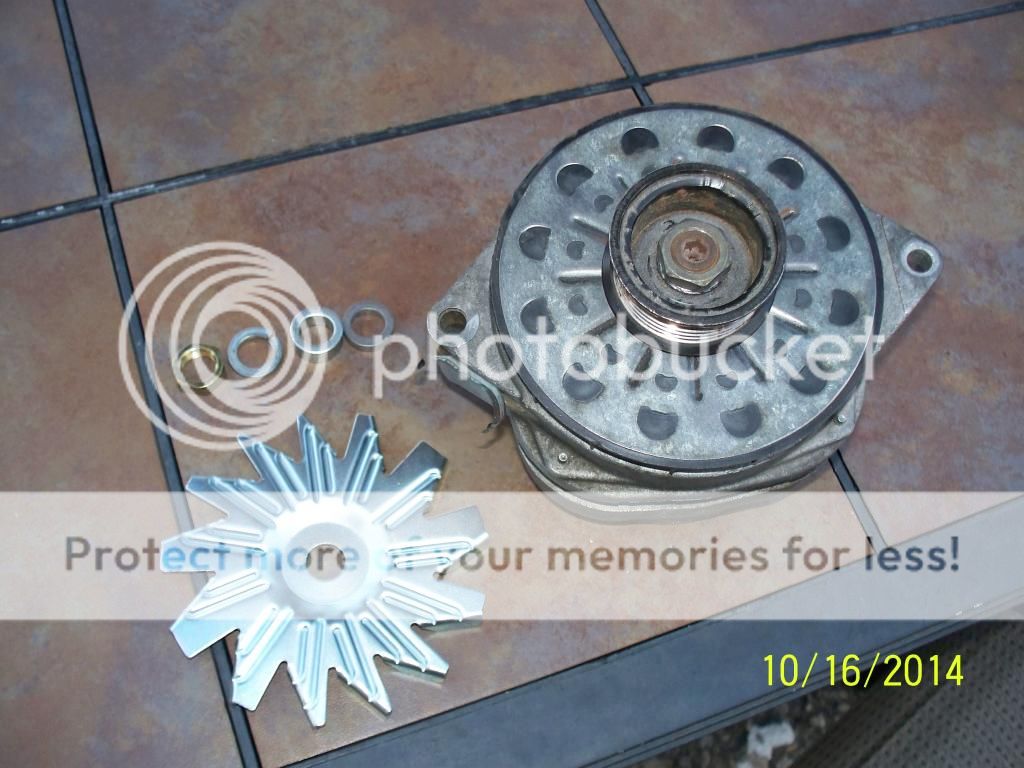
I have the New HD all steel fan Rick and matching hardware to replace OEM Plastic fan.
Pics later. Ship off to you in morning.
Want you to sand down chrome finish on Power Master Dual groove drive pulley.
Backside with #80 grit sandpaper.
Better bite and can't slip.

CS144 All were. serpantine belt drive setups.
 
100_6205_zpse29c8899.jpg


100_6207_zps24db7de4.jpg


100_6206_zpsdf686bd9.jpg


100_6208_zpsf3e80ef2.jpg
 
Got started installing the AEM AQ1 data logger this afternoon.

First decision is where to put the AQ1 box. It's not going to fit under the seat until
later this winter when I do a total rewire of the car, so for now it's going inside the
console. Looks like NO MORE DRINKS in the console for awhile!!! ;) Once that was
done I moved to the wiring harness. They say the wires are labeled, but that was
just a sticky tag wrapped around a group of wires. The only wires with printing
directly on the wire is the 2 power wires and ground.

So for me the first thing I needed to do was a pin-out of the cable for all the analog inputs
and then label each wire with it's number that matches the manual. Pins 8 thru 15


FP01_CableConnectorPinOut.jpg
FP01_AQ1_CablePreparation_5648.jpg
FP01_AQ1_MountedWithCable_5645.jpg
FP01_AQ1_Mounted_5646.jpg
 
Last edited:
Yourr going to want to paint the all steel fan with high temp paint or quality Autobody paint.
The Cadium Silver plating will tarnish 1st time it gets damp from condensation or water.
Turn ugly.
Painted Body color of T-bucket be nice looking.
 
I still don't like loose belts Rick.
Get them snug please.
Your not Revving to 7K anyhow. Grumpy wouldn't be happy.
Super torque Crower cam in place anyhow.
 
Indycars said:
They say the wires are labeled, but that was just a sticky tag wrapped around
a group of wires. The only wires with printing directly on the wire is the 2 power
wires and ground.

In my previous post I complained about there not being any labels like AEM
claimed in their literature. Now I know what happened, the labels don't repeat
often enough, there was only one and it was under their plastic loom.


FP02_WiringHanessLabel_5659.jpg

I didn't like their choice for the looming material, so I cut theirs off and put on
some split braided loom that I had. Secured it with yellow zip ties.


FP02_WiringLoom_5661.jpg

Since there were no visible labels and ALL 8 inputs were YELLOW in the AEM
wiring harness, I used different colored wires for each input in a group, 1 thru 4
and 5 thru 8. Now I can easily identify each wire and it's purpose. All the inputs
had to be extended by 12 inches anyway.


FP02_ExtendedAQ1Harness_5665.jpg

Inputs 1 - 4 all have RED shrink tubing and inputs 5 -8 have WHITE shrink tubing
on the ring terminal connector to help with identifying wires while working among
all these damn wires under the seat.

The wiring is not very pretty, but it is functional. Pretty will come this winter when
the wiring is redone.


FP02_SensorConAtTerminalStrip02_5668.jpg
FP02_SensorConAtTerminalStrip01_5668.jpg
 
Last edited:
Took a day of vacation Wednesday to play with my new toy. First up today was
installing the O2 sensor and routing the cable inside the car. I used an Adel Clamp
to support the cable close the sensor where it screws into the exhaust.


FP03_O2CableSupport_5674.jpg

Since I'm going to rewire the car this winter, this installation of the AFR Gauge
and AQ1 is temporary. Thus the reason I left the gauge in the box. You will notice
the back side of the AEM's digital gauge has two connectors. The white wire will
go to the AQ1 so it can log the AFR values.


FP03_AFRGaugeTemporaryInstall_5675.jpg

To begin setup of the AQ1, I needed to calibrate the different sensors, so this it
what my setup looked like.


FP03_LaptopConfiguringAQ1_5678.jpg

Below is the MAP sensor calibration. I used my vacuum pump to lower the pressure
as if the engine was running. Additional to the end points of the calibration line I added
3 more points, but since it turned out to be a STRAIGHT LINE it really wasn't necessary.


FP03_CalibratingMAPSensor_5683.jpg

I don't have everything figured out enough to actually get good data yet, but I
was able to watch the AFR gauge some and it is very obvious that the engine
running very rich. So rich that at times the gauge cannot go any richer, so it
could be richer than 10.2

Watch the YouTube video and you will see what I mean. You will notice the
engine starts to die ..... I forgot to turn on the electric fuel pump. But I caught
it in time before the engine completely shutdown. :)

 
Last edited:
Assuming the fuel pressure is consistent at about 5 -to-5.5 psi and the needle seat valves are not flooding the fuel bowls, and your floats are not set excessively high, its sure sounds like the POWER VALVE is kicking in too early and richening the mix ratio, swap it out too two number steps leaner and drop the jet size two sizes and repeat test.
post pictures of the spark plugs as it will indicate ignition advance changes along with fuel ratio
 
The Demon carb came with a 6.5, so I need to order a 4.5 inHg. I have a jet kit
that I bought in June of 2013, now if I can just find it!

I will take a look and see if there is an easy way to go ahead and install the fuel
pressure gauge that I bought for the upgraded fuel system when I install it.

http://www.summitracing.com/parts/sum-210230

CarbJetKitBySummit_210230.jpg

FP01_PowerValve65_3590.jpg
 
Last edited:
I used one of my extra AN elbow fittings and tapped the inside with 1/8 inch NPT. It's a
little loose, but with Teflon tape on the gauge, it tightened up as it bottomed out.

Looks like about 6 psi with anything above idle. I'm headed to O'reilly's here shortly to get
another power valve 4.5 inHg. I also found my jet kit, so I'm good to go now.

YouTube video link below:


FP01_FuelPressureGauge_5689.jpg
 
Last edited:
This video is private.

CLICKING ON THE LINK.......RESULTS IN THE ABOVE.......makes it rather difficult to view?
 
you make far fewer mistakes than most people, your fully entitled , to make a few over sites , Lord only knows I make my share and then some!

I'd suggest backing off on the fuel pressure until the needle bounces between 5 and 6 psi rather than 6-7 psi as a start point, while tuning. simply because Ive seen far too many needle and seats flood at pressures over 5.5psi, you can always increase it a bit later if its required,or if you find your carb tolerates the higher fuel pressure easily but about 7 out of 8 times the issues I see while tuning are inconsistent feed of fuel due to too much pressure for the needle valve, or not enough flow volume to keep up with demand at higher rpms, this is one reason the larger diameter lines are very useful, you can push the necessary VOLUME without needing to result to PRESSURES the carburetors inlet valve won,t consistently and correctly flow fuel into the bowls at, or put a different way, if you need to boost the pressure at the inlet valve to over 6 psi to get the necessary flow volume chances are excellent the consistency of the flow mass or volume entering the carburetor will be far from a steady and predictable flow as the cars engine has both high inertial loads and huge changes in demand as rpms change.
BTW that rapidly vibrating fuel pressure gauge needle ,on the fuel inlet ,will usually tend too steady once a secondary fuel filter between the pump and carb and the fuel return line on the fuel pressure gauge is installed, as BOTH tend to act as vibration, dampers or shock absorbers too the fuel, pressure pulses in the feed lines, hydraulic flow, much of that is at times the needle and seat valve bouncing, you would think that the float seated on the top of the needle valve would prevent that and it will if the valve functions correctly but its only going to do that in a narrow pressure and flow band, and yes I'm fully aware of what the instructions are that come with the demon carbs
yes your carb may handle that 6-7 psi perfectly fine, but I generally start with the pressure a bit lower due to past experience and change only one component or adjustment at a time and record the result of the change, because if you make several changes simultaneously your never 100% sure what change caused or cured an issue you see

DEMON said:
Fuel Pressure
Most gasoline powered engines
usually
require between 6 and 7
-
1/2 PSI fuel pressure. Gasoline
carburetors can be run either at idle or wide open throttle at these pressures. Be sure your
fuel
delivery system is properly adjusted and able to maintain volume flow at these pressures. Improperly
adjusted or inadequate fuel delivery will result in poor performance
and possible engine damage


http://www.demoncarbs.com/Assets/docs/C ... atalog.pdf

http://www.demoncarbs.com/Assets/docs/P ... 705rev.pdf
 

The pressure is not adjustable, unless you consider snipping the spring in the pump
adjustable. When I upgrade the fuel system, then yes, it will be adjustable then with
a return style pressure regulator.

 
You may want to wait until you get your MAP and TPS inputs working before making any changes to the carb. You will be able to see for sure or not if the power valve is opening once you get those inputs working. It's hard to get the power valve to open when there is no load on the engine. It's kinda hard to tell from the video how far open you have the throttle but to me it looks like you might be running on the transfer slot when you see the rich condition. From my experience with a demon, they tend to have a rich idle/transfer slot circuit stock.
 
The Mallory Comp series Fuel pumps deliver rock stable fuel pressures Rick.
What I prefer to use.
The Holley Red & Blue Pumps give erratic fuel pressures as they age.
The internal pump bypass valve sticks and then pops free sudden giving erratic fuel pressure spikes.
Mallory holds pressure with 1/4 psi allways for me.
 
Back
Top