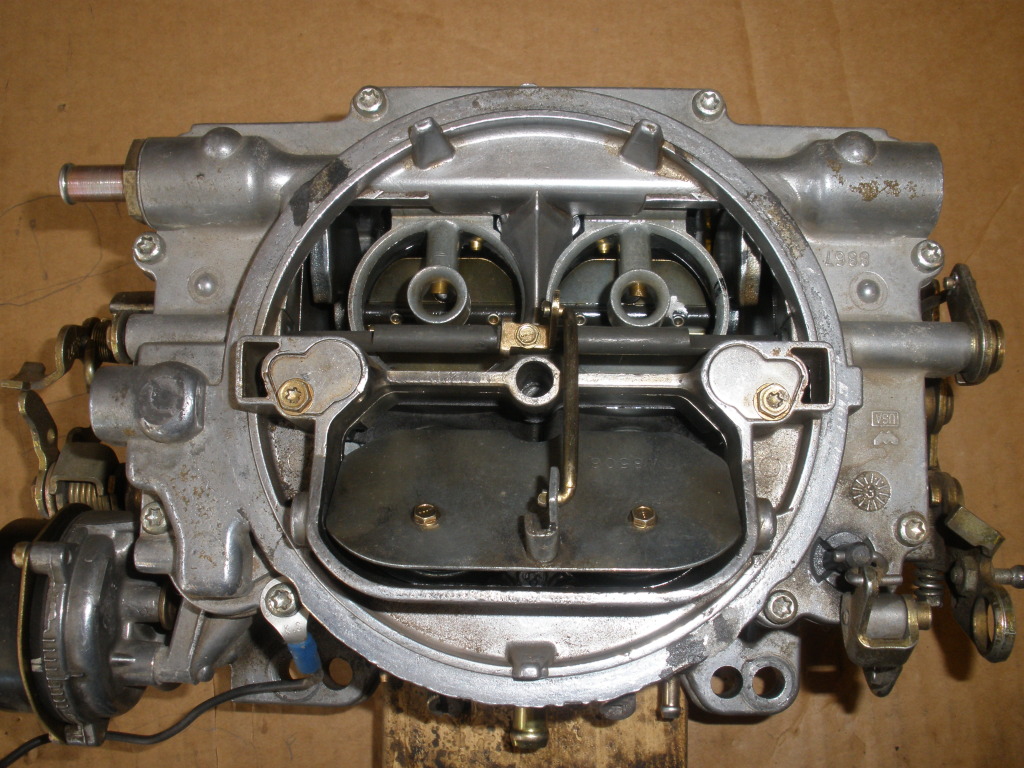
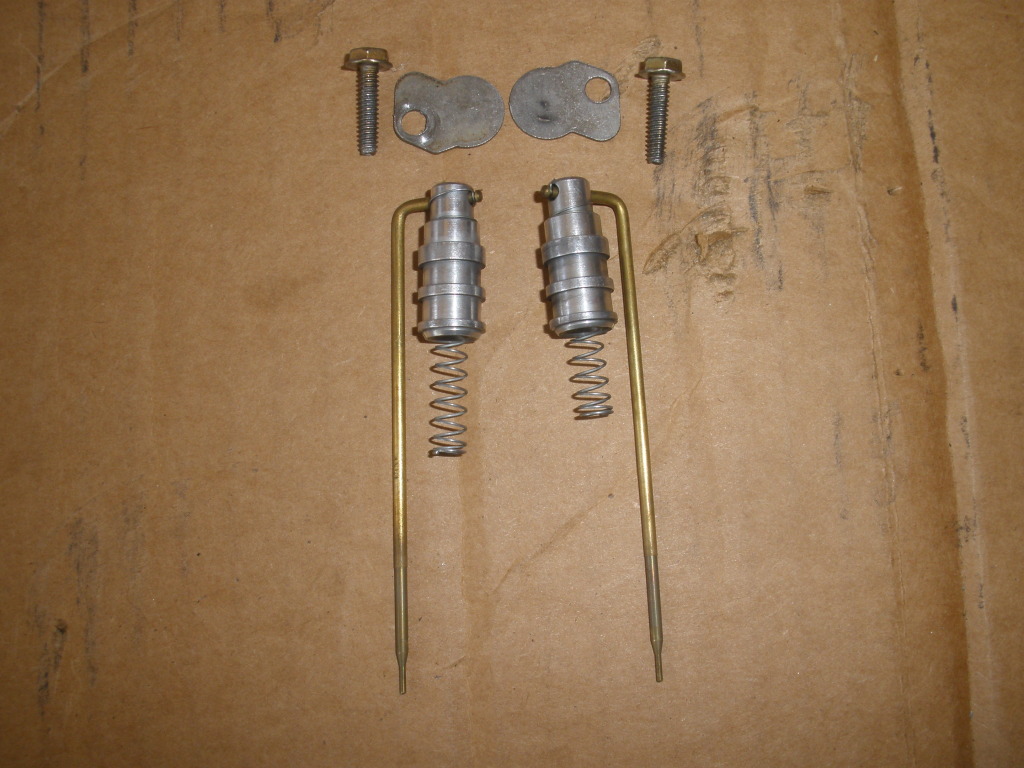
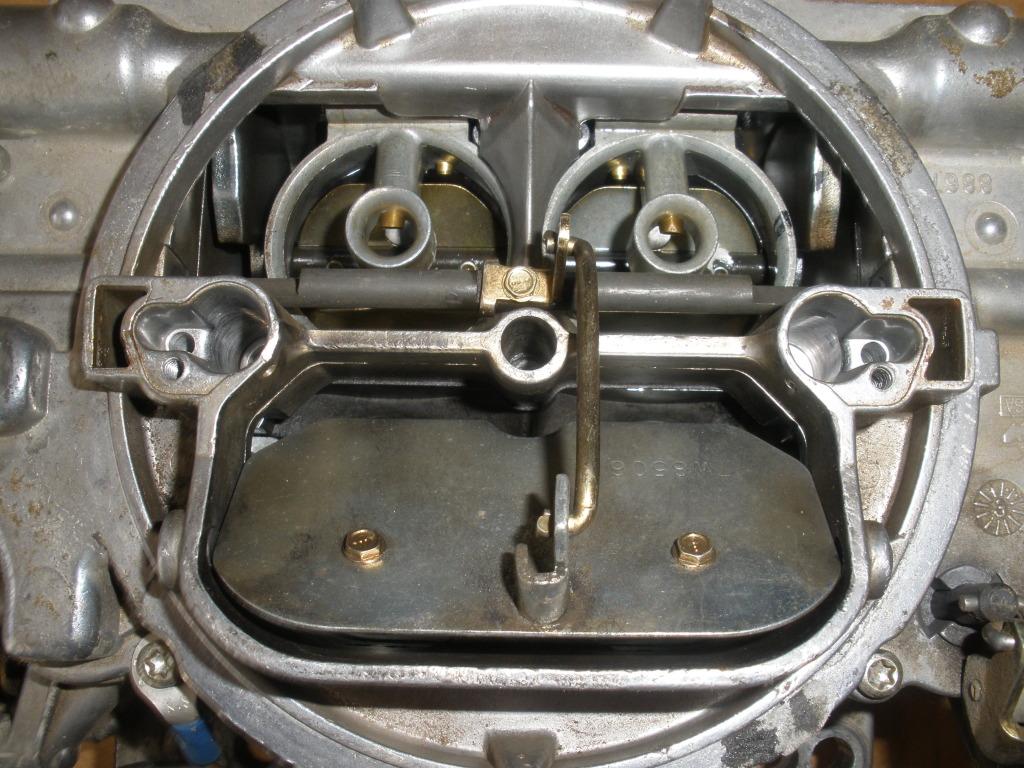
TBucket Engine Project (Dart SHP)


So far I have not had to drill anything in the metering block. I decided to try
tapping the emulsion holes and the IFR's with 6-32 threads even thou the holes
were bigger than the #36 drill bit for those threads. It worked, there is more
than enough threads to be able to tighten a 6-32 set screw.

FP03_TapEmulsionHoles_5705.jpg

I wanted to determine the angle that the holes were drilled, if I can make the
hole exactly vertical when I get ready to tap the hole, I will have a much better
sense of when I'm holding the tapping parallel to the hole or centered on the
centerline.

FP03_DetermineAngleToDrill_5744.jpg
FP03_DetermineAngleToDrill_5742.jpg
FP03_DetermineAngleToDrill_5743.jpg
FP03_TapEmulsionHoles_5740.jpg

Some progress made, but much more work to yet to go before I'm done.

FP03_SemiComplete_5747.jpg

 
Last edited:
even if the work either succeeds or fails , on the carb,I can,t help but state its still darn impressive photo work.
 
amazing man love what your doing wish I was there watching. But that is that type of work like my detail airbrush work it is therapy.
 
Indycars said:
philly said:
grumpyvette said:
even if the work either succeeds or fails , on the carb,I can,t help but state its still darn impressive photo work.


indeed
O ye of little faith.


I,ts more like experience, Ive gained over about the last 50 years of doing the endless list of projects and modifications on my own cars and dozens of my friends cars, and watching and helping build, many dozens of cars, and working on cars and seeing about a 75%-80% success rate,when attempting new ,previously untried things,and during the process , learning that darn near everything you do is both a learning experience, where you gain experience, (both good and bad) and that you eventually realize that the one in five projects you get involved in, will result in at least temporary failures or set backs, that teach you to think things thru and be cautious, and force you to gain new skills to push forward so those temporary failures can be corrected once you find out what went wrong, and also find out the correct way to accomplish the intended initial result you originally were trying to reach.
yes I,m sure in the end it will turn out to be both a learning experience you'll gain skills from and an impressive success , but its still rather un-tried ground that should be carefully researched and thoughtfully done, as most of the guys reading thru this thread, either don,t have your skills , or need very detailed instructions before they will attempt something similar, simply because they have limited faith in their personal skills.
trust me I have FAITH bordering on AMAZEMENT at your abilities , and I'm very impressed with your exceptional abilities to tackle new projects, and complete them successfully, its that willingness to tackle new projects and learn as you proceed that's a very rare skill.

most of my friends tend to cringe in almost SHOCK when they see me do things like clamp a new out of the box intake manifold in the milling machine vise, and start using machinist dye, and an intake gasket as a pattern, and and start removing metal, or start welding on an intake manifold and grabbing a die grinder and porting the runners, and plenum, its only when they see the final result and the engine actually runs better that they start to relax and believe I have some idea of what I,m doing.
 
I have to say this, but, that is one of the things about Rick that I like very much, tackling new things and succeeding. It reminds me of my Dad, he did the very same thing, and it taught me that any person with a good mind can accomplish most any task with a theoretical/intelligent approach.
 

Thanks guys, I really do appreciate the nice comments!!

I have been doing lots of research and reading the past two weeks. There is a
fair amount info out there, but there is just one question I have not found the
answer to yet. Or more like conformation to something I'm almost sure will have
to be done. I spoke to it earlier in this thread, that was drilling the smaller hole
at the bottom of the larger hole.

 
Indycars said:
Question for Bytor …….

Did you drill the orifice bigger so that you could increase or decrease the size
with the new brass jet??? Then thread the larger hole just above it??? Drilling
the larger hole to accept the tap.

If you installed a larger brass jet, but the orifice was still the original size,
nothing would change since the original orifice is still restricting/controlling
the flow.

I did increase the size of the stock orifices but did not drill them out completely. I figured I would need something to act as a stop for the set screws. You also won't them a little bigger than your largest set screw hole size to keep from having any alignment problems. Looks like you got it figured out though.
 

Thanks Bytor for that confirmation! It's funny how I see alot of info about
drilling/tapping for the brass jet. But only once now (today) have I read
where they drilled out the smaller hole at the bottom. Maybe I'm just trying
to read to fast and missing the info.

Did you pull the 1/4 inch cup plugs for the idle and main wells to clean them
out after drilling?

Sorry I bothered you this weekend!!!

 
Indycars said:
Did you pull the 1/4 inch cup plugs for the idle and main wells to clean them
out after drilling?

Sorry I bothered you this weekend!!!

No on the well cap plugs, You can just blow air backwards through the main booster and idle crossover openings to get any shavings out.

Capture.JPG

Here's a clear plastic metering block showing the internal passages. This one has the IFR's in the upper position and more emulsion holes bout you get the idea.

Metering Block by BoLaws.jpg

You didn't bother me at all this weekend, I just happened to be in Florida watching the Gators beat up on Georgia.
 
Last edited by a moderator:
bytor said:
Here's a clear plastic metering block showing the internal passages. This one has the IFR's in the upper position and more emulsion holes but you get the idea.

Thanks! ... Yes I understand what you are saying.


Finish the carb mods this weekend, which involved the drilling of the main
body of the carburetor.

Had a problem with one of the HSAB when the tap did get a good bite, then
it chewed up the metal, similar to drilling. So I had the drill deeper to get a
place to tap some 10-32 threads. You will notice how much deeper the brass
is. Maybe I caused my own problem, I like to use a drill one size smaller than
what's called for. I used a #22 instead of the #21 that is recommended.

FP04_DrillMainBodyAirBleeds_5750.jpg
FP04_HSAB_DrillProblem_5753.jpg

To drill the 6-32 and 8-32 brass set screws, I chucked them up in the drill and
held the pin vise stationary. While putting the set screw in the drill chuck I
would hold it straight while tightening down gently.

FP04_DrillBrassSetScrew01_5755.jpg
FP04_DrillBrassSetScrew02_5756.jpg

To drill the 10-32 brass set screws I made a fixture to hold the set screw and
used the drill press.

FP04_DrillBrassSetScrew10-32_5758.jpg

Now I think this idea I got while adjusting the base plate so that the
Transition Slot is Pretty Nifty. The adjustment has to be made with the
carburetor off the car so you can see the bottom side. I won't have to do
that anymore.

I found a spacer that just fit over the idle speed adjustment screw and
ground it to .517 inches. I also needed a bigger ID spring to go over the
large spacer now, which I had in inventory. The way this works now is to
adjust the idle screw down until it seats on the spacer, then back it out
2-1/2 turns and I have the .020 inches showing. That gives me plenty of
adjustment if I want to speed the idle way up like when plotting the ignition
timing curve.

So at any time, if I wonder how much of the transition is showing, I can
just seat the idle screw and then count the turns out.

FP04_TransistionSlot.jpg
FP04_IdleSpeedScrewModification_5764_5765.jpg
FP04_IdleSpeedScrewModification_5761.jpg
 
Last edited:

Hard to keep track of all the details and get them into a single post, so here
is some more info if you are thinking about doing something similar.

I drilled the orifices to the following sizes, now that I will be inserting a brass
set screw to meter the flow of fuel and air. To put that another way, I drilled
the smaller hole usually at the bottom of a larger hole. See 2nd graphic below
for an example.

FP05_ModifiedOrificeSize.JPG

IFR=Idle Feed Restrictor, Emulsion=Emulsion Holes, PVCR=Power Valve Channel Restrictor
IAB=Idle Air Bleed, HSAB= High Speed Air Bleed

This photo below shows and example of the orifice that was drilled at the bottom
of the larger hole. It's this hole that determines how rich or lean the carburetor runs.

FP03_TapEmulsionHoles_5705.jpg

It's obvious that a 6-32 or a 8-32 brass set screw can only be drilled so large before
it's useless. The info below is largest hole that can be drilled safely, so keep that in
mind when you drill for the brass tap size. It has to be able to go large enough to
accommodate the orifice size needed.

Brass set screws 6-32 maximum orifice size is #53 drill bit or 0.059 inches.
Brass set screws 8-32 maximum orifice size is #45 drill bit or 0.082 inches.

For an example, the photo above has an orifice size of .031 inches, therefore I drilled
the larger hole for a 6-32 brass set screw and then taped it.

 
Last edited:
Looking good Rick, I used 6-32 for all my 650's orifices and found that .059" was about as much you could drill them out and still use an hex wrench as well. I was able to drill a few out larger near .070" and use a small star headed screw driver.

Star Screw Driver Tip.jpg

Not Ideal, If had to do it over again, I would have went with 8-32 set screws in the idle air bleed's. Thats the only orifice that would approach that size.
 
Last edited by a moderator:
bytor said:
Looking good Rick, I used 6-32 for all my 650's orifices and found
that .059" was about as much you could drill them out and still use an hex wrench
as well. I was able to drill a few out larger near .070" and use a small star headed
screw driver.

Not Ideal, If had to do it over again, I would have went with 8-32 set screws in the
idle air bleed's. Thats the only orifice that would approach that size.

Your comments make me wonder .... what orifices change with carburetor size???
Other than the venturis ? I'm going on memory tonight, but I think the IAB's were
.078 inches for my 750 Speed Demon carburetor.

Some variation is to be expected based on engine differences .....
camshaft parameters, bore, stroke ...etc.

If I had gone with the 8-32 in the air bleeds (IAB & HSAB), then I would have had a
much better chance at recovery from my mistakes in the ONE IAB where I messed up.

 
Strictly Attitude said:
Love this thread by the way may not always post but
always reading.

Appreciate that John, keeps me motivated. Sometimes I wonder if someone is
listening, but Grumpy told me lots of people are reading and not always posting.
Makes sense, I do the very same thing sometimes.

Thanks Again!!! :!:

 
Indycars said:
Your comments make me wonder .... what orifices change with carburetor size???
Other than the venturis ? I'm going on memory tonight, but I think the IAB's were
.078 inches for my 750 Speed Demon carburetor.

Some variation is to be expected based on engine differences .....
camshaft parameters, bore, stroke ...etc.

If I had gone with the 8-32 in the air bleeds (IAB & HSAB), then I would have had a
much better chance at recovery from my mistakes in the ONE IAB where I messed up.

The HSAB and IFR change slightly based on carb size. https://www.demoncarbs.com/Tech/SpecCharts.asp

If memory serves me correctly, the main problems I had with my setup were:

- rich tip in off idle.
- Transition circuit shut off too soon.
- Mains did not come online soon enough.
- A not so flat main fuel curve from too much emulsion.

Now keep in mind, carbs are a bit of science and witchcraft. I found that using other folks experiences as a guide is very helpful but just because someone who has a similar build as you do drills out their IFR to .035"and found nirvana dosen't mean the same will work for you. Make one change at a time and log the results. These things are balanced, meaning if you make one change, you will probably need to make a change in another area of the carb. It's tedious but you will learn a lot about carburetion.


-
 
bytor said:
Indycars said:
Your comments make me wonder .... what orifices change with carburetor size???
Other than the venturis ? I'm going on memory tonight, but I think the IAB's were
.078 inches for my 750 Speed Demon carburetor.

Some variation is to be expected based on engine differences .....
camshaft parameters, bore, stroke ...etc.

If I had gone with the 8-32 in the air bleeds (IAB & HSAB), then I would have had a
much better chance at recovery from my mistakes in the ONE IAB where I messed up.

The HSAB and IFR change slightly based on carb size. https://www.demoncarbs.com/Tech/SpecCharts.asp

If memory serves me correctly, the main problems I had with my setup were:

- rich tip in off idle.
- Transition circuit shut off too soon.
- Mains did not come online soon enough.
- A not so flat main fuel curve from too much emulsion.

Now keep in mind, carbs are a bit of science and witchcraft. I found that using other folks experiences as a guide is very helpful but just because someone who has a similar build as you do drills out their IFR to .035"and found nirvana dosen't mean the same will work for you. Make one change at a time and log the results. These things are balanced, meaning if you make one change, you will probably need to make a change in another area of the carb. It's tedious but you will learn a lot about carburetion.


-

Id also point out that "some guys found nirvana" if they could just keep the damn thing running consistently, and they have almost no concept of what a correctly tuned setup will feel like! I can remember dozens of instances where guys brought cars to my shop and at times the had complaints like a leaking exhaust or they admitted they needed the fuel system reworked, and Id check the basics and find it was so far out of tune it was ludicrous,, and absurd, I had one guy with dual edelbrock 600cfm quads complain that he kept fouling plugs, remember those metering rods that fit thru the jets
edel2.jpg

edel3.jpg

edel4.jpg

70222843_large.jpg

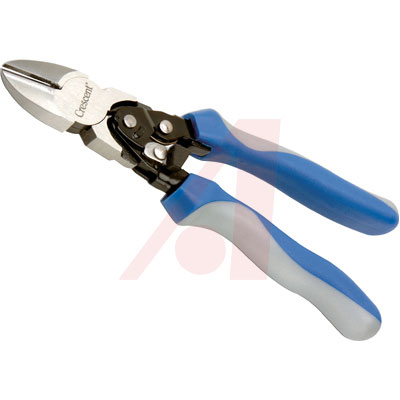
well he could not get the metering rods to re-seat thru the jets so he took dikes and sniped off the small tapered ends, of the metering rods......then wondered why the carbs tended to foul plugs...
 
Back
Top