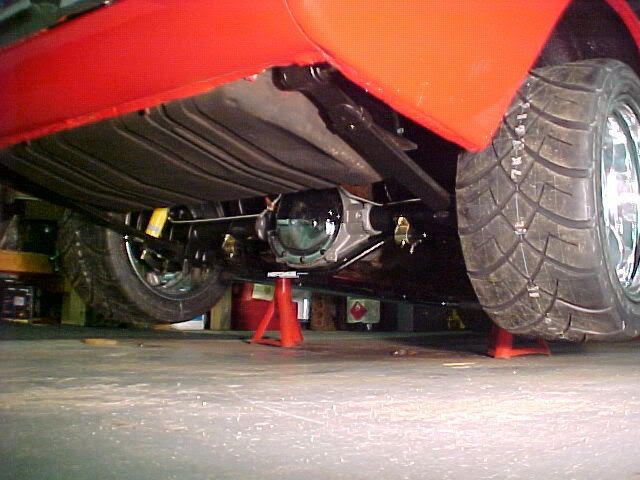
"The 14 Car" Performance therapy project

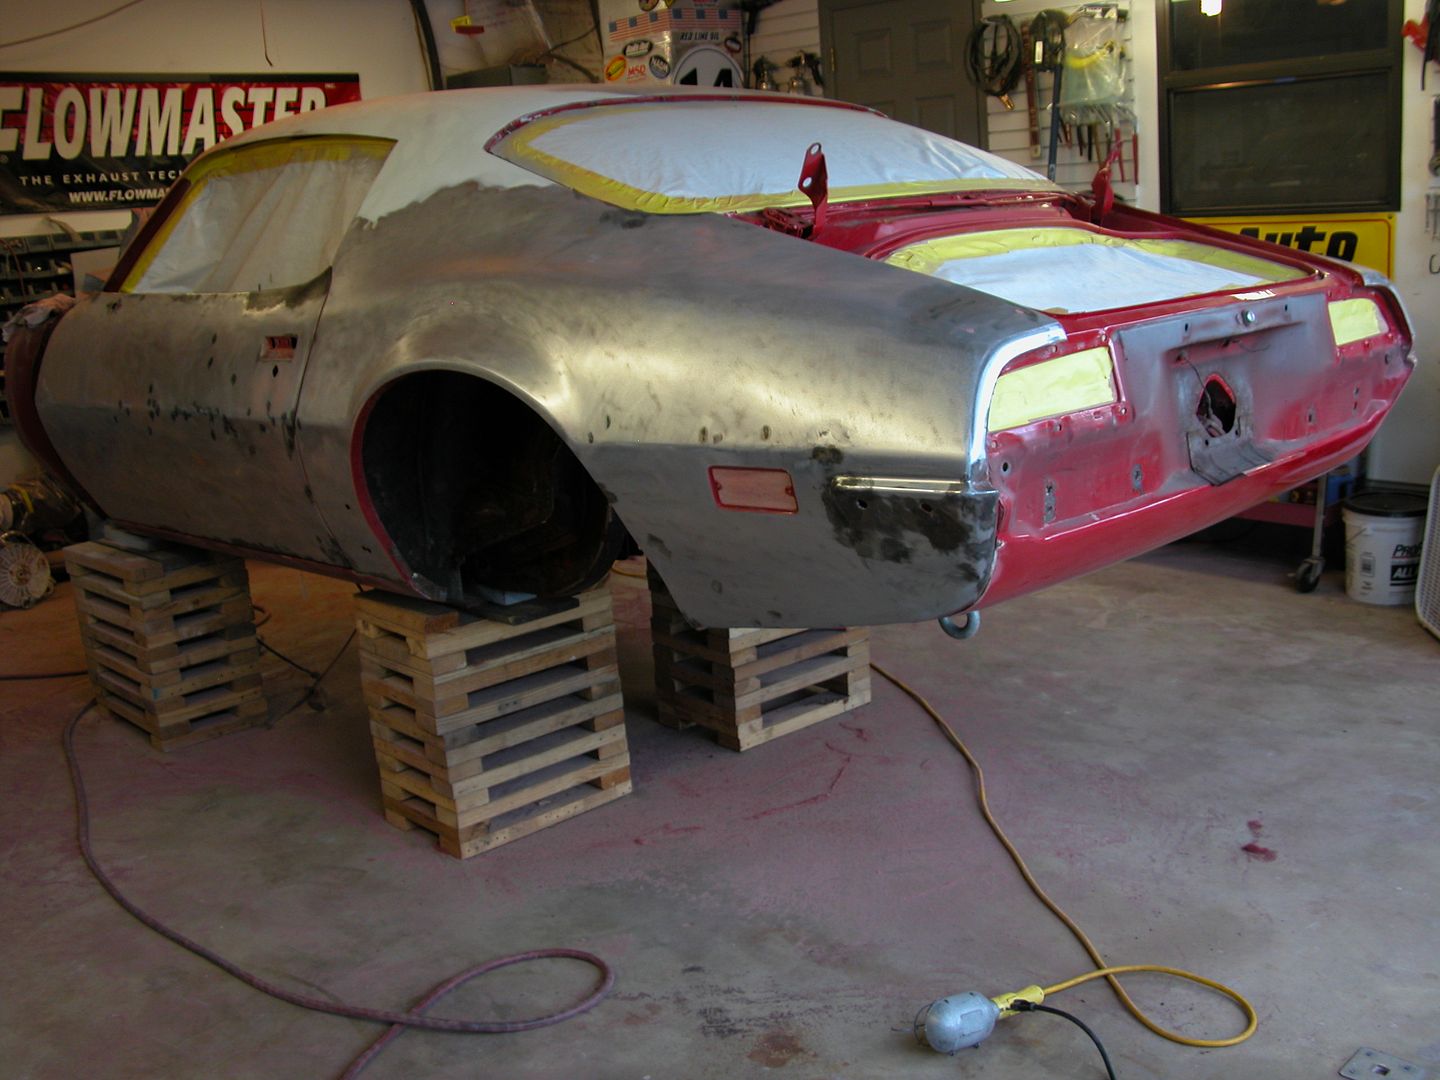
When it comes to projects, scope creep is inevitable. We start out thinking "I'll just do this and this" and before ya know it you've gone waaay beyond what you planned. In my case I had the front end off and drive line out with new body panels needing paint that would never match the 20+ year old paint from when I first did the car. And since I'm gonna put solid body mounts in to replace the polys I installed years ago anyway......... I figured, Just get it over with and do the whole damn car!

 
Till this point I've been slowly plodding along on this build. Trying to build my car while building cars for others has gotten tougher & tougher. So I made a deal with my buddy Jeff to help me do the bodywork in exchange for an 84 454 3/4 ton Suburban. Jeff's a very experienced bodyman/painter with almost 40 years experience doing everything from production collision work to restorations on high end exotics. Should help me get through this project quicker than doing it all alone.

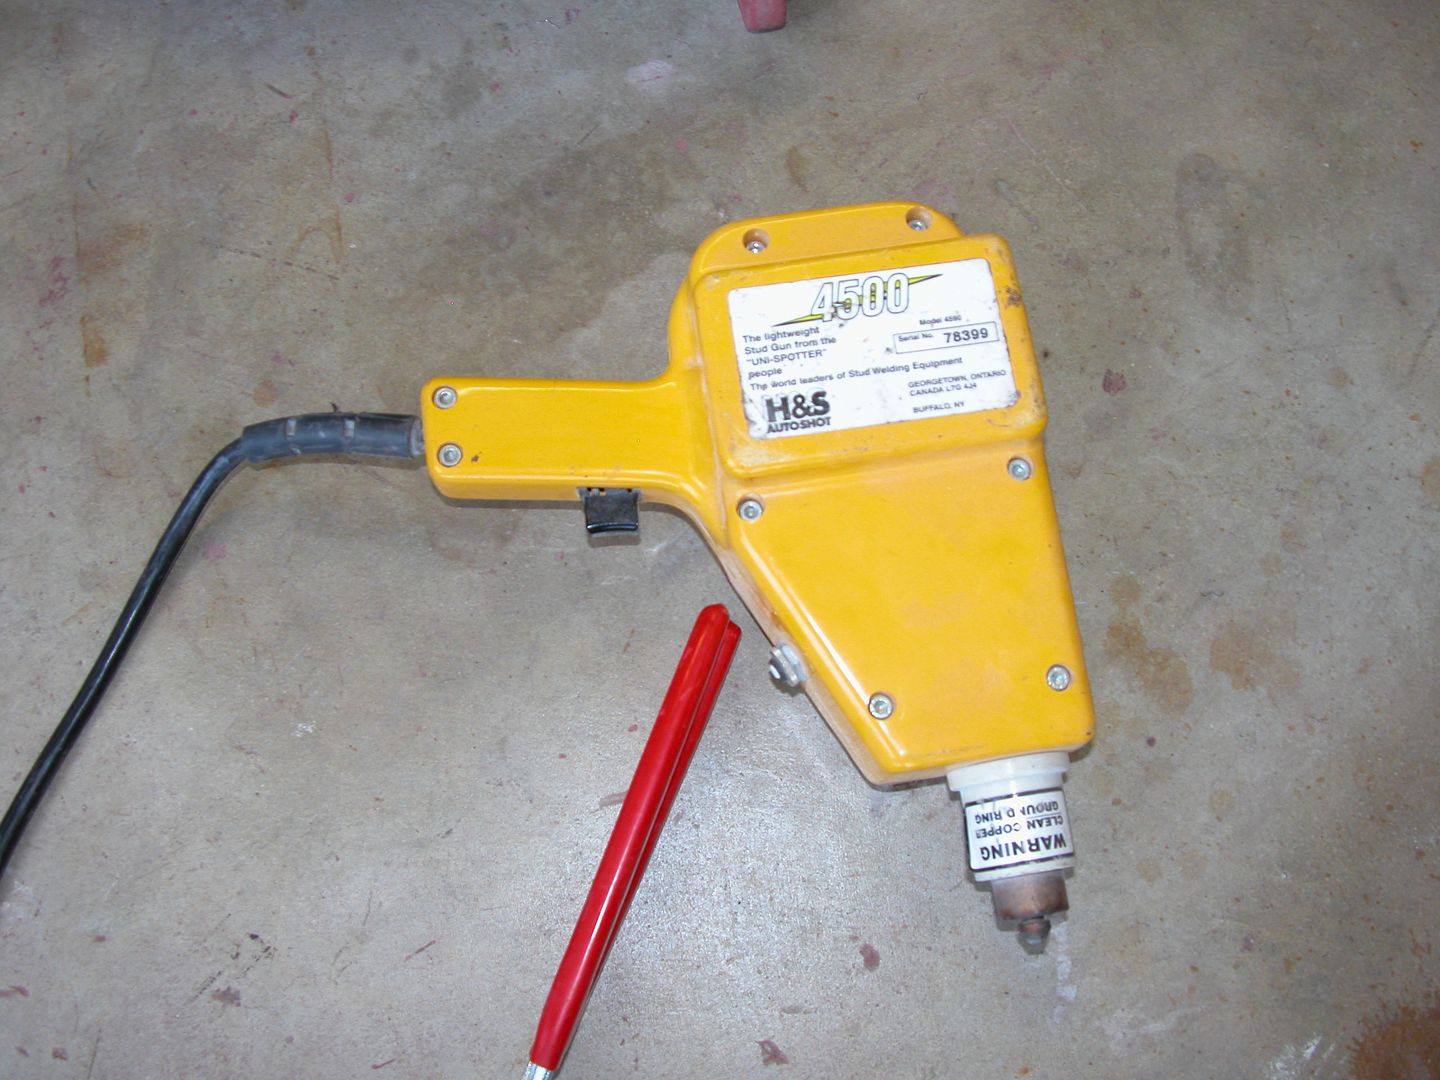
While stripping the body for new paint ( I didn't strip to metal the first time 20 years ago) we found a couple previous repairs. Among them was a dent that was filled with bondo instead of pulling it out. The dent was in a spot where you can't get to the inside of the sheet metal and whoever did the work must not have had access to a stud gun. So for those who never saw one or saw one used here's how it works.

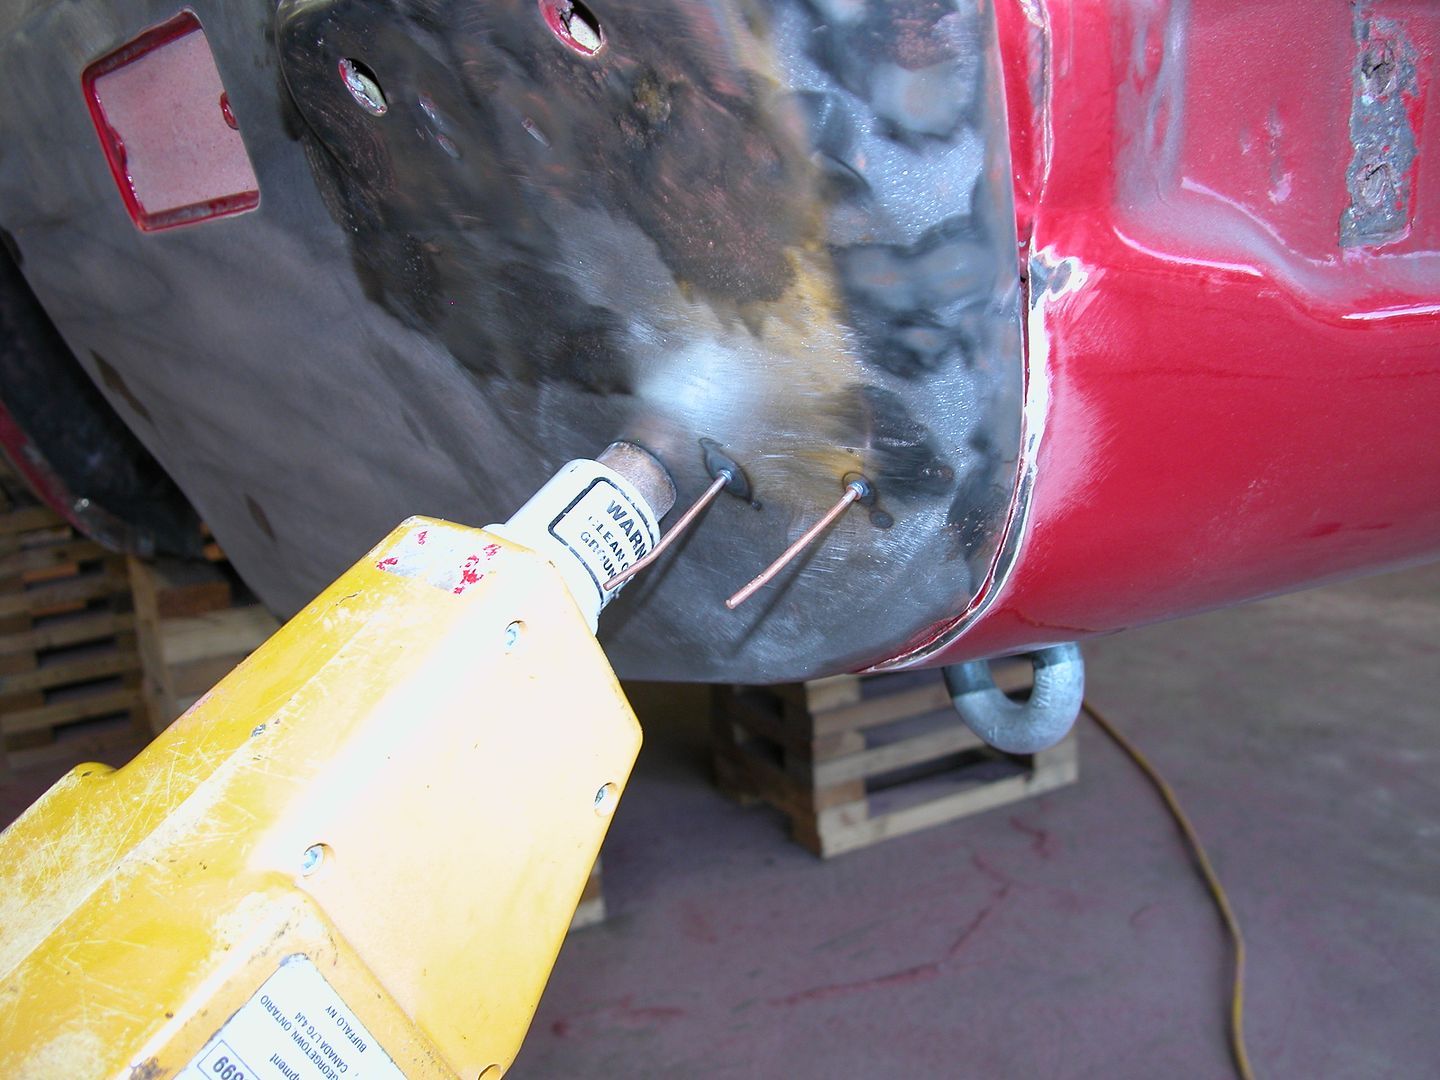
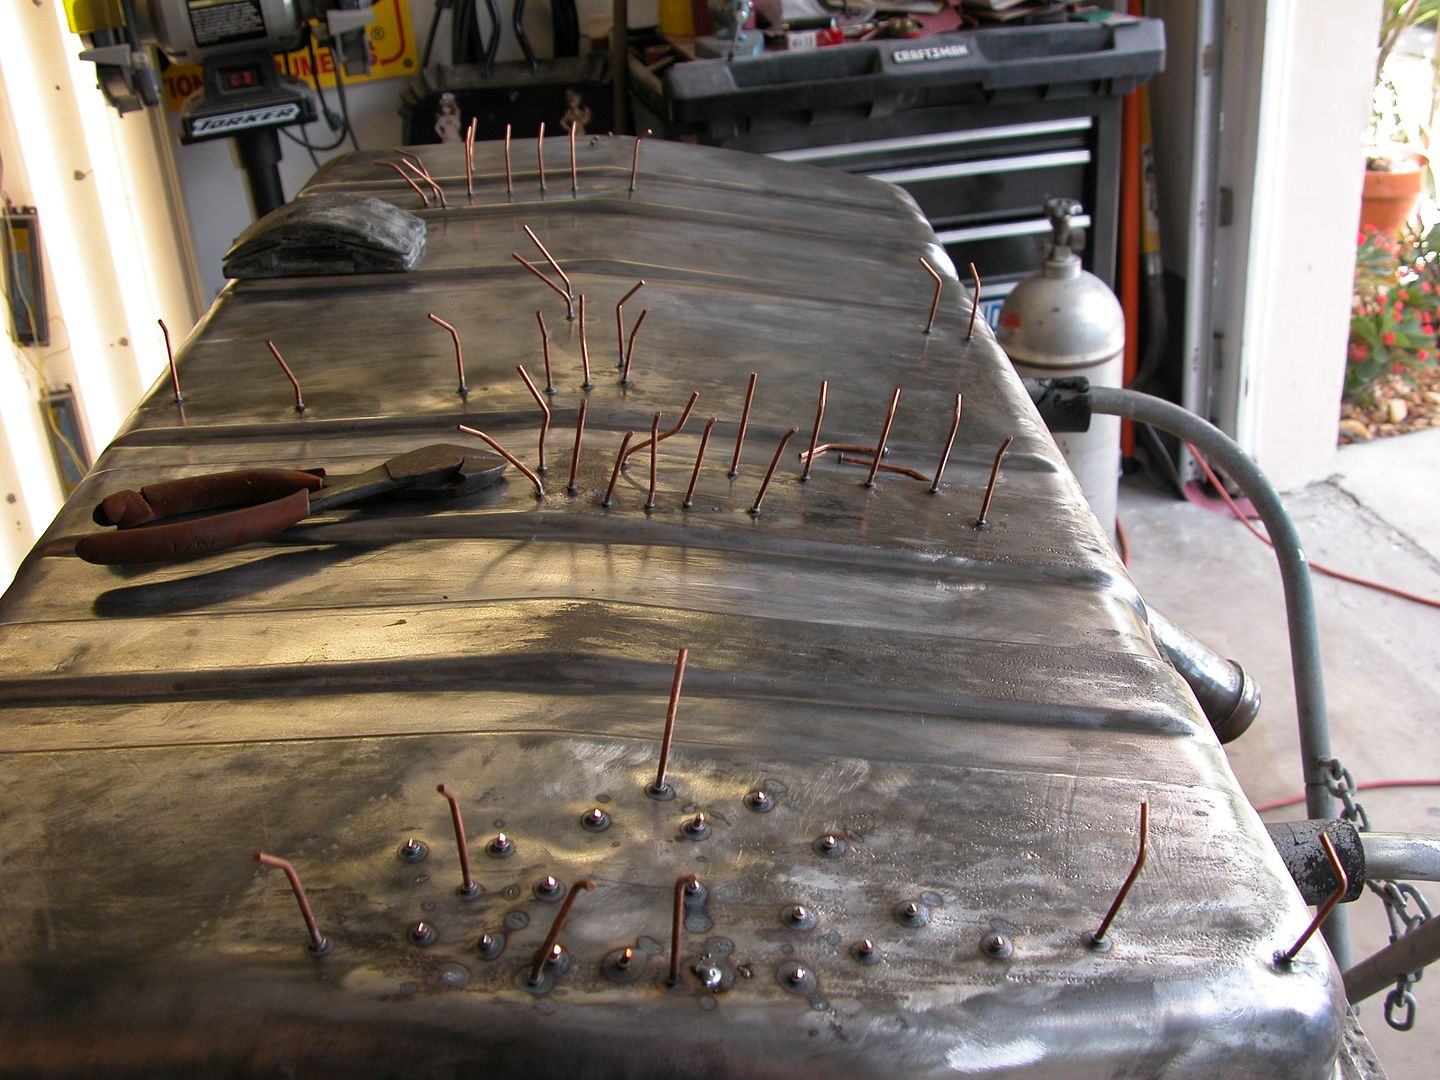
This is a stud gun which is sort of a 110V spot welder that attaches a stud to the body. The stud is loaded into the gun, pressed to the body, pull the trigger, and the tip of the stud glows red welding itself to the body.


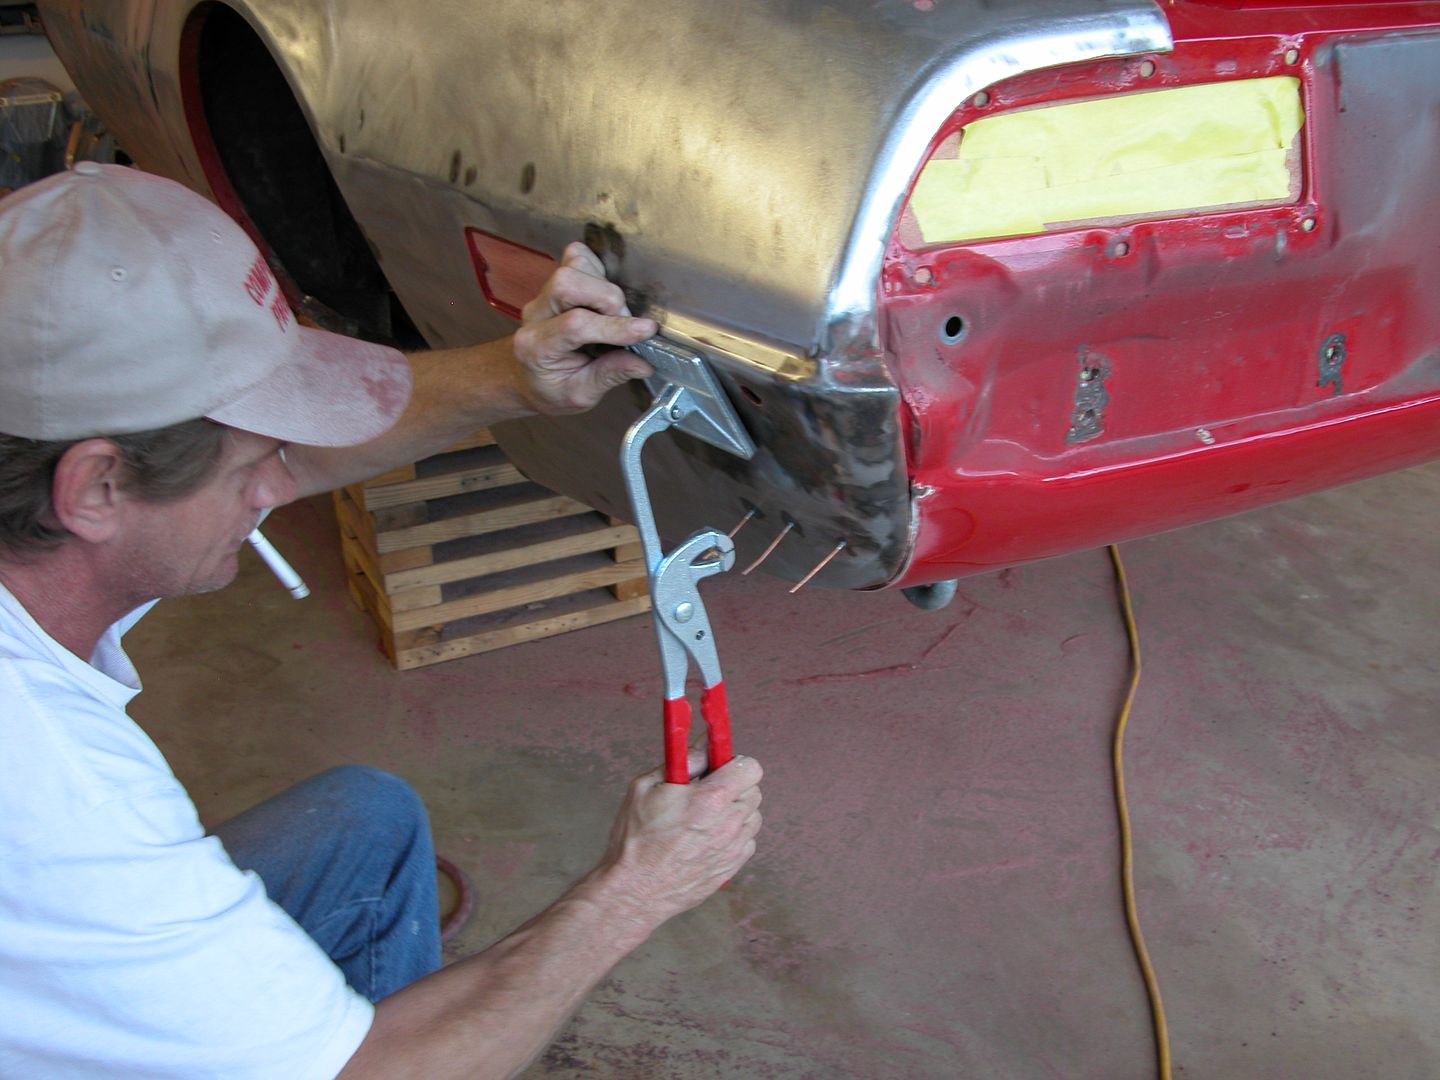
There's a couple sizes of the studs but even the small ones will burn through most modern cars because the metal is much thinner than the old cars so the guns aren't used much by collision shops any more.The studs shown are the larger size which work great on old cars.


Jeff shows how the tool that pulls the studs works. He's got the technique down from working on cars like mine since they were new so he was done and putting a skim coat of filler on within minutes..

 
Its Unofficial Non USC Timing Results.
Late night Highway Racing.
10 miles flat out. Straight line action.
I raced my friends 1981 Corvette with a 572ci BBC.
Dual Quad.
He passed on in 2007.
My TA is a Stick car.
No Torque converter slippage present like a non lockup automatic.
Speedo is accurate.
Its been checked.
29"tall rear tires.
8,500 RPM on Autometer Pro Comp Tach 5" with memory recall.
Had it rebuilt by Autometer in Sycamore, IL.40 miles from me.
Dropped it off & picked up in person.
Use Factory In dash tach yet.
Titanium in my engine. It will RPM.
 
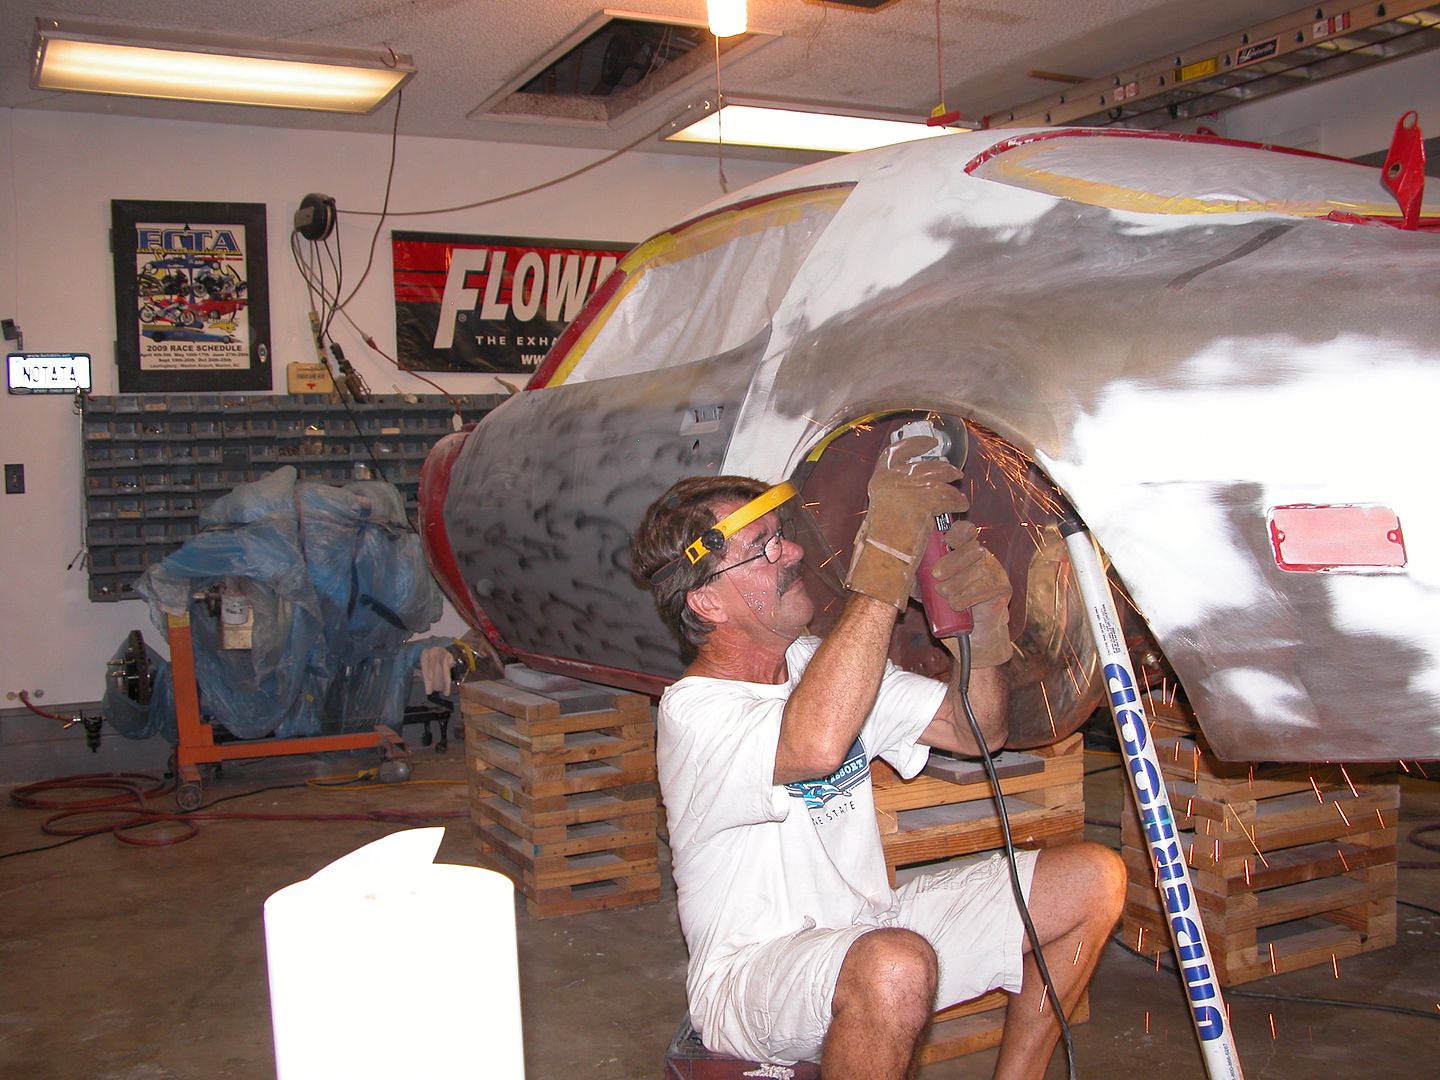
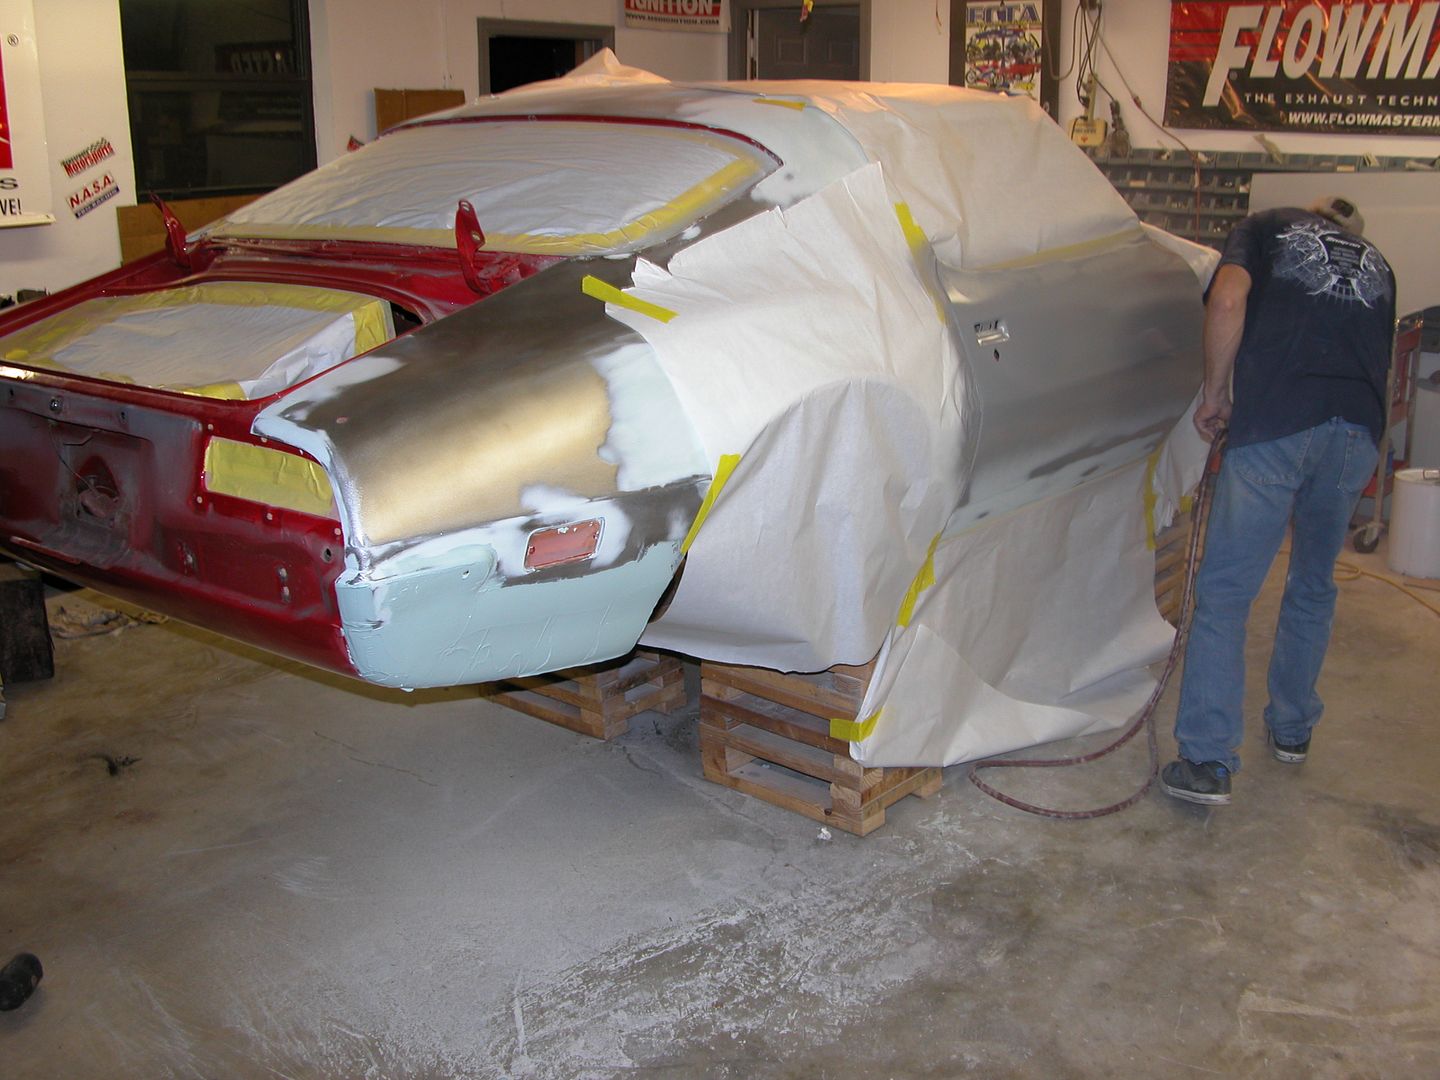
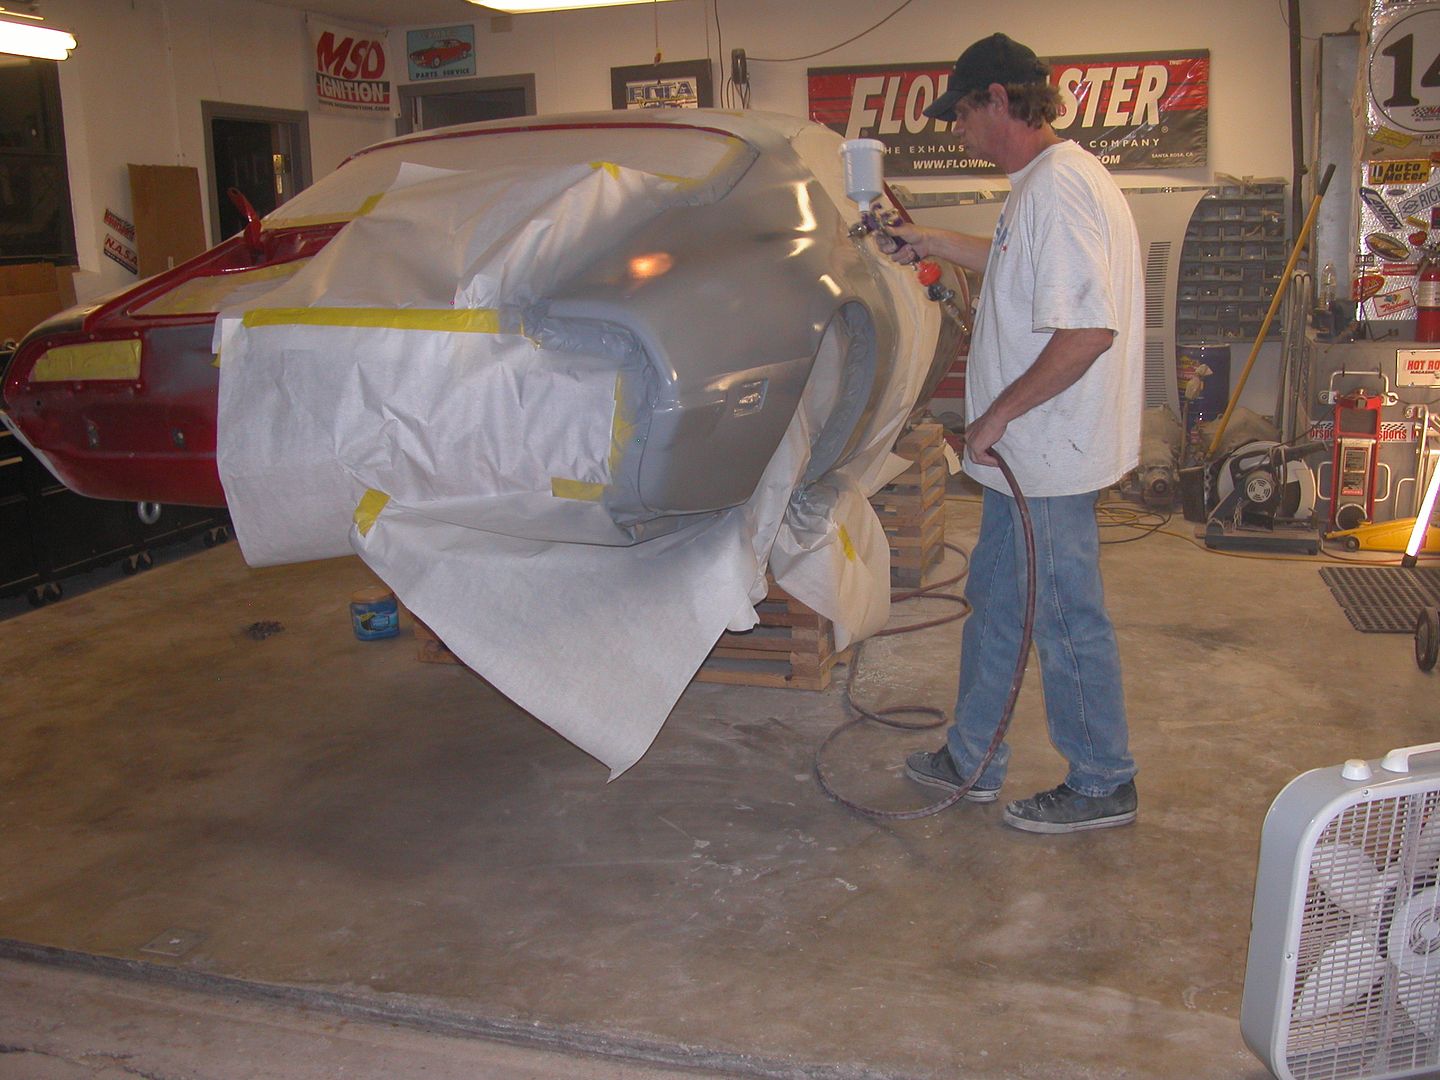
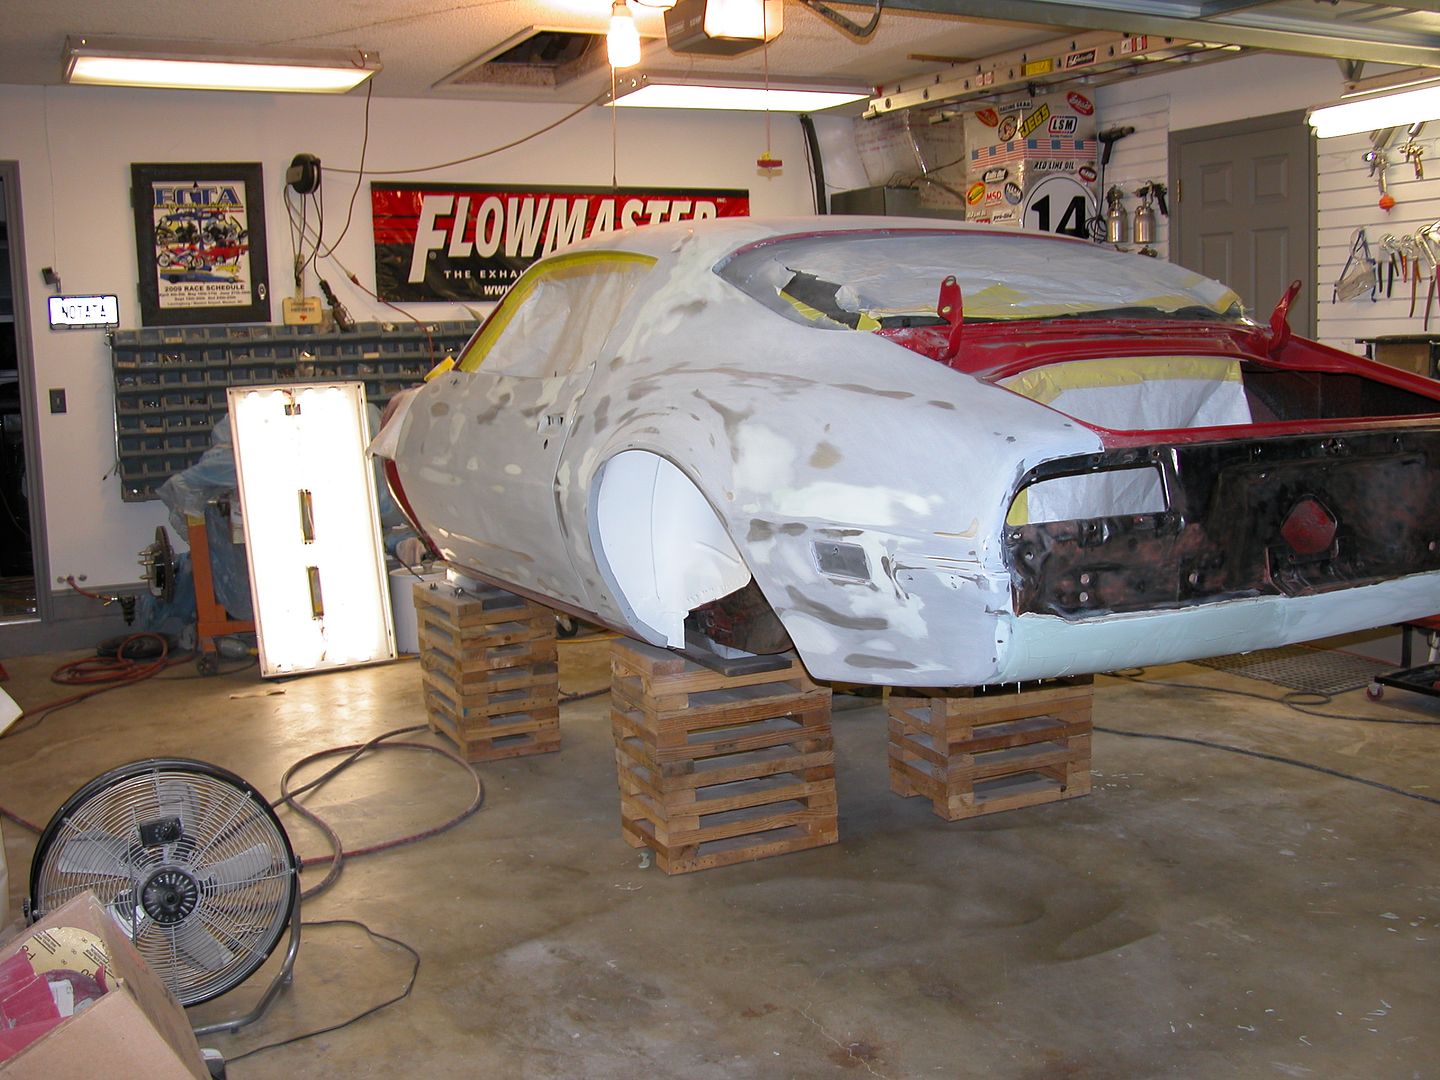
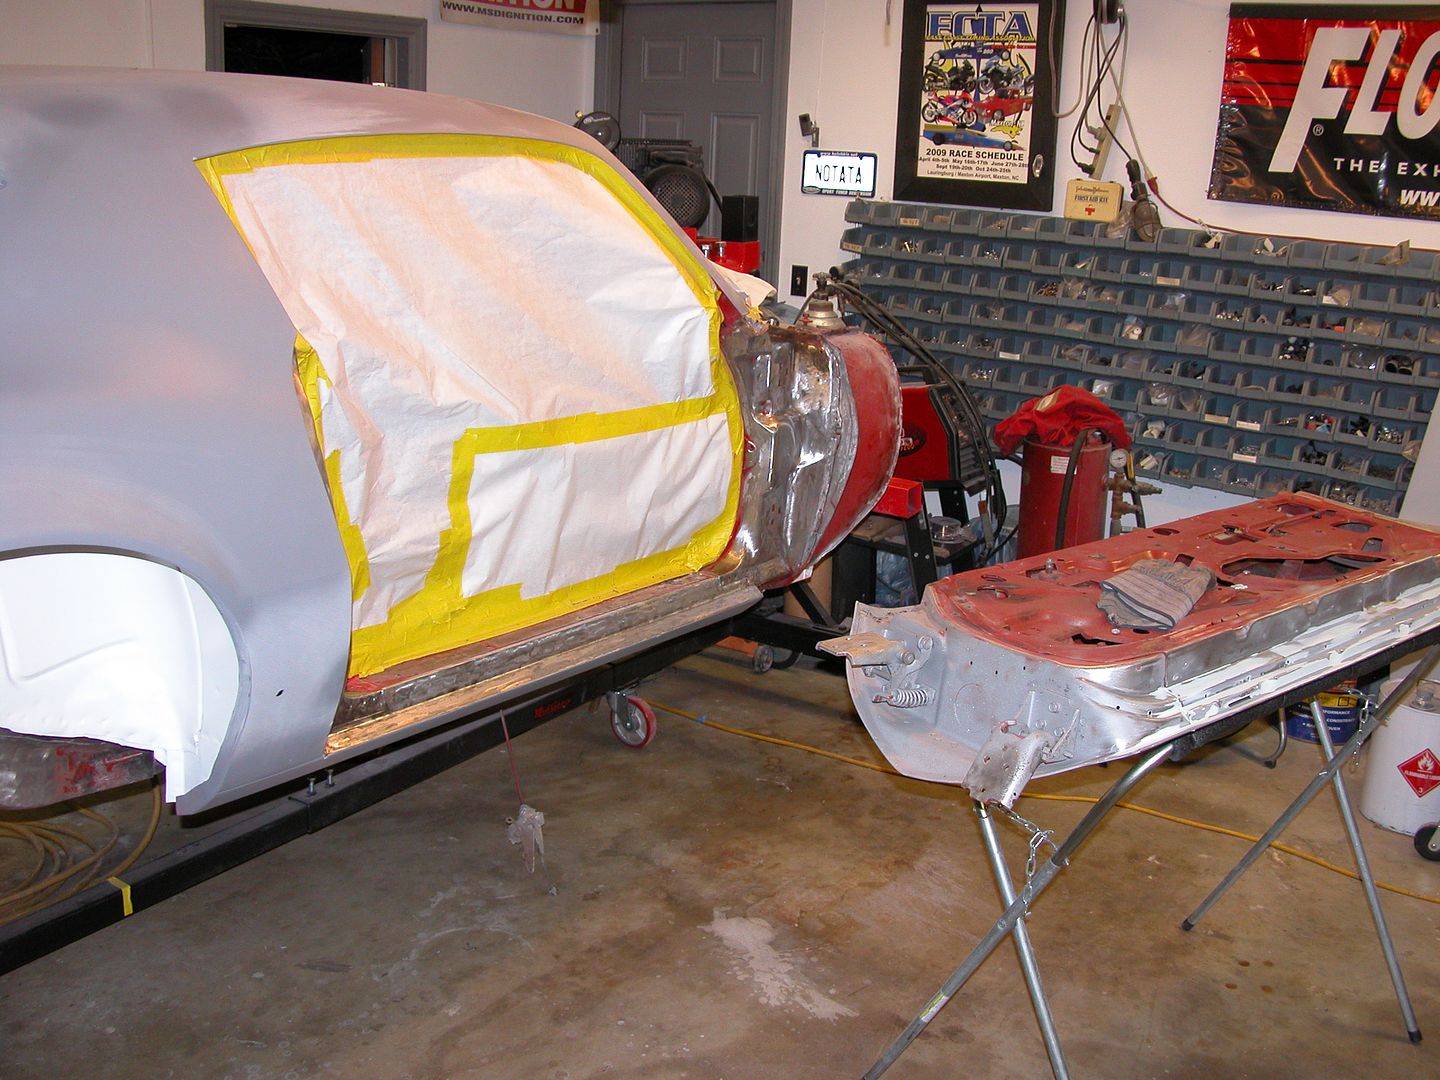
Since I've recruited Jeff to pick up and continue from where I was on the exterior bodywork I've been stripping the underside and doing other things. I never trimmed the rear wheel lips or rolled them before and since now's the best time to do it I cut them and Jeff rolled them so they're tucked out of the way. They'll be epoxied and seam sealed to keep anything out of the rolled section. Jeff's got the outside of the doors in primer and is working on making the roof & quarters straight by skim coating & blocking some areas.


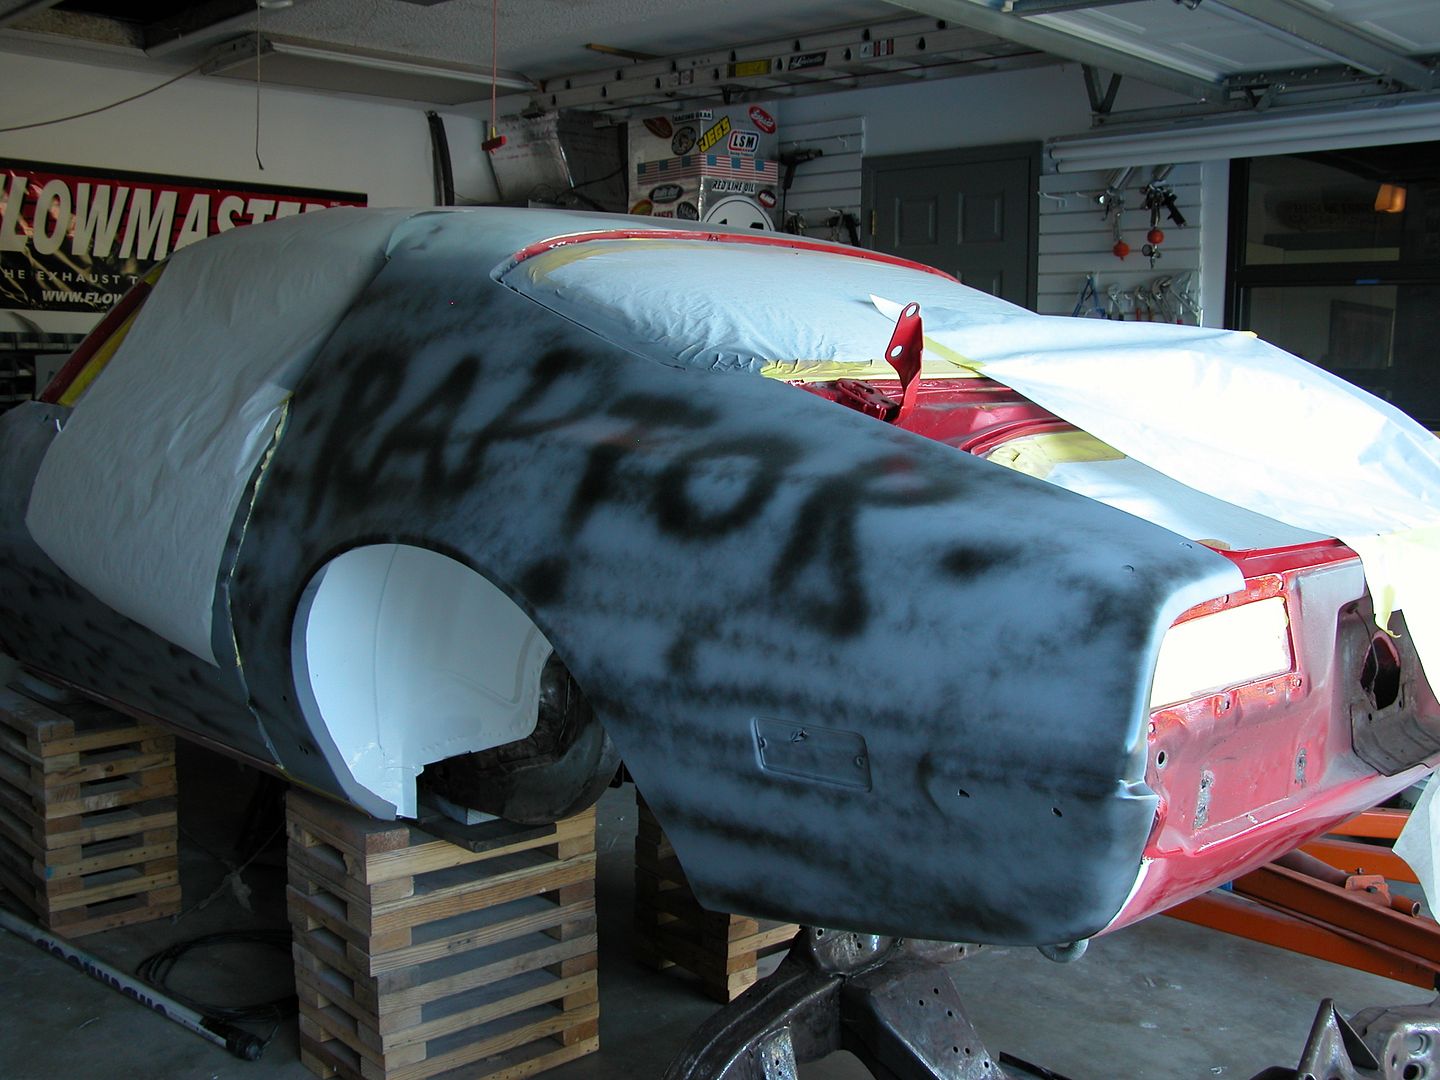
It's more humid here in South FL than most parts of the country even this time of year. So as soon as a panel is ready for primer it gets shot to prevent rust.

 
I wanted to trim and roll the wheel well lips not only to create more side clearance for wide tires but also to allow more suspensiion travel and to allow the possibility of dropping the car a little. I know I was right at the limits before hitting with the 315 tires I had before. I'll be doing the Adams mod during this project which will drop the car a small amount and I may drop it a little lower than that before I'm done. So trimming and rolling the lips now before paint is just the right time to do it.

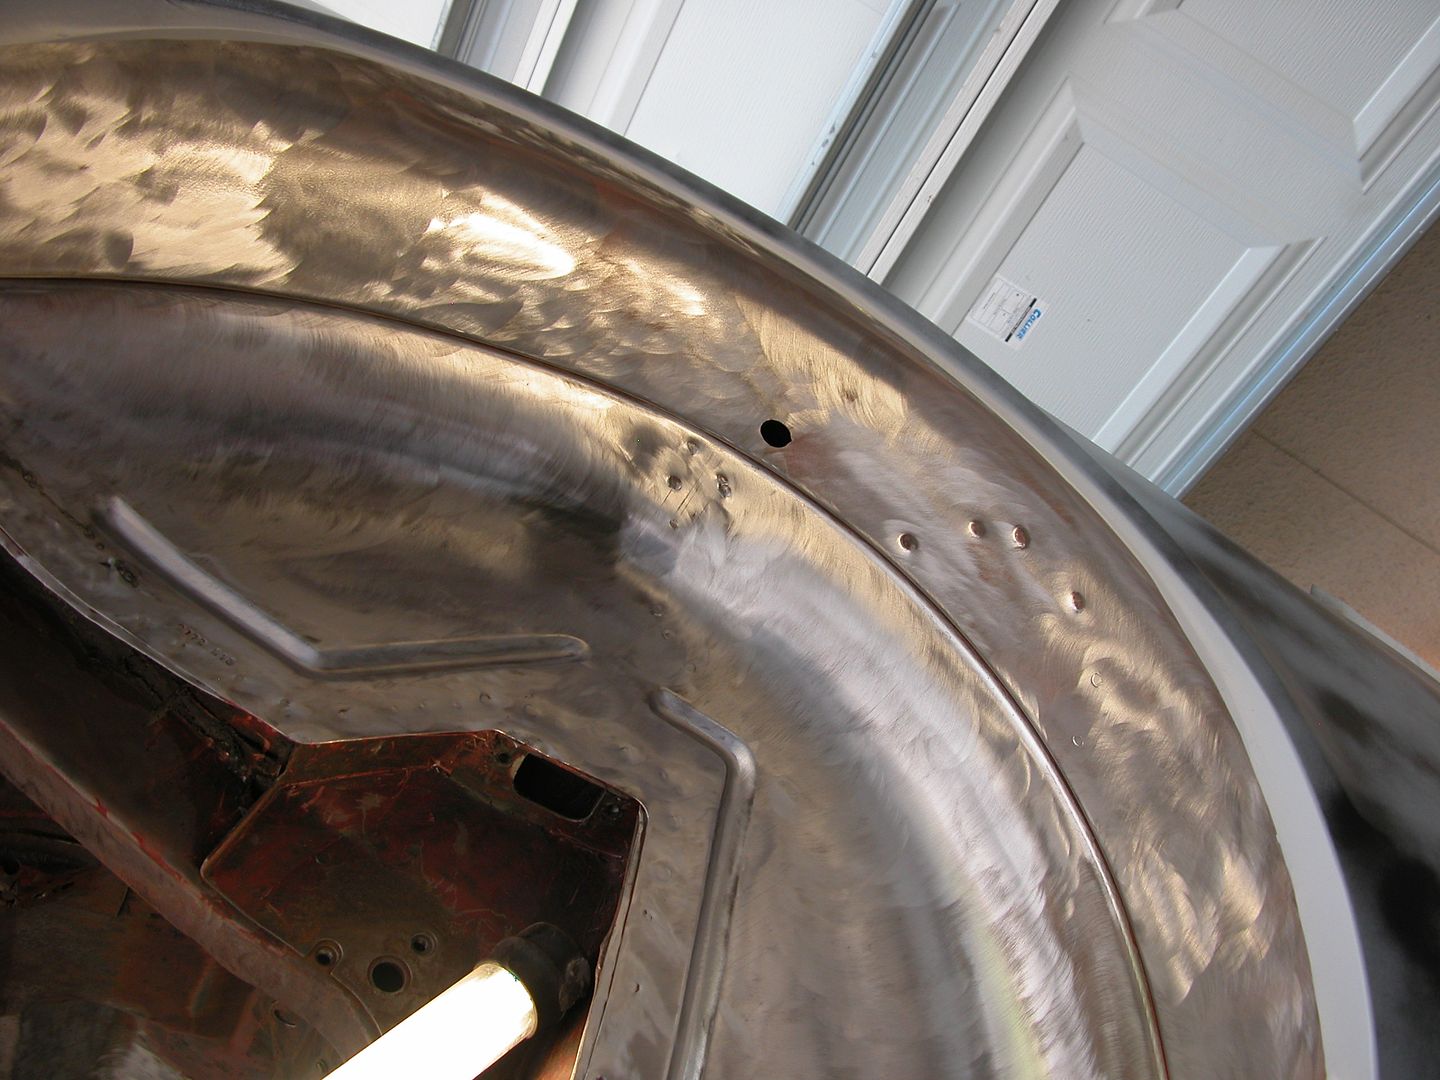
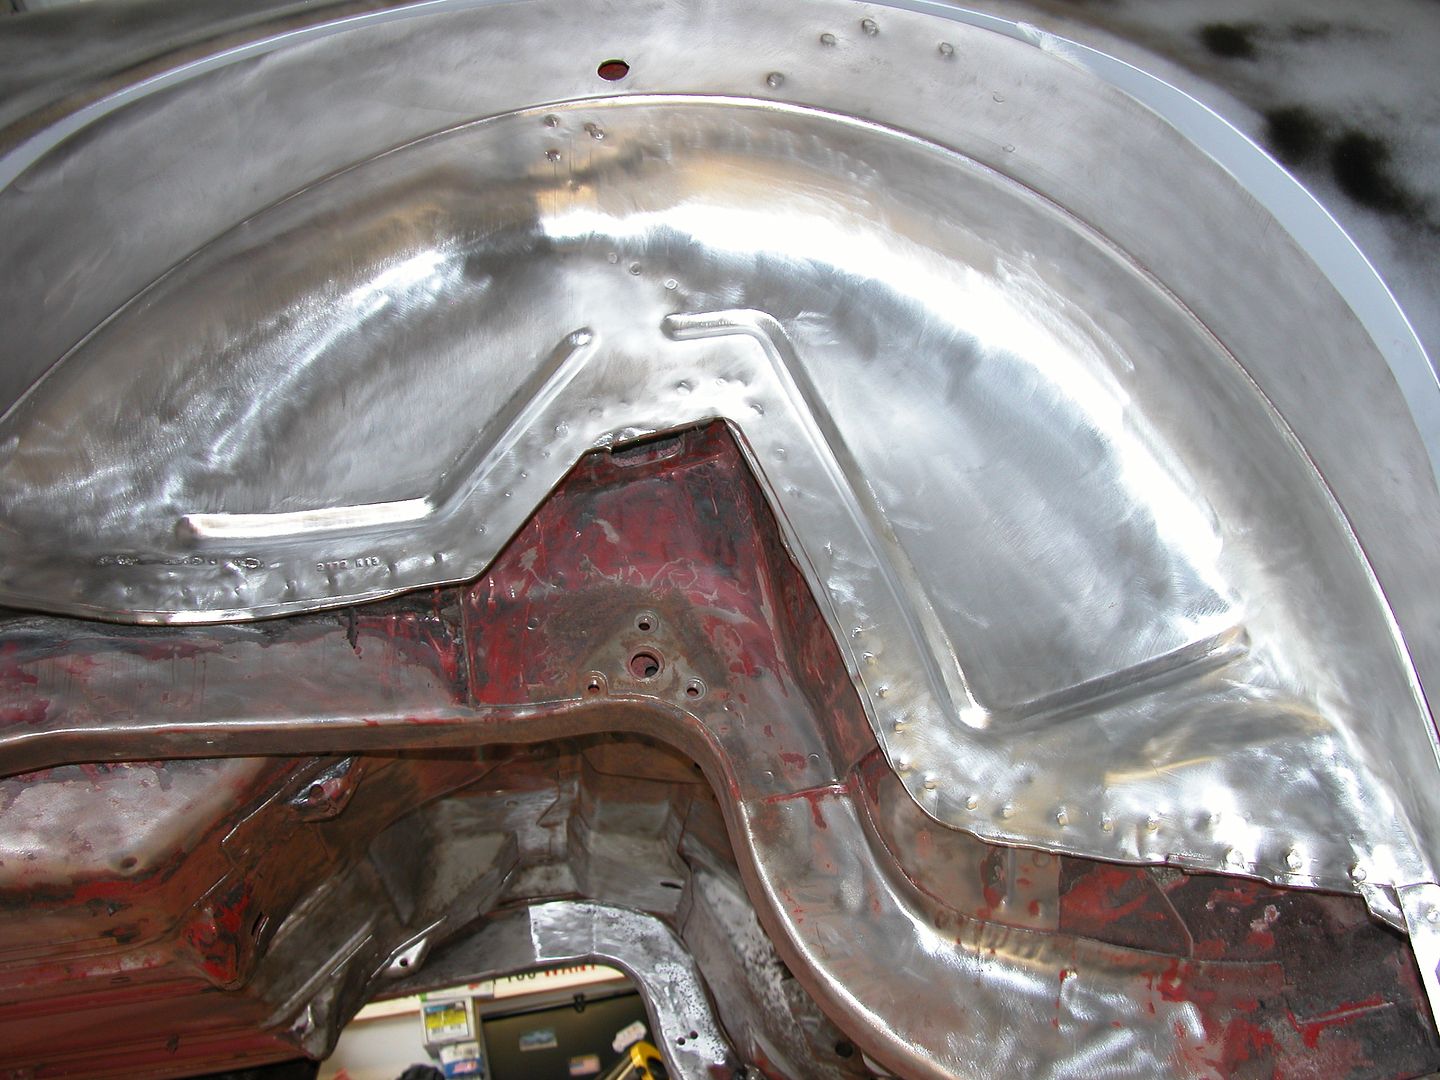
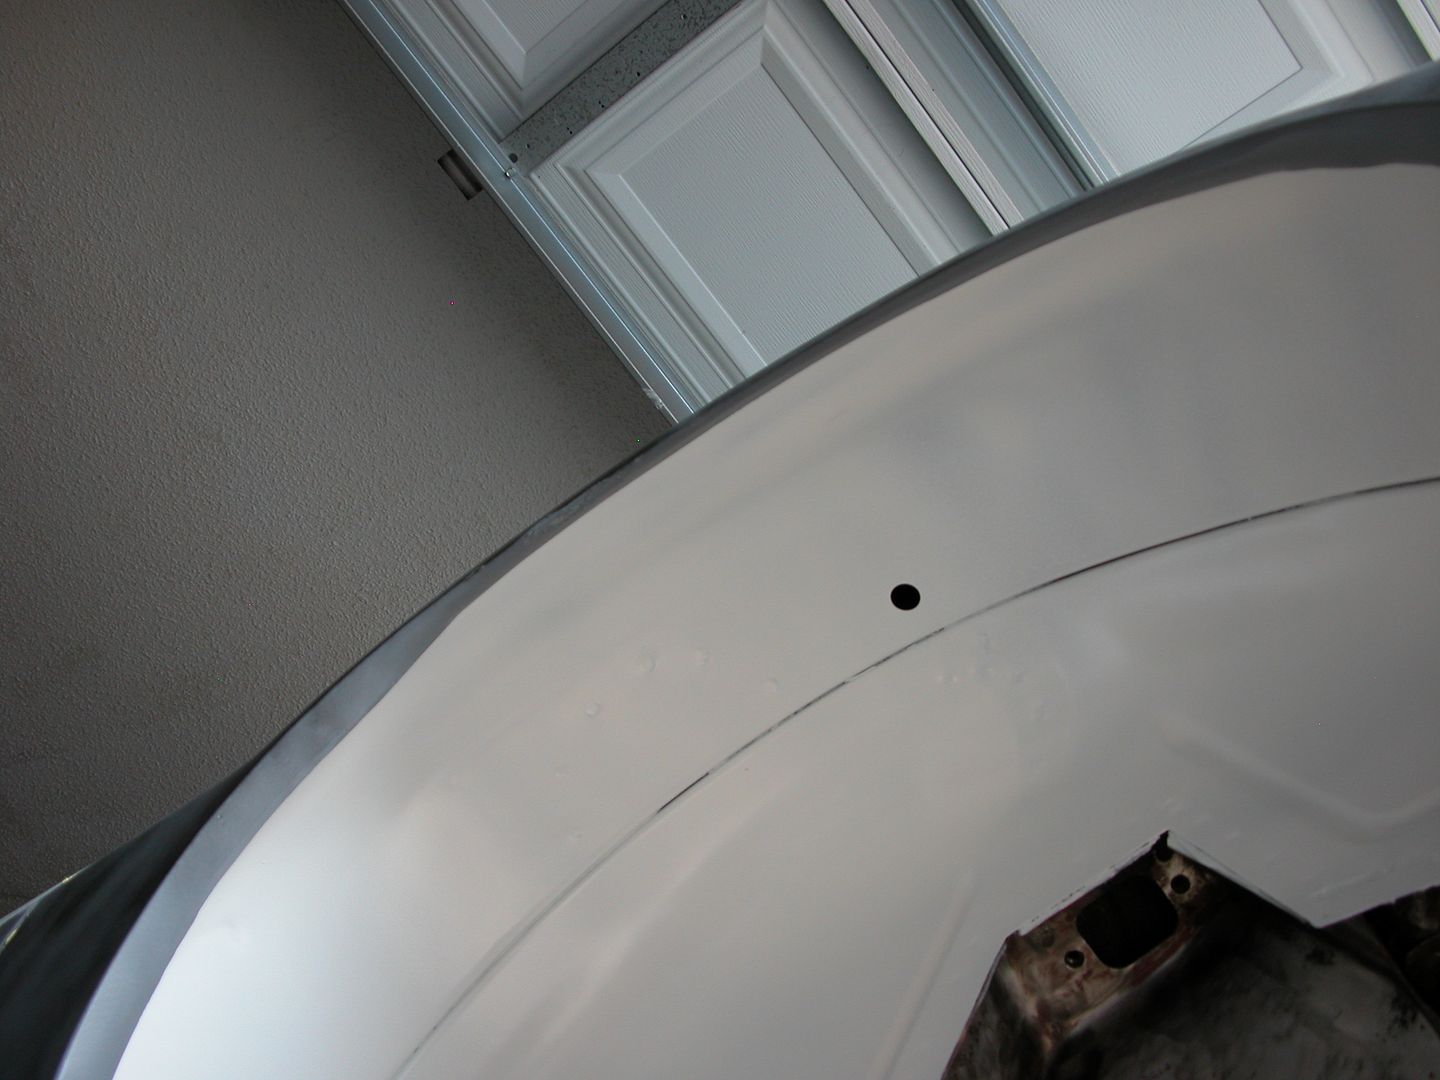
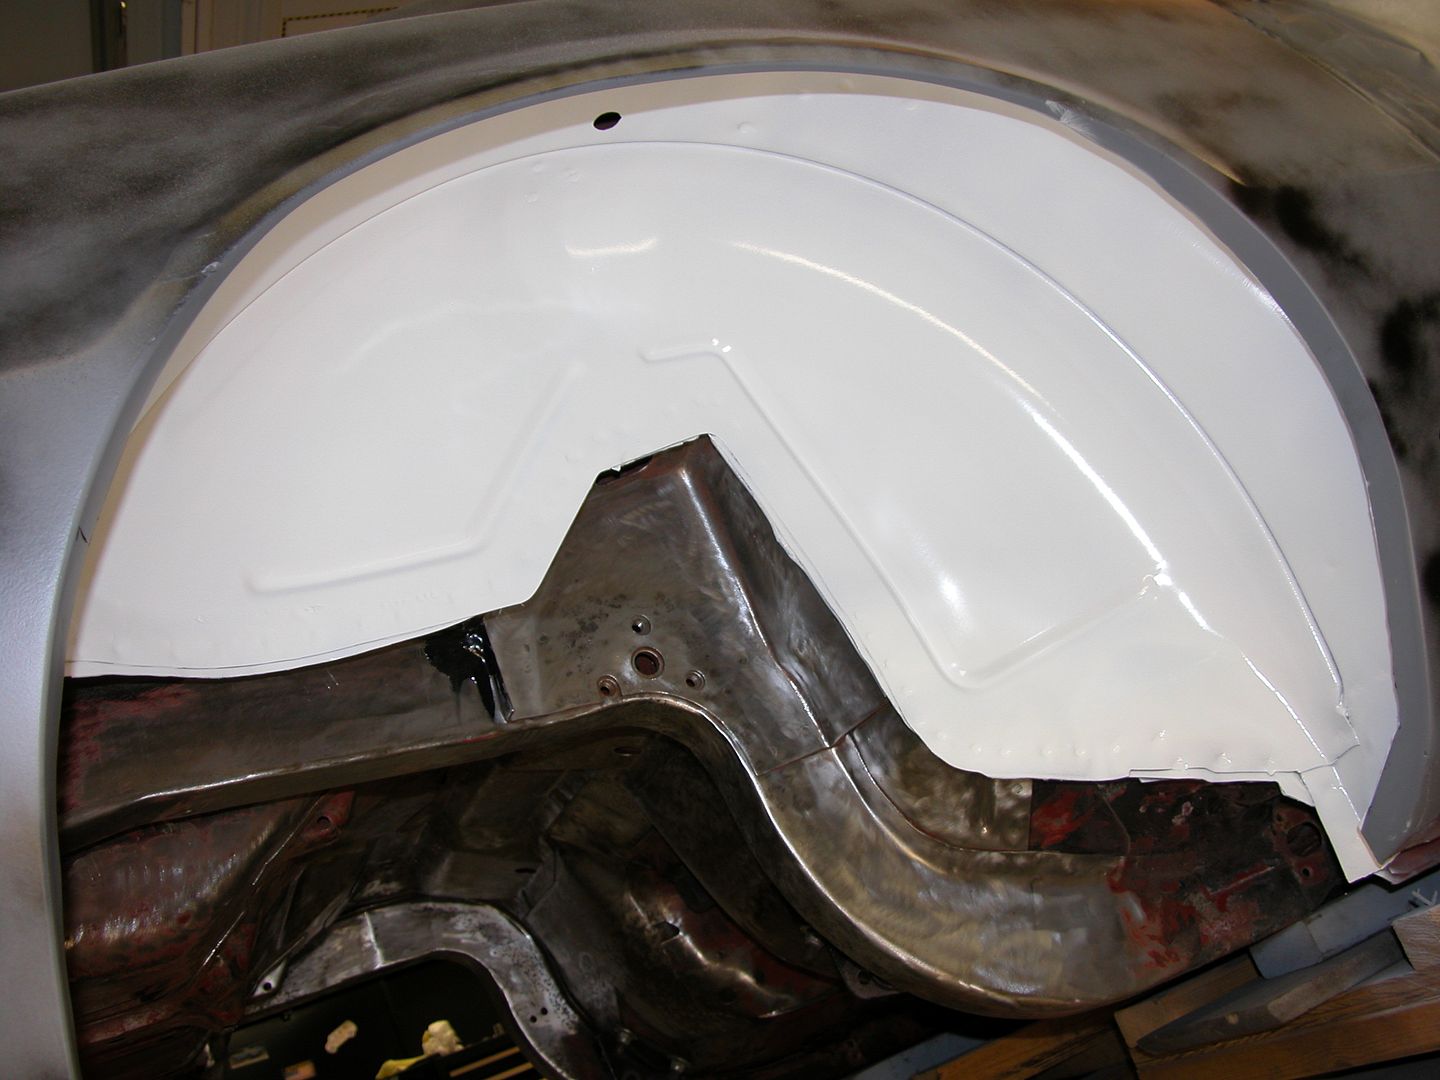
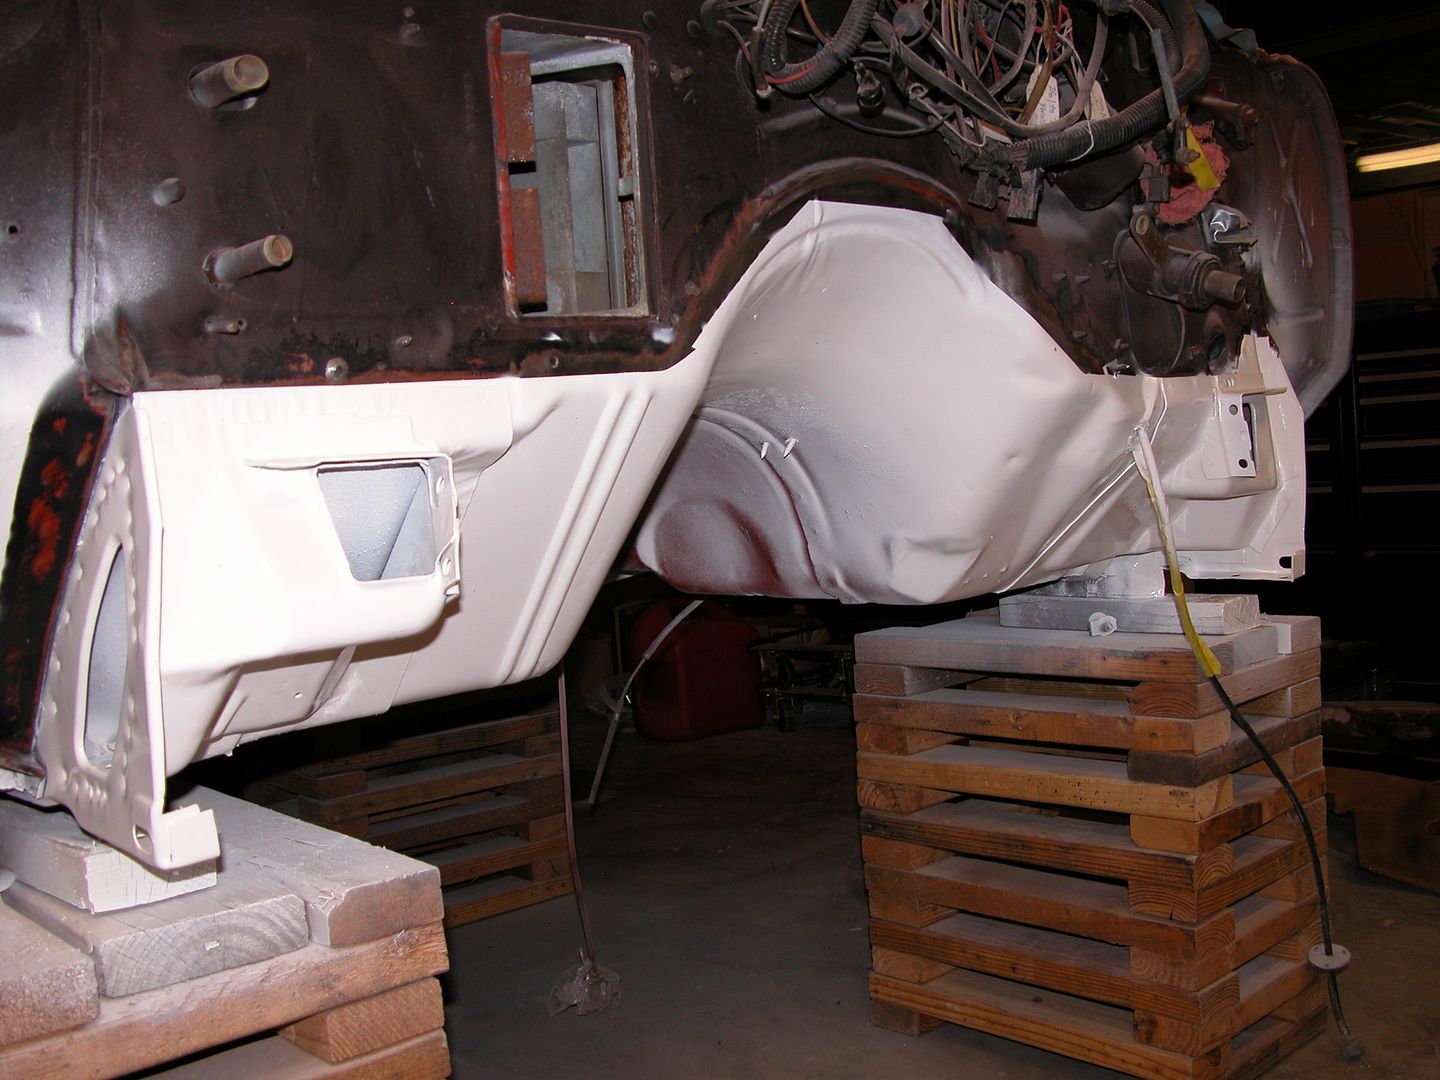
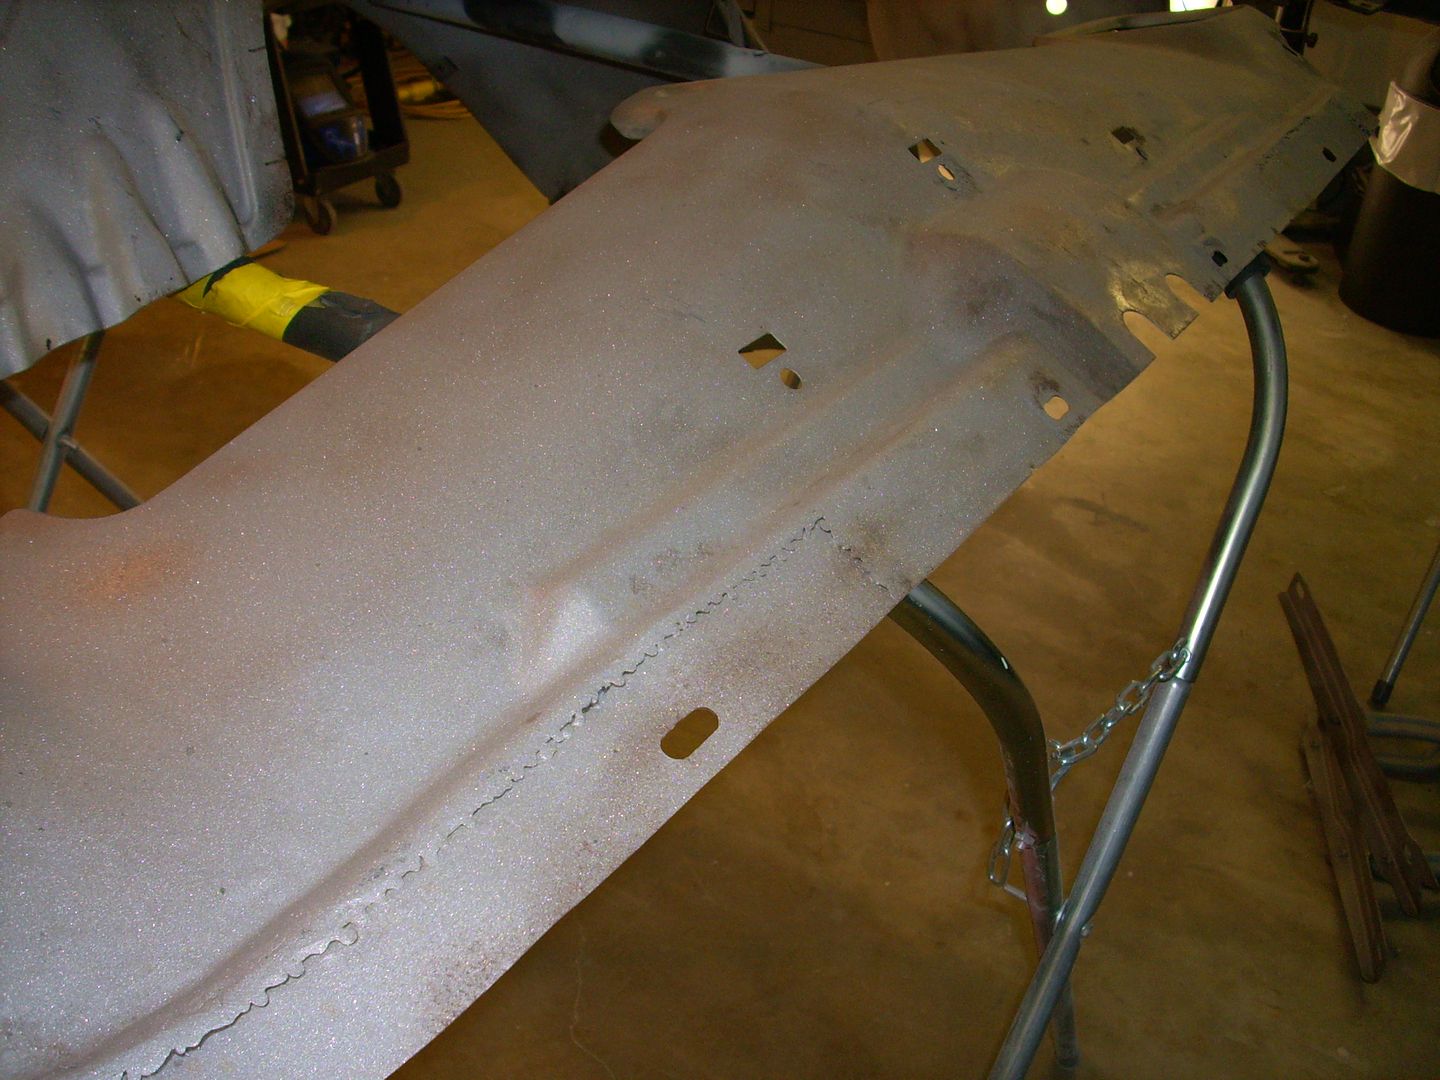
As seen in my previous post I trimmed about half of the wheel lip off in the center directly above the rear wheels and tapered off to nothing several inches above the body line. This way no one will notice when looking at the car from the sides because the wheel well lip looks stock. You can only tell if down really low looking up. Filled the gutter created by rolling the lip with panel bond to add strength and prevent debris from getting in there and holding water IF the car ever gets wet. Then I primed the wheel wells so I can move on to getting the rest of the underside stripped to bare metal without having the well sheet metal get rusty from humidity.

Here's pics of the rolled lip, shiny clean 43 year old wheelwell, and 1st coat primer.


Meanwhile Jeffs been getting the quarters in primer and now he's skimming a few places on the roof. A couple small patches were used on the passenger side quarter to fix soft spots that could have eventually become a problem years down the road and the drivers side only needed a very small repair (size of a nickel) in the corner right behind the wheel. For original 1970 quarters on a car that was originally a DD up North it doesn't get much better!


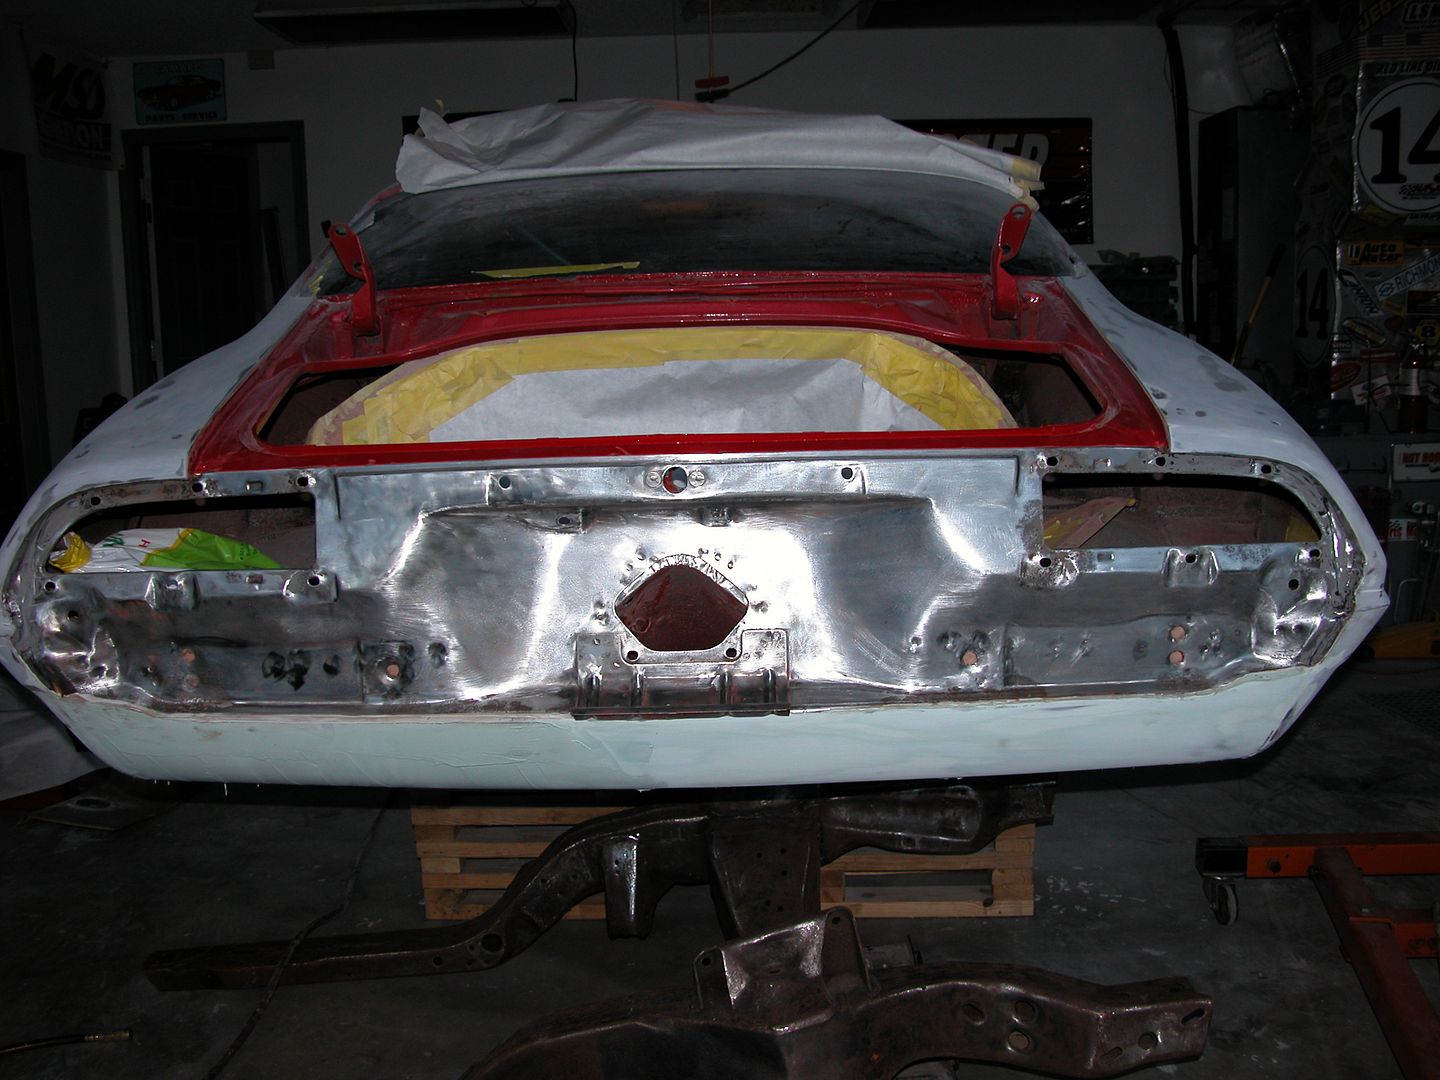
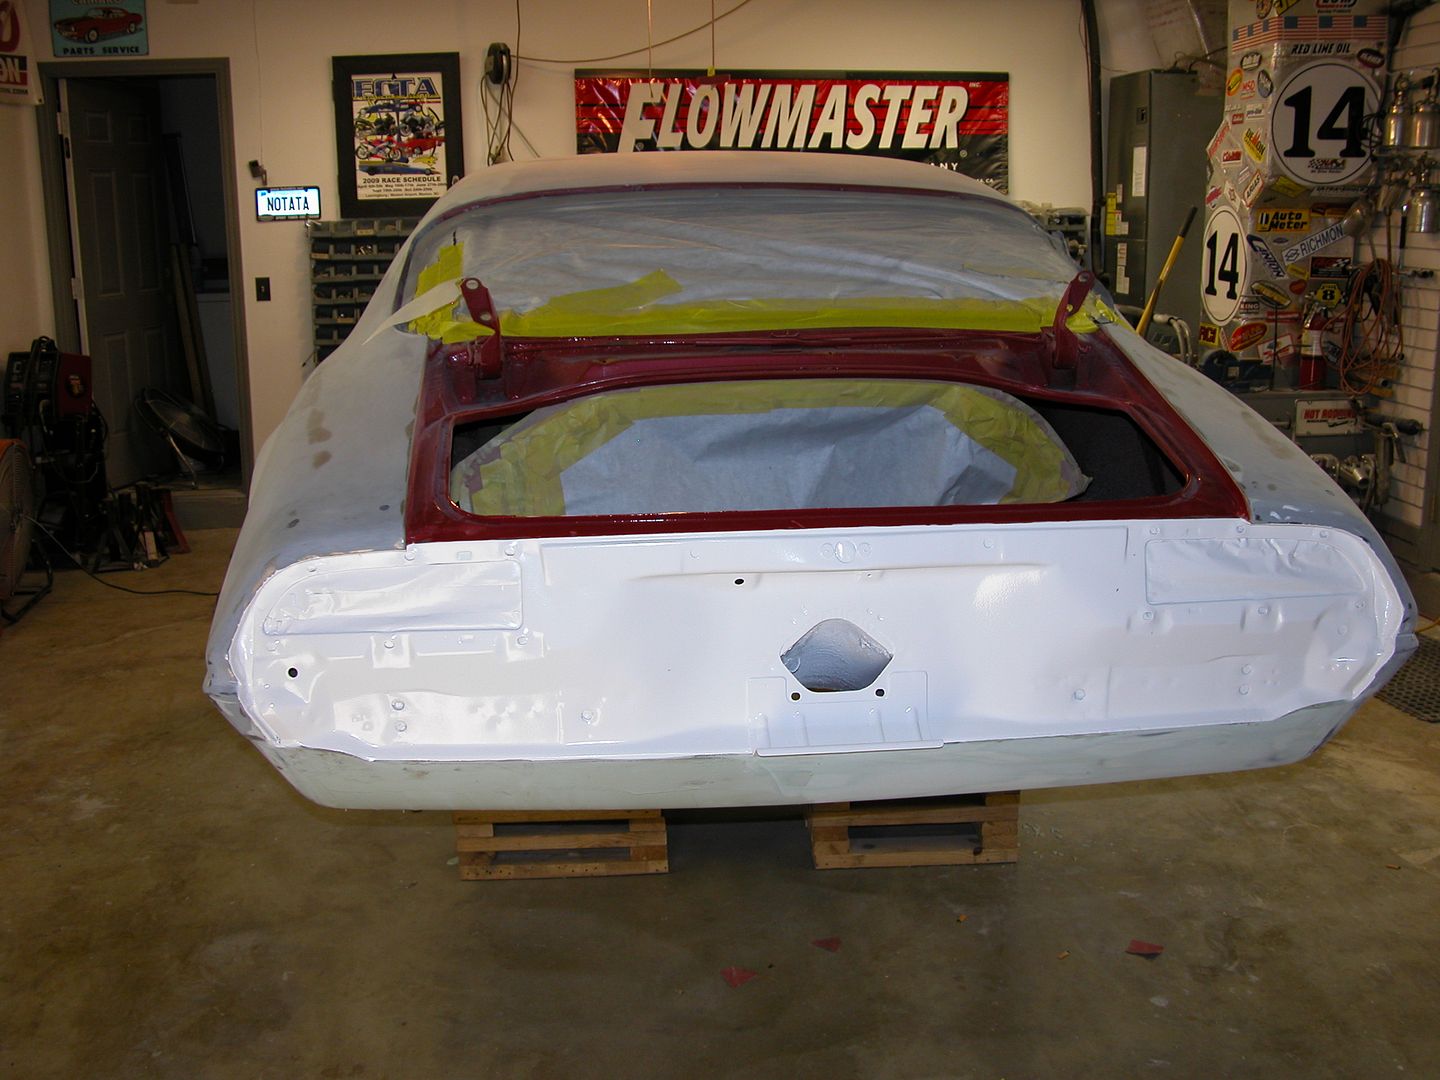
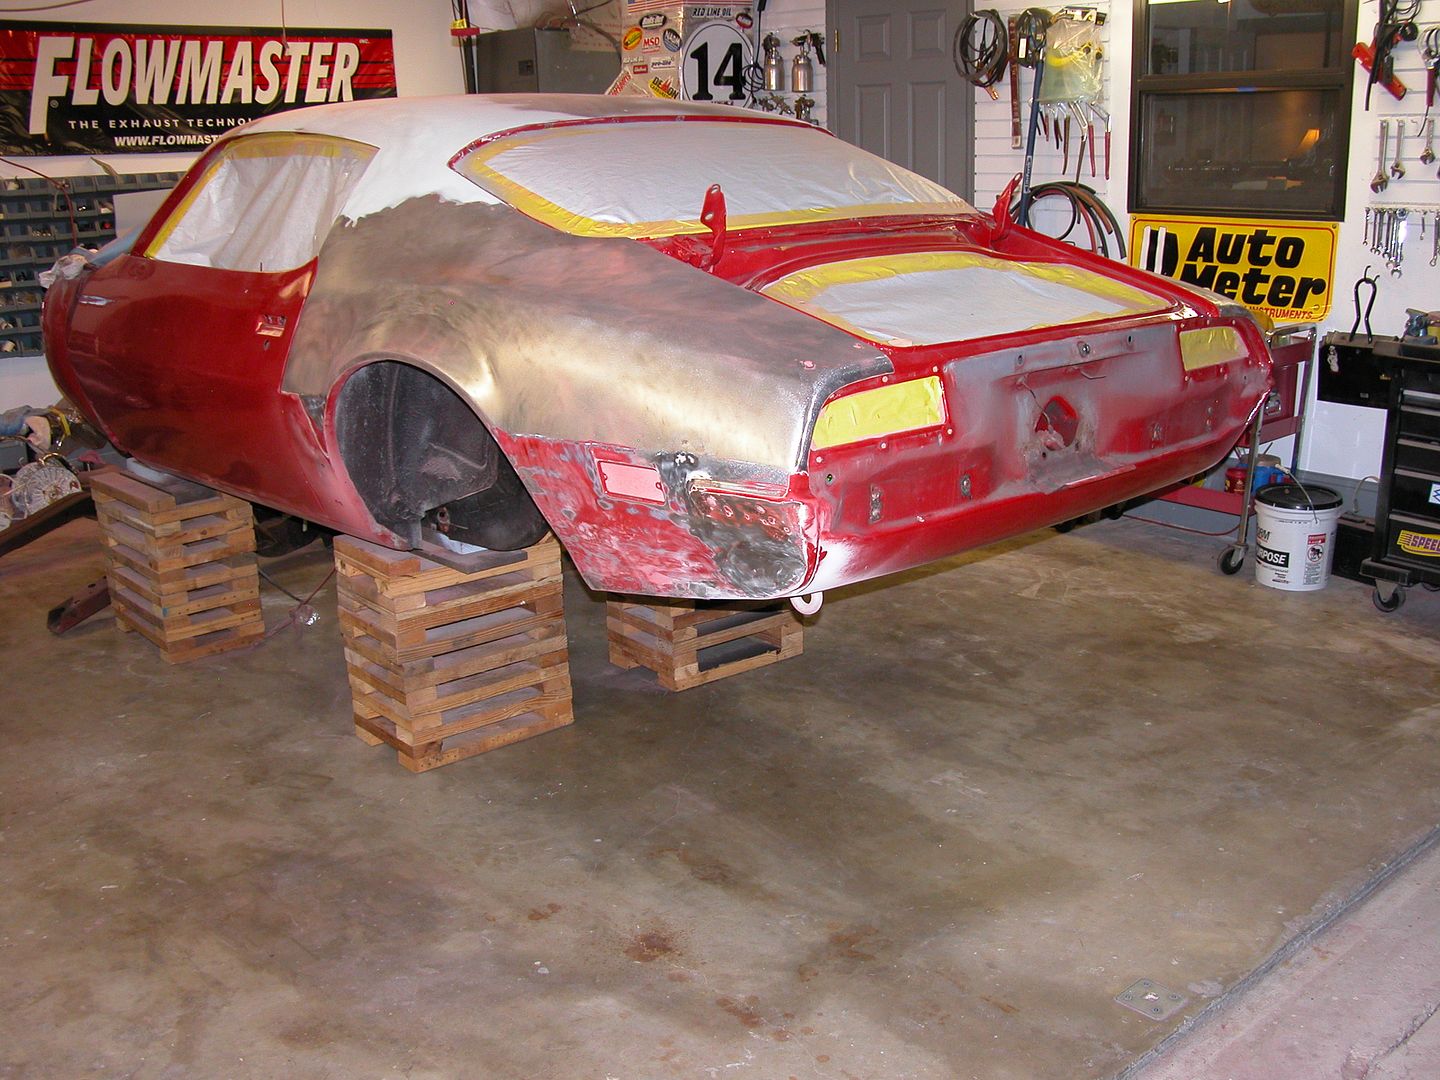
Jeff's done with getting the unibody & door exterior surfaces stripped, straightened, skimmed, etc. and is on to the prime & block stage. I'm still stripping the underneath and areas like the tail panel to shiny metal then priming. Yes, the firewall will be modified.


The body & door exterior is in primer ready for final blocking. I moved on to stripping the trunk channel area and found an old rust repair the PO had done with fiberglass at the base of the rear window (never leaked) which will require removing the window to repair with metal. I'm having a glass guy who showed up at a couple jobs I've been on come by & pop it out then return for install when I'm ready. Not too expensive and I don't want to risk the piece.

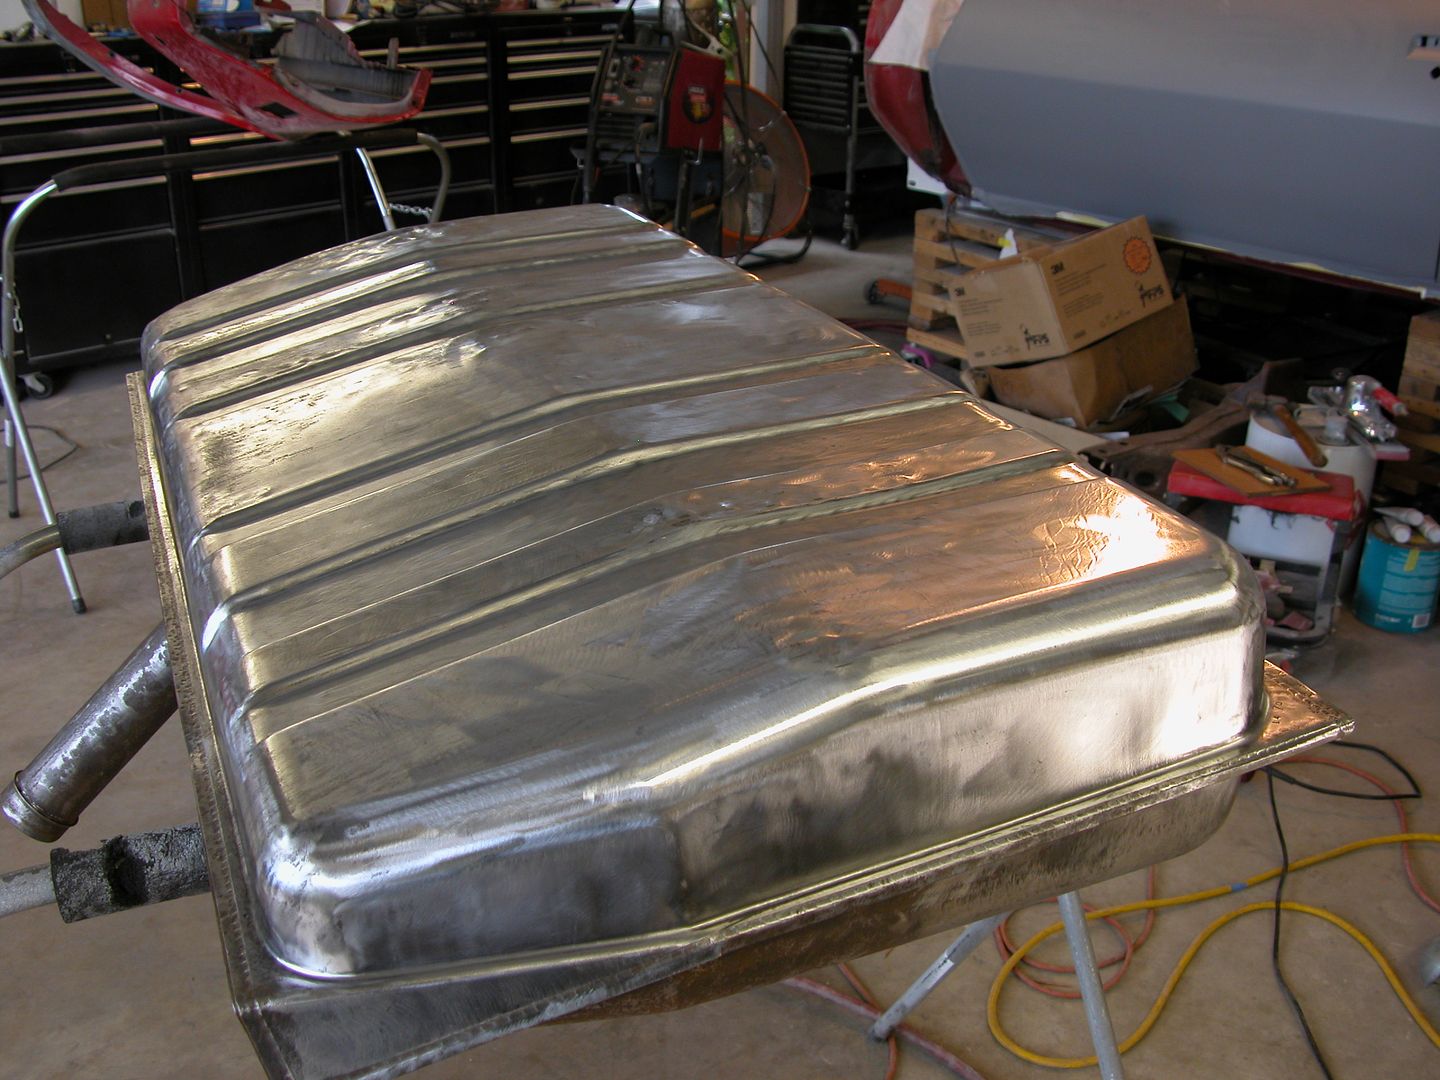
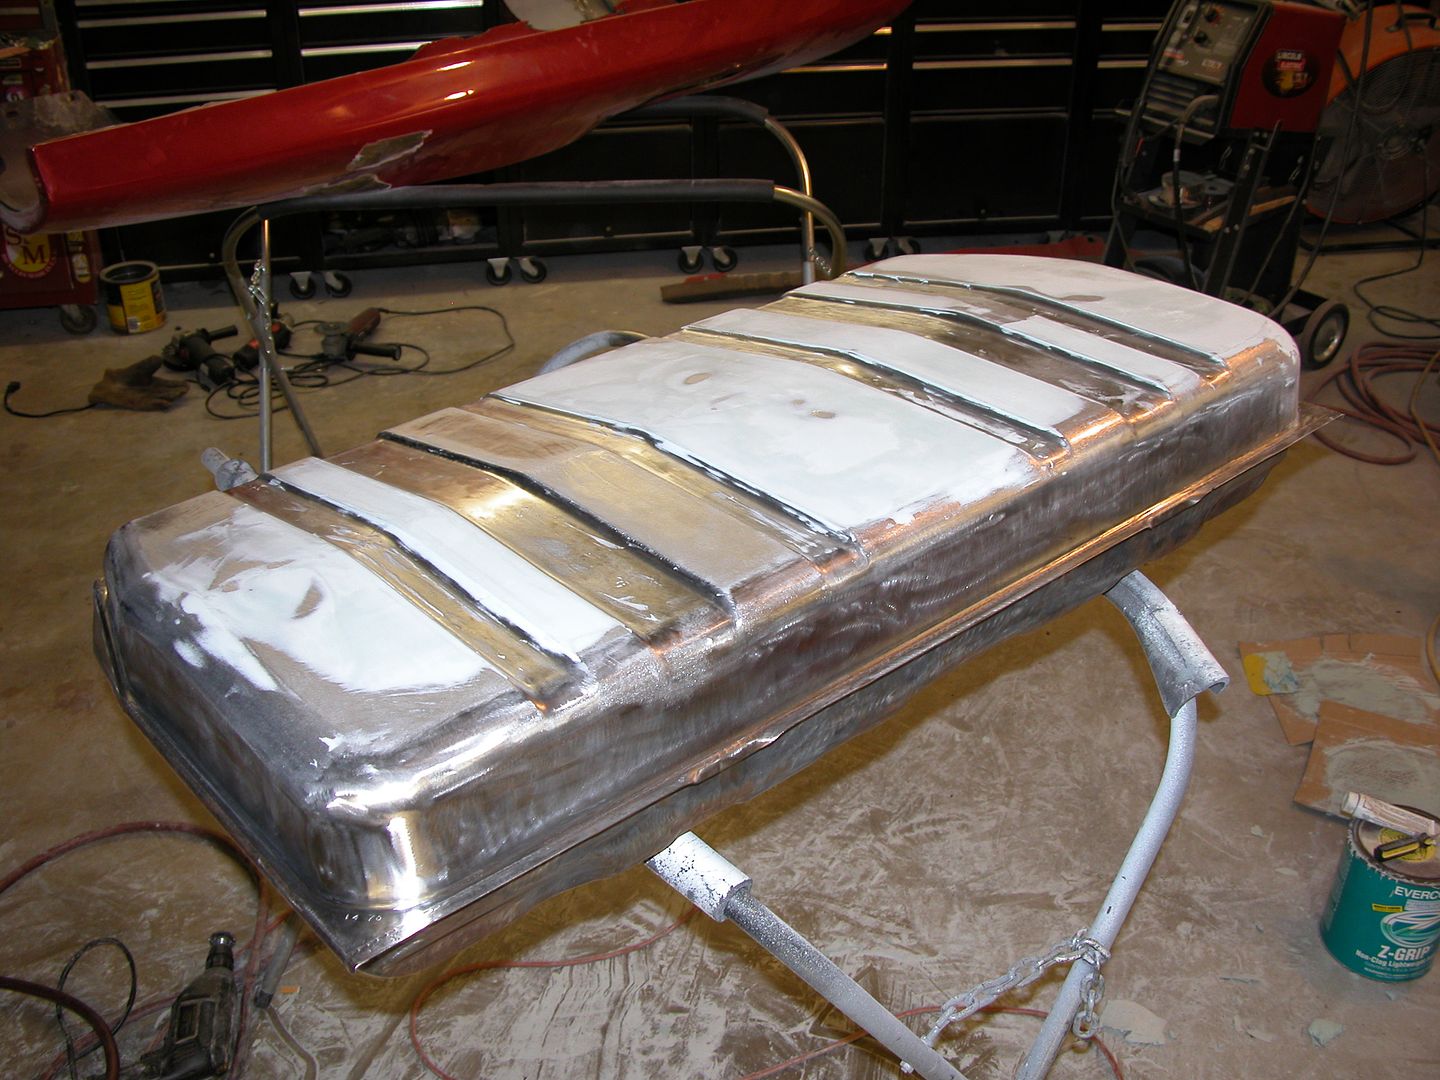
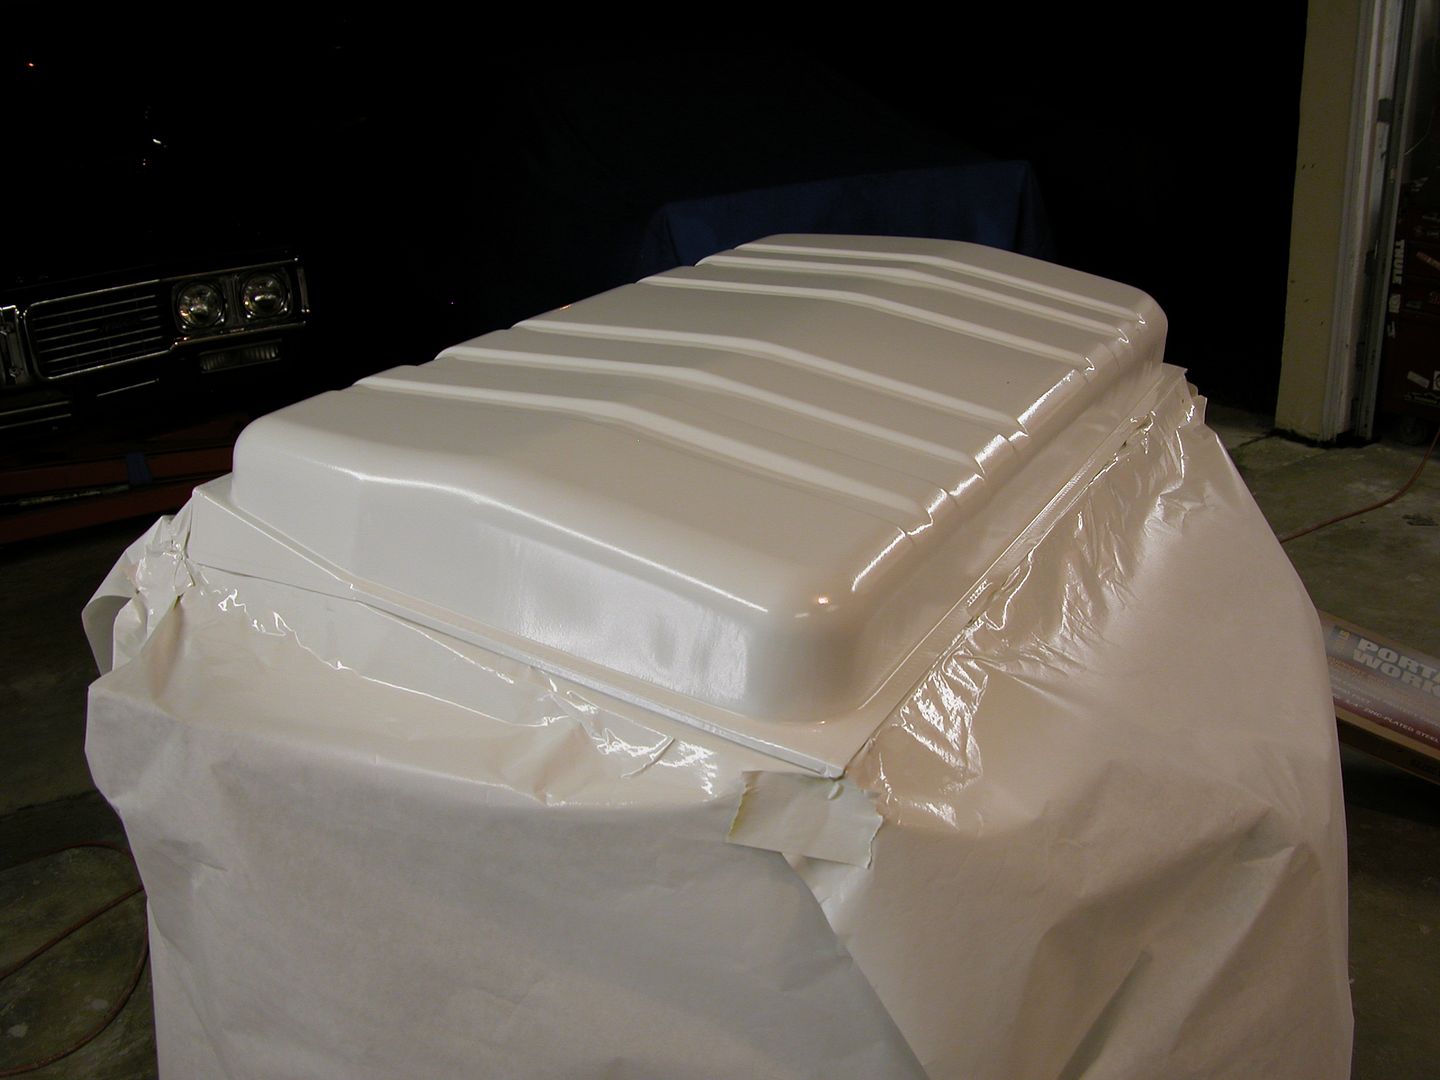
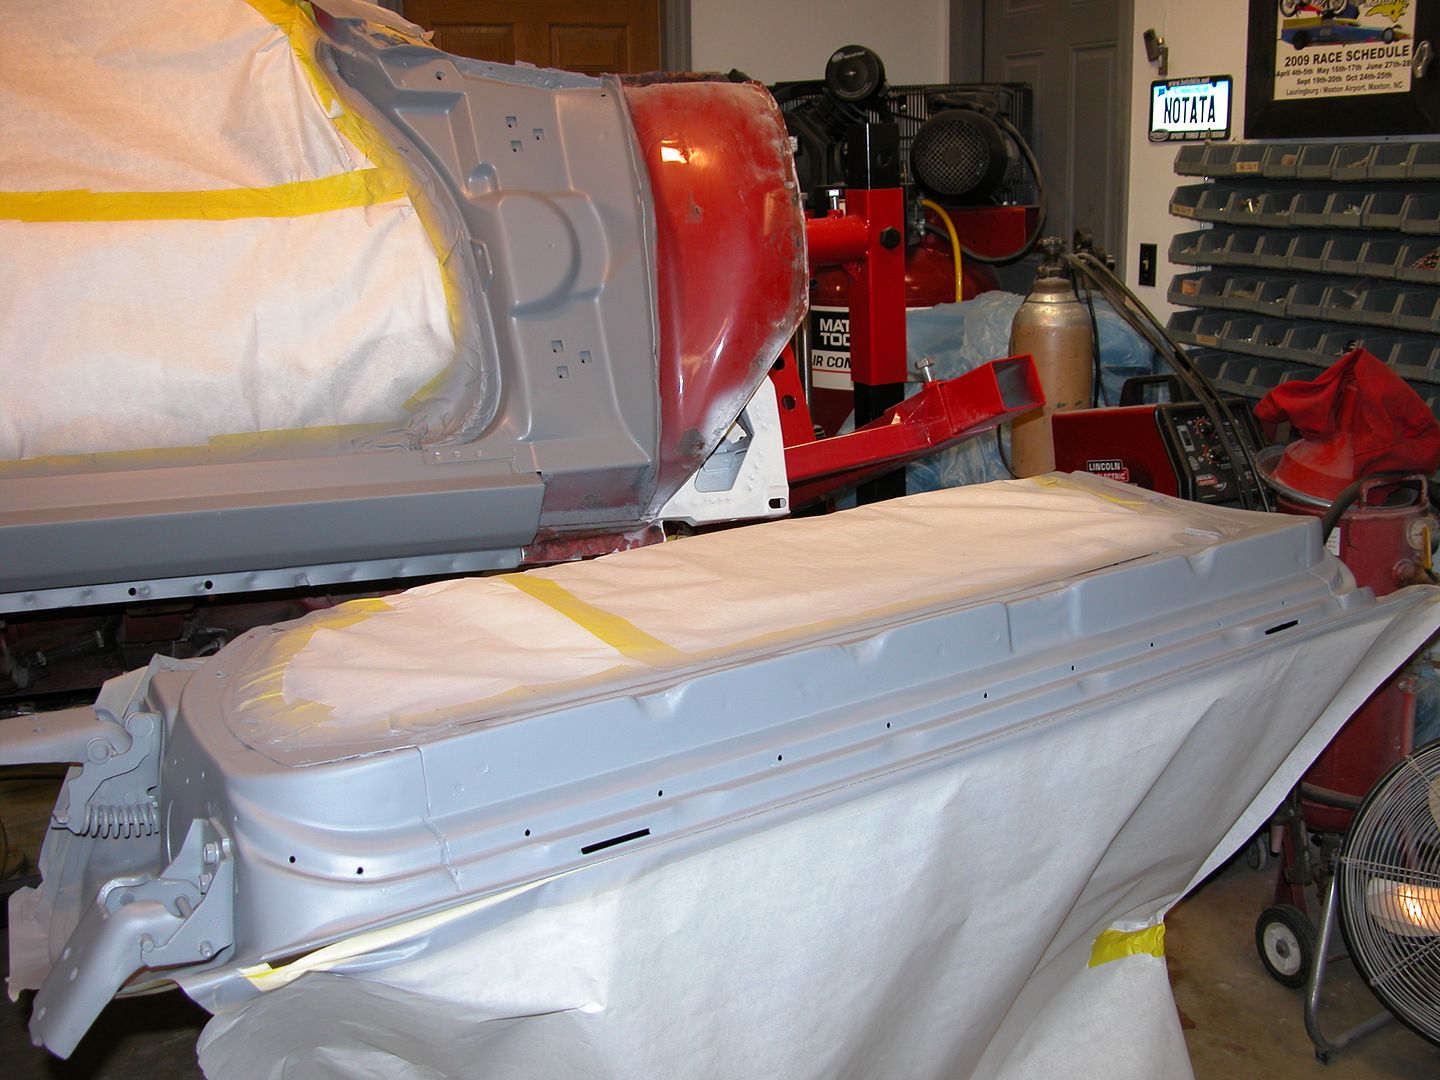
Since Jeff had the body in primer and I was waiting on glass removal we pushed the car out of the way to work on other things. I moved to the gas tank. The inside of the tank is perfectly clean with not a speck of rust but like many northern cars this one had been backed into frozen snow mounds denting the tank. So the stud gun got called back into action and worked great to get the dents out. Then a skim coat of filler to smooth out the surface followed with prime & block and it'll look perfect when painted. Since I'm going to fabricate a diffuser that will allow the tank to be seen if someone peaks under there I wanted it nice.

You can see one of the dents in this old pic, others are more subtle and flat black hides them.


Cleaned enough to use the stud gun and pull the dents.


Studs ground off, high spots hammered and cleaned for filler.


Starting skim coat.


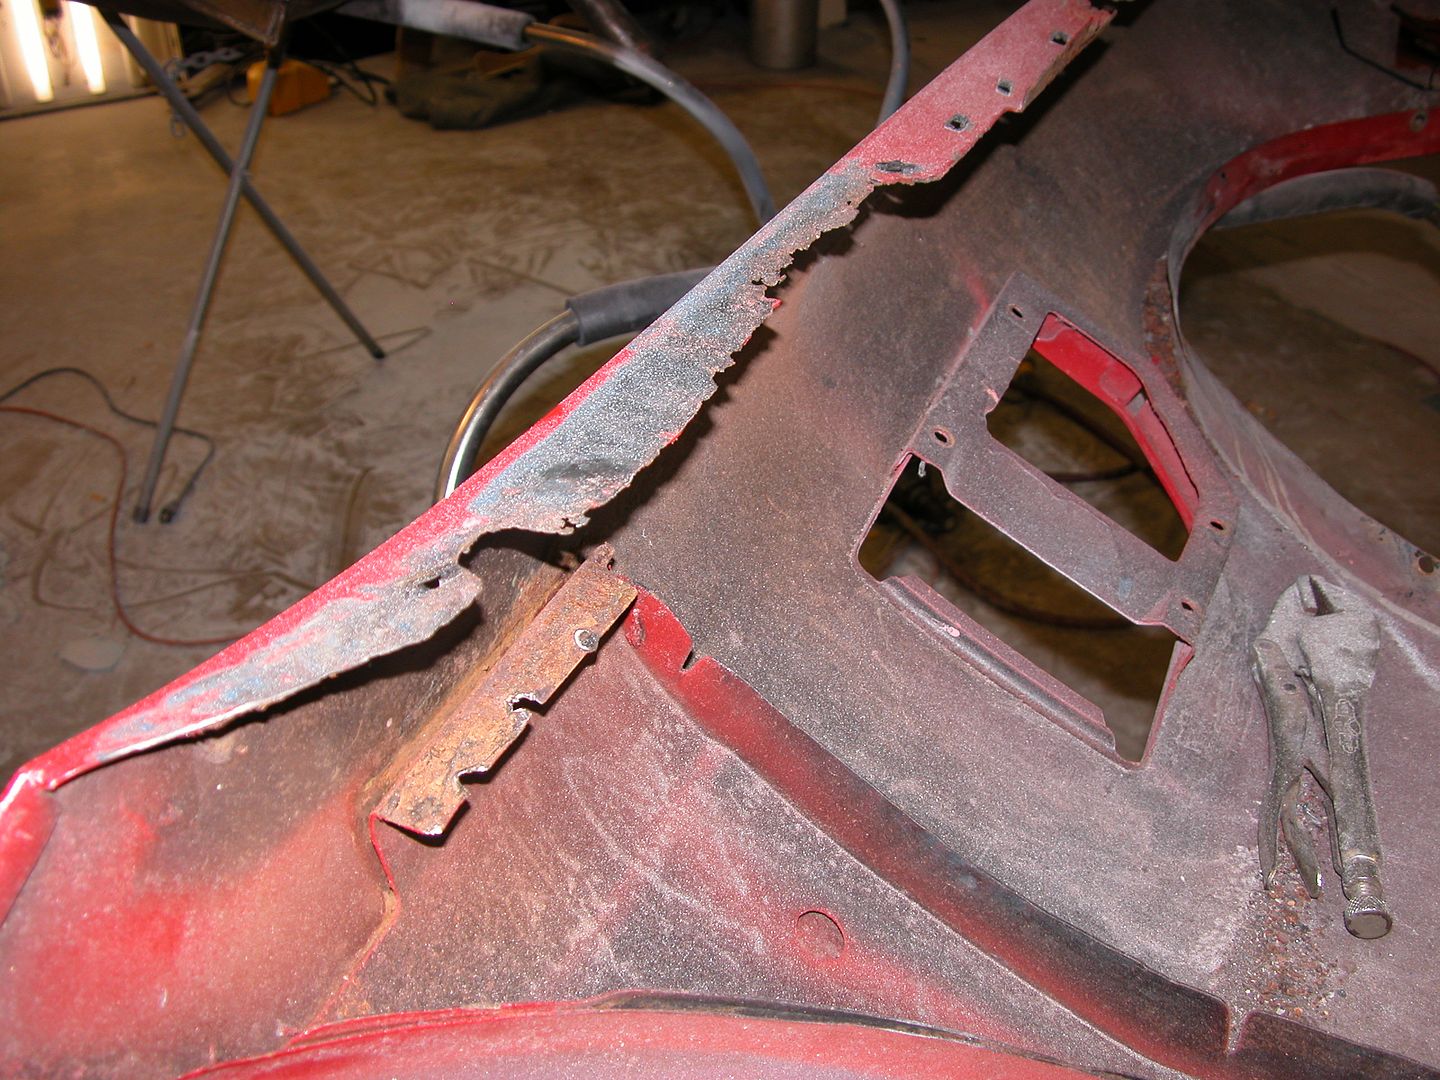
While I was messing with the tank Jeff started on the front fender we knew would need some work. I'd gotten the fenders from a bud back when I painted the car the first time 20+ years ago and one was an early fender without the core support brace provision that had some rust issues. I'd done some repairs but without a welder at the time I was limited. Fast forward to now and we decided to take the fender apart from the inner support to make repairs.

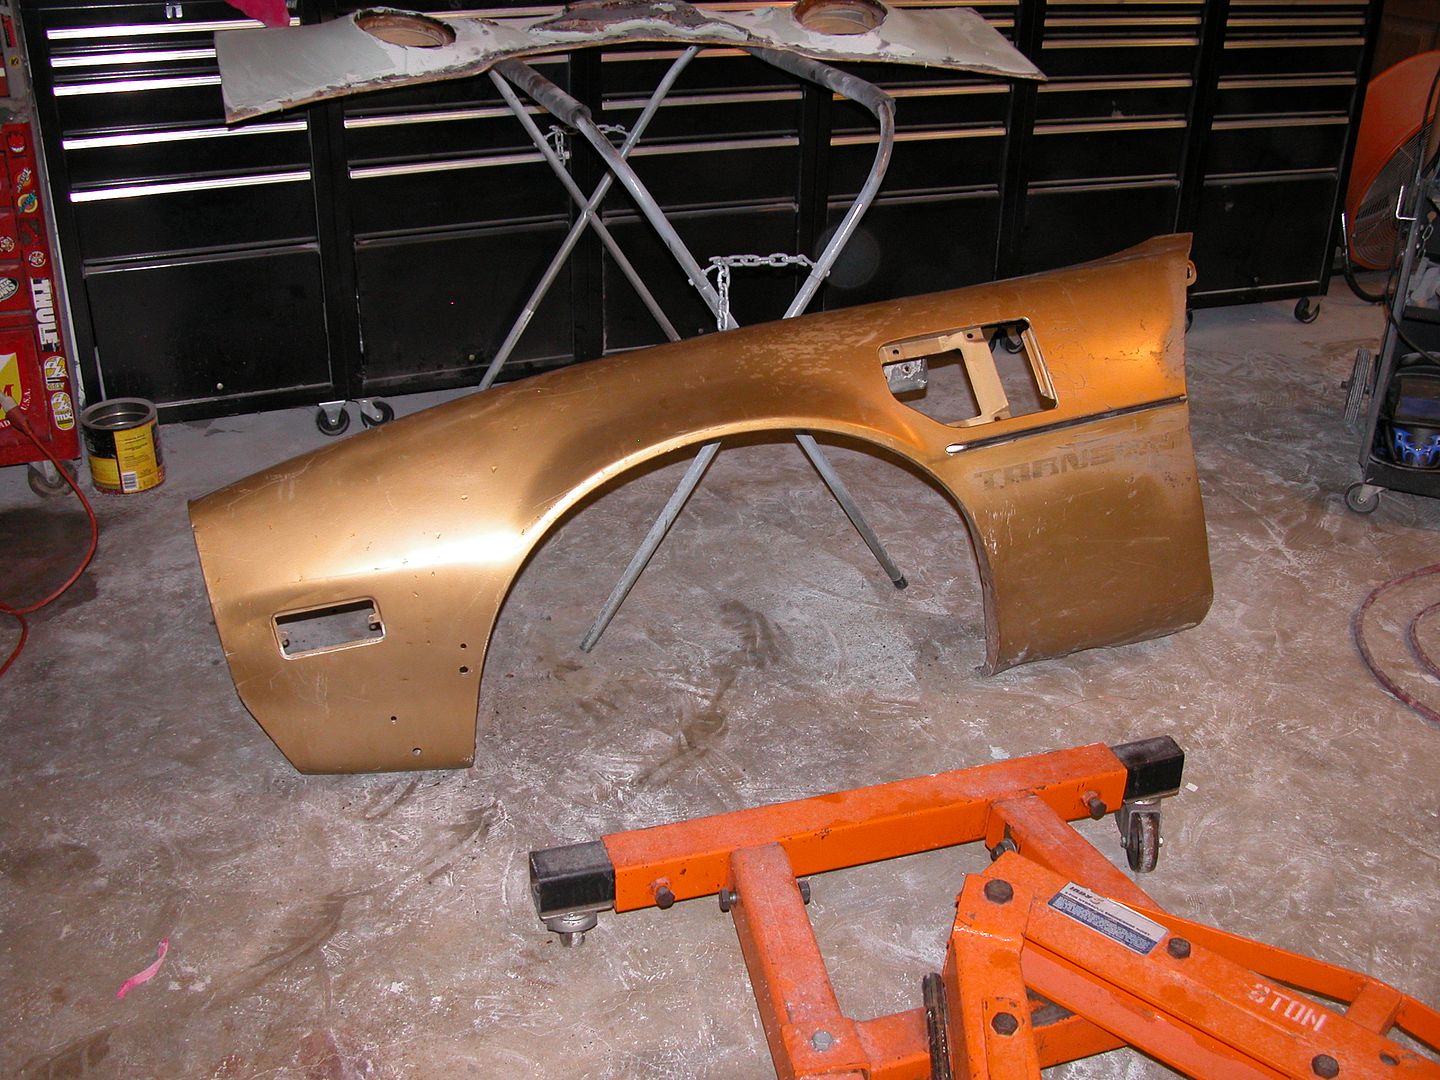
After getting started and thinking about the best thing to do I remembered a bud had a couple late 2nd gen bird fenders he didn't need and couldn't sell stored in his warehouse so I went to look for them (ya I have a key). I thought we could cut up the Formula fenders to get the metal sections needed to fix my fender. When I got there there were no regular fenders BUT there was a really nice rust free early 2nd gen left TA fender by itself and I just happened to need a left! I talked to my bud (OK,begged) and he gave me the fender. There's a little dent in it by the side marker light but we can fix that right up in a lot less time than doing metal work on my old fender.


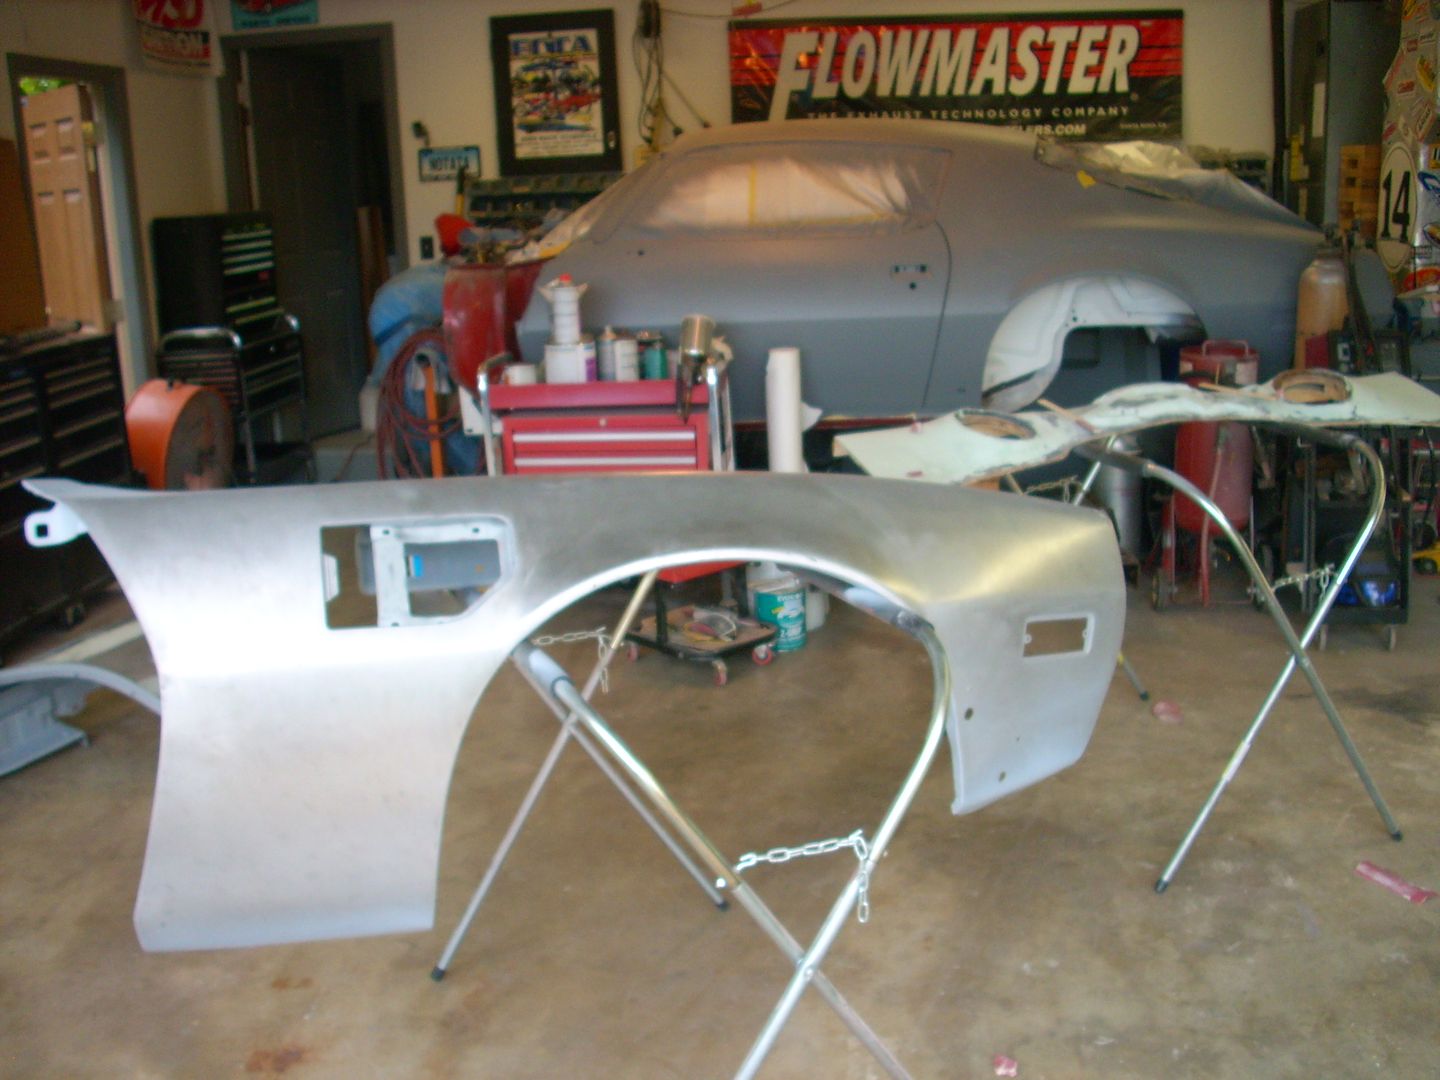
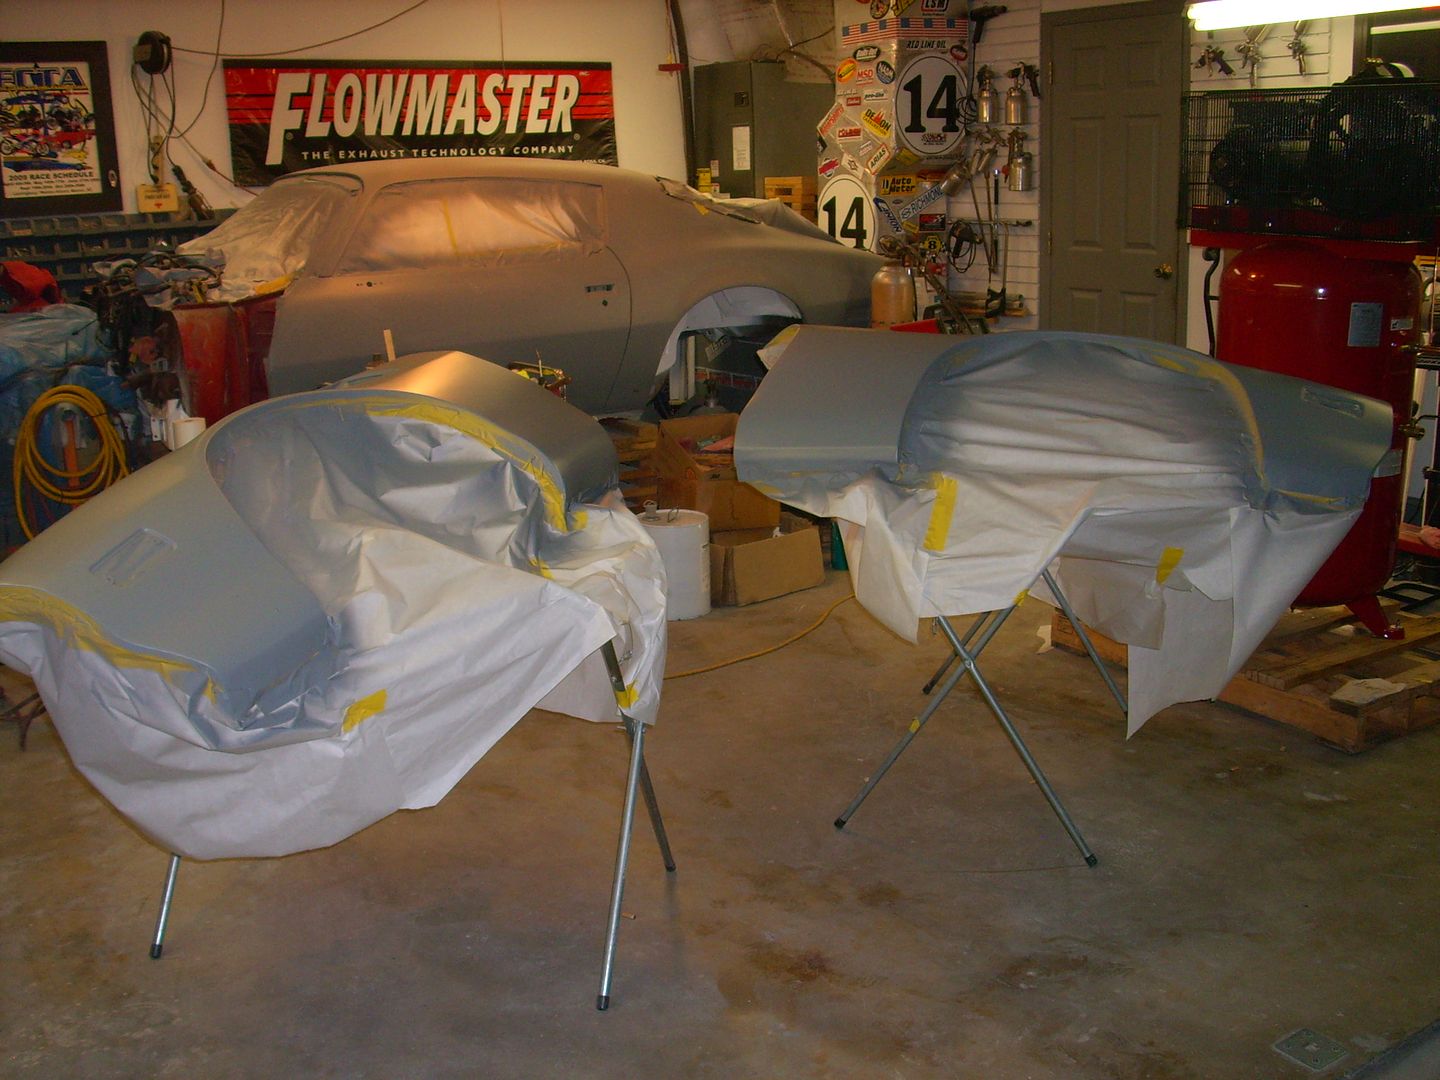
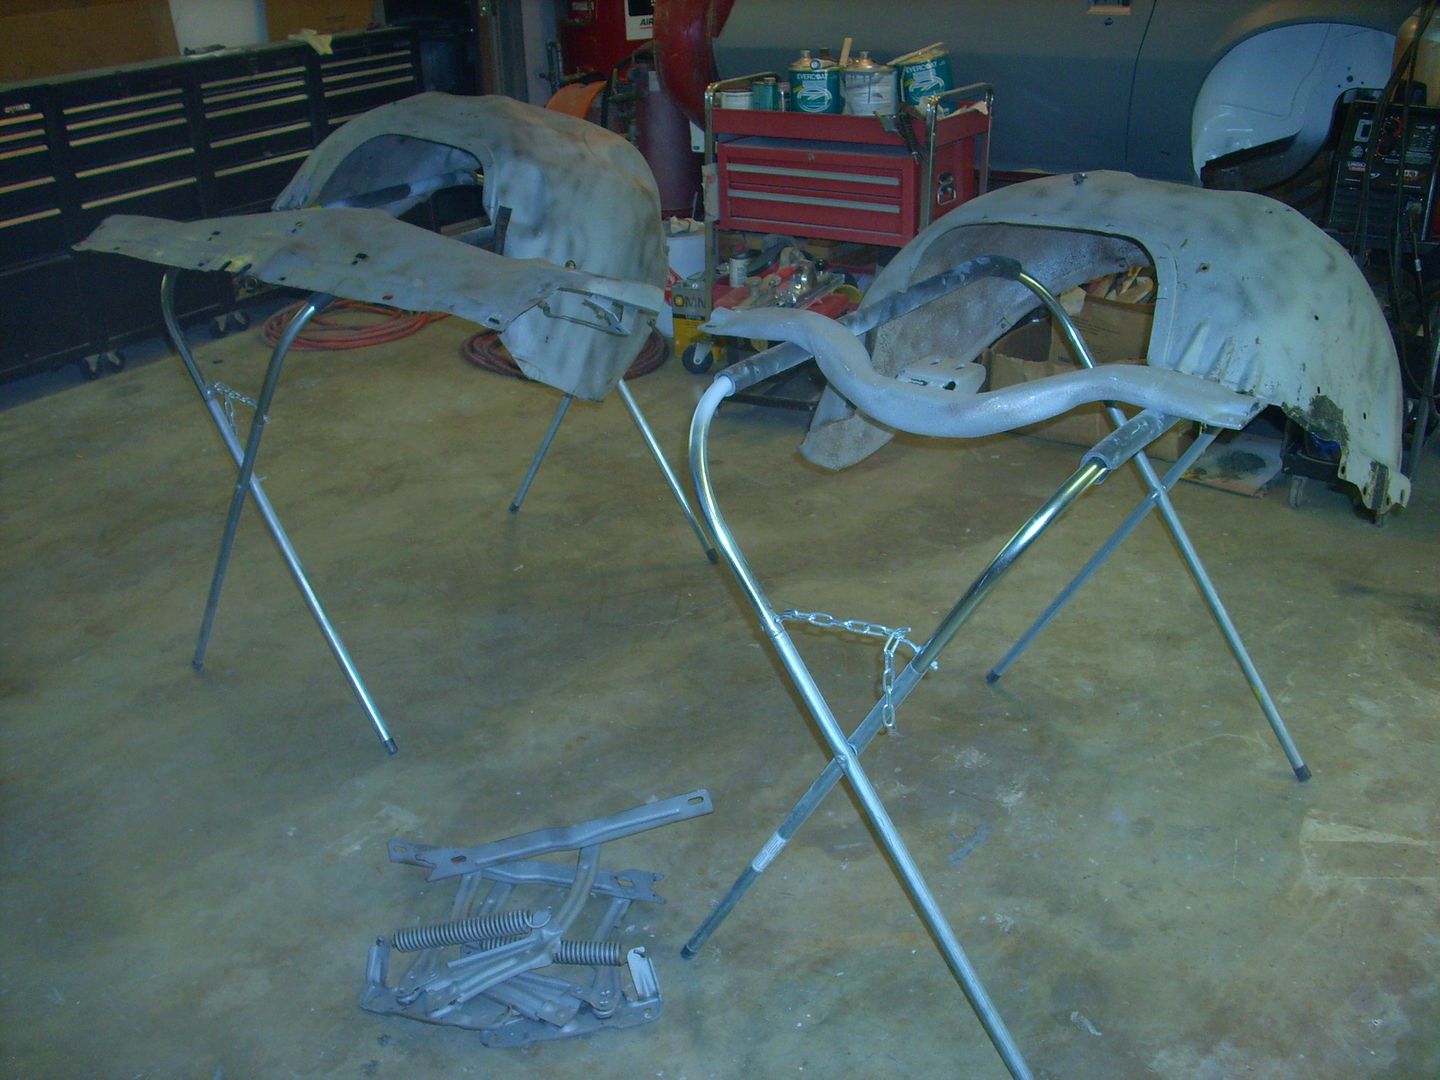
After getting the other side of the tank in primer we got to work on the front fenders. I sandblasted the insides of them and Jeff stripped the outsides with sanders and did some hammer & dolly work before skim coating a couple spots. After a little post blasting prep work on the insides we were ready to get the insides in primer. It was sooo nice to work with rust free fenders!

 
With no rust repair work needed on either fender bodywork on the outside of the fenders is now roughed in and they're in primer. We'll wait to do finish bodywork till the car is partially reassembled so we can check door/fender gaps etc. and do final blocking.


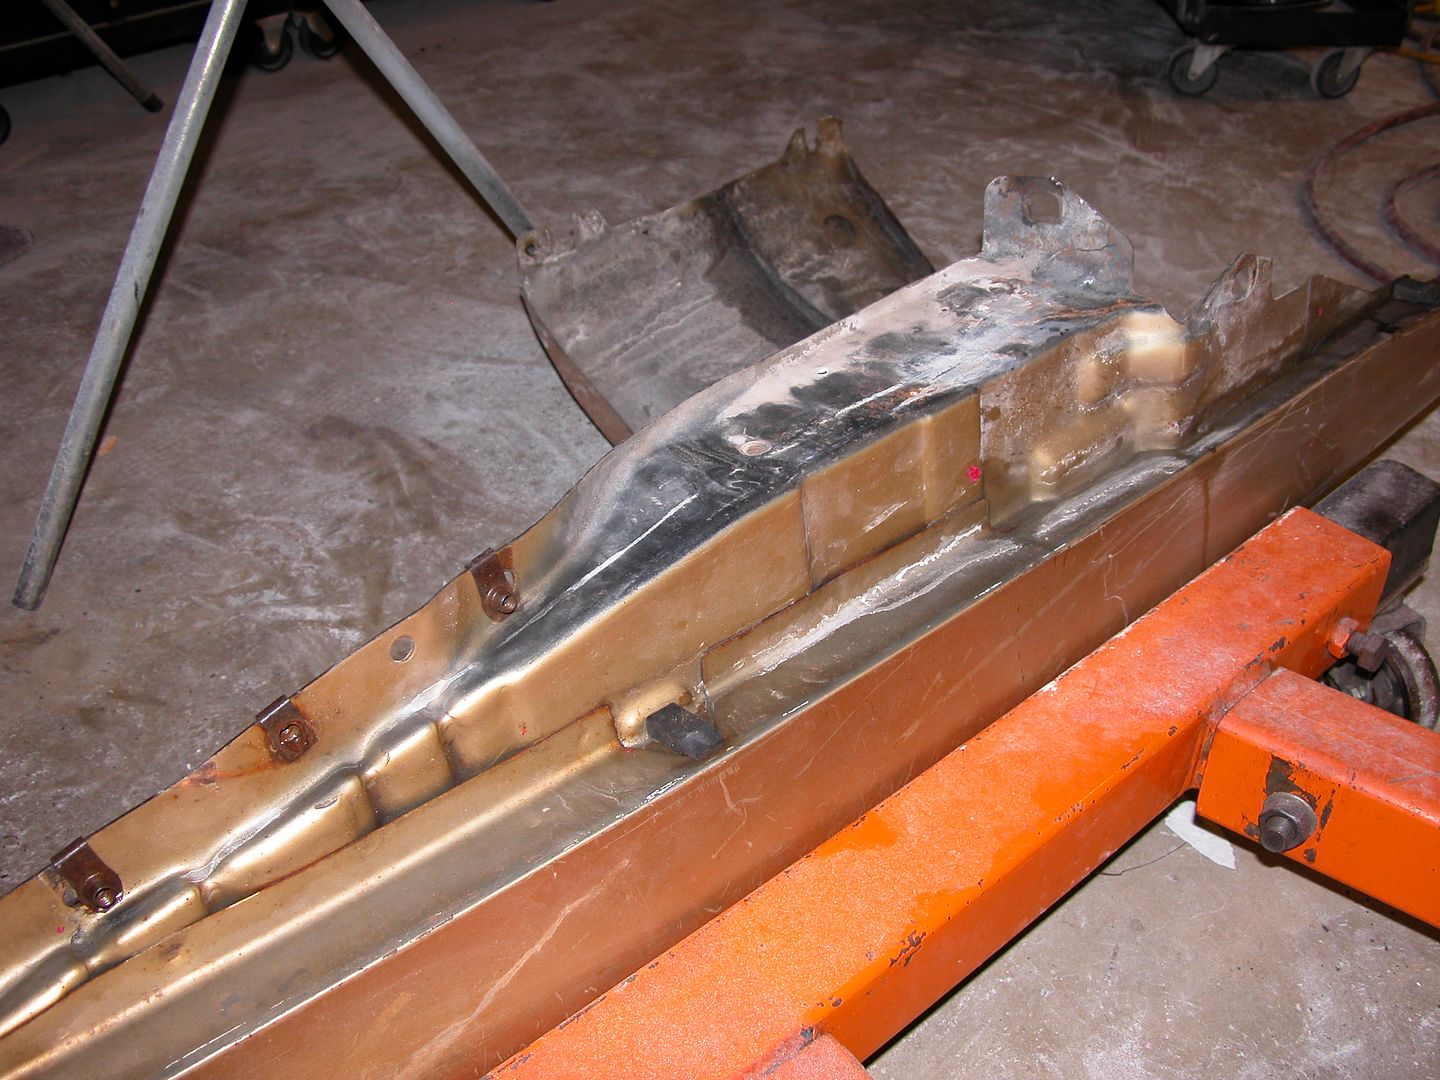
I decided to smooth the subframe so all seams and joints are now fully welded and I'm in the process of grinding all the welds.

 
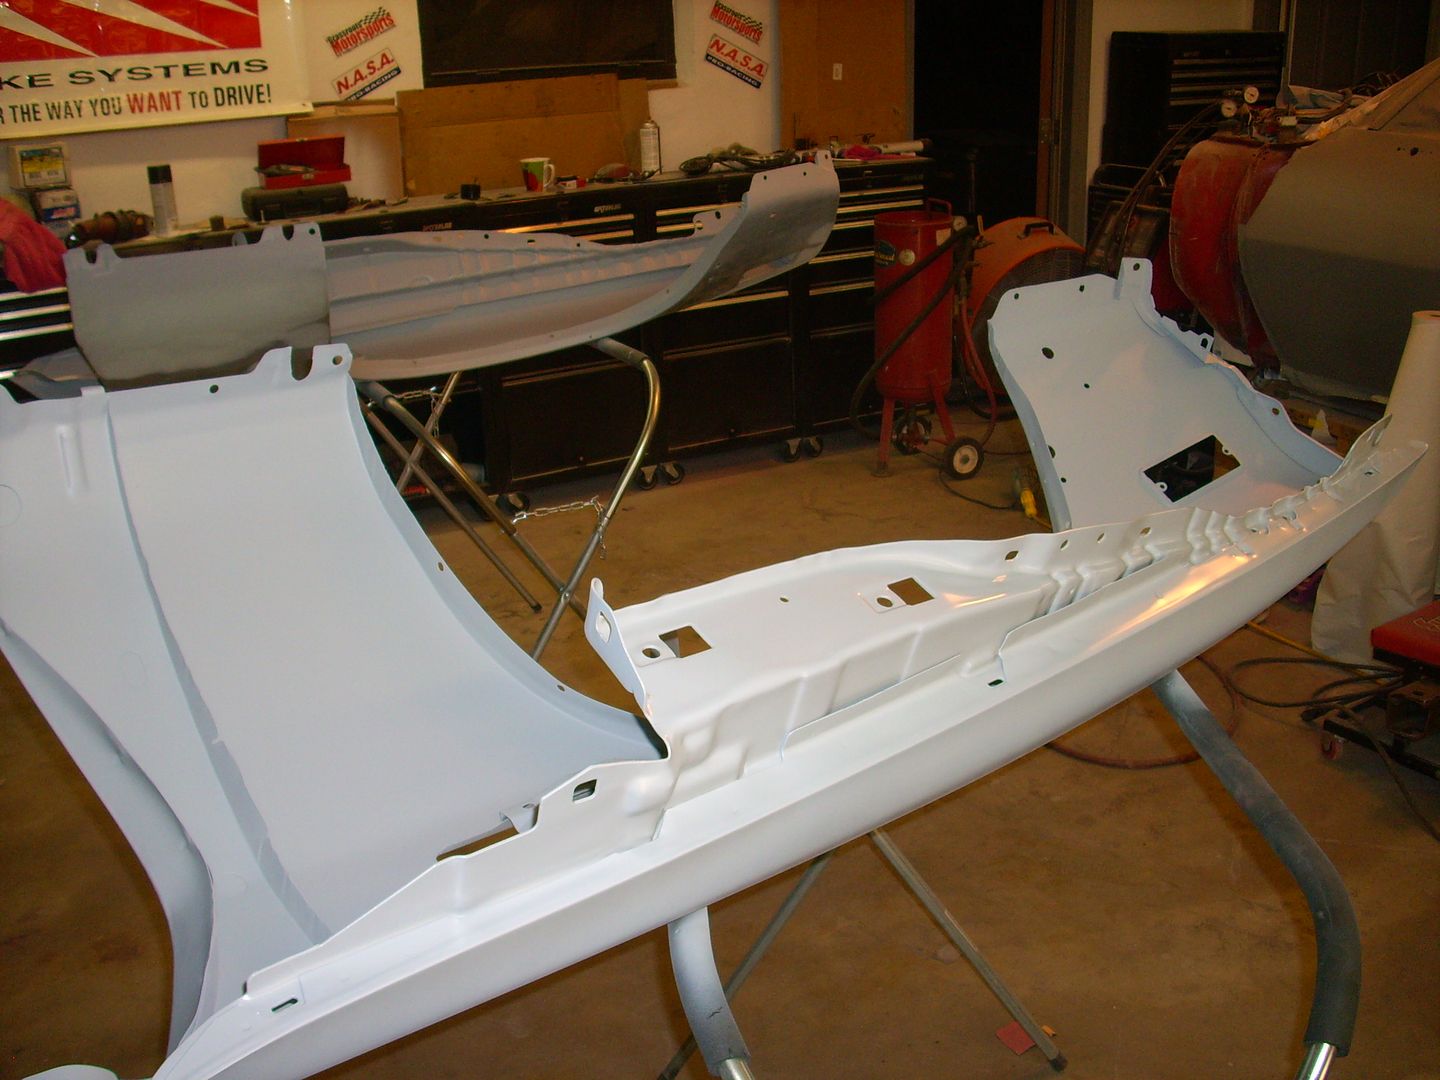
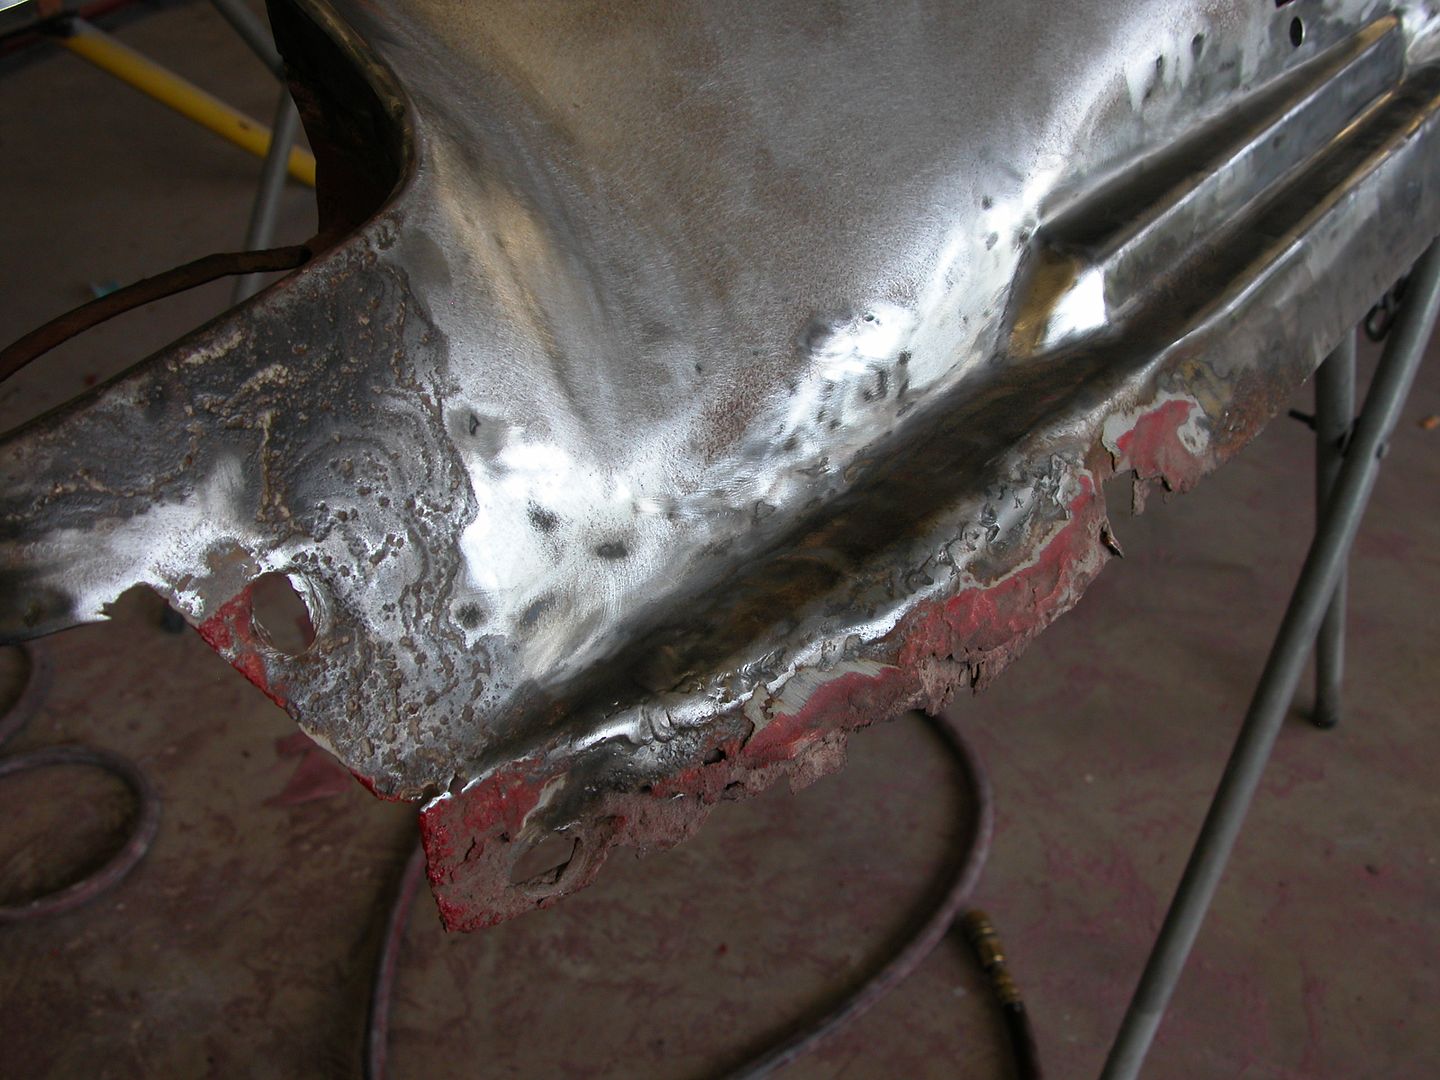
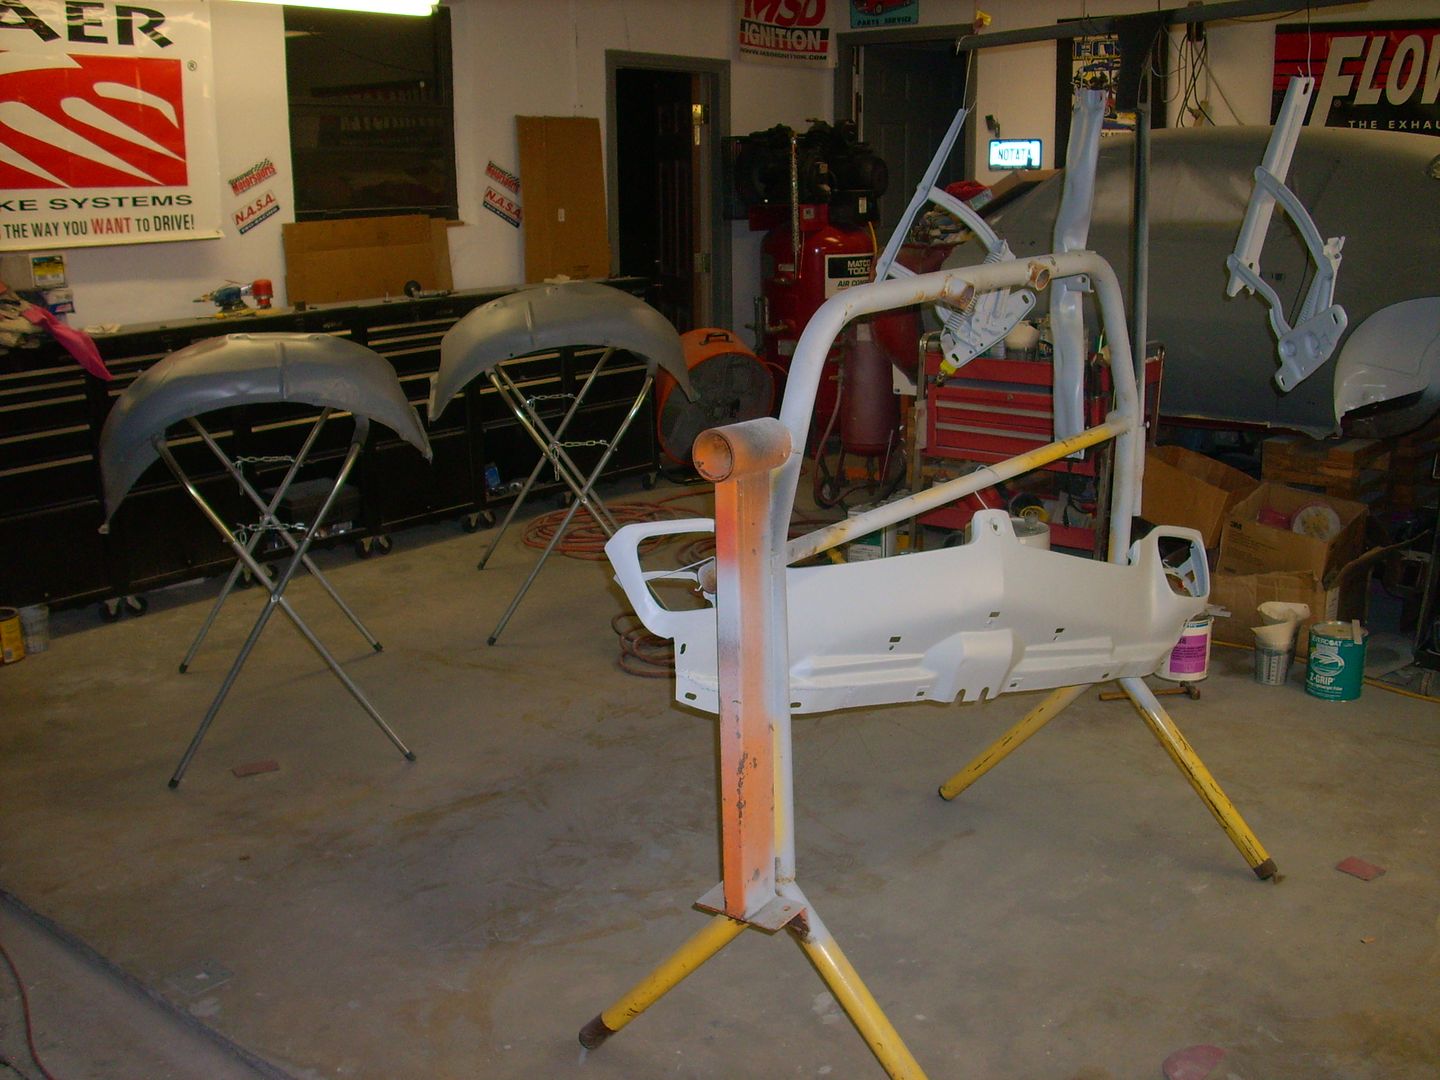
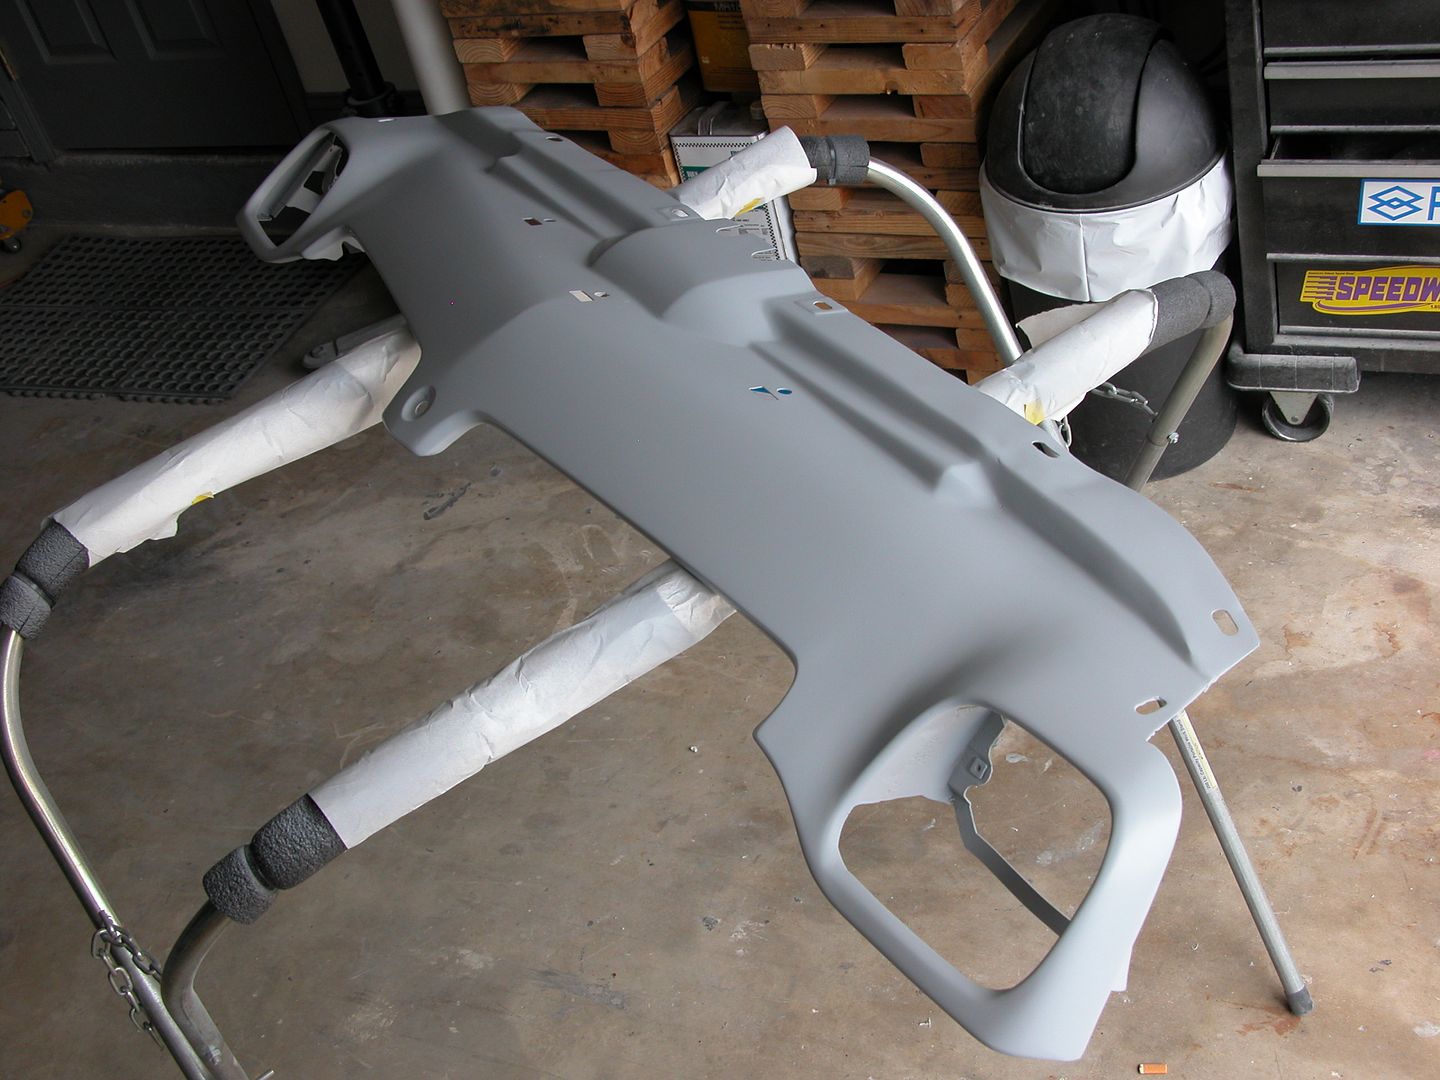
I have 2 front valance panels. This one is going to remain stock and be a backup in case the modified one doesn't work out the way I want. It had some rust hidden under old bodywork so I welded in some patch panels and then sandblasted it along with some other parts. Next they all got some prep work & primer.


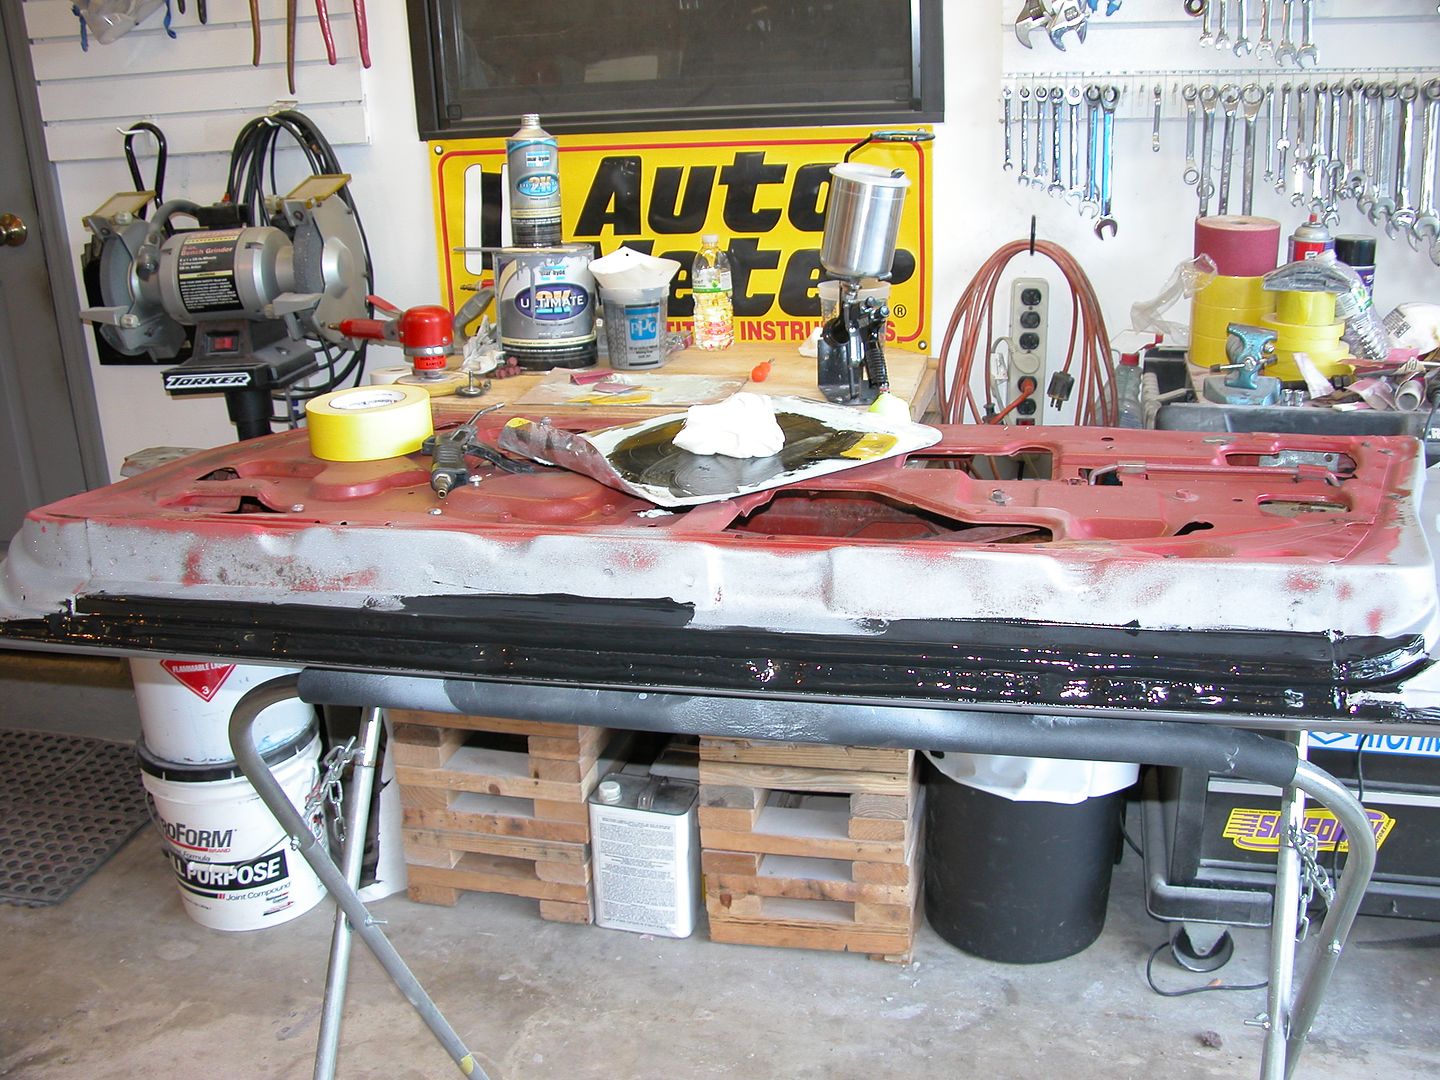
Door bottoms of most cars built when this one was usually don't hold up well as many of you know. I can't tell you how many cars I've seen with fully rusted out bottoms and they're a pain to replace the metal in because of the curves & folds. Luckily, although mine had some rust they were repairable without having to replace metal. The passenger side door is usually worse than the drivers and mine's no exception so I'm using that to show how to do a door that's got some rust but is still structurally sound without welding all new metal in.

In this case there's no visible rust in the interior of the door, if there was, new metal would have been installed. When I painted the car 20+ years ago the outside rust was there and I cleaned it with wire brushes/wheels, etc. and put rust converter on it before paint. Granted the car has rarely gotten wet since the first time but the rust had not popped through the paint or progressed. This time it's getting a better repair because I have a blaster.

Sandblast edge of door & get the rusty parts really good. Blow out all send & debris and then coat all the rusty areas with panel bond, let sit 24 hours. Because this isn't a place where the panel bond would get hot from exhaust or rapidly change temperature by heat from the sun it makes a great filler to seal the pits and stop new rust from forming after blasting. Inside will be sealed later.


Sand down panel bond till it's just filling the rust pits and open up the drain slots, and gasket holes. Then skim coat with regular filler, sand, and prep for primer.


wow man you really do it all... keep up the good work, cant wait to see her back on the streets and in the magazines
 

Wow, I wish I had your skills in the body repair area!!! That's some
very nice work !!!

 
Thanks guys!

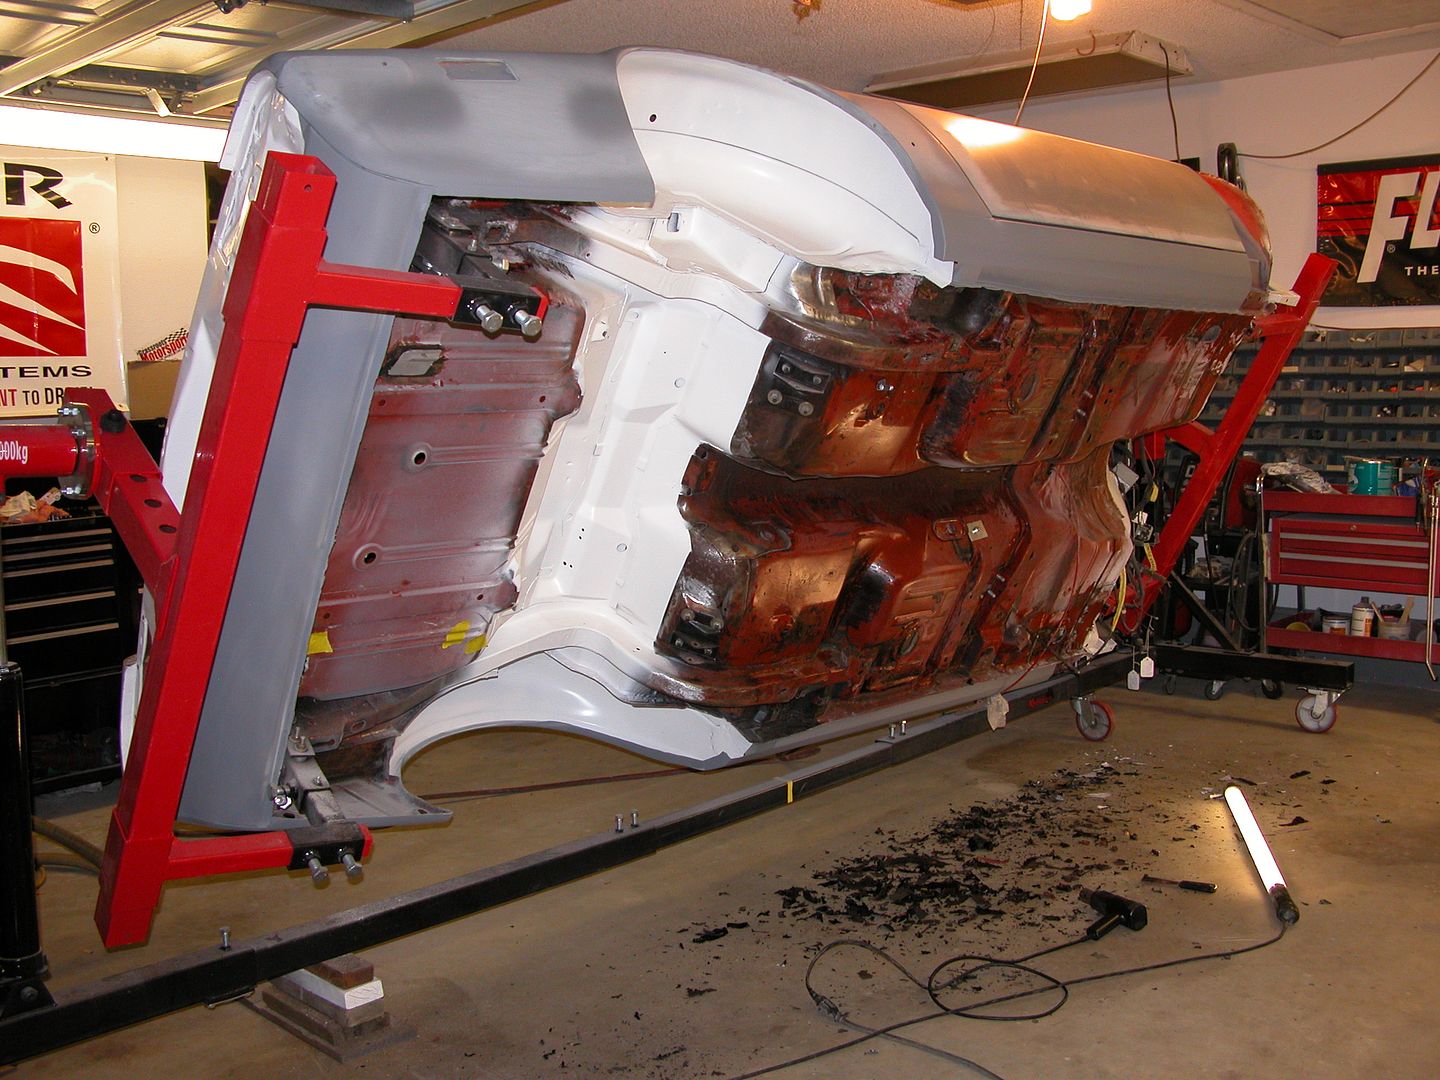
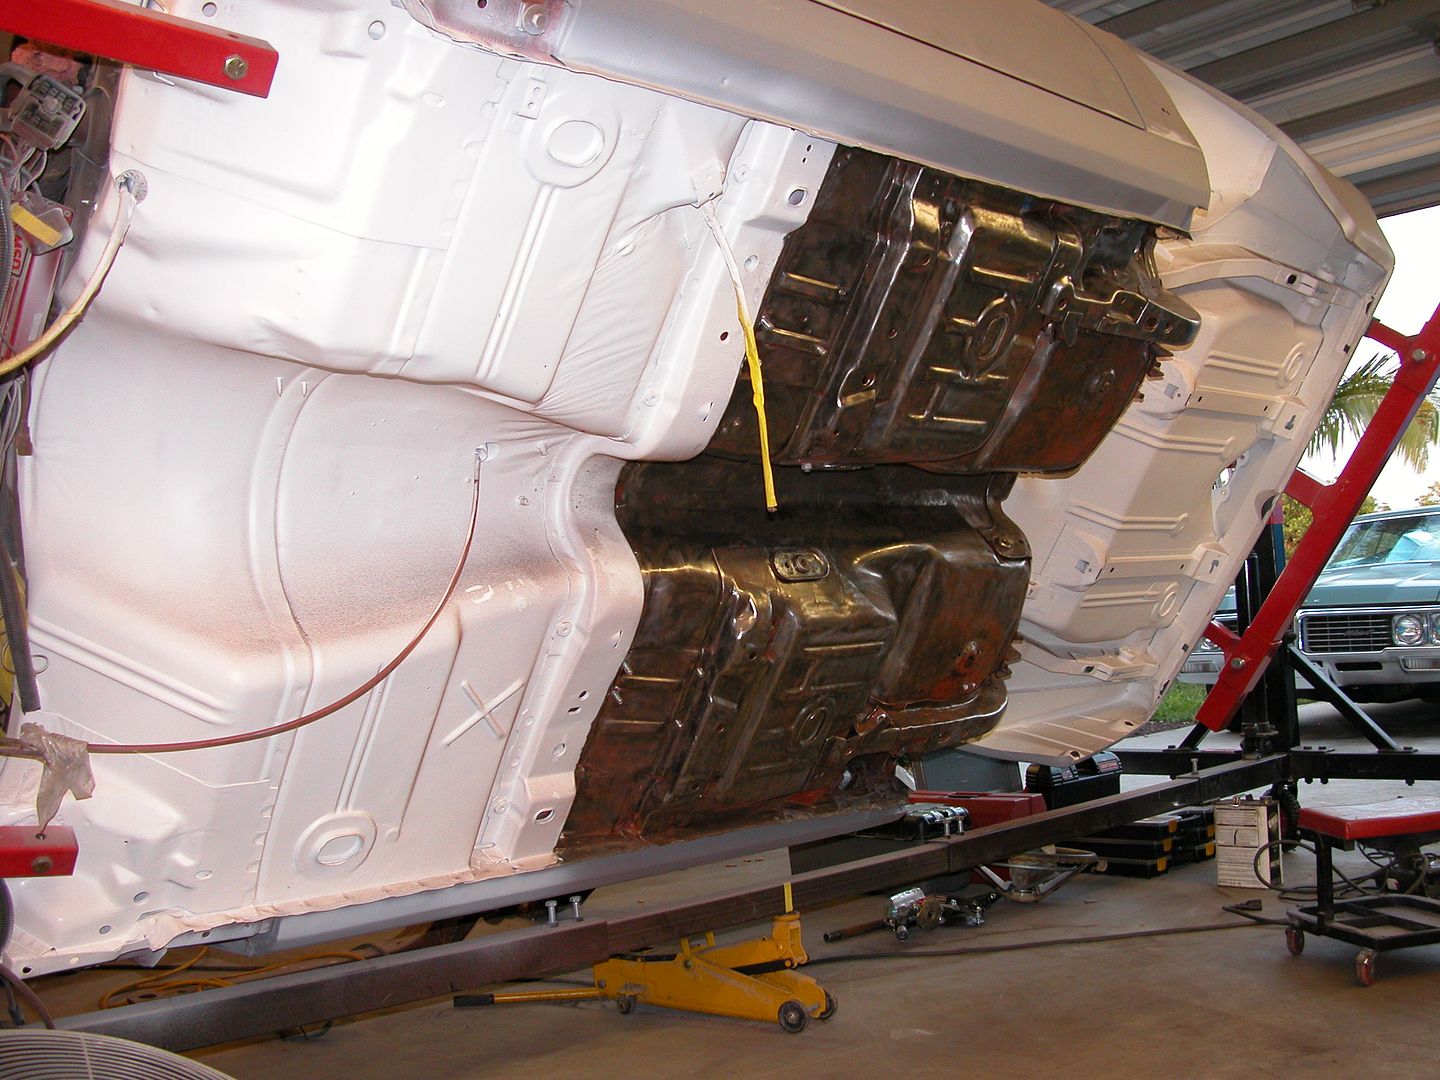
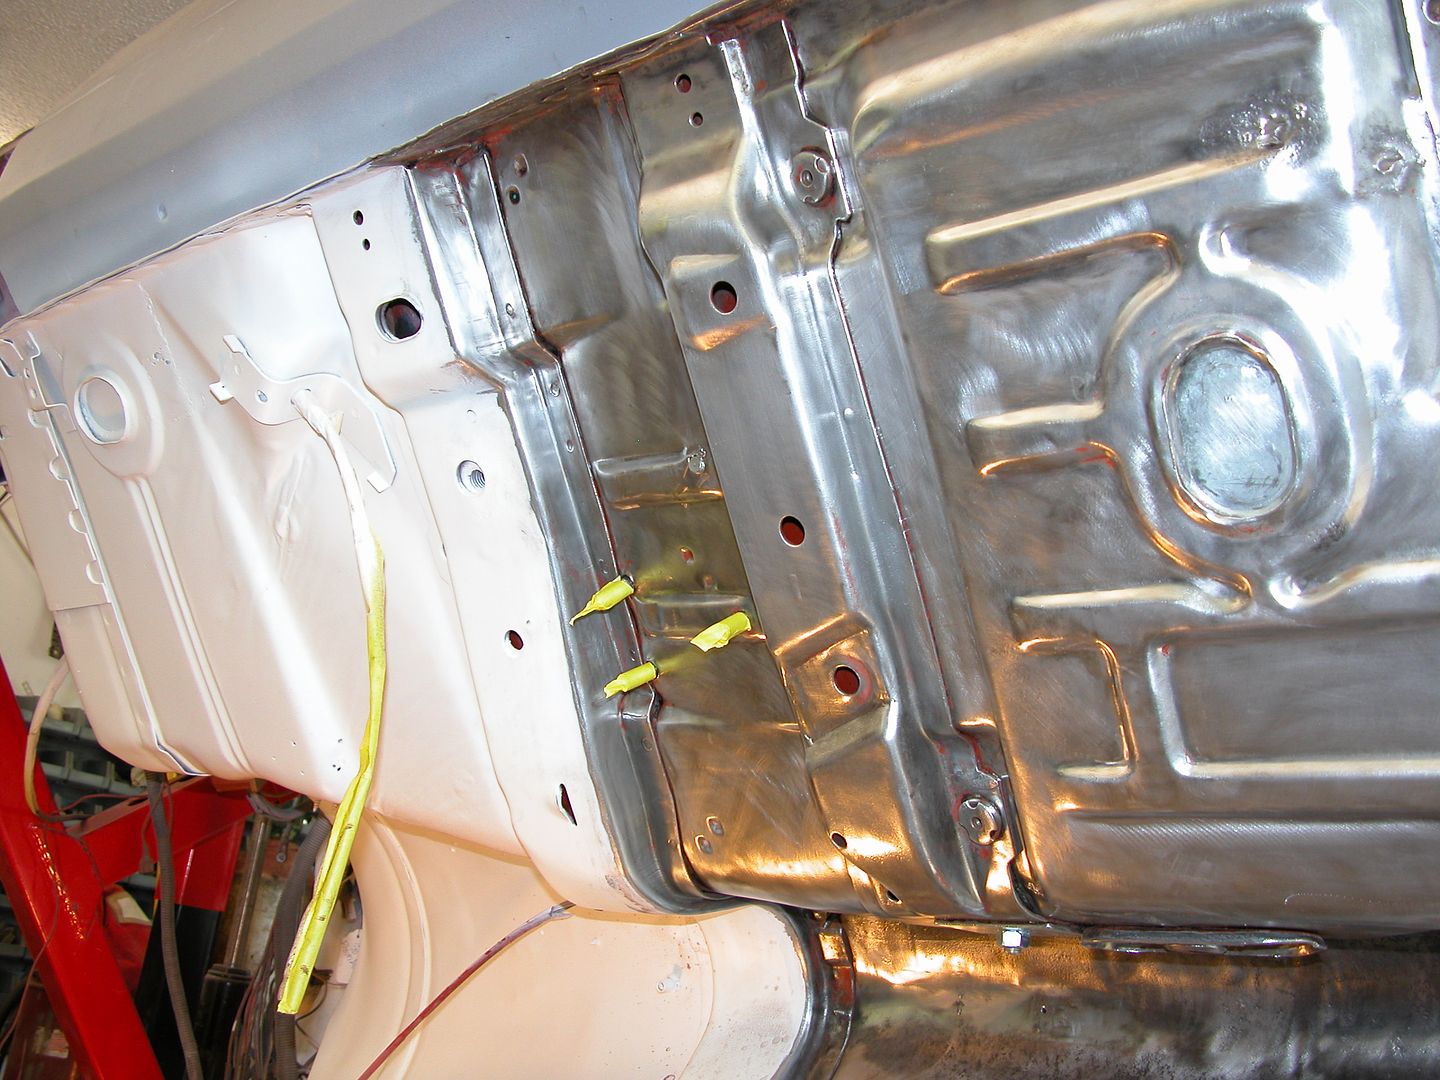
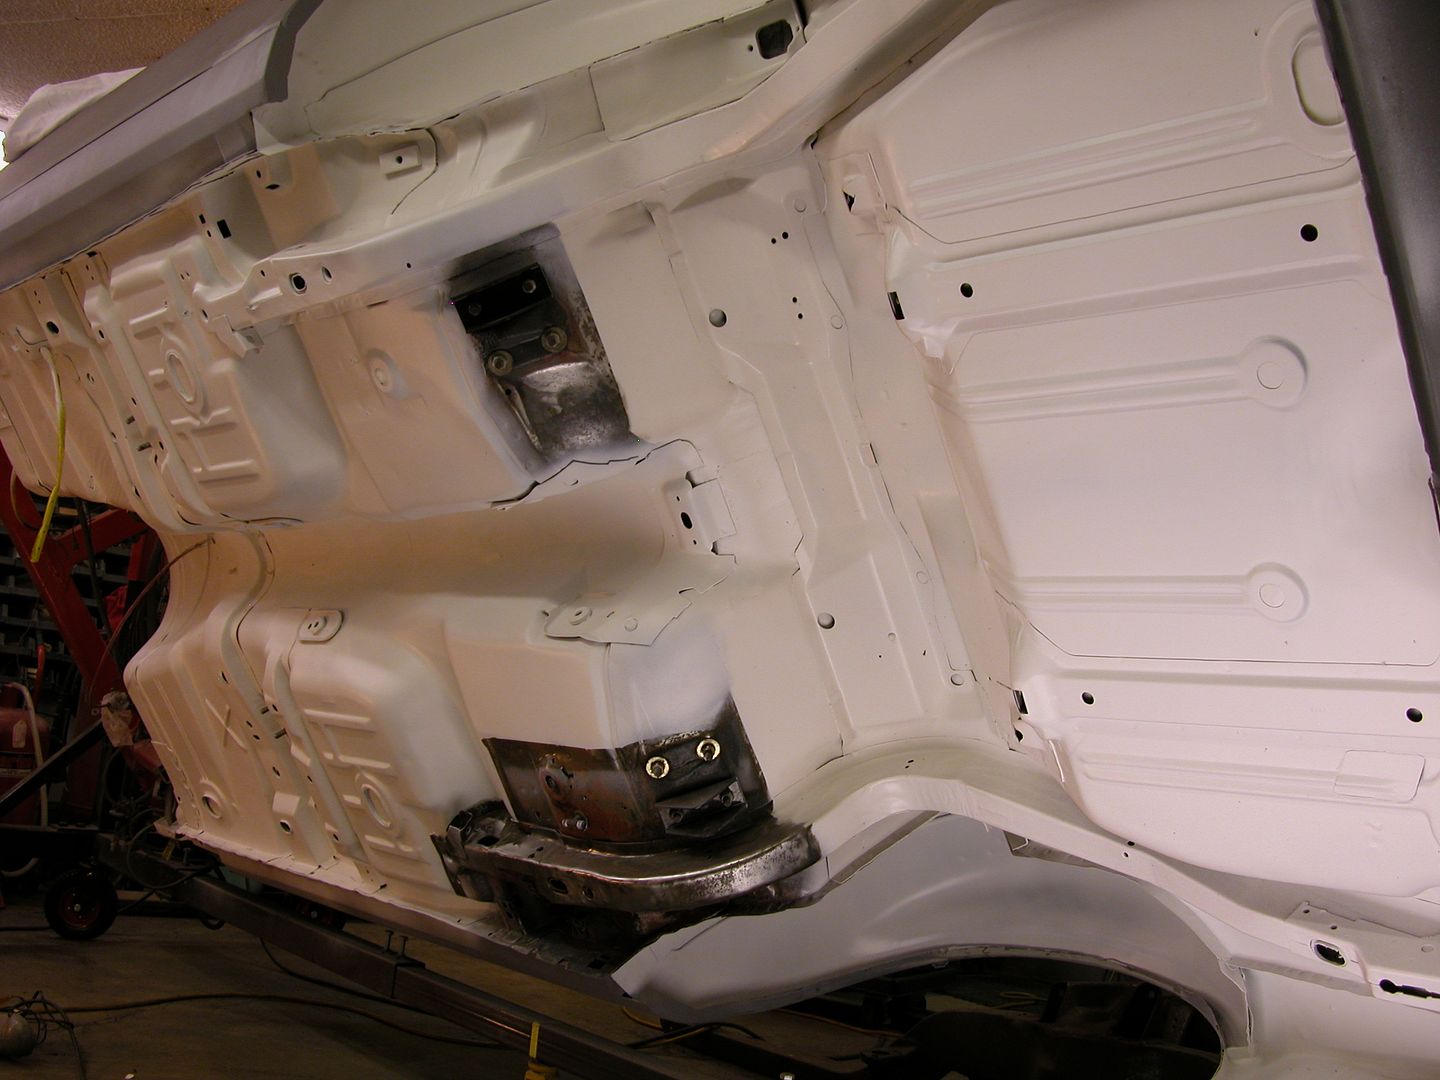
I've been cleaning the underside to clean shiny metal a section at a time and shooting it with epoxy primer. With a little luck I'll finish cleaning the middle floor section and have it in primer over the weekend.


WOW NOW THAT,S DAMN IMPRESSIVE!
Ive seen lots of "professional" body repair shops do far lower quality repair work!

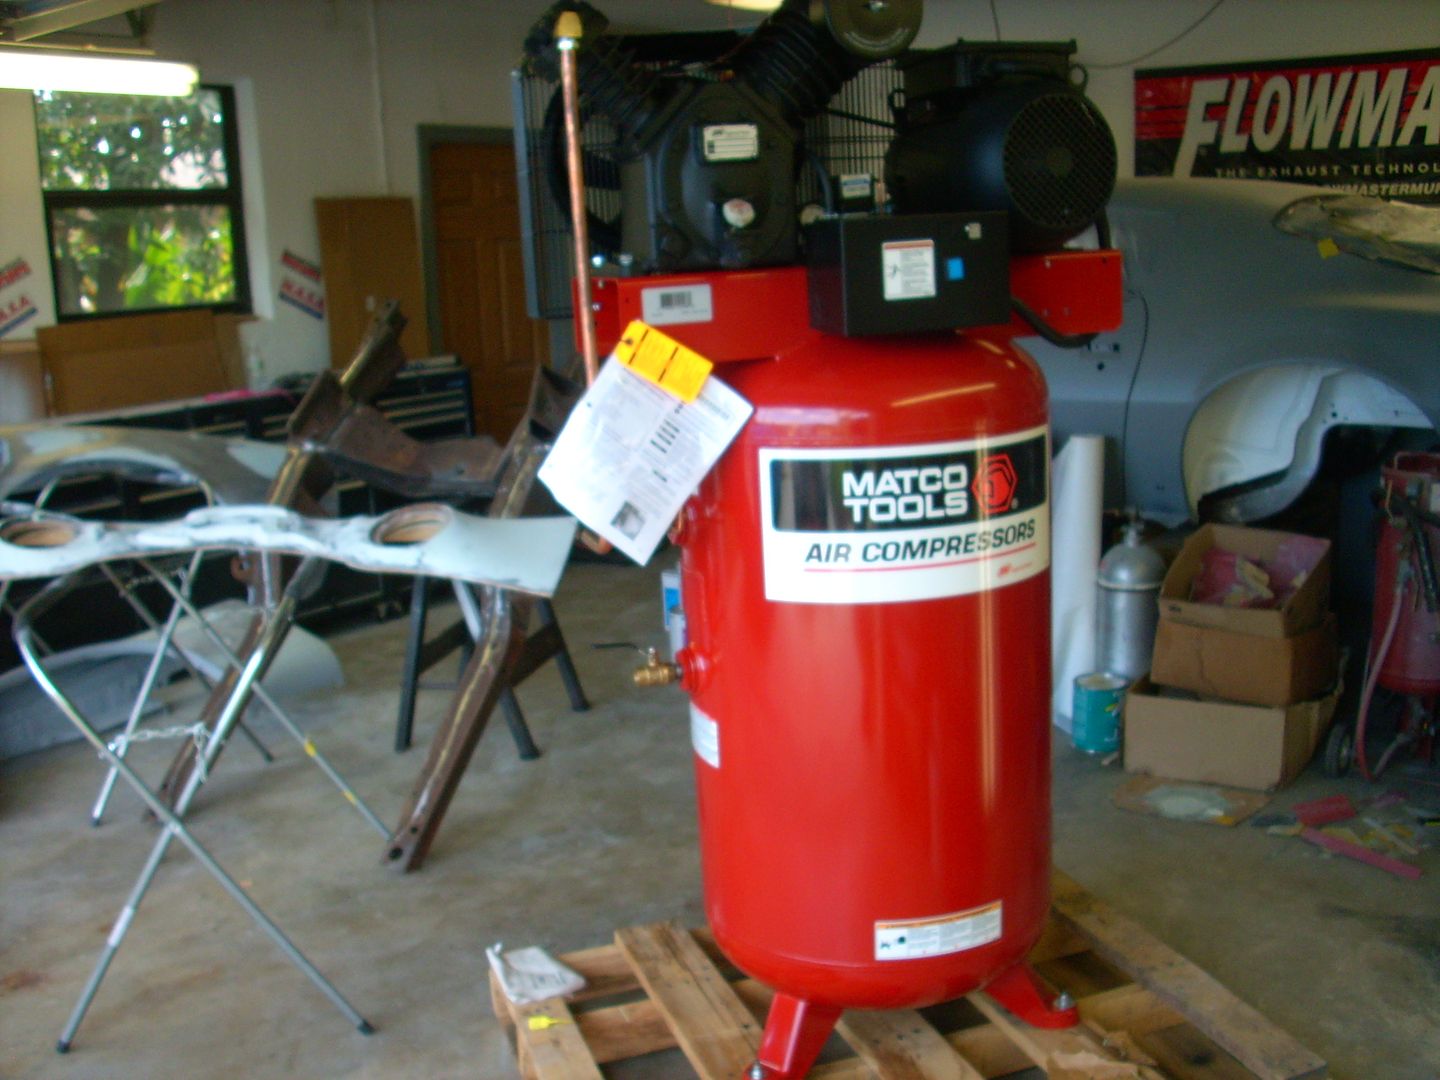
and is it not amazing how indispensable , near instant access to a good welder, or drill press,or compressor with air tools is to a shop once you learn how to use them?, tools like a decent compressor and a drill press with a vise , or a mig or tig welder,well,, you feel seriously lost without access to those tools, and their common accessories, I know if I go out to the shop, and find I'm out of argon, or tig rods or mig wire , or the compressors broke, or some other supply I need is missing thats needed that day, I feel like I MIGHT AS WELL EITHER JUMP IN THE CAR AND GO GET WHATS REQUIRED OR JUST GO TAKE A LONG NAP, BECAUSE I KNOW NOT MUCH OF VALUES GOING TO BE ACCOMPLISHED UNTIL I GET THE TOOLS FIXED OR SUPPLIES I NEED and theres few things more frustrating than knowing exactly how to fix things correctly and having the correct tool and supplies but finding the tools missing a small consumable component part or a critical supply is lacking, or some one used up the last (fill in the blank) and left the empty container which you thought was 3/4-to-9/10ths full) like when morons leave the argon shield gas tank on the TIG WELDER , valve open and it drains over the week since they used the TIG welder for a 5 minute job, and a tank you thought was full because you filled it a week ago is now empty.
 
Thanks Grumpy!

I know all too well what it's like to have to work without things we've become accustomed to. The past few years I've been slowly building back my tools & shop equipment. While moving from CT to FL my truck/trailer full of tools was stolen and insurance wouldn't cover anything. I try to stay on top of consumables.

Making progress, need to remove interior to finish the last sections. Found a little rust on the passengers rear seat pan I'll take care of and need access to the bolt heads for the sway bar supports that attach to the floor pan.


consumables are a MFer... if i could get back all the time i spent running to get a pack of vacuum caps or zip ties or certain hardware or masking tape... wow i would be back in 2010 for sure, haha. ive made a list on my dry erase board in the shed of things i need next time i go to the hardware store and i get in a habit of making the trip often to knock out things on that list that ive run out of when i can afford to.

i think it would be a neat business idea to provide shops with consumable goods like that... the same way some shops get rags and uniform services, you can save shop owners time and have a delivery van that drops off packages of zip ties and tee fittings and odds and ends like that. theres so many shops here in miami that if you had 10% of them as clients you would need a fleet of delivery vehicles.
 
Back
Top