My Cam Research for the Experts Eye

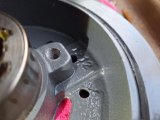
Not happy - I found a small oil drip under the balancer. Looking closely, it appears to be at the balancer seal - the oil pan seal is dry.

New seal of course, installed carefully with the front cover off and lubed with transmission assembly lube until first engine start.

Here's what I'm thinking as a possibility...
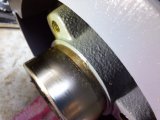
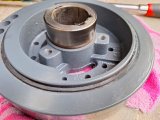
The balancer had a very slight ring where the previous seal was riding. As a preemptive measure I installed an SKF sleeve on the balancer to provide a new surface. I used the install tool and sealant provided in the kit. I also applied a very light touch of permatex to the keyway slot.

If you look in the picture that sleeve doesn't go all the way to the front of the balancer. I had measured where the ring was vs the end of the sleeve. It was close but the new sleeve covered that ring. But now I'm wondering if for whatever reason it's too close and there's some oil seepage right at the edge of the seal. But as I recall the removable push ring on the sleeve went to the bottom of the balancer. By "bottom" I mean the forward face of the balancer. The balancer was removed and installed using the proper tools.
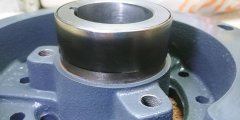
672022141156.jpg

Maybe the new seal is at fault, or for some reason it sits in a slightly different location. The cover itself is a GM performance cover, thick steel and aligned ok. There's also a functional pcv system on the engine so I don't think its an internal pressure issue pushing oil out.

As always your advice is appreciated, but it looks like I need to pull the balancer and inspect shaft and seal. For sure I'll install a new seal and a new stock balancer isn't that much. I think I can do this with the radiator in the car but I'll have to measure to verify. At worse I'll have to pull the radiator, not that fun.

First I'll use my inspection camera to get a really close look underneath. There's a frame tab right under the balancer so I can't just eyeball it directly.

Thoughts?

Edit - after above post I put a piece of cardboard on the frame rail under the balancer. Today I looked at and its dry. I also used my camera and found no telltale drop and I think I can see that small section of non-sleeved balancer shaft, so it seems that the seal should be in the right place. But that oil drip under the car has to be coming from somewhere!

This is mystery drip #2, I'm still looking for the drop that accumulates at the oil filter rail, its not the filter. I trace upwards, especially at the valve cover and back of intake and cannot find the source. Very difficult to put baby powder back there with the engine in place. Feeling like an idiot at this point. I may add dye and see. Engine runs like a top. I know where the oil returns are on the head, if oil was seeping at the back of the head gasket for some reason, seems that there would be other tells as well?

Note - both of these oil leaks are a few drops over at least 24 hrs, not a quick immediate leak.
 
Last edited:
after above post I put a piece of cardboard on the frame rail under the balancer. Today I looked at and its dry.
It maybe that it's only going to leak when the engine is running. So once you wiped the oil away, there is nothing more to drip.

I don't have any suggestions, only that maybe when you pull the balancer you might spot the problem.
 
Yes, I think some detective work is needed. If it was oil pan, I'd see evidence or a drop. It's dry. Looking at the access, I think I can get the balancer off without radiator removal. I'll probably do this in between other work.
 
Yes, I think some detective work is needed. If it was oil pan, I'd see evidence or a drop.
That corner where the oil pan meets the timing cover is always suspect, but you already knew that I'm sure.

It's not you have been driving the car and wind is blowing the oil around making it harder to determine the leak location. Has the radiator fans been running much???
 
Yes they've run every time, not constantly but quite often as ambient temp is pretty warm. Very good point, I'm also going to inspect everything from intake down, but the front mounts, timing cover etc are all clean.
 
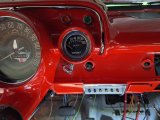
That little panel might make more sense now, installed. Connected, all circuits work fine. There's an aluminum trim panel that's not installed yet - it runs the length of the center section of the dash where the ignition switch etc are.
10202023161330.jpg
 
Last edited:
As I mentioned, it really wasn't worth doing a full blown th400 build thread with so much info available online so I deleted it.
I'll stick to general milestones only, today was disassembly day. Next is inspection and figuring out what additional parts may need be needed besides the rebuild kit parts and planned moderate upgrades.
1000001126.heic.jpg
1000001125.heic.jpg
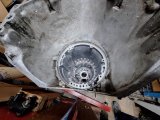
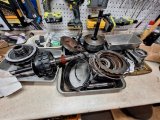
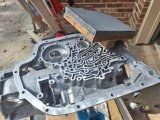
Overall, its in decent shape, no fragments and just moderate debris inside. A couple drums look suspect though.

Baseline Info:
This th400 was a junkyard pull out of a 1984 k-series 2WD pickup, mileage unknown. Installed in the first build on this car in 1990 if I remember right. Its never been opened up before other than my installation of a basic B&M shift kit (plate) sometime after that, and a few fluid/filter changes. My guess from looking at the clutches is that the unit looks like fairly low miles. The bushings generally look decent but I'll still replace them. The highest wear I see is on the planetary drum from the reverse band. I'll replace that drum. I've not yet looked at the clutch steels, pump gears etc. so my opinion may change! As I progress I'll post more interesting things and also give a list of all upgrades.
 
Last edited:
Case leveled, threads chased, bores scotchbrited (square of SB attached to coat hanger wire in drill works great), air gun thru everything, pressure cleaned, wiped inside with fluid, bagged. I'll be replacing bushings in it too.
1000001563.heic.jpg

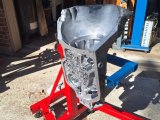
I absolutely love this holding fixture! So easy to move the transmission and super solid.

By "leveled" I mean that the entire lower surface was evened out using a large block with sandpaper. All those surfaces are on the same plane. Works great. I also used it on the end of the case where the tailshaft attaches, and I'll use it on the valvebody itself.
1000001562.heic.jpg
 
thanks for the update and pictures, and related info on the trans holding fixture
 
Looks like a block of wood? How do you know it's flat, did you do something to make it flat?
 
It was run through a neighbors planer, about as straight as I could get it. I'm confident it works well - I used it couple years ago for a quick diy cleanup on a Honda civic cylinder head and block for new head gasket. Still running great today.
I also checked with a machinist straightedge, all good. With the separator plate/dual gaskets there's a bit of surface forgiveness too.
 
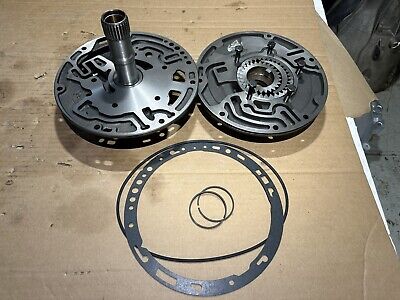
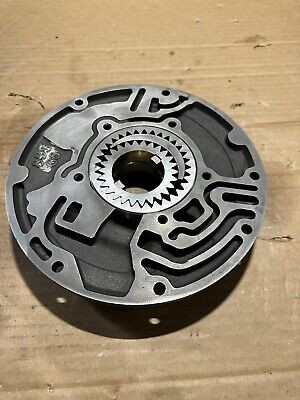
Looks like I may need to consider pump repair and definitely a planetary drum. The pump has some mild wear. I'm debating whether to just get new gears but the current gears are well within spec on distance from body and they don't look terrible.

Mild wear on the pump body, you can still see factory decking marks going right up to where the inner gear runs. Gear marks don't really catch my fingernail so I think it's ok.
1000001585.heic.jpg

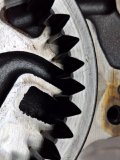
The gears have some wear and one lug shows wear. Converter hub looks ok no scoring. Pump bushing is pretty bad, looks like it got some debris embedded.
1000001586.heic.jpg
1000001587.heic.jpg
1000001589.jpg

Drum is scored from the reverse band which applies for reverse and forward motion. I'll replace it.

1000001574.jpg

These are the only unexpected parts costs I've found in the unit. I'm on the fence on the pump gears as I don't want to replace them with chineseum parts.
 
Last edited:
I'm also doing as Rick had done, parts are labeled per the ATSG diagrams. Even if it's obvious what part it is, just to be 100% sure parts aren't overlooked.1000001601.heic.jpg
1000001602.heic.jpg

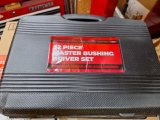
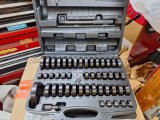
I bought this reasonably priced bushing driver set. Works really well, I like the 1mm increments.
1000001599.heic.jpg
1000001598.heic.jpg
1000001600.heic.jpg
 
These are the only unexpected parts costs I've found in the unit. I'm on the fence on the pump gears as I don't want to replace them with chineseum parts.
I used CK Performance for my 200-4R parts His competition pumps look to be high priced but maybe you will see it differently. The drum seems to be a better price.


Just keep it mind it much easier to fix it right the first time. Pulling the trans and going back in inside is no fun!!! You've done such a nice job so far, I would hate to see you take the easy route now.

.
 
Great info, thanks Rick. I agree that its better to not cut corners on a "maybe" part. I'm pausing to check out replacement pumps. In the meantime I'll continue with the transmission work.
That reminds me to go back and check the crescent and outer edge where the pump gears ride.
For the record, its an "895" later series pump, the CK rebuild pump link shows that.
Oil drip I had mentioned can wait for now.

I've bought stuff from this vender before for a 4R70W transmission, nice quality. I'm not saying I'm rushing to buy, but its a consideration as its an entire assembly. What the question is - how much decking did the surfaces receive and what's the pump gear thickness and clearance. Pump clearance will need to be checked regardless, it was over spec to begin with.

Another consideration, as my stator appears to be in good shape.
 
Last edited:
Ran the engine today and the oil drip is from the balancer seal :bhow:
Appears to be increasing amount so I'm think that seal is blown for some reason.
It's enough of a leak that I need to repair it as my next task. Maddening that with new seal and balancer sleeve this happens.
The autopsy will hopefully shed some light on why this happened.

Edit - looking into access for puller/installer and getting the balancer seal out, I may as well bite the bullet and pull rad/fans. Very limited space in there plus I want to have a very clear view of everything and to ensure I do a good job of it.
 
Last edited:
I'm glad I pulled the rad/fans, no way I could inspect and work in there with them in place.
1000001850.heic.jpg

I'm going to ask for your input here, a bit difficult to see a smoking gun.

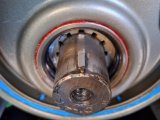
First, the crank bolt and the face of the crank (balancer in place) looked ok. The slight oil you see is from installation, plus I used a wipe of permatex on the keyway. So conclusion here is that no oil was escaping from the end of the crank, facce of balancer is dry.
1000001854.jpg
1000001853.jpg

Inside the balancer there is a very light oil film, not enough to drip, but it's there. Difficult to see because the paint is glossy. Incidentally the fit of the balancer is good on the crank. A puller is needed to remove and an installer is needed to install. Both take the "right" amount of effort if you know what I mean.
1000001855.heic.jpg

The sleeve appears to be fine - you can see the line of the seal a bit over halfway on it, so that tells me sleeve installation is ok. There is a light oil film on the outer edge of the balancer (the part that's outside of the timing cover seal.
1000001857.jpg
1000001856.heic.jpg

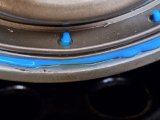
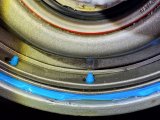
There is a pooling of oil on the lower edge of the oil pan. It's also around that center blue locating nib.
1000001858.heic.jpg
1000001859.heic.jpg

I don't think that this is from the oil pan seal for these reasons:
- same oil pan was used, never had a leak there.
- last build also successfully used a one-piece oil pan gasket
- that one piece gasket is about .25" thick, you can see the compression after installation. The width of the gasket is about .5" so IMO it's unlikely that the gasket is compromised.
- there is also a smear of gray permatex at the front/rear u-parts of the seal. I'm confident it's stuck well in place. The old gasket had received the same treatment, and over 20 years later it was still stuck.
- I paid a lot of attention to the placement and installation of that oil pan gasket. That edge of the blue lip may be inward slightly but the gasket is tight in place.
- if there was a leak, I would not expect to see oil around that blue nib, rather it would seep below that level.

What I did notice was if you look right below that blue nib there looks to be a gap on the timing cover lower stamping edges. But this cover was used before as well and it's a GM cover, not an overseas stamping. The lower curved edge is part of the formed stamping, and the upper curved part is just a stiffener tab added. So there's not really a gap in the cover itself.

Also, on the same picture above, there's a light oil film on the seal housing - that steel part of the sleever that has the red sealant. It's the ring of the sleever that presses into the cover.

So to me, I think that the seal is weeping during operation only. No drip when the engine is off. Looking at the balancer sleeve, there is a mark from the seal but it's doesn't really look that well defined, as if the seal is wiggling a bit when the crank is turning. I expected to see a sharp line where the seal was contacing the sleeve. This is a Fel-Pro sleeve.

I did find some info online where there were complaints about F-P balancer sleeves not sealing. The fix was to resort to another brand and in some cases, several sleeves were purchased and compared on their grip to the balancer. Some comments related only a tiny bit of misalignment caused the F-P seal to leak. I'm going pull the seal as carefully as I can to see what grip it may have on the balancer, but I think I casually checked it when I put the engine together, seemed to be ok.

So my conclusion is that oil is weeping out out of the seal, collecting at the lower pan edge and dripping down onto the frame/floor. The leak has increased as the engine run time has increased, so I think that the seal is continually compromised. I've had pan gaskets leak before and it's not an increasing amount like this. Note that it's not a pool of oil under the car, but it's enough to make a 2" circle on cardboard now. I may buy 2 -3 different brands and compare them on the balancer. Worth the slight expense if it's a fix.

I know this is an extended "analysis", but I'd really like to just to do this repair once!
Interested to see what you think, many thanks.
 
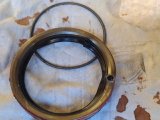
I removed the old seal today. I first tried to pull a screw threaded into the seal but no luck. I really wanted to keep it as intact as possible. Had to resort to some pulls with my seal tool.
1000001872.heic.jpg

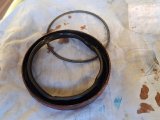
Nothing strange found on the seal, the inner spring was in place.
1000001873.heic.jpg
1000001874.heic.jpg

I happened to have a duplicate FelPro seal so I took some measurements. I also checked the distance from face of lower timing gear to seal lip. This was .350", so it verified that the seal rides properly within the depth of the balancer sleeve.

Balancer sleeve OD = 2.360".
New seal ID = 2.260"
Overall difference is .100", or .050" compression around the sleeve when the seal is installed. Seat of the pants feel of the seal on the balancer seems to be ok, subjective.

I'll still get a GM seal and a National seal to check their IDs. But from what I've found, .050" seal compression should work fine. Unfortunately I never thought to measure the first seal ID, just assumed it was going to work.

Edit - I just looked closely at the old seals - the old one is National included as part of a Felpro timing cover gasket set. So when I said Felpro in this post I guess I'm really talking about National. The new one I have is marked CHO 06321.
 
Last edited:
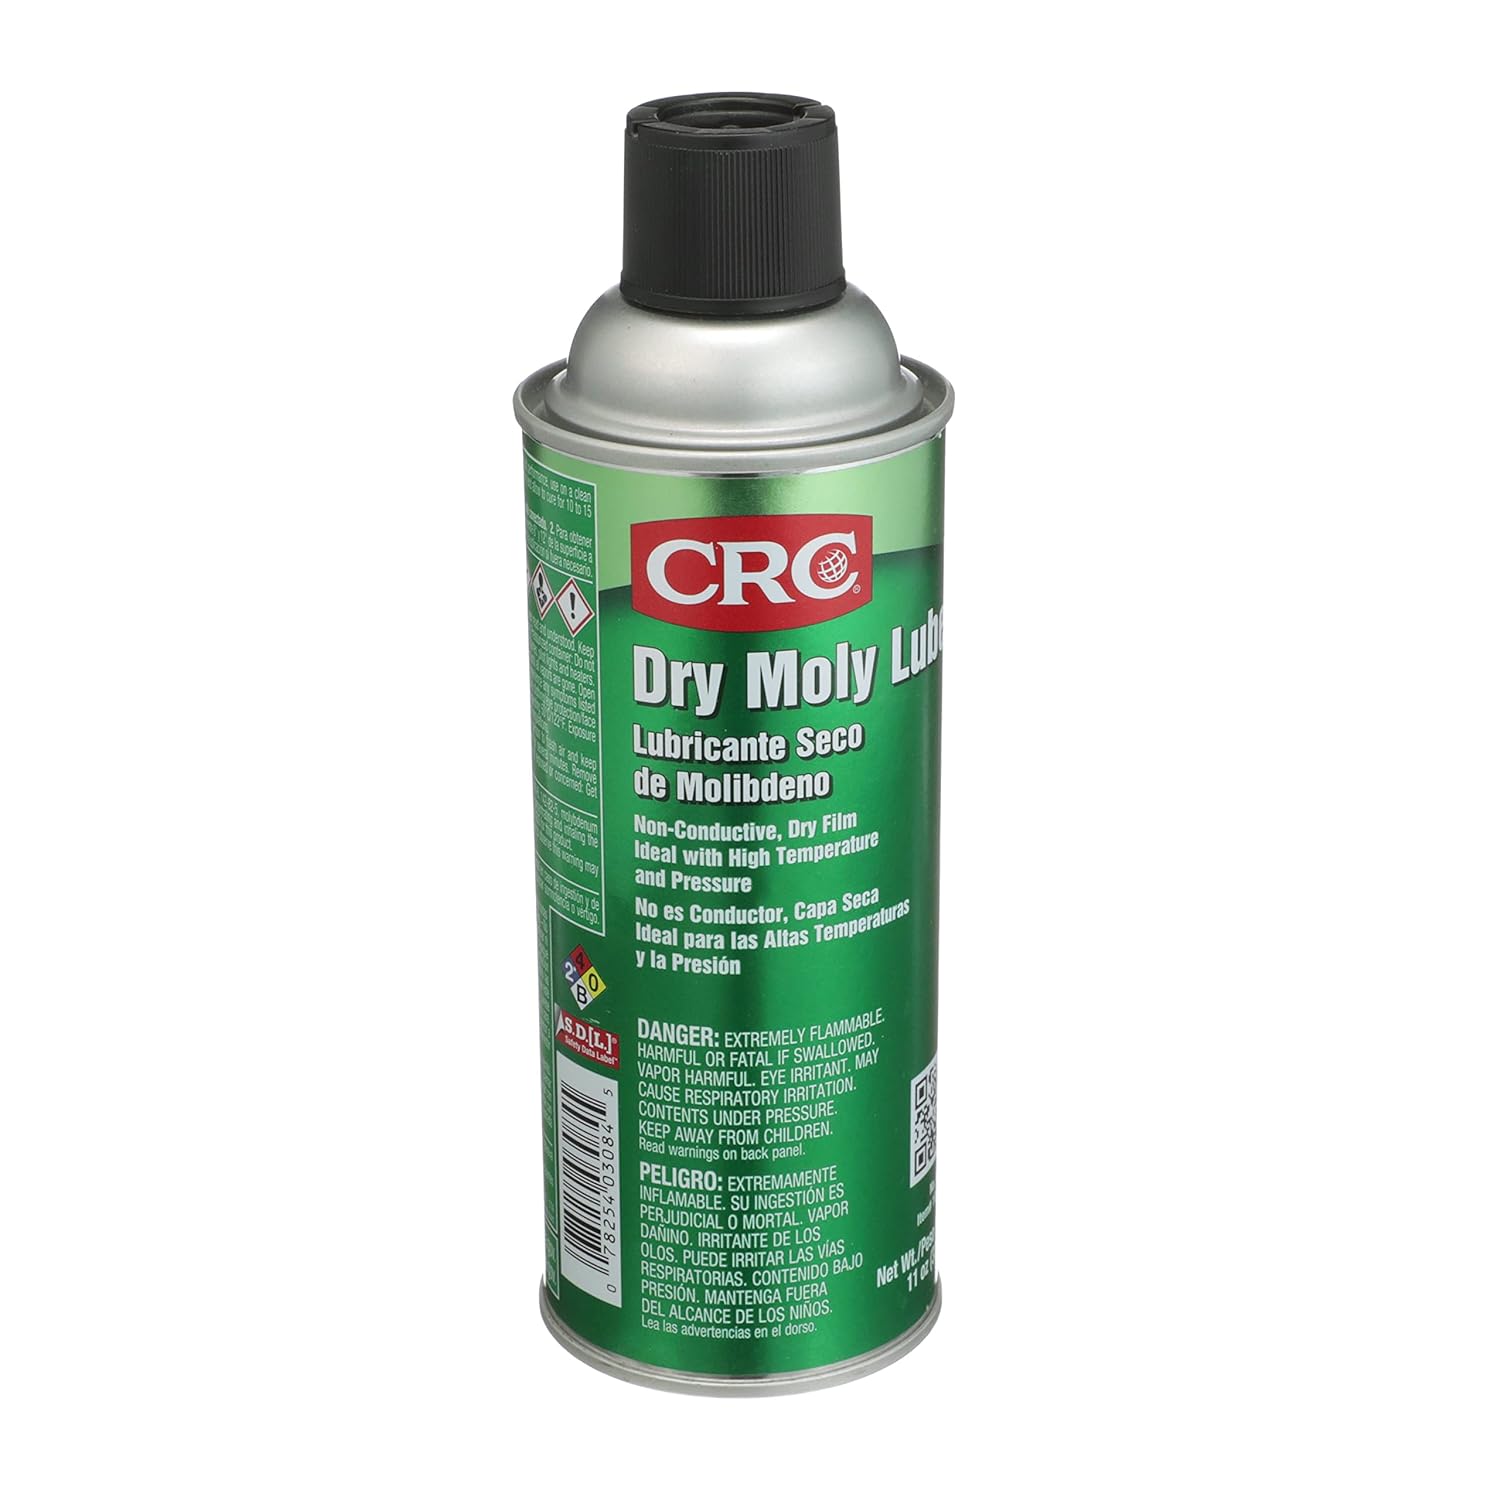
Id suggest installing the new seal, timing chain cover and spraying the contact area on the crank and damper,
where it contacts the crank snout and outer damper to timing chain cover seal surfaces with a decent spray lube, I've always used,
moly spray but there are lots of option's


I have used viton timing cover seals on most applications


71sFLRKuDNL._SL1500_.jpg
 
Last edited:
Back
Top