Planning a new 383 build that is now going to be a 400

011.jpg

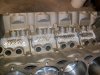
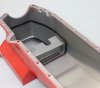
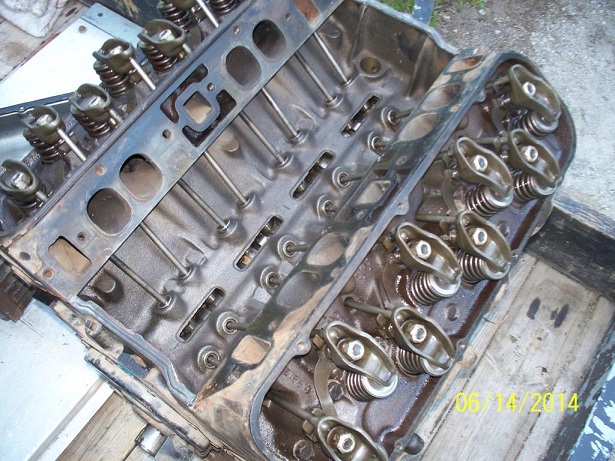
you can cut 4 individual shrapnel screens like the picture above and epoxy them in place or on some blocks a lifter gallery long single shrapnel screen can be fabricated
008X008S0280W36T.jpg

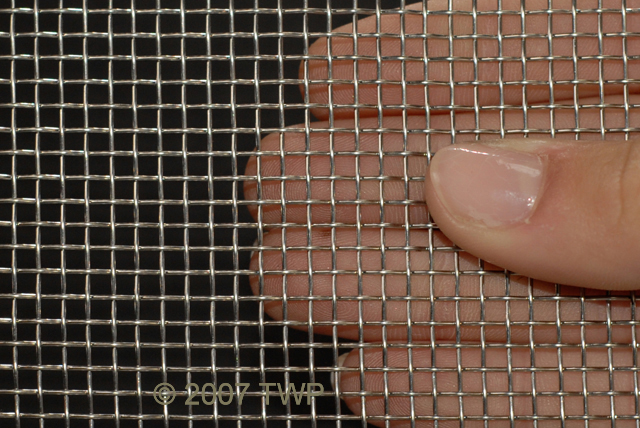
while I generally use stainless 6 or 8 mesh screens theres lots of options that will work just fine, just remember to keep the oil changed regularly or theres some potential for sludge to clog ANY size shrapnel screens
http://www.twpinc.com/twpinc/products/T ... 6T0350W36T
http://www.twpinc.com/twpinc/products/T ... 8S0280W36T
bbc5691.jpg

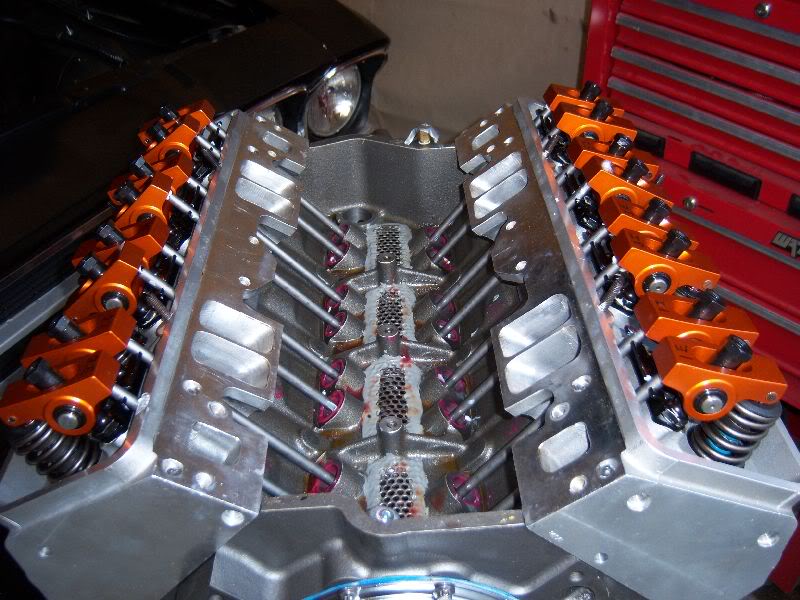
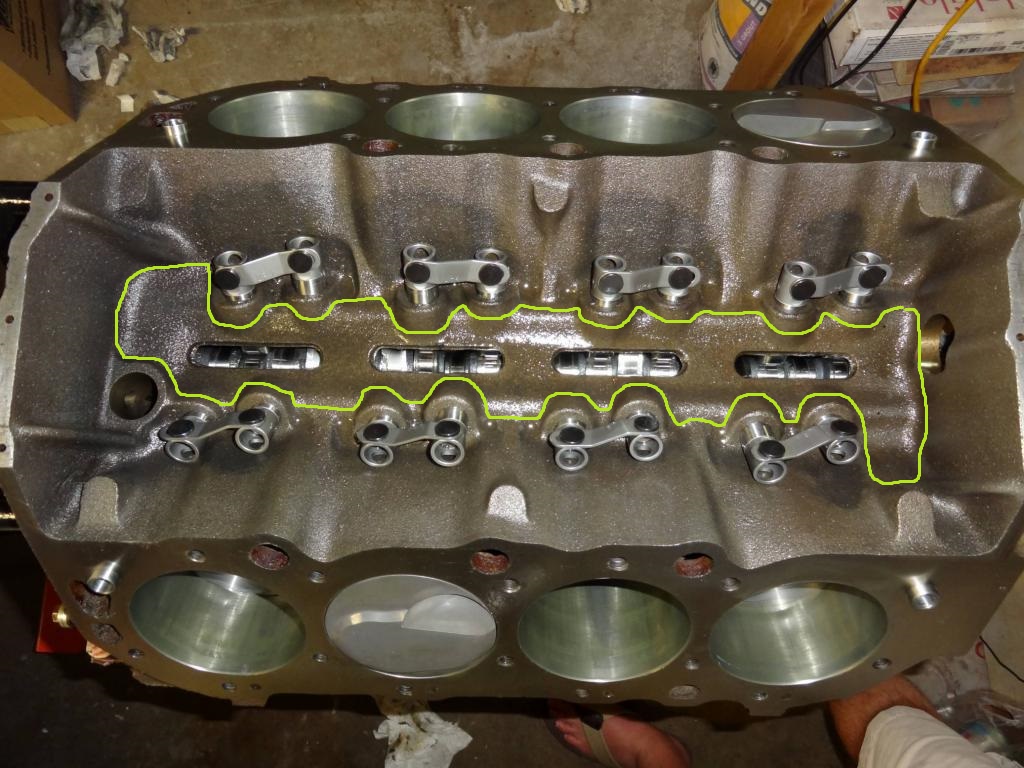
AS YOU MAY NOTICE DOING THIS ON A BIG BLOCKS A BIT EASIER
that stainless perforated steel should be fine, in fact nearly ideal as long as you fabricate a single plate shrapnel screen to lay over the lower lifter gallery floor area, making a single drop in shrapnel screen (usually with several magnets ) has the advantage of far more surface area and far easier cleaning than the typical epoxyed in individual screens and if you've never done that here's how you go about making the pattern easily.
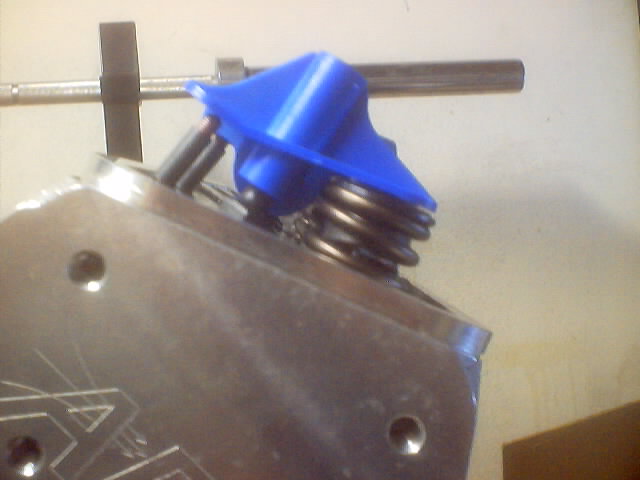
first you place the block with a level on the block rails and move it around until the level indicates the block rails are level in all directions, next you place 3 full block length layers of tin foil in the lifter gallery floor over the oil drain areas and smooth them out, then you heat about 4 blocks of paraffin wax up, and pour it in to fill the lifter gallery floor up to the mid point on the lifter bores , on roller blocks the wax won,t cover the spider spring bosses
please pardon my rotten computer graphic skills
maingallery.jpg

bbcdp7sx.jpg

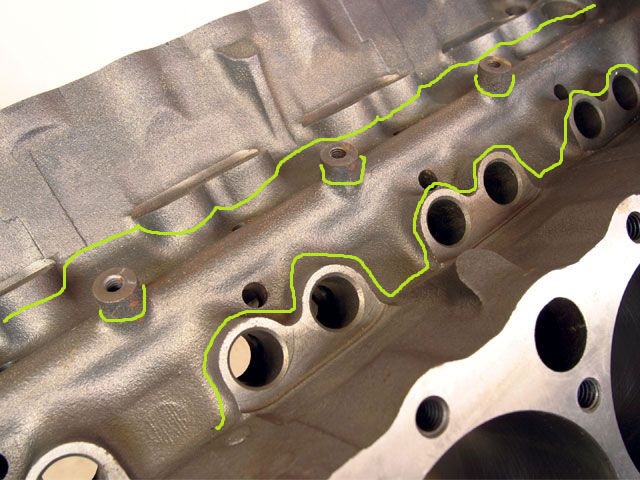
once the wax/paraffin hardens you lift it out , carefully flip it over on the perforated steel, remove the tin foil and spray the paraffin outer edge with black paint, allow it to dry then remove it, the result is a stenciled outline showing the shrapnel screen, pattern to cut out for a custom fit.
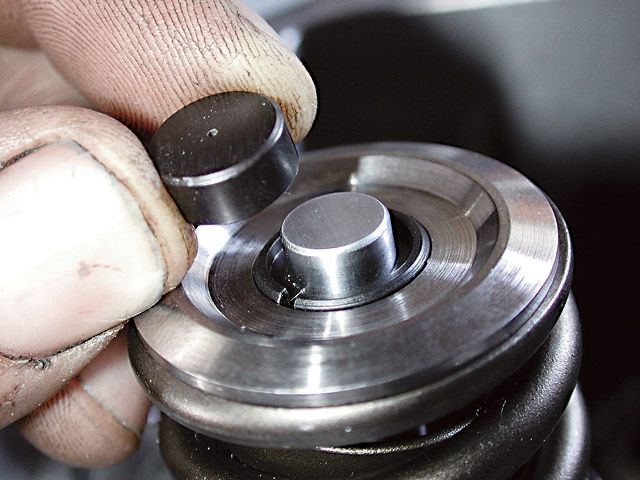
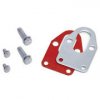
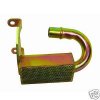
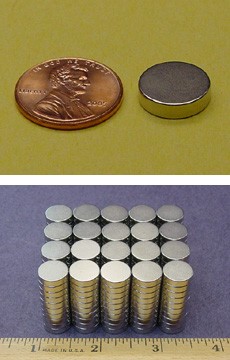
"Any source for the magnets Grumpy? "
http://www.kjmagnetics.com/proddetail.a ... SH&cat=167
Ive used these for years
http://www.magneticdrainplugs.com/

http://www.kjmagnetics.com/proddetail.asp?prod=D82SH

D82SHL.jpg

btw I generally bend my perforated steel or aluminum lifter gallery floor covering shrapnel screen in an arc to allow the center to be higher than the edges , and BTW aluminum and stainless won,t stick to magnets so use J&B WELD EPOXY
jbweld_lrg.jpg
 
A magnet will stick to 409L stainless, but I am not going to trust it. 409L has a large amount of carbon steel in it. Thats how you identify it, by sticking a magnet to it. Haha! But it doesn't stick like regular carbon steel.
 
Hey Grumpy and or Brian, how much does a lash cap decrease the length of the pushrod? Just curious where to start with my adjustable pushrod when I start measuring for the pushrod length. I am starting at about what Indycars measured his at, his are 7.45, so I am going to take away bout what a lash cap will decrease that length.
 
busterrm said:
Hey Grumpy and or Brian, how much does a lash cap decrease the length of the push-rod? Just curious where to start with my adjustable push-rod when I start measuring for the push-rod length. I am starting at about what Indycars measured his at, his are 7.45, so I am going to take away bout what a lash cap will decrease that length.

lash_caps.jpg

Adding lash caps to the tip of the valve stem will INCREASE the effective length of the valve stem thus to maintain the correct valve train rocker geometry your usually need a similar INCREASE in the length of the PUSH ROD length

viewtopic.php?f=52&t=1376
 
I like using Lashcaps whenever possible & budget allows Bob.
Adds Durability to the Valvetrain.
Some argue its added toss weight at the Valve but they only weigh 1-2 grams each.
 
grumpyvette said:
busterrm said:
Hey Grumpy and or Brian, how much does a lash cap decrease the length of the push-rod? Just curious where to start with my adjustable push-rod when I start measuring for the push-rod length. I am starting at about what Indycars measured his at, his are 7.45, so I am going to take away bout what a lash cap will decrease that length.

lash_caps.jpg

Adding lash caps to the tip of the valve stem will INCREASE the effective length of the valve stem thus to maintain the correct valve train rocker geometry your usually need a similar INCREASE in the length of the PUSH ROD length

viewtopic.php?f=52&t=1376
I guess my thinking is backwards, I was thinking it changes the needed length by decreasing the length, and your telling me it increases the length. Does that lift the rocker arm up the same amount?
 
the angle between the tip of the rocker and the push rod and valve at mid lift is fairly critical to limiting valve guide wear and friction, so any additional height added to either the push rod or valve stem, needs to be closely duplicated, to maintain that angle, thats why they sell push rod length checkers, you slide it on the rocker stud and it should touch BOTH the tip of the valve and the tip of the push rod if the rocker and valve train geometry's correct
auto0075kn.jpg

rockg1.png

rockg2.png

rockg3.png
 
It is getting pretty warm down here in Whiskey Tall Falls, so for the upcoming work on my build I flipped the switch and bought a window unit AC for my geerage. Measured floor space and bought a 5050 btu unit. I was out there the other day after it had rained and it was humid and hot. I tell myself, "This is not going to work!", so here she is my lifesaver!
 

Attachments

  • 002.JPG
    002.JPG
    220.1 KB · Views: 47
Cool !!!! Pun intended !!!

Did you buy two, so you would have one to bring
with you next time you come up??? :D
 
Indycars said:
Cool !!!! Pun intended !!!

Did you buy two, so you would have one to bring
with you next time you come up??? :D
uh thought you have central heating and air in your shop!
 
Indycars said:
busterrm said:
uh thought you have central heating and air in your shop!

If you are thinking about that box hanging from the ceiling, that's just a heater.

Oh, okay, well walmart has those lil AC units for about 110 bux.
 
finished the shrapnel screens, buffed them up, cleaned the block and JB welded them in. Here's what it looks like! I did bend a slight radius in them before and they fit a lot better Grumpy.
 

Attachments

  • shrapnel screens 003.JPG
    shrapnel screens 003.JPG
    276.6 KB · Views: 33
I broke down the rotating assembly and going to box it up tomorrow. I will take it to the machine shop for balancing probably friday. I have to do some work on the oil pump and screen, then start the work of cleaning up the heads and intake. I still need to look at the distributor and see if need to make some adjustments on play and clearances.
 
I am thinking of using a windage screen and going to fabricate it myself. I am considering using a small scale form of expanded metal to make it, going to design it and have a friend tig weld it to the pan. Grumpy how much clearance should I have between the screen and the rotating assembly? I was wondering what is the advantage of a windage screen, I forget?
 
Just ordered some parts, got the starter rear bracket, tranny lines, roller pushrod fuel pump, fuel pump mount, oil pan and oil pump pickup.


I decided to go with a larger oil pan, I have a 5 quart but thats only one quart more than OEM, I just felt I needed more.
 

Attachments

  • 3965589-a.jpg
    3965589-a.jpg
    386.7 KB · Views: 10
  • transmission lines.jpg
    transmission lines.jpg
    3.7 KB · Views: 10
  • fuel pump mount.jpg
    fuel pump mount.jpg
    4.8 KB · Views: 10
  • oil pan.jpg
    oil pan.jpg
    27.1 KB · Views: 10
  • oil pump pickup.JPG
    oil pump pickup.JPG
    14.3 KB · Views: 10
  • fuel pump pushrod.jpg
    fuel pump pushrod.jpg
    2.3 KB · Views: 10
busterrm said:
I am thinking of using a windage screen and going to fabricate it myself. I am considering using a small scale form of expanded metal to make it, going to design it and have a friend tig weld it to the pan. Grumpy how much clearance should I have between the screen and the rotating assembly? I was wondering what is the advantage of a windage screen, I forget?

read thru these threads
viewtopic.php?f=54&t=64&p=77#p77

http://www.chevelles.com/techref/ScreenInstall.pdf

youll want about an 1/8" clearance on the windage screen to the surface of the rotating assembly's arc, but remember youll ideally want a 7-8 quart baffled oil pan, with that windage screen
 
Back
Top