You are using an out of date browser. It may not display this or other websites correctly.
You should upgrade or use an alternative browser.
You should upgrade or use an alternative browser.
My Cam Research for the Experts Eye
- Thread starter TXChevy
- Start date
So at this point electrical and fuel are essentially done, a few connections and all-important fuel system pressure check to be done.
In order to do that stuff I'll need to get a battery in there and start checking/activating circuits related to fuel pump and engine run. When I build a harness or any circuits, I always do continuity checks first, then slowly energize each circuit one by one, marking them off on my circuit list as I go. I put battery power to each fuse block and first check voltage at supply side of empty fuse holder. Each fuse block is fed through a circuit breaker so if there's an overall problem I'll know. If voltage is ok I'll plug in a 2a fuse - nothing is on, so all I'm doing is verifying that the circuit is not shorted and I don't need a higher amp fuse for that. In fact, I want a "delicate" fuse to blow right away if there's a problem. If that's ok then I plug in the proper fuse and activate the load side, and if that's ok that circuit is good to go.
May sound tedious, but I can't be too careful as I'd prefer not to burn down the car at this point
After that is getting the cooling stuff finished. That will also include reinstalling the front cross support.
I'm impressed that you've thought things through and test before assuming everything is 100% correct, while new wiring rarely fails if correctly installed everyone eventually makes a mistake or two, your correct in the use of a lower amp test fuse, so many guys fail to think through electrical issues, and eventually that results in either damaged wiring or even damage to electronic or in rare cases fires/ a few blown 2amp fuses sure beats electrical fires or damaged gauges etc.
if you had a c4 corvette this might also help
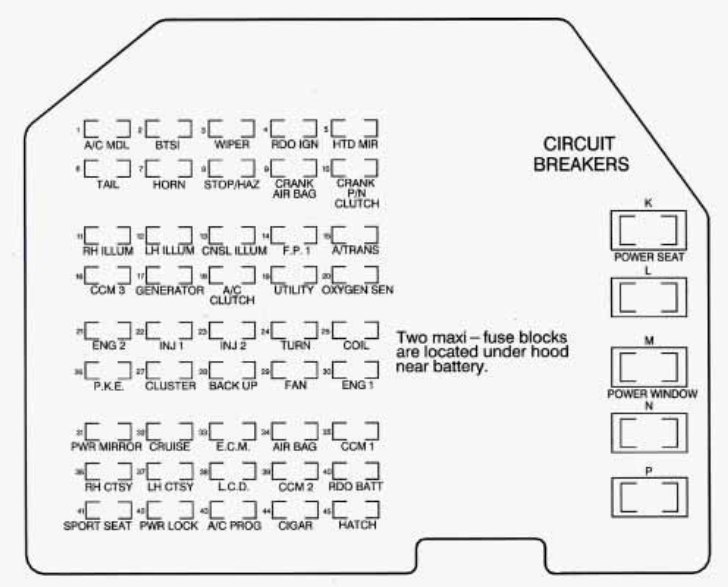
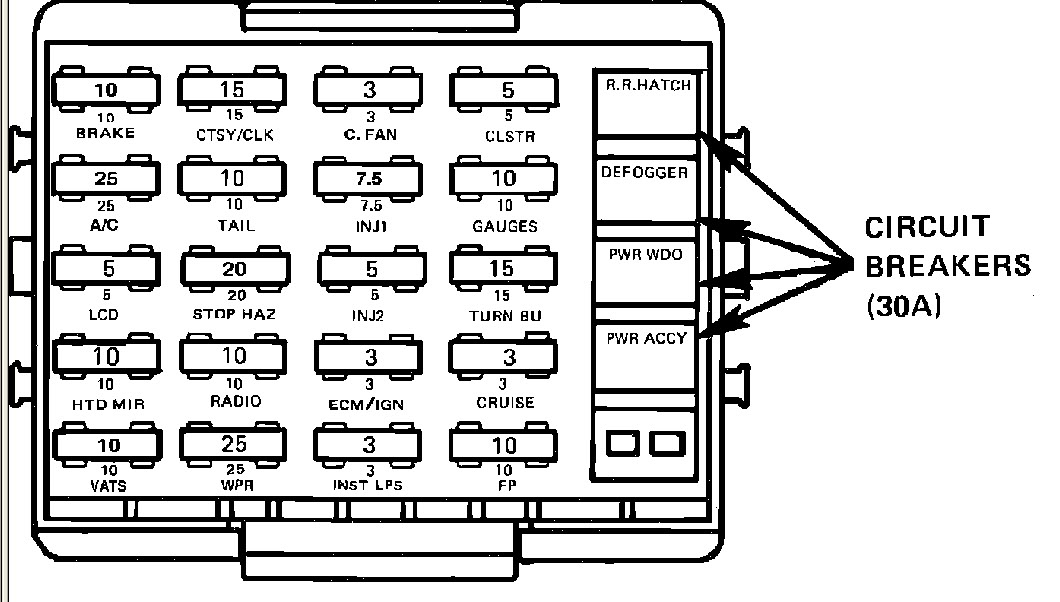
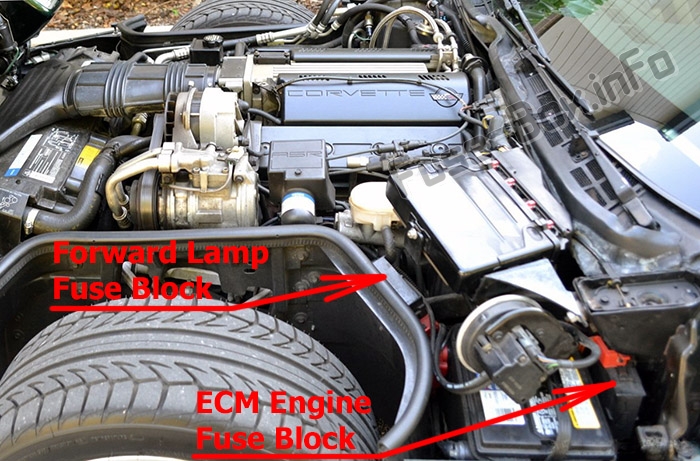
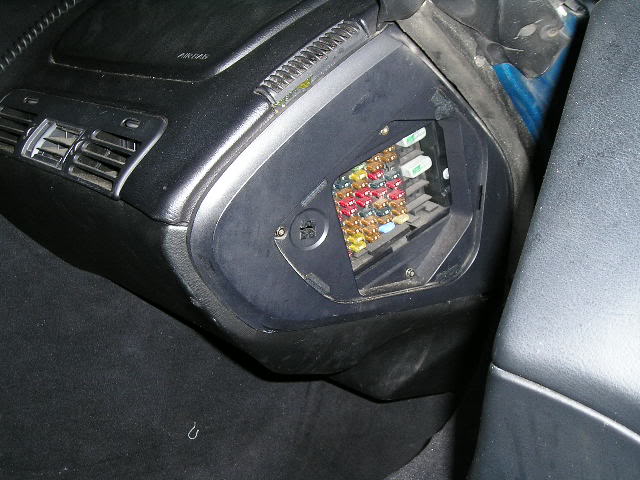
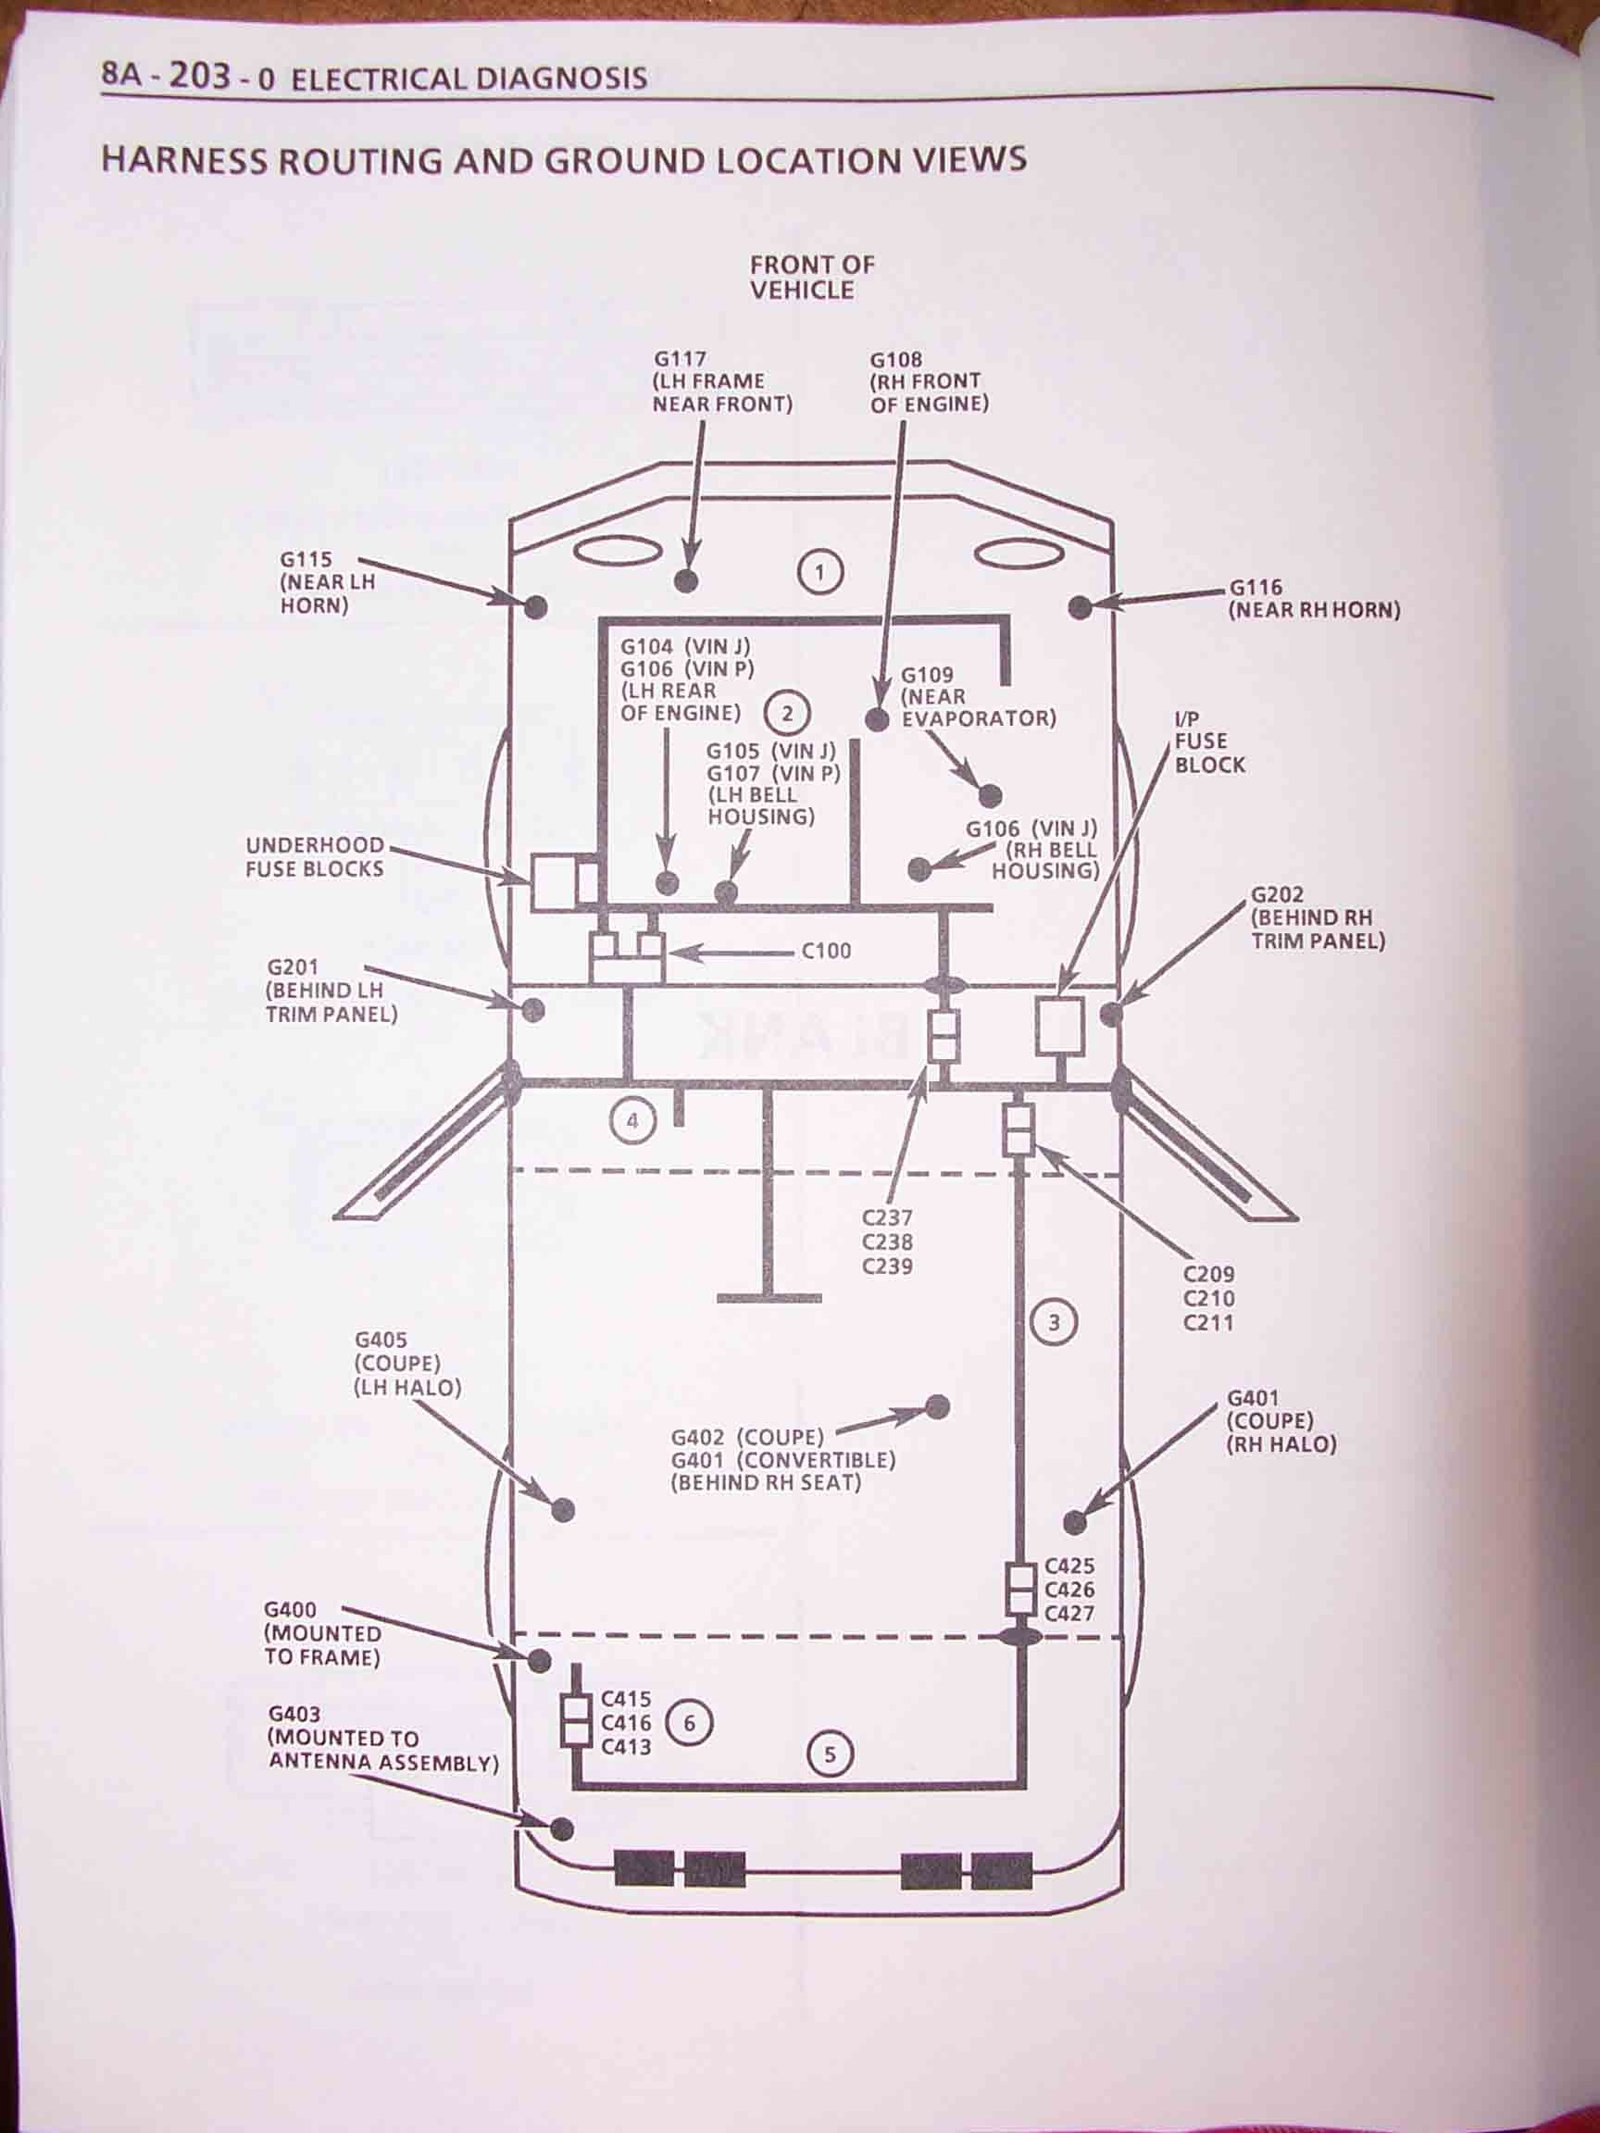
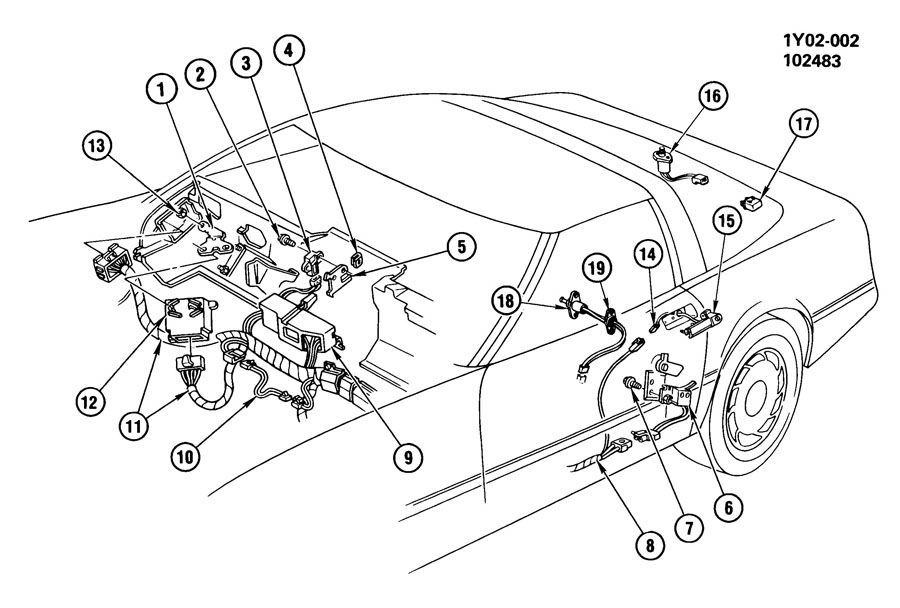
CHECK ALL YOUR FUSES WITH A MULTI METER
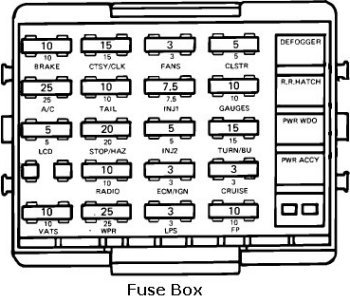
if you had a c4 corvette this might also help
tracking down the problem getting the engine started
If your car won,t start consistently, you need to isolate the problem to the source, you can,t isolate the cause without understanding the process, so you may as well start looking into how and why each step in the process starts , and how each step functions and triggers the next step. your...
garage.grumpysperformance.com
1988 C4 Instrument Cluster Has Stopped Working
have a 1988 C4 that I had to replace the wiring harness and before installing. I made sure all joints were soldered and all wires were good. When finished installing I did not have my instrument cluster. I do have all the idiot light, blinkers, high beams. They bright and dim as they are...
garage.grumpysperformance.com
Relay/s, Voltage Drop/s, Current Flow, Grounds and ... more
A relay is nothing more than a device that uses a low-current signal to operate a high-current circuit, he solenoid on your starter is a type of relay that uses the low-current signal from your starter switch to operate the high-current circuit between the battery and the starter motor...
garage.grumpysperformance.com
c4 & c5 corvette trouble codes
if your corvette won,t start or run, don,t panic its usually easy to locate the problems source, buy a CHEVY SHOP MANUAL FOR YOUR YEAR CORVETTE! RULE#1 never assume a damn thing ISOLATE ,TEST AND VERIFY...
garage.grumpysperformance.com
cooling off that c4 corvette
your stock corvette http://garage.grumpysperformance.com/index.php?threads/thoughts-on-cooling.149/page-3#post-107697 has a rather marginal cooling system if your engines been modified for significantly higher hp levels, that cooling system can be significantly improved upon.I run into this...
garage.grumpysperformance.com


CHECK ALL YOUR FUSES WITH A MULTI METER

Last edited:
Thanks Grumpy, yes there's info that's applicable to my work too. Especially interesting is the cooling info as I'll be using electric fans.
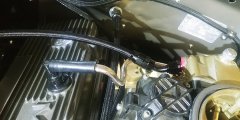
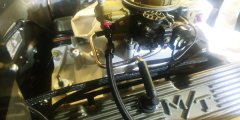
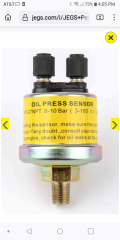
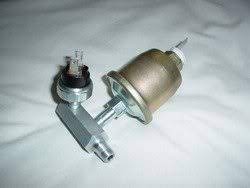
I've got a question - obviously I'll be installing an oil pressure sender for the oil gauge. I'll also install a very bright led oil warning light that typically will use an oil pressure switch. I have one because I also used the switch to cut the fuel pump in addition to the light.
I'd rather not do the tee thing with sender and switch, so I was looking at these 2 terminal senders. Term 1 is for gauge, term 2 is for a light. So it seems that I can use this for my purposes - my question is if you're familiar with this particular type of sender?

Last edited:
Why did you not paint the carburetor float bowls? Air horn?
Cerakote (Air Cure) is impervious to brake fluid, alcohol, acetone and brake kleen. It could be used on the master cylinder, backing plates and wheel cylinders and you would not have to worry about the paint while bleeding the system. You don't need to thin it, just pour it into your spray gun and shoot.
 www.cerakote.com
Cerakote (Air Cure) is impervious to brake fluid, alcohol, acetone and brake kleen. It could be used on the master cylinder, backing plates and wheel cylinders and you would not have to worry about the paint while bleeding the system. You don't need to thin it, just pour it into your spray gun and shoot.
Cerakote Coatings & Cerakote Swatch Samples | Shop All Products
See our complete collection of Cerakote Coating products. Shop by product series, unique coating attributes or application types.
Last edited:
as to the oil pressure sensor , I guess I did things just a bit differently, I ran the oil pressure sensor that cuts off power to the fuel pump, in series
with a LED light that indicated power was routed to and getting to the fuel pump as the wire that normally goes directly to the cars frame ground from the fuel pump was routed through a dash LED before going to the frame ground, thus I could see the led was lit if the fuel pump was running and I had an oil pressure gauge to check also, thus if the LED light was ON I knew the fuel pump was running and I must have oil pressure , plus the oil gauge would show the pressure, and oil temp gauge would show oil temp, if the LED was out I knew the fuel pump was not running and I would also glance at the oil gauges and the fuel pump would not run , nor would the LED light, if oil pressure fell below about 7 psi
BTW if go that route don't panic if the engines running fine and the LED goes out for a few seconds regularly, the fuel pump is also regulated on the high side pressure and it will occasionally go on/ off for a couple seconds, obviously having a fuel pressure gauge is a big help with diagnosing a bad fuel pump along with the LED and oil pressure gauge
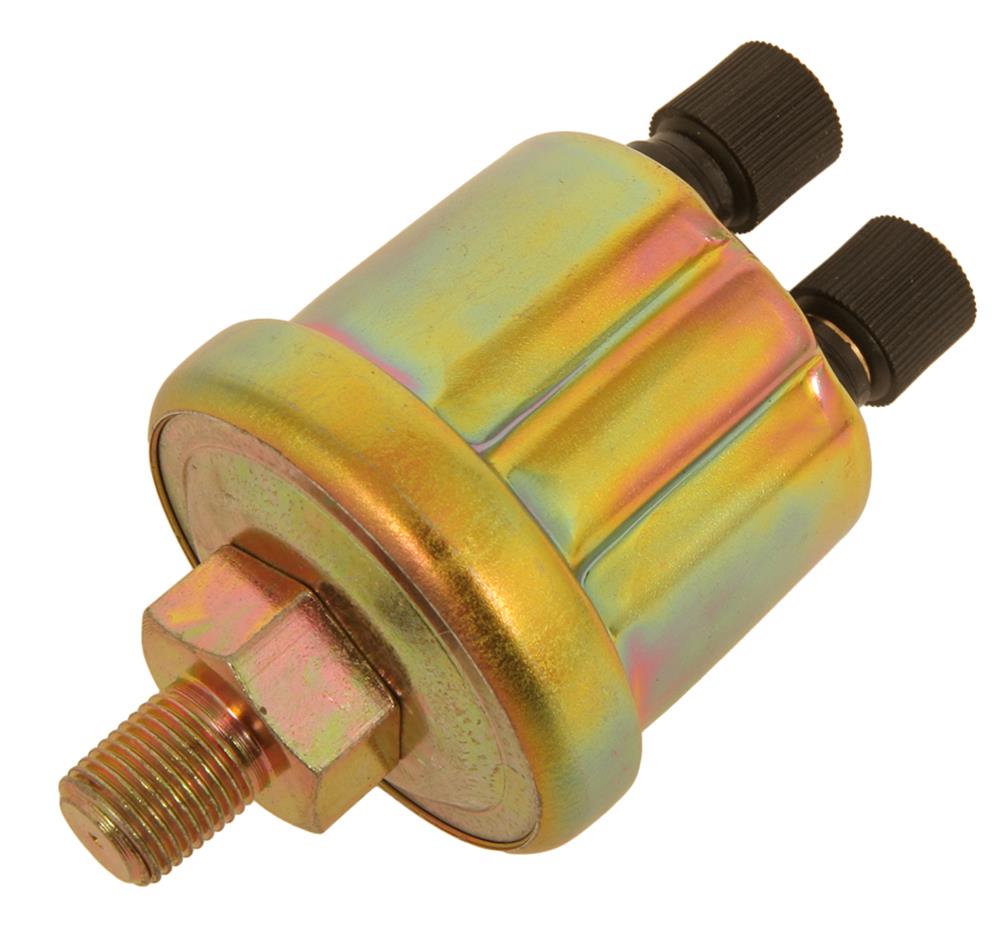
 www.summitracing.com

 www.motortrend.com

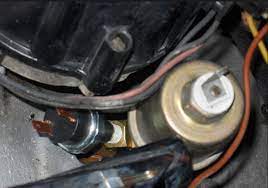
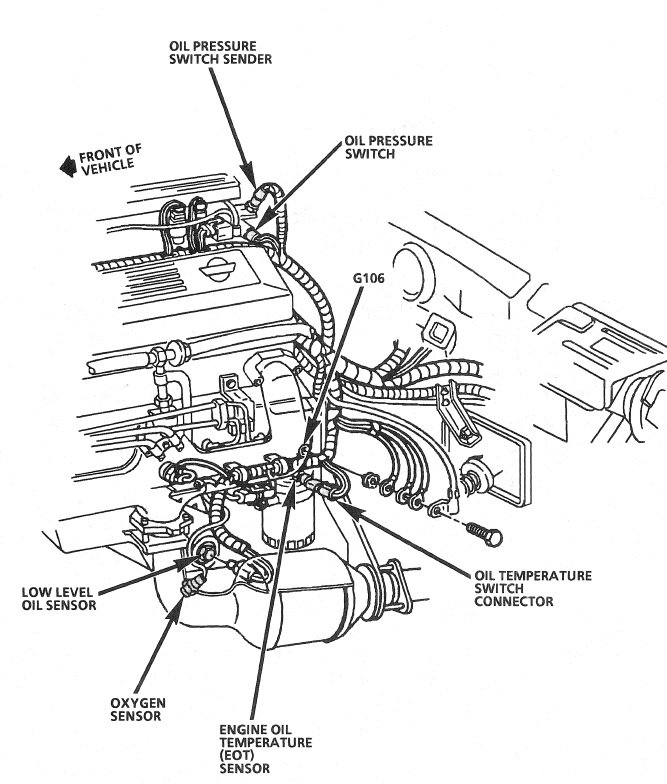 oil pressure sensors usually next to distributor base
with a LED light that indicated power was routed to and getting to the fuel pump as the wire that normally goes directly to the cars frame ground from the fuel pump was routed through a dash LED before going to the frame ground, thus I could see the led was lit if the fuel pump was running and I had an oil pressure gauge to check also, thus if the LED light was ON I knew the fuel pump was running and I must have oil pressure , plus the oil gauge would show the pressure, and oil temp gauge would show oil temp, if the LED was out I knew the fuel pump was not running and I would also glance at the oil gauges and the fuel pump would not run , nor would the LED light, if oil pressure fell below about 7 psi
BTW if go that route don't panic if the engines running fine and the LED goes out for a few seconds regularly, the fuel pump is also regulated on the high side pressure and it will occasionally go on/ off for a couple seconds, obviously having a fuel pressure gauge is a big help with diagnosing a bad fuel pump along with the LED and oil pressure gauge

Summit Racing SUM-G2977-S Summit Racing™ Digital Gauge Sending Units | Summit Racing
Free Shipping - Summit Racing™ Digital Gauge Sending Units with qualifying orders of $109. Shop Gauge Sending Units at Summit Racing.
curing that problem with how your c4 corvette runs badly or won't start
A recurring theme has been replayed over and over, READ THE LINKED INFO CAREFULLY THERES NOT A DAMN THING YOU CAN'T FIND AND FIX WITH A FEW TOOLS, AND SOME FAMILIARITY WITH THE CORVETTE< A SHOP MANUAL IS A HUGE HELP Id strongly suggest you systematically verify the cause rather than making...
garage.grumpysperformance.com

Safe and efficient electric fuel pump wiring using a relay and safety switch
Ensure max electric fuel pump output and safety with a relay for no voltage drop, plus an oil pressure switch that won’t let the pump run if the engine loses oil pressure.


Last edited:
Rick, I may paint them later but I'm fabricating the entire air cleaner assembly - carb will be just about hidden from view. The stuff you see painted was painted years ago, I just spruced it up for no good reason lol.
Edit - also, yes the intake has an additional threaded port behind the carb. I think it's 3/8 NPT. I'm planning to use that for the power brake booster. Location of the carb base fitting and this intake fitting worked out for the PCV and brake booster respectively.
Grumpy, thanks for info on the sender. Yes I had used the switch for fuel pump off before, but this time I'm using the Revolution Fuel Pump Controller. It allows for key-on 3 second priming, then uses tach signal to run (or stop) the pump. I like the priming convenience of this device. If engine loses oil pressure the engine will still run for a bit anyway from the fuel in the bowls - I mainly just want pump off if engine is turned off or shuts down and the "automatic" initial pump prime and run with key on and engine running. The old setup used a momentary toggle switch for priming and I didn't want that setup anymore.
Also in the old setup I had 3 lights for fuel pump - amber for momentary prime, green for running, red for not running. This time I'm only wiring in a red light for pump off. And in all cases, I use relays extensively.
Last edited:
Strictly Attitude
solid fixture here in the forum
Project is looking good!!
Thank you! I'm hoping its not going to be a static display lol.
I installed the Revolution fuel pump controller yesterday, pretty simple. But as you know the number of small details to cover seems to be in the hundreds. I'm knocking them down one by one.
Incidentally, I've attached part of my wiring diagram stuff. The fuse panel layout is somewhat similar to what Grumpy posted above. It's the only way I can keep track now and especially later of what goes where. Still a work in progress until everything is finished.
Attachments
Last edited:
Strictly Attitude
solid fixture here in the forum
Each step in the right direction is a step closer to done.
its generally a very good idea, too,
keep a bound note pad with notes in your glove compartment,
on the wiring, wire colors, wire gauges, relays used ,
ground locations, fuse amps, fuel and oil and air filter part numbers, type of oil used,
dates on oil/filter changes, brake fluid replacement dates, when the brake pads/calipers etc were last changed etc.
keep a log on, when alignments were done, what size and brand of tires you use,
and visually inspect the tires, brake fluid and oil levels every few days
and any time you remove a wheel, inspect the brake rotors, pads and ball joints and if the car/trucks up on a lift,
it certainly helps to visually inspect the u-joints, ball joints and do a suspension lube
Rick, there's more diagrams etc, all on letter size - a full copy stays in the car. I prefer to work out the wiring on paper first, it's saved me a lot of rework. Yes, I go with number markers and not color coded, for me getting a bunch of different colors is too fiddly lol. Plus there's a terrific flea market not far from us - I can buy wire by the roll in almost any gauge I need for very low cost. Wire numbers are at each end plus along the routing at accessible points.
Grumpy, I've kept a maintenance book in every vehicle ever since I started driving
Grumpy, I've kept a maintenance book in every vehicle ever since I started driving
I'll post some odds and ends but in general it will be a little quiet from me. Most of the stuff now is tedious small details.
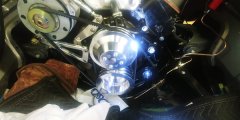
Case in point - I spent the whole afternoon figuring out oil pressure and switch placement. In order to do that I had to install the header to verify clearance. Kind of boring lol
One thing I did want to mention is that I'm using nutserts/rivet nuts everywhere I can. I love those things. Used them extensively to support the fuel system. Back when the exhaust was installed they did the exhaust shop SOP which was to use self tapping bolts thru body or frame to attach the system. I went back and installed nutserts in those locations.
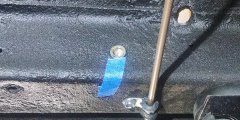
Onward I go .....
Case in point - I spent the whole afternoon figuring out oil pressure and switch placement. In order to do that I had to install the header to verify clearance. Kind of boring lol
One thing I did want to mention is that I'm using nutserts/rivet nuts everywhere I can. I love those things. Used them extensively to support the fuel system. Back when the exhaust was installed they did the exhaust shop SOP which was to use self tapping bolts thru body or frame to attach the system. I went back and installed nutserts in those locations.

Onward I go .....
Last edited:
Do you remember making this comment on July 1st, 2022 ???I think it will be a driver this year, but I learned a long time ago that a hobby is enjoyable if you don't try to make it fit into timeframes.
Actually the overall progress has been pretty good considering everything is getting re-done. And I've not cut corners on the engine or the car.
The time spent has been worth it!
Page 20, #388
I wish I had a dollar for every time I thought this might be possible !!! LOL !!!

Are you up for a prediction for this year ???
.
Hahaha! Yup I also remember at the very beginning "I was just going to get the engine running" and here I am.
So much for predictions!
But right now I actually think I'm close to hearing it run
I also appreciate that over the looooong course of this thread you've given not just advice but support as well - that goes a long way to staying motivated.
So much for predictions!
But right now I actually think I'm close to hearing it run

I also appreciate that over the looooong course of this thread you've given not just advice but support as well - that goes a long way to staying motivated.
Strictly Attitude
solid fixture here in the forum
Which tool do you have? Link preferred I will be running a complete fuel system soon and think this would be the great for that.I'll post some odds and ends but in general it will be a little quiet from me. Most of the stuff now is tedious small details.
Case in point - I spent the whole afternoon figuring out oil pressure and switch placement. In order to do that I had to install the header to verify clearance. Kind of boring lol
One thing I did want to mention is that I'm using nutserts/rivet nuts everywhere I can. I love those things. Used them extensively to support the fuel system. Back when the exhaust was installed they did the exhaust shop SOP which was to use self tapping bolts thru body or frame to attach the system. I went back and installed nutserts in those locations.
View attachment 17745
Onward I go .....

