You are using an out of date browser. It may not display this or other websites correctly.
You should upgrade or use an alternative browser.
You should upgrade or use an alternative browser.
My Cam Research for the Experts Eye
- Thread starter TXChevy
- Start date
After some creative radiator hose trimming/fitting, bottom hose is installed and coolant added. I left the thermo housing off to allow air to escape plus I'll check the level over the next day to ensure no slow leaks. The thermostat/housing and top hose are ready to go.


I replaced the straight boots on the plug wires with 135d boots. I decided to get the racheting plug wire stripper/crimper vs using my 2 piece crimper (the type that you wack with a hammer).

To me, it's worth every penny, like the smaller crimper you use for Weatherpak connectors. Very secure crimps like factory.
This was a test crimp.

All done, ready to install.

I replaced the straight boots on the plug wires with 135d boots. I decided to get the racheting plug wire stripper/crimper vs using my 2 piece crimper (the type that you wack with a hammer).
To me, it's worth every penny, like the smaller crimper you use for Weatherpak connectors. Very secure crimps like factory.
This was a test crimp.
All done, ready to install.
No coolant leaks so I installed the thermostat, housing and hose.
Probably no difference but I've always aligned the thermostat opening with the housing inlet. 160d thermo with a drilled 1/8 bleed hole.

Top hose installed. All fits nicely.


I wanted to highlight this inspection camera, got it for $60/free shipping.
It has 3 cameras with lights, and the images are excellent clarity. Not affiliated with anybody, just making mention.

I just used this to check cyl 1 due to my dumbness. I had used a compression tester with adapter to verify TDC. I then removed the tester but didn't notice the adapter was still in place. The new plug threaded right into the adapter but by the time I realized what I had done the ground tab was crushed and the porcelain around the electrode was broken.
My big worry was if any porcelain pieces, even tiny, had gotten into the cylinder. I blew it out with compressed air then checked with the inspection camera. Repeated about 3-4 times. I brought the cylinder down so I could look all around the piston and especially at the edges. All clear, big sigh of relief.
Another example where a good camera is invaluable.
Probably no difference but I've always aligned the thermostat opening with the housing inlet. 160d thermo with a drilled 1/8 bleed hole.
Top hose installed. All fits nicely.
I wanted to highlight this inspection camera, got it for $60/free shipping.
It has 3 cameras with lights, and the images are excellent clarity. Not affiliated with anybody, just making mention.
I just used this to check cyl 1 due to my dumbness. I had used a compression tester with adapter to verify TDC. I then removed the tester but didn't notice the adapter was still in place. The new plug threaded right into the adapter but by the time I realized what I had done the ground tab was crushed and the porcelain around the electrode was broken.
My big worry was if any porcelain pieces, even tiny, had gotten into the cylinder. I blew it out with compressed air then checked with the inspection camera. Repeated about 3-4 times. I brought the cylinder down so I could look all around the piston and especially at the edges. All clear, big sigh of relief.
Another example where a good camera is invaluable.
Yes I saw info on the number of holes, decided on one. I can always add more, but I'm thinking that no matter how many, I'll be finding out pretty quick if the overall cooling is up to par!
I also just got done with first electrical check. Battery connected for the first time, then worked through all the primary start/run/charge circuits.
Zero issues, no drama, no smoke Makes all the months of making diagrams, checking and rechecking worth it. As my friend Duff in South Africa would say, I'm a happy chappie!
I also just got done with first electrical check. Battery connected for the first time, then worked through all the primary start/run/charge circuits.
Zero issues, no drama, no smoke
Makes all the months of making diagrams, checking and rechecking worth it. As my friend Duff in South Africa would say, I'm a happy chappie!I'll be pressure checking fuel system on Monday, but I'm also looking ahead to installing the distributor. Its an in-cap coil HEI with the adjustable Crane vac canister, with limit stop adjustment set up per Dave Ray recommendation. Its worked great.
My plan is to set static timing at 10 degrees advanced and use ported vacuum for the first start/run. The intent is to simply be able to run the engine for the break-in, then come back with carb/ignition tuning as needed. This may include using manifold vacuum if it's of greater benefit. I'm trying to remember - I think I used manifold vacuum on the previous engine.
I understand how timing works - I had also set up an advance curve last time on this engine and I've got a number of springs and GM weights. Of course on this "new" engine I'll need to set it all up again, but I'll get to that a little later.
Do you think my first start ignition setup is reasonable?
Today was 1 step forward, 2 steps back, but I guess that's all part of it.
3 gal fuel is in the tank and fuel system pressurized. Electric pump works great, no leaks in the lines all the way to the carb.
Carb was a different story - fuel pouring thru it from both front and rear bowls. Hate that it ended up in the engine but hopefully will evaporate in the next few days.
I pulled the carb and found for some reason both needle sets were waaay down, the adjustment nut couldnt even grab any threads. No idea what I did but I did it to both bowls. No damage but the floats couldn't move so fuel wasn't shut off. All fixed now.
Before I put gas in it, I wanted to test crank the engine. Hit the key and got a click from the starter and that was it. Fresh charged battery with 14+ volts. I had this same thing over and over again over the years. I used old starter and added new solenoid and made a jumper bar from S terminal to main cable lug. I'm using a start solenoid in the trunk so the cable is only hot when starting.
I had looked into starters a while back and decided to use the old starter for at least the first start. It's the older big size starter - I'm not going to go thru that aggravation again so I'm getting the newer GM style PGM metric hi torque starter that uses staggered bolt pattern and end brace. Plus I'm replacing the starter cable from trunk to starter. Possible that over the years all the high amp draw, the slow/no starts may have increased resistance or there may be corrosion on there. Not a big cost for a 1 ga cable from batterycablesusa.com, ready with end lugs.
You don't say how much gas may have gotten into the engine, but maybe you should pull the plugs and turn the engine over and see if it sprays any gas out of the plug holes.
Then drain the oil and see if it smells like gas and if so think about replacing it.
Trying measuring the voltage at the starter while you are trying to crank the engine over, seems I've read it should not drop below 10.5v.
Then drain the oil and see if it smells like gas and if so think about replacing it.
Trying measuring the voltage at the starter while you are trying to crank the engine over, seems I've read it should not drop below 10.5v.
I know it's not enough gas to warrant an oil change, there was still plenty in the bowls when I pulled the carb. We shut the pump off right away but I'll pull the plugs regardless. My gut feel is not enough fuel to have caused significant washdown or oil contamination. Smelling the oil on the dipstick just smells like oil.
I thought about checking the voltage drop but got frustrated and pulled the starter. This was such a common issue on this car, especially hot starts but also cold starts, that I'm going to replace the last 2 remaining components of the starting system.
Edit - I ordered a Delco-Remy 96206 PMGR Starter for a 168 tooth flexplate. It has the staggered bolt pattern and the threaded stud for an end brace. It takes the GM 12338064 bolts (both long) for the proper combination of block threads and shaft/knurling diameters.
I also ordered a new 1/0 battery cable with ends from batterycablesusa. I'll use the old cable to pull the new cable through the under-car conduit.
I'm hoping to call the starting issues DONE
Can't remember if I've attached info on the PMGR starters before, but I attached it here to follow my post.
Attachments
Last edited:
New 1/0 cable with ends, good quality, flexible. I checked and it will fit thru the 3/4 in under-car pvc conduit/fittings.

New PMGR starter, as you can see it's smaller (and lighter) than the original style. I'm on the fence whether or not I should make an end bracket for it. I probably will but maybe not right now.

Original pinion gear has 9 teeth, PMGR has 11. From what I've read, both should work fine, but I'll still check gear clearance to flexplate.

One note above, each starter has the correct bolt inserted. You can see the knurled section intended to go into the block.
I also needed to make a new copper jumper from main lug to S terminal on solenoid


Onward I go, honestly getting a bit tired of the mini-projects popping up. Hopefully ready to start after I get this stuff installed.
Carb is fixed, no idea what happened with the float settings but I removed the bowls and reset the heights. Installed, no leaks/flooding with pressure at 6.5 psi.
New PMGR starter, as you can see it's smaller (and lighter) than the original style. I'm on the fence whether or not I should make an end bracket for it. I probably will but maybe not right now.
Original pinion gear has 9 teeth, PMGR has 11. From what I've read, both should work fine, but I'll still check gear clearance to flexplate.
One note above, each starter has the correct bolt inserted. You can see the knurled section intended to go into the block.
I also needed to make a new copper jumper from main lug to S terminal on solenoid
Onward I go, honestly getting a bit tired of the mini-projects popping up. Hopefully ready to start after I get this stuff installed.
Carb is fixed, no idea what happened with the float settings but I removed the bowls and reset the heights. Installed, no leaks/flooding with pressure at 6.5 psi.
As far as I know the PMGR starter spins the engine faster due to the gear reduction, and with lower amperage draw the spin may also be more consistent.
Big can of worms on flat tappet cam failures, I think that a combo of current cheap cam kits of inferior materials, repeated long cranking from engine not starting, run-in rpms too low, oil selection, internet attention, probably a few other factors have contributed to the picture of cam issues.
In my case I used a roller cam, but immediate start and reasonable rpm is still of primary attention to me.
Just my view, I know Grumpy and Rick probably have more in depth info.
PS - regarding the end brace for the PMGR starter , it seems that its not really needed due to its light weight. That end stud is typically there for heat shield attachment - I'm using a thermal blanket.
Last edited:
A good day today....
I thought pulling the slightly larger 1/0 cable thru the conduit might be fiddly, but a very light touch of Syl-Glide on it made it easy. Took just a few minutes to get the old 1 ga cable out and get the new cable in. I also replaced the 2 ga neg side cables to and from the kill switch. Even though they are each about 16 in long, I replaced with 1/0 cable to ensure a full amp/volt circuit to the battery.
Before I installed it, much easier to add heat sleeve for the starter end while on the bench. You'll notice that I had the cable vendor install a 90d lug at this end.

Tons of room with the PMGR starter. Using the 90d lug allows the cable to tuck right up to the starter. This is without even adding a couple of straps to hold the cable securely.

I installed the starter with no shim, then .020, .040, and. 060 shims to look at pinion gear clearance. I settled on .040 even though I think .020 would be ok. I'd rather it be on the loose side vs too tight.
One thing I found was that - even though the tooth clearance was ok - the starter pinion would not release from the flexplate teeth. I went round and round on this until I did some online research.
Seems that in many cases the larger 11 tooth pinion on gear reduction starters doesn't manually disengage, but will disengage as soon as the engine starts. I tested this and sure enough, if I even nudged the engine over using a socket/bar on the balancer, I could hear the pinion gear immediately click right back. Did this half a dozen times consistently.
Another factor (I think) is that the flexplate is powder coated. The starter pinion teeth scrape into the powder coating and seem to sort of stick in place. The old flexplate didn't have any coating but this one does. So I think that coating needs to be worn off the contact surfaces, and I'm expecting to probably replace the .040 shim with a. 020 shim as the clearance increases.
All in all I'm happy today - the engine cranks over nicely and evenly. No galloping so it tells me the valves are all closing properly. No grinding, rockers tapping on valve covers or weird sounds. Exciting to hear even this first noise out of it after many years of quiet.
Last up is to install the distributor and fire this thing up. Getting a couple extra hands/eyes to do this.
I thought pulling the slightly larger 1/0 cable thru the conduit might be fiddly, but a very light touch of Syl-Glide on it made it easy. Took just a few minutes to get the old 1 ga cable out and get the new cable in. I also replaced the 2 ga neg side cables to and from the kill switch. Even though they are each about 16 in long, I replaced with 1/0 cable to ensure a full amp/volt circuit to the battery.
Before I installed it, much easier to add heat sleeve for the starter end while on the bench. You'll notice that I had the cable vendor install a 90d lug at this end.
Tons of room with the PMGR starter. Using the 90d lug allows the cable to tuck right up to the starter. This is without even adding a couple of straps to hold the cable securely.
I installed the starter with no shim, then .020, .040, and. 060 shims to look at pinion gear clearance. I settled on .040 even though I think .020 would be ok. I'd rather it be on the loose side vs too tight.
One thing I found was that - even though the tooth clearance was ok - the starter pinion would not release from the flexplate teeth. I went round and round on this until I did some online research.
Seems that in many cases the larger 11 tooth pinion on gear reduction starters doesn't manually disengage, but will disengage as soon as the engine starts. I tested this and sure enough, if I even nudged the engine over using a socket/bar on the balancer, I could hear the pinion gear immediately click right back. Did this half a dozen times consistently.
Another factor (I think) is that the flexplate is powder coated. The starter pinion teeth scrape into the powder coating and seem to sort of stick in place. The old flexplate didn't have any coating but this one does. So I think that coating needs to be worn off the contact surfaces, and I'm expecting to probably replace the .040 shim with a. 020 shim as the clearance increases.
All in all I'm happy today - the engine cranks over nicely and evenly. No galloping so it tells me the valves are all closing properly. No grinding, rockers tapping on valve covers or weird sounds. Exciting to hear even this first noise out of it after many years of quiet.
Last up is to install the distributor and fire this thing up. Getting a couple extra hands/eyes to do this.
Ah, that's good to knowYes, thats been my experiance with the RobbMc starter I got for my Pontiac 462...
I'm getting excited !!!Last up is to install the distributor and fire this thing up. Getting a couple extra hands/eyes to do this.
Lol and I'm getting nervous - but at the same time I figure it's going to run or its not. May as well quit looking at it.I'm getting excited !!!
Right now it looks like help can be here Saturday.
Regardless of the outcome I can't thank you and Grumpy enough for literally YEARS of help.
This is what we literally live for !!!Regardless of the outcome I can't thank you and Grumpy enough for literally YEARS of help.
I'm always glad to help everyone on the web site advance their knowledge and projects,
THATS THE MAIN REASON I BUILT THE WEB SITE
At some point us older more experienced geezers will pass on, and it would be a real shame if all the knowledge was lost/
experience, requires making good and bad choices and being able to pass ,on the info so most of the newer forum members can avoid MAKING COMMON MISTAKES,
a great deal of the B.S. YOU SEE ON THE INTERNET and being B.S,ed and over charged by machine shops is sure to help!
the more you know the better your choices tend to be
btw the more skills and experience and TOOLS
(AND THE SKILL AND KNOWLEDGE TO USE THEM CORRECTLY)
that you have, the more smarter choices you'll tend to make
just having a decent engine stand, engine crane and a tool box full of accurate measuring tools
(AND THE SKILL AND KNOWLEDGE TO USE THEM CORRECTLY)
and a good idea what your looking at and for in clearances and component compatibility for the intended use,
allows you to avoid as great many mistakes
Precision measuring tools (link)
I bought a Starrett 10 - 11 inch micrometer With a friction spindle and spindle lock Grumpy. Used and in excellent condition. Going to use it to Measure Verify the True Deck Height of my Pontiac 455 block for the 1970 Trans Am. Determine the True Pin setting compression height needed with extra...
garage.grumpysperformance.com
Greetz Folks, How do you guys clean these Suggestions on cleaning the head itself are welcome.
garage.grumpysperformance.com
garage.grumpysperformance.com
garage.grumpysperformance.com
garage.grumpysperformance.com
garage.grumpysperformance.com
garage.grumpysperformance.com
http://garage.grumpysperformance.com/index.php?threads/finding-a-machine-shop.321/#post-81042
http://garage.grumpysperformance.com/index.php?threads/think-thru-your-goals.10606/#post-73288
http://garage.grumpysperformance.co...f-how-not-too-deal-with-a-machine-shop.14454/
http://garage.grumpysperformance.co...g-with-a-local-machine-shop.14419/#post-74397
tools you really need
SHOP MANUAL
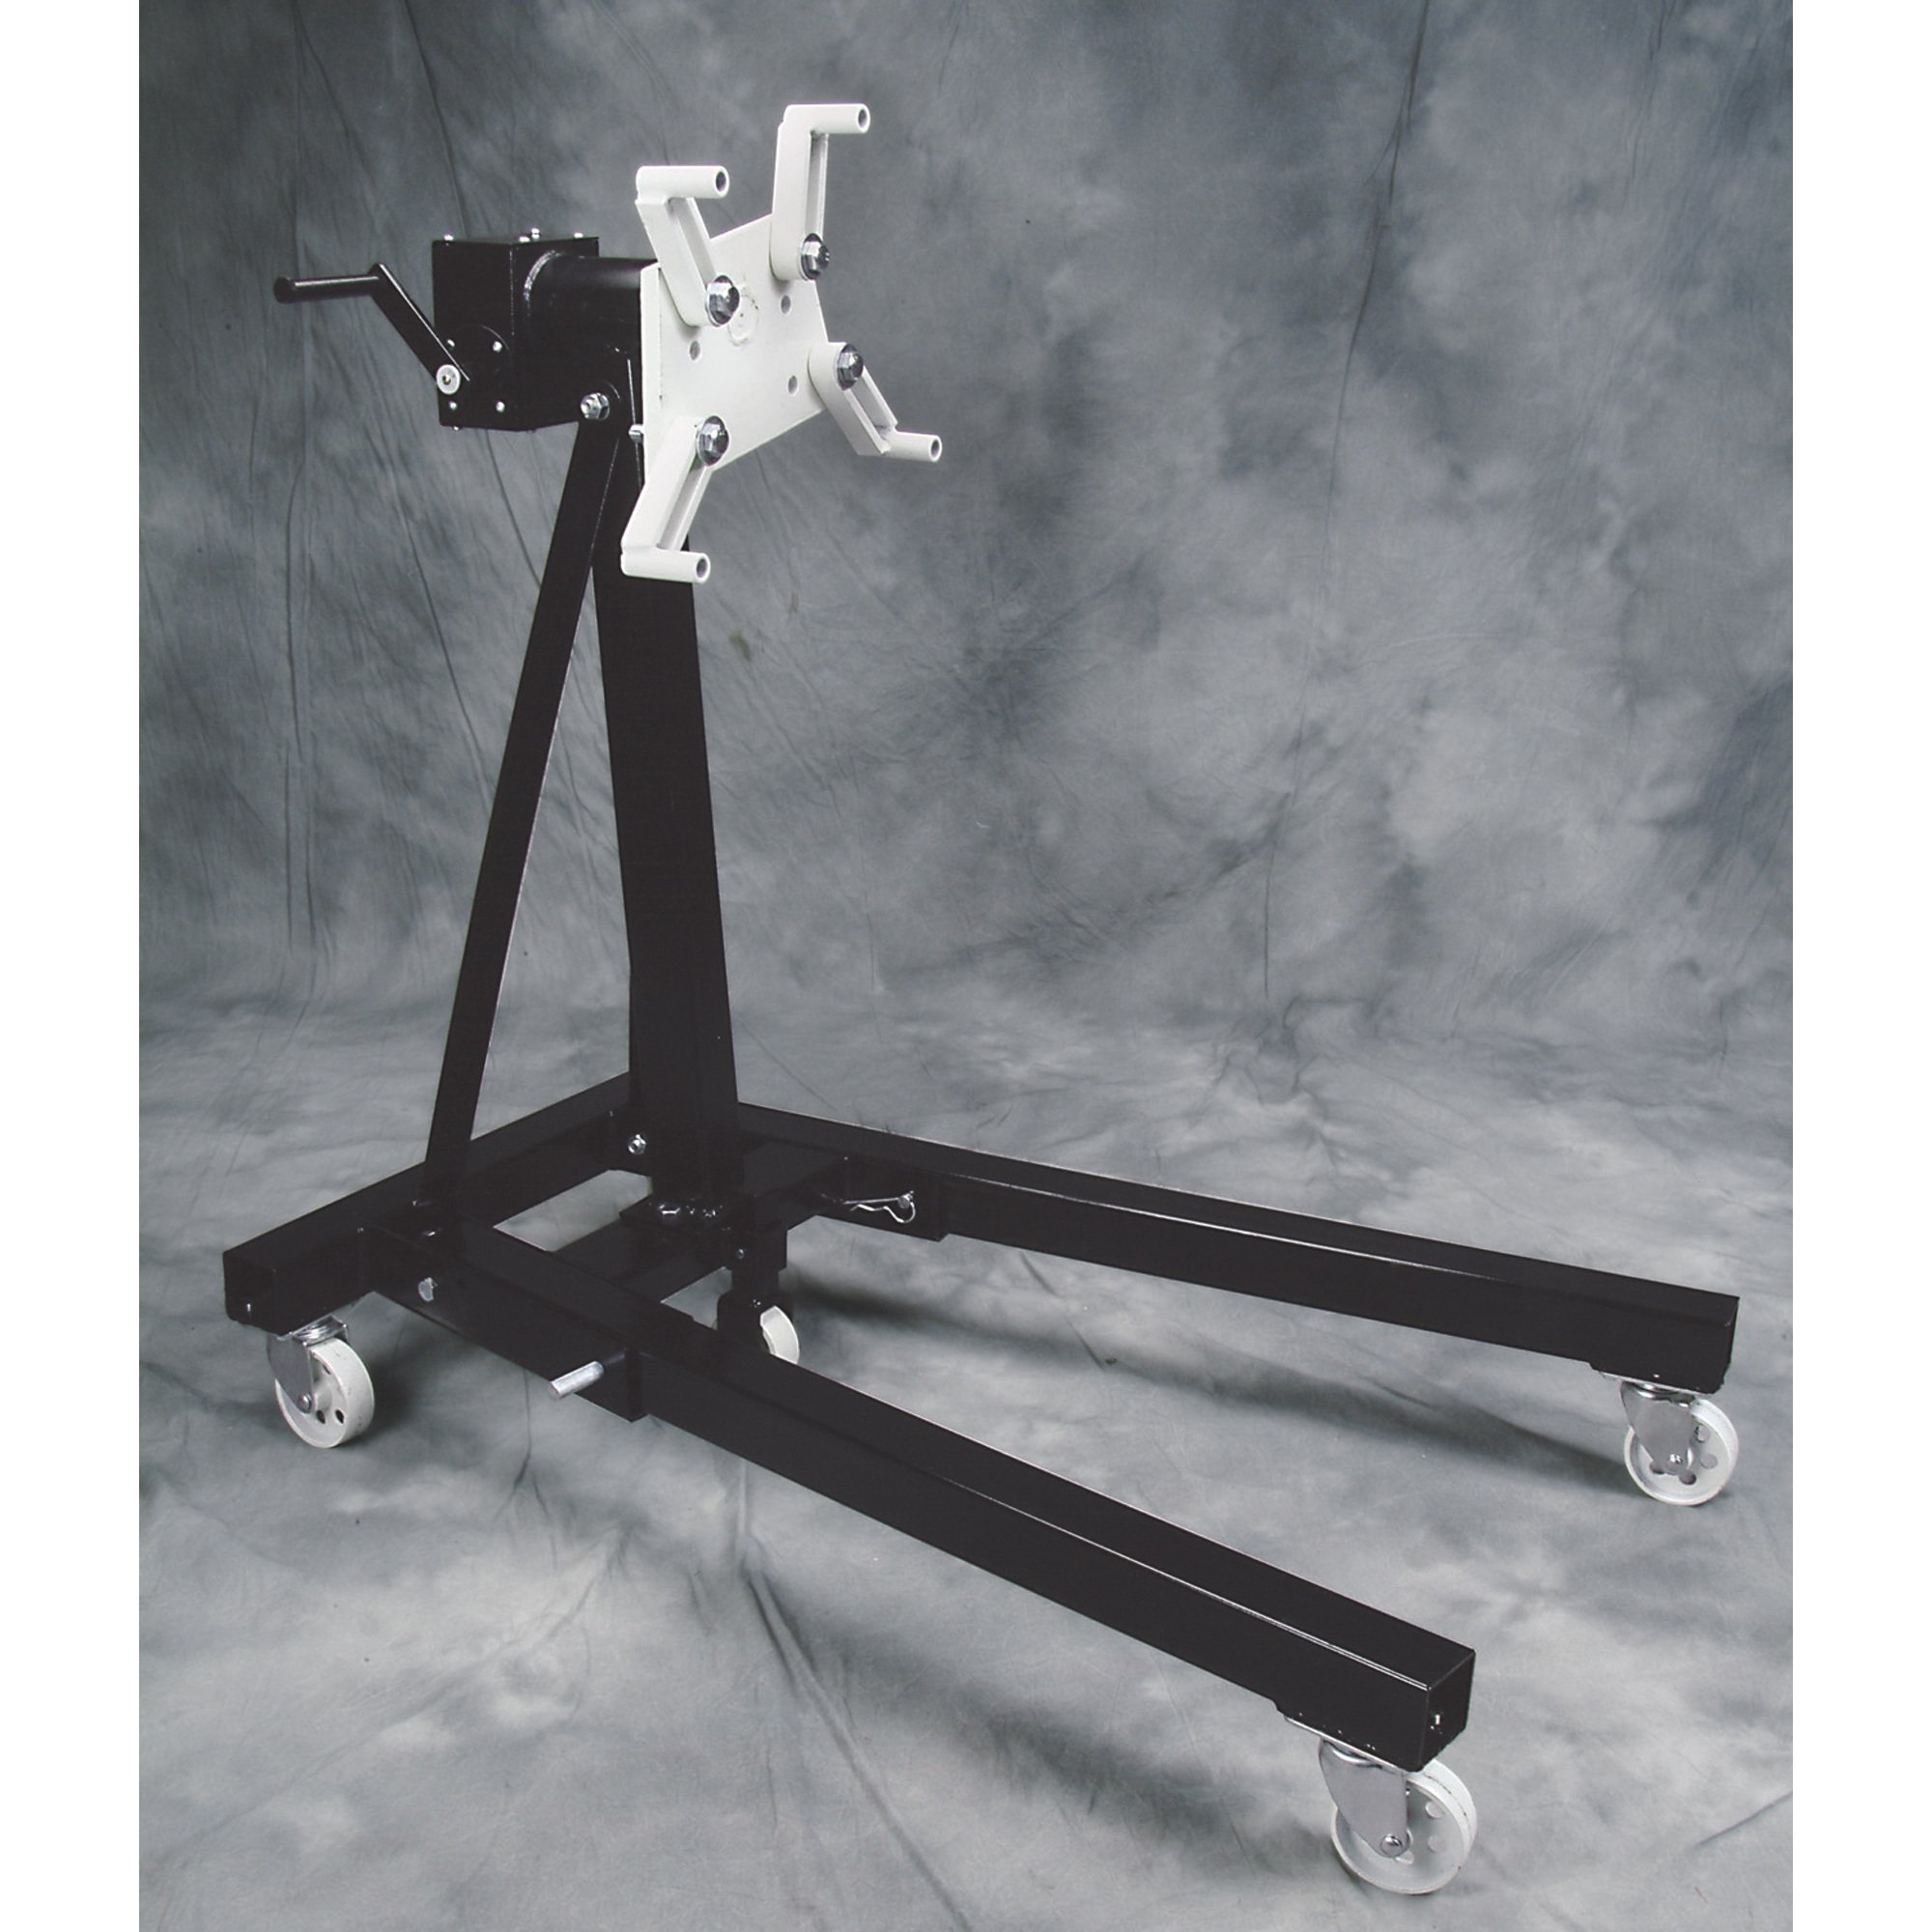
ENGINE STAND
ENGINE CRANE
timing light
vacuum gauge
IR temp gun
degree wheel
dial indicator and stand
fuel pressure gauge
V.O.M. multi meter
magnifying spark plug reader
lift or (4) 12 ton jack stands
basic mechanic hand tools
floor jack
the most valuable tool you can acquire is as broad a selection of valid information,
on exactly how and why things work in your car,s engine, drive train
and suspension , as a reference base to work from,
and acquiring a good set of testing and measuring tools to verify and test with
you really should get these books and read them before going any further, it will help a good deal
BUY A FEW BOOKS ON ENGINE REBUILDING AND PROPER ENGINE ASSEMBLY
AND READ THROUGH THEM CAREFULLY,
ITS MONEY VERY WELL SPENT!

http://www.amazon.com/exec/obidos/A...5079777/sr=2-1/ref=sr_2_1/102-1234339-0571324

http://www.amazon.com/exec/obidos/t...gy_img_2/102-1234339-0571324?v=glance&s=books

http://www.amazon.com/exec/obidos/t...gy_img_2/102-1234339-0571324?v=glance&s=books

http://www.amazon.com/exec/obidos/t..._books_1/102-1234339-0571324?v=glance&s=books

http://www.amazon.com/exec/obidos/t..._books_3/102-1234339-0571324?v=glance&s=books

http://www.amazon.com/exec/obidos/t...f=sr_1_2/102-1234339-0571324?v=glance&s=books

https://www.jegs.com/i/Chevrolet-Performance/809/24502488/10002/-1
THATS THE MAIN REASON I BUILT THE WEB SITE
At some point us older more experienced geezers will pass on, and it would be a real shame if all the knowledge was lost/
experience, requires making good and bad choices and being able to pass ,on the info so most of the newer forum members can avoid MAKING COMMON MISTAKES,
a great deal of the B.S. YOU SEE ON THE INTERNET and being B.S,ed and over charged by machine shops is sure to help!
the more you know the better your choices tend to be
btw the more skills and experience and TOOLS
(AND THE SKILL AND KNOWLEDGE TO USE THEM CORRECTLY)
that you have, the more smarter choices you'll tend to make
just having a decent engine stand, engine crane and a tool box full of accurate measuring tools
(AND THE SKILL AND KNOWLEDGE TO USE THEM CORRECTLY)
and a good idea what your looking at and for in clearances and component compatibility for the intended use,
allows you to avoid as great many mistakes
engine assembly tips (link)
the first few rule's of GRUMPY'S engine assembly (1) THINK THINGS THROUGH CAREFULLY , WRITE DOWN A LIST OF COMPONENTS , MAKE DARN SURE THE LIST IS COMPATIBLE WITH, and AT LEAST SEMI-REASONABLY PRICED WITHIN YOUR BUDGET. FOR WHAT YOU INTEND TO BUILD AND RESEARCH THE RELATED MACHINE WORK...A Few Basic Precision Tools
Hey GRUMPY, I need a few basic tools to measure bearing clearances and tools for installing a cam, etc, and suggestions? (and yeah, I'm not swimming in cash, so please take that into account!) keep in mind there's a long list of more expensive tools, like mills, lathes, various types of...
garage.grumpysperformance.com
I bought a Starrett 10 - 11 inch micrometer With a friction spindle and spindle lock Grumpy. Used and in excellent condition. Going to use it to Measure Verify the True Deck Height of my Pontiac 455 block for the 1970 Trans Am. Determine the True Pin setting compression height needed with extra...
garage.grumpysperformance.com
Cleaning Disassembled Heads.(link)
Greetz Folks, How do you guys clean these Suggestions on cleaning the head itself are welcome. garage.grumpysperformance.com
sellecting valve springs, and setting up the valve train(link)
How do you determine the spring pressure needed to keep the valves under control for a given lift, duration, and max rpm. It might take you several hours to read thru all the links and sub links but its time very well spent as it could save your engine from destruction and save you thousands of...garage.grumpysperformance.com
measuring piston dome volume
\" how do you measure piston dome volume" I just bought a 454 from a yard sale, the seller has no clue as to the pistons used" https://www.summitracing.com/newsandevents/calcsandtools/compression-calculator http://www.grumpysperformance.com/cop2.png...
garage.grumpysperformance.com
checking piston to valve clearances(link)
this is an old post I got asked to repost, naturally the first step is to install and correctly degree in your cam, http://garage.grumpysperformance.com/index.php?threads/measuring-piston-dome-volume.17255/...garage.grumpysperformance.com
Dial Bore Guage Selections To Purchase 8-22-2021 Grumpy ?
Looking to purchase a New Dial Bore Guage Universal set for 1.000" - 6.000" range Grumpy. 1-5 inches be Ok cover all my own engine building needs and for others I build for. I don't have the funds for a Sunnen Deep reach dial bore guage along with the Sunnen Adjustable Bench standard like Pros...
garage.grumpysperformance.com
Precision measuring tools(link)
I’m looking for the best quality precision tools on a limited budget (i.e. I don't want to pay $300 for one mic). I plan on building the occasional small- & big-block Chevy (more than one, less than 1000). Names that come up on the limited results I’ve found on the web include Starrett...garage.grumpysperformance.com
should you buy bare or assembled heads(link)
should you buy bare or assembled heads ? well lets put out a few facts for you to decide, the ADVANTAGE in buying bare heads is in that you get to select each component to be used in the valve train,"THIS IS A HUGE ADVANTAGE", and THEN YOU select a shop you trust, that can assemble and...garage.grumpysperformance.com
aftermarket heads for a BBC(link)
I've heard that the 454 has a reputation of "swallowing" valves. Not sure exactly what that means but I'd like to try and avoid that, so if anyone knows of some good aftermarket heads I can research please let me know. knowing what you intend to do with an engine, once its built, and having a...garage.grumpysperformance.com
Plastic gauge?
Question: Can plastic gauge read correctly if used on a crank already oiled or with assembly lube?? I am wanting to confirm the work done by my machine shop but I do not want to tear it down and dry it off, just see if they did the clearances correctly. I figure to check one or two main caps...
garage.grumpysperformance.com
383, do you clearance the 350 block, machine the crank, or both?
I hate to start a new thread when it seems that grumpy has exhaustively covered EVERYTHING when it comes to blocks and engine buildings already on this site, but this is sort of a specific question: I have been following a step by step on prepping my block to become a 383 build, and I am...
garage.grumpysperformance.com
http://garage.grumpysperformance.com/index.php?threads/finding-a-machine-shop.321/#post-81042
http://garage.grumpysperformance.com/index.php?threads/think-thru-your-goals.10606/#post-73288
http://garage.grumpysperformance.co...f-how-not-too-deal-with-a-machine-shop.14454/
http://garage.grumpysperformance.co...g-with-a-local-machine-shop.14419/#post-74397
tools you really need
SHOP MANUAL
ENGINE STAND
ENGINE CRANE
timing light
vacuum gauge
IR temp gun
degree wheel
dial indicator and stand
fuel pressure gauge
V.O.M. multi meter
magnifying spark plug reader
lift or (4) 12 ton jack stands
basic mechanic hand tools
floor jack
the most valuable tool you can acquire is as broad a selection of valid information,
on exactly how and why things work in your car,s engine, drive train
and suspension , as a reference base to work from,
and acquiring a good set of testing and measuring tools to verify and test with
you really should get these books and read them before going any further, it will help a good deal
BUY A FEW BOOKS ON ENGINE REBUILDING AND PROPER ENGINE ASSEMBLY
AND READ THROUGH THEM CAREFULLY,
ITS MONEY VERY WELL SPENT!
http://www.amazon.com/exec/obidos/A...5079777/sr=2-1/ref=sr_2_1/102-1234339-0571324
http://www.amazon.com/exec/obidos/t...gy_img_2/102-1234339-0571324?v=glance&s=books
http://www.amazon.com/exec/obidos/t...gy_img_2/102-1234339-0571324?v=glance&s=books
http://www.amazon.com/exec/obidos/t..._books_1/102-1234339-0571324?v=glance&s=books
http://www.amazon.com/exec/obidos/t..._books_3/102-1234339-0571324?v=glance&s=books
http://www.amazon.com/exec/obidos/t...f=sr_1_2/102-1234339-0571324?v=glance&s=books
https://www.jegs.com/i/Chevrolet-Performance/809/24502488/10002/-1
Last edited: