My 1st. Street 383 Build

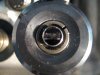
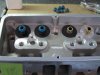
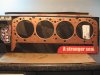
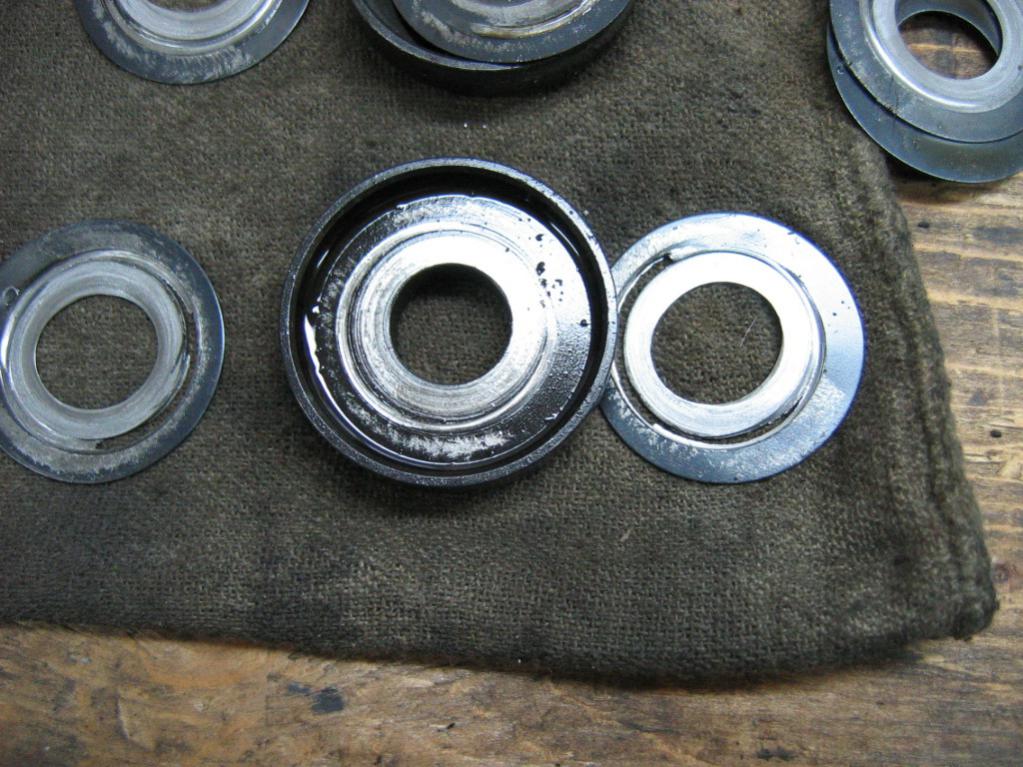
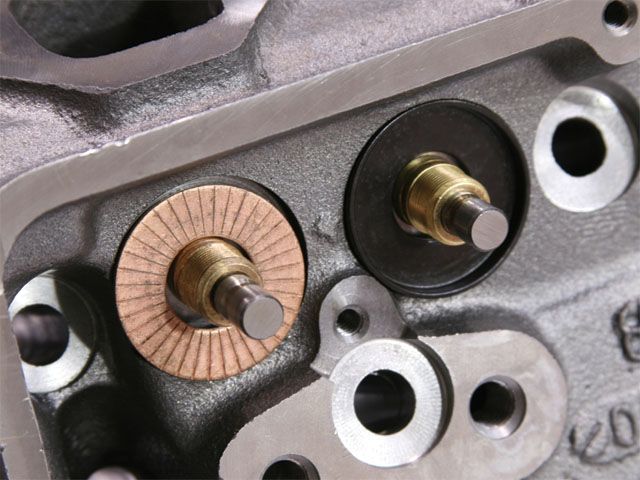
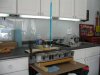
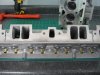
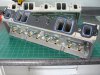
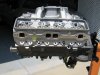
Just sharing a few progress pics. Got the heads disassembled and ready to go through


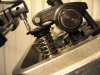
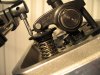
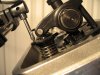
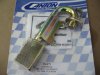
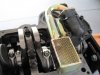
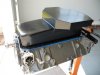
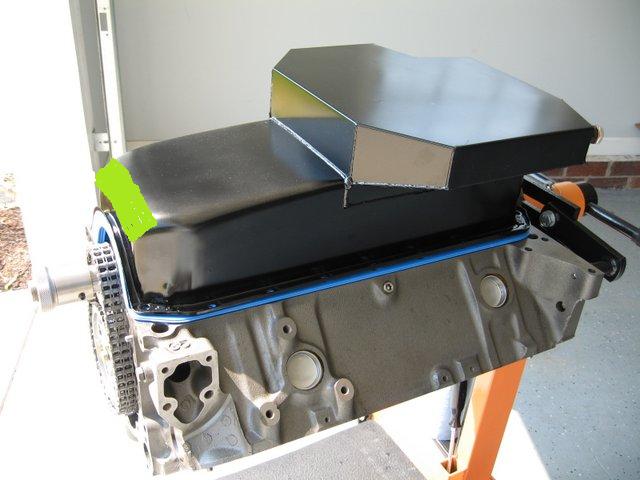
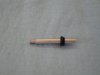
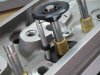
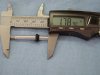
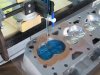
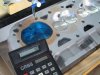
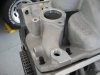
Also mounted the oil pump pickup and checked the pickup to pan clearance. I ended up using a Canton pickup that was made for the Melling select pumps.
 

Attachments

  • IMG_0232.JPG
    IMG_0232.JPG
    64.5 KB · Views: 96
  • IMG_0237.JPG
    IMG_0237.JPG
    58.3 KB · Views: 97
  • IMG_0242.JPG
    IMG_0242.JPG
    42.7 KB · Views: 96
  • IMG_0244.JPG
    IMG_0244.JPG
    63.9 KB · Views: 96
  • IMG_0238.JPG
    IMG_0238.JPG
    54.7 KB · Views: 96
thats certainly starting to look rather impressive.
I love seeing clear pictures of a build in progress!
have you test fit that oil pan in your cars chassis?
the reason I ask is I know several guys that used that oil pan in several cars and the lower front edge of the oil pans lower front edge seems to hit just slightly in many applications, on the cars k-frame ,unless you modify it with a cut about an inch wide 45 degree angle like the picture and weld in a patch.
simple and easy mod to do but in many applications its required to get the engine located low and forward just a bit so the motor mounts line up and the oil pans not touching the chassis cross member
oilpanedge.jpg
 
Yes, it will go in my 78 Vette. It's a manual 4 speed with a 3.73 rear.

grumpyvette said:
have you test fit that oil pan in your cars chassis?
the reason I ask is I know several guys that used that oil pan in several cars and the lower front edge of the oil pans lower front edge seems to hit just slightly in many applications, on the cars k-frame ,unless you modify it with a cut about an inch wide 45 degree angle like the picture and weld in a patch.
simple and easy mod to do but in many applications its required to get the engine located low and forward just a bit so the motor mounts line up and the oil pans not touching the chassis cross member
oilpanedge.jpg

I'm hoping it will fit Grumpy, the front cross member on the vette seems to be out of the way. The only thing that might give me trouble is the power steering cylinder but a few of the guys on the vette forum have used this pan with no clearance issues.
 
Head gaskets arrived today. Found these for just a few coins more than the SEC PRO. Weiand 8501 intake and Comp 1601 rockers are next.
 

Attachments

  • IMG_0251.JPG
    IMG_0251.JPG
    70.1 KB · Views: 82
  • IMG_0252.JPG
    IMG_0252.JPG
    73.2 KB · Views: 82

That Weiand intake manifold looks very similar to the Edlebrock RPM Air Gap, except for the
Edelbrock has the cutout between the two sides of the manifold.

Any particular reason you went with the Weiand???


Attachments

  • CompareEdlebrock7501&Weiand8501.jpg
    CompareEdlebrock7501&Weiand8501.jpg
    25.9 KB · Views: 76
Indycars said:

Any particular reason you went with the Weiand???

The two are very close. Based on some of the comparison info, the 8501 has just a bit more torque in the usable range. (3800 RPM compared to 3900 RPM) I assume this is due to more plenum volume due the plenum cutout that helps with top end HP. It's probably not going to make a big difference anyway but I wanted to keep my plenum velocity up for driveability and felt the plenum cutout could impact that some.
 
Got finished checking the valve spring installed heights and installed shim thickness as it came from Dart. All the installed heights checked in at ~ 1.78” except for the very last one I checked. It measured 1.76”. Dart install all the shims with one thick one and one or more thin ones. The valve that measures 1.76” currently has one thick .06” and one thin .03 shim installed. Can I simply remove the .03 shim and run the one thick shim to achieve the correct height or are 2 shims required for some other reason?
 

Attachments

  • Drawing1.jpg
    Drawing1.jpg
    41.8 KB · Views: 116
the thinner the shim the closer to the heads surface, it should be installed, in any stack of shims under the valve spring, seat, and theres no reason you can,t simply remove the .003 shim to get the correct clearance if thats whats required to do so!
the hardened STEEL VALVE SPRING cup is designed to locate the spring and not wear easily if the spring oscillates on its seat at high rpms, the copper shims will quickly disintegrate if in direct contact with the oscillating valve spring base.
Obviously you never want to operate an engine up into valve float rpms where valve train damage is certain to eventually result and a constant spray of oil on the valve springs extends your valve trains life expectancy

VSPSP4.jpg

related info
viewtopic.php?f=52&t=399

viewtopic.php?f=52&t=6491&p=20681&hilit=spring+cooling+spray#p20681

softshims.jpg

here is what results from soft valve spring shims in direct contact with oscillating valve spring base

springshim.jpg


watch videos
http://www.youtube.com/watch?v=_REQ1PUM ... re=related

http://www.youtube.com/watch?v=019Jyn9o ... re=related
notice how the valve springs glow red hot if not constantly bathed in oil flow, notice how the valve springs rotate in the valve seats, most people find it hard to believe that more than 40% of engine heat is generated in the valve train

viewtopic.php?f=52&t=181&p=215#p215

http://www.supercarsunlimited.com/info/ ... prings.htm

http://www.hotrod.com/techarticles/engi ... ewall.html
 
Thanks for the follow up info Grumpy on the valve height question. I called Dart and they recommended removing the .030 shim as well. I rigged up a height gauge with a few aluminum circuit board standoffs. I added a few O-rings to provide some friction to keep things tight during the measurement. Seemed to work well.


I also got the heads cc’d. Below are a few pics of my setup and results.
 

Attachments

  • IMG_0271.JPG
    IMG_0271.JPG
    35.1 KB · Views: 110
  • IMG_0272.JPG
    IMG_0272.JPG
    63.4 KB · Views: 110
  • IMG_0273.JPG
    IMG_0273.JPG
    59.5 KB · Views: 110
  • IMG_0276.JPG
    IMG_0276.JPG
    54.9 KB · Views: 109
  • IMG_0278.JPG
    IMG_0278.JPG
    69.8 KB · Views: 110
  • IMG_0281.JPG
    IMG_0281.JPG
    70.5 KB · Views: 109
  • Drawing4.jpg
    Drawing4.jpg
    14.8 KB · Views: 109

Attachments

  • IMG_0284.JPG
    IMG_0284.JPG
    70.3 KB · Views: 98
  • IMG_0287.JPG
    IMG_0287.JPG
    78.5 KB · Views: 96
  • IMG_0295.JPG
    IMG_0295.JPG
    74.3 KB · Views: 97
  • IMG_0297.JPG
    IMG_0297.JPG
    67.8 KB · Views: 96
  • IMG_0298.JPG
    IMG_0298.JPG
    56.7 KB · Views: 97

Good to see I'm not the only one that takes extra steps, that are not absolutely required
during the build process. In the end you will be happy you did!

Are you hoping to drive it this summer?

 
Indycars said:

Good to see I'm not the only one that takes extra steps, that are not absolutely required
during the build process. In the end you will be happy you did!

Are you hoping to drive it this summer?


I probably would not have gone through all the extra effort if I had not stumbled across this forum. I enjoy taking the time to learn this stuff and making educated decisions instead of just bolting things together out of the box. I think when it’s all done, I'll feel comfortable that I didn't miss anything and should have a solid build.

I'm hoping to get this project warped up by mid-September and enjoy some T-top weather.
 
the pictures are a huge help to show others whats being done, I Know I really appreciate clear pictures and a current description of the work being done.
and most other people get far more out of a thread thats got clear pictures and a step- bye-step progression of the projects progress
 
I think I got my pushrod length sorted out. I started with a 7.150 pushrod length and it seemed to be a bit off center towards the exhaust.
Then I went with a 7.0 and it was off center towards the intake.
Ended up with a 7.100 and its centered and has a narrower swipe. (.085 vs .110)


Here’s the zero, mid and full lift pics.


Since this is an important setup step, feedback from the experts is welcome. Do I need to perform the pushrod length test for ‘all’ the other cylinders or is checking one good enough?
 

Attachments

  • IMG_0330.JPG
    IMG_0330.JPG
    47.3 KB · Views: 69
  • IMG_0331.JPG
    IMG_0331.JPG
    66.7 KB · Views: 69
  • IMG_0332.JPG
    IMG_0332.JPG
    66.6 KB · Views: 69
  • IMG_0333.JPG
    IMG_0333.JPG
    64.6 KB · Views: 69
Back
Top